Hazelnut truffles
Makes 20 truffles
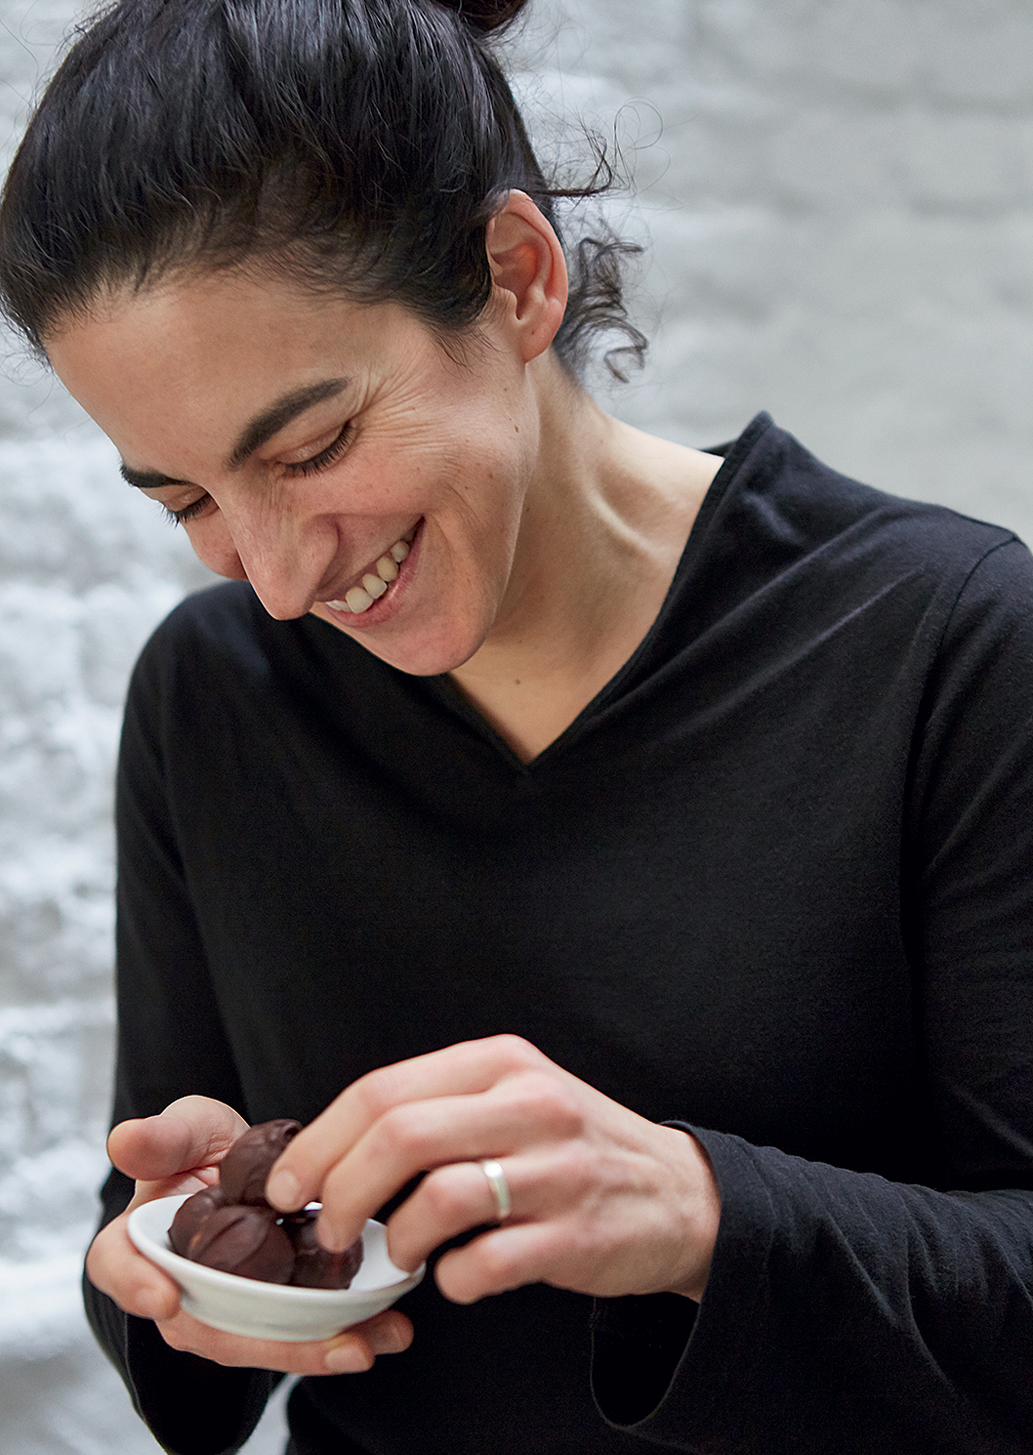
When Dee joined us, we knew immediately we had a keeper; she is beautiful, quiet and calm, but full of energy and charisma and with a great passion for food. At first we thought she might be one of those foodies who never actually eats. She always gives the staff meal a miss at lunch, and instead piles her plate with leaves and carrot peelings she finds somewhere, plus a mound of salt. Later we realized where her passion lies. Once she has finished her meager lunch, she goes sniffing around the pastry trolley, looking for sweet stuff: a spoonful of chocolate mousse, a broken chestnut cake. This is when her eyes light up, and never more so than when she eats these little treats.
150g whole blanched hazelnuts
3 tsp honey
2 tsp hazelnut oil (or vegetable oil), plus a little more for oiling
a pinch of flaky sea salt
To coat (if you want to spoil someone special)
100g–150g dark chocolate, broken or chopped in small pieces
Preheat the oven to 350°F/325°F convection. Roast the hazelnuts for 14 minutes, then allow to cool on the tray. Once cool, place them in a food processor with a metal blade attachment (or use a spice grinder to do this in a couple of batches). Set on the highest speed and blitz for 1 minute. Add the remaining ingredients and blitz for another 2 minutes until the mixture comes together in a thick, praline-like paste.
Lightly oil your palms. Scoop out about 10g of paste, roll into a small ball and set on a small tray or a plate. Repeat with the rest of the praline paste; you should get 20 truffles out of this mixture. Chill in the fridge until needed. You can of course just eat them like this, but for a special occasion, coat them in chocolate.
There are two ways, which are equally tasty. The first uses 100g of chocolate; the second uses 150g for a slightly thicker coating.
Place 70% of the chocolate in a small bowl (70g or 105g depending on which coating method you are using). Pour some boiling water into a small pan and place the chocolate bowl over it (the pan should not be on the heat). Leave for 30–40 seconds, then stir the chocolate and continue stirring until it has all melted. Add the remaining chocolate, remove the bowl from the pan of hot water and continue to stir to melt the rest of the chocolate. Once it is all combined, it is time to dip.
This first method is the one I prefer, as it is more economical and creates a lovely pattern on each truffle. Put some melted chocolate in your hand and rub your palms together, then roll a ball of hazelnut praline between your palms to coat. Return to the plate or tray and repeat with the other truffles. Once they have all been coated, return them to the fridge until you are ready to eat. If you have a pair of disposable gloves, you can wear them to coat the truffles, but if not, hot water and soap will remove the chocolate from your palms.
If you are more fastidious about these things, use this method instead. Stab a toothpick securely into a truffle and use it to dip and swirl the praline ball around in the melted chocolate to coat. Return to the plate or tray and pull out the toothpick before the chocolate sets. Once you have coated all the truffles, return them to the fridge to set completely. Store in the fridge for up to a week.
Pocky sticks
Makes about 30–35 large sticks
We fell in love with Pocky sticks during a trip to Japan, where we had these little sweet-salty treats on a daily basis. It seemed a good idea to us to scale them up a bit, and it was in fact a great idea—this way one is enough.
250g bread flour
½ tsp table salt
½ tsp granulated sugar
2 tsp fennel seeds, roughly ground
60g cold unsalted butter, diced
60g/ml water, plus a tiny bit more if needed
300g dark chocolate
1 tsp vegetable oil
flaky sea salt for sprinkling
Place the flour, salt, sugar and ground fennel seeds in a mixing bowl, add the cold, diced butter and rub to a crumb consistency (you can do this by hand or in a mixer with a paddle attachment). Start mixing in the water little by little until you have a tight dough that comes together in a ball. If necessary, add another couple of drops of water, but not too much as this dough should be quite firm. Wrap in cling film and place in the fridge to rest for at least 1 hour and up to 48 hours.
Very lightly dust your work surface with flour and roll the dough into a 10 inch × 14 inch rectangle. Place on a tray and return to the fridge to chill and set for a minimum of 10 minutes. Preheat the oven to 375°F/350°F convection and line a baking sheet with baking parchment.
Cut the chilled dough into 10-inch-long thin sticks, each just under ½ inch wide, and lift carefully onto the lined baking sheet. Allow just a little space between each one so they don’t stick to each other when baking. You should end up with about 30–35 sticks. Bake for 10 minutes, then turn the tray around and leave for another 5–6 minutes until the sticks are golden. Allow to cool on the tray.
While they are cooling, melt 250g of the chocolate over boiling water or in the microwave (see notes here). When it is fully melted, add the remaining 50g of chocolate and stir until it melts in too, then stir in the teaspoon of oil.
Transfer the melted chocolate to a tall, dry glass. Dip the sticks in one at a time, coating them about halfway up their length, then pull out, shake off any excess chocolate and lay back on the tray to set. Once you have dipped a few, sprinkle with some sea salt so that it sticks to the setting chocolate. Keep dipping and sprinkling until you have coated them all. Set the tray in the fridge for 10–15 minutes, just to harden the chocolate fully, and then store at room temperature in an airtight container. These keep well for a few days.