To test how a view appears, we can do the following:
The saved image acts as a reference image. Once we have a reference image, then we can:
This is characterization testing applied to images. The reference image captures the appearance of a view. As long as the view continues to generate the same pixels, the test doesn’t care. Such tests are often called snapshot tests.
In the past, I wrote such tests by hand. I would switch a test between record mode and test mode using #if conditional compilation. There’s nothing stopping you from developing your own test helpers to do this work. But you can use third-party libraries to make it easier. One of them is FBSnapshotTestCase.[31]
FBSnapshotTestCase supports the dependency managers CocoaPods and Carthage. If you want to use either, feel free to skip ahead to Set the Location for Reference Images. Otherwise, let’s add a pre-built library to the project by hand.
On GitHub, go to the Releases page for ios-snapshot-test-case to check if the latest release has a zip file for your version of Xcode.[32] If there is one, download FBSnapshotTestCase.framework.zip. This will expand to a folder named Carthage. Navigate through its subfolders Build and iOS until you find FBSnapshotTestCase.framework.
If the releases on GitHub are out of date, then download the source code for this book[33] and look in the TestFrameworks folder.
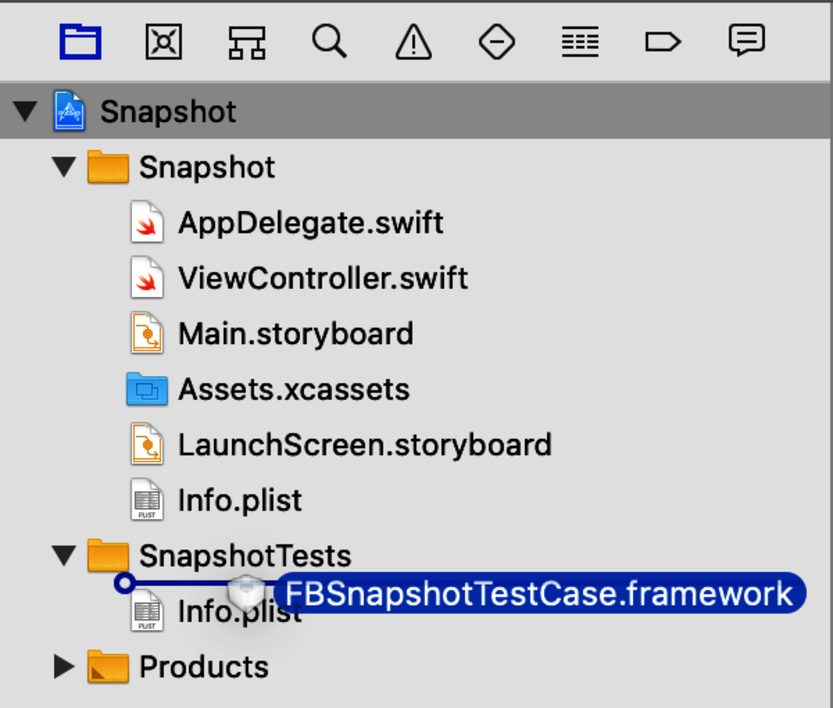
Drag the framework into the SnapshotTests group in the Xcode project, as shown here:
In the “Choose options for adding these files” dialog, select the check box labeled “Copy items if needed” to copy the folder into your project files. And make sure that “Add to targets“ specifies the SnapshotTests target only.
Let’s check if the downloaded framework works with your version of Swift. In the Xcode menu, select Product ▶ Build For ▶ Testing. If Xcode complains that a module compiled with a certain version of Swift cannot be imported, see if you can find a build that matches. Otherwise, you’ll need to build the framework yourself or use a dependency manager.
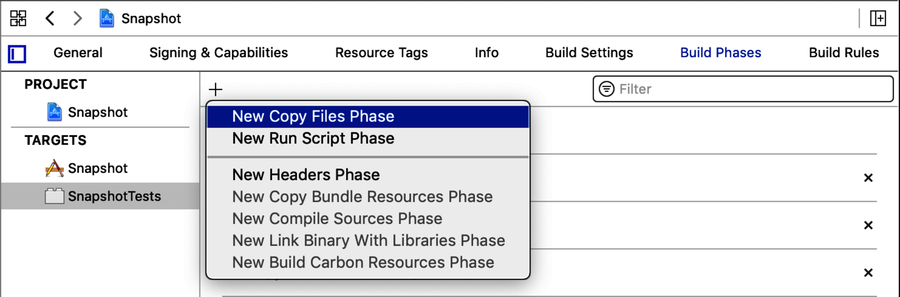
For third-party frameworks to work, we often need to copy them to a place where the dynamic linker can find them. This is what we need to do with the snapshot library. In the Project Navigator on the left, select the Snapshot project. Then select the SnapshotTests target. Within that, select the Build Phases tab. Click the + button at the top and select “New Copy Files Phase” like this:
This creates a new Copy Files phase at the end of the list. In its Destination pop-up menu, select “Products Directory” as shown here:
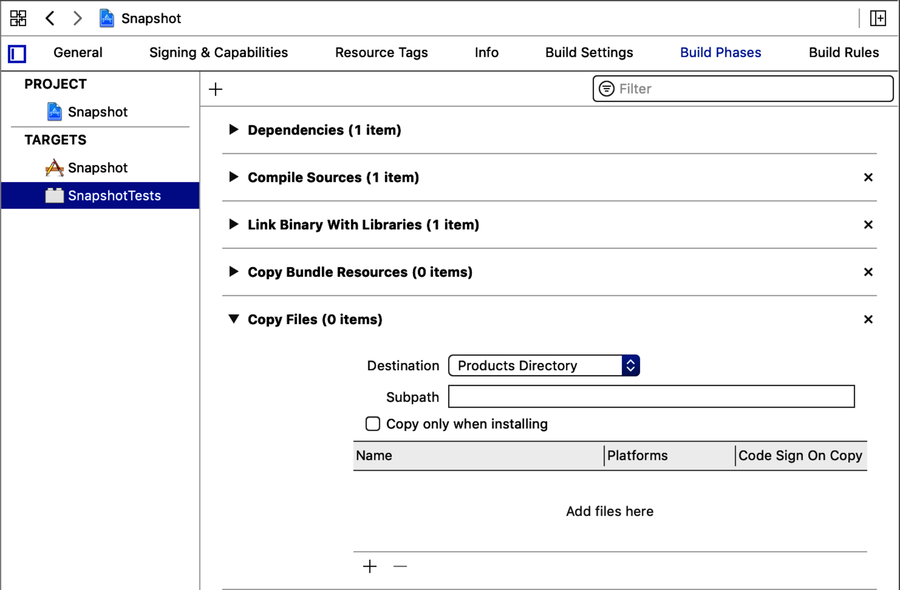
Click the + button at the bottom of the new Copy Files phase. In the “Choose items to add:” dialog, select FBSnaphotTestCase.framework and click Add. (Don’t select the “Code Sign On Copy” check box because we’re not shipping test code.)
Now the snapshot framework is ready for compiling against and is also copied into place for dynamic linking.