One of the most difficult aspects of photography for aspiring photographers isn’t the lighting or editing, but rather, posing subjects. What defines a great portrait of a person? What defines a great pose, over a not-so-great one? It can start to feel a bit overwhelming when you have a real person in front of you. After all, theory can only get you so far. This is where I urge you to stop, breathe, and think.
While what constitutes great posing can vary from one photographer to another, there are still concrete guidelines that you should adhere to, for your clients’ sake. In Chapter 4 , “Understanding Body Language,” I discussed the importance of body language and its relevance to combating prejudice. I addressed how body language can directly influence the way that an audience perceives us and how important that is in both business and personal relationships. In the next three chapters, I’m going to tie that information to what I covered in Chapter 2 , “Body Types,” and demonstrate how to better accentuate your clients’ features, regardless of their shape and size.
As I mentioned earlier, in the words of my good friend—and talented photographer—Lou Freeman, all women want to look “taller, thinner, and younger than they really are.” So your mind-set when photographing any woman is to pose her to better accentuate her figure and lengthen her body. After all, most people do not like looking shorter or rounder than they are in person.
Keep in mind that this chapter, as well as the next two chapters, should be used as reference guides for you to use to build great poses. Even though you’ll find a pose in this book, it doesn’t neccesarily mean that it will work with every client or for every situation. It’s important to remember context before posing anyone, as discussed in Chapter 4 , as certain poses will not work with every environment. For example, you don’t necessarily want a woman slouched in a chair for a professional corporate image, but it may work for a fashion style image. You’ll also find that many of these poses may not be flattering on every subject, but I assure you that with small tweaks and changes, you’ll be able to build poses to complement every form and figure ( Figure 5.1 ).
I wish I could say that I didn’t need inspiration and that I had a deep understanding of the human form and figure beyond the grasp of most living artists, but that’s not the case whatsoever . . . maybe one day. In fact, I draw quite a bit of inspiration on posing, props, and lighting from other sources, albeit I’m very careful to create a style that is uniquely my own, given this mixture of visual elements.
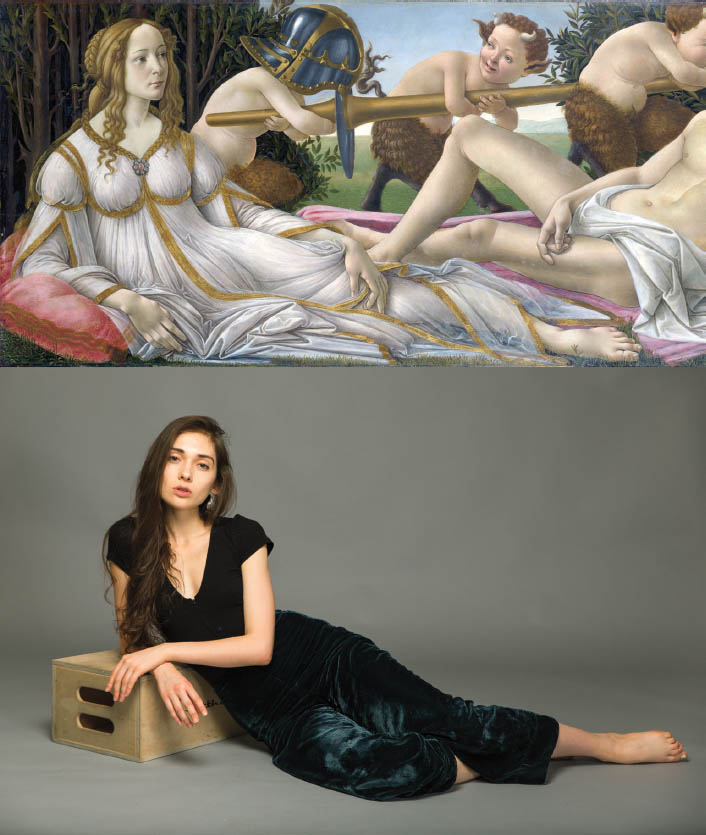
My inspiration for posing starts with fifteenth- to eighteenth-century European portraits, where posing was used to portray a woman’s social position and wealth. While that may sound materialistic, or even elitist, this style of posing women tends to evoke confidence. By contrast, I rely on Renaissance portraits for more intimate sets like boudoir, because it is softer and more elegant. As an example, look at the similarities between the curvature of the women’s bodies in Figure 5.2 . The image that I drew inspiration from is Sandro Botticelli’s painting Venus and Mars , from the fifteenth century.
If you would like more up-to-date inspiration for modern women’s portraiture, I’d recommend studying the work of Richard Avedon, Annie Leibovitz, Mario Testino, and Patrick Demarchelier for their fashion portraiture. You’ll find that Avedon’s fashion portraiture is much more fluid in nature than the work of Demarchelier, but each has a deep understanding of human form and figure that is beyond the cognizant recognition of most photographers.
TIP I find that posing my subject from the bottom, upward, is easier than the reverse. Knowing where your feet are to be planted allows the subject to understand the freedom they have with the rest of their body. With that in mind, I’m going to break down each pose from feet first, in order to make it easier on your subject or client.
FIGURE 5.2
FIGURE 5.3
FIGURE 5.4
FIGURE 5.5
In this pose, the subject is directly facing the camera, with more of her weight distributed to one leg and the other slightly at an angle ( Figure 5.3 ). This creates a subtle visual curve in the body and allows you to pose the arms for negative space. In this specific pose, the subject’s arm is placed on the hip in order to create negative space between her arm and hip, and by shifting her weight to one side, she is creating negative space on the opposite arm.
In this pose, the subject is directly facing the camera, with more of her weight distributed to one leg, and with the leg bent at the knee and subtly crossing over the other ( Figure 5.4 ). This allows her to have more defined curves with her hips. The subject’s arm is placed on the hip in order to create negative space between her arm and hip. By shifting her weight to one side, she creates negative space on the opposite arm, which is placed slightly forward on the same side.
In this pose, the subject is turned 45 degrees, but she is still facing the camera ( Figure 5.5 ). More of her weight is distributed to one leg, with the leg bent at the knee, subtly crossed over the other. One hand is placed behind the back on the wrist of the opposite arm, which is closest to the camera. This creates a bit of negative space with the arm closest to the camera.
FIGURE 5.6
FIGURE 5.7
FIGURE 5.8
In this pose, the subject’s left leg is slightly crossed over her right in order to narrow the width of the legs and draw more attention to the hips ( Figure 5.6 ). The subject’s hands are then placed on her hips to create negative space with her arms. As a side note, this pose is great for subjects with fuller figures who would like to draw attention away from their midsection by simply narrowing the distance between their hands.
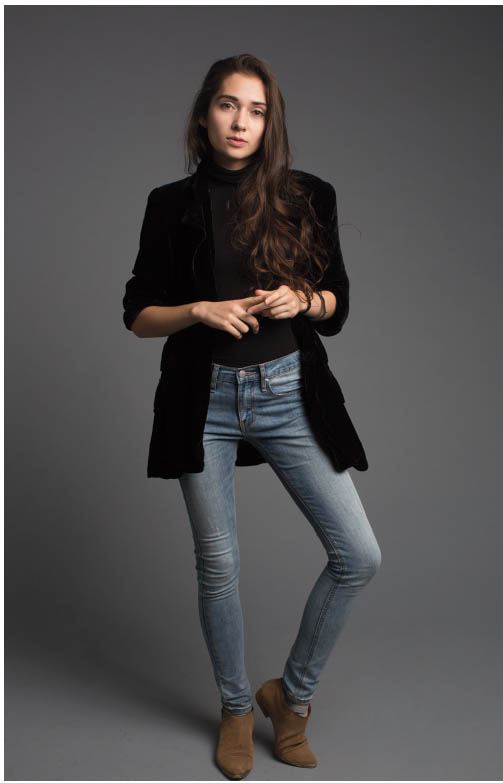
In this pose, one of your subject’s legs should be crossed over the other, with her knee slightly bent and her foot placed so that her toe touches the ground ( Figure 5.7 ). Her hands should then be placed playfully in front of her.
In this pose, your subject should be walking toward the camera, with one leg forward and the other slightly behind ( Figure 5.8 ). Be sure that she has an upright, elegant posture, as slouching can be perceived as lazy. Her hands can be posed in a variety of ways, but even if simply placed naturally at her side, this pose commands power.
FIGURE 5.9
FIGURE 5.10
FIGURE 5.11
While many photographers will steer away from posing with a subject’s armpits toward the camera (I’m usually one of them), there are exceptions to every rule. In this pose, the subject’s left leg is slight crossed over her right in order to narrow the width of the legs and draw more attention to the hips, and her arms are placed playfully behind her head ( Figure 5.9 ). Also notice that she has a slight curve to her form.
Note that when posing armpits to the camera, if your client has not shaved her underarms before the shoot or if she has different-colored underarm hair from the rest of her body, you’ll potentially be requested to retouch those in the majority of cases. This is why I will generally leave poses like this until my subjects are wearing long-sleeved shirts.
In this pose, the subject is turned with her shoulder and arm facing the camera ( Figure 5.10 ). Her elbow is bent as she plays with her lip or hair. In the event that your subject has wider arms, note that having her arm closest to the camera can make it look even wider. This is when I’d recommend lack of contrast from the background. For example, darker clothes, with a darker-colored background, can make your subject’s arm appear thinner in-camera.
Building off of the last pose, simply have your subject place her arm on her hip in order to create negative space between her back and arm ( Figure 5.11 ). Be aware that if your subject is wearing a sleeveless shirt, this could also expose her underarms, which can be quite unappealing to some or could lead to additional retouching.
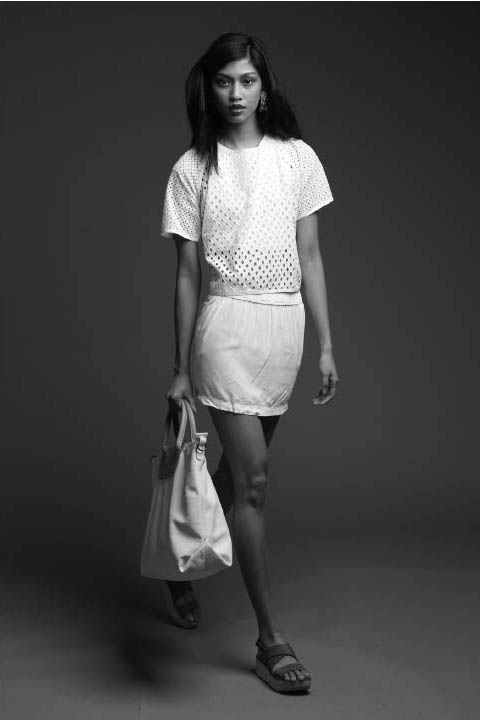
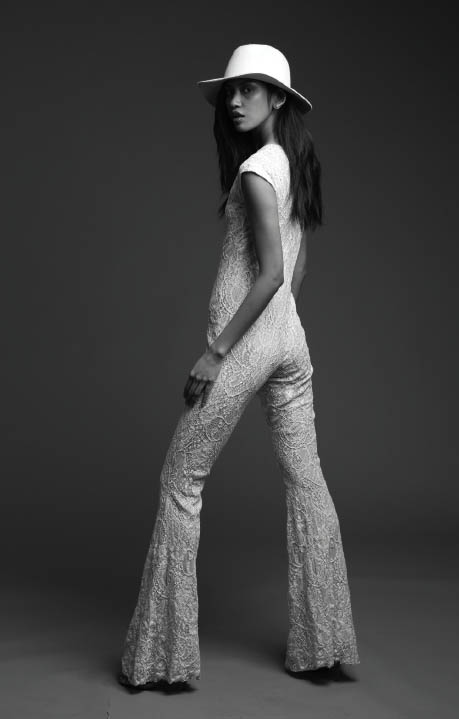
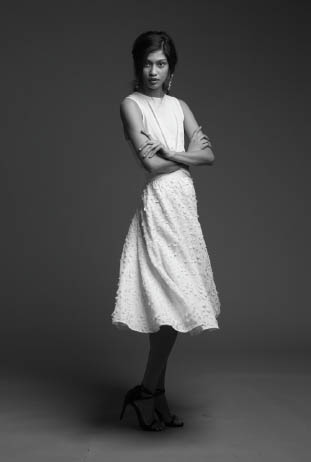
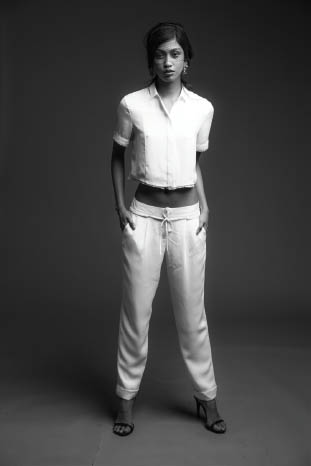
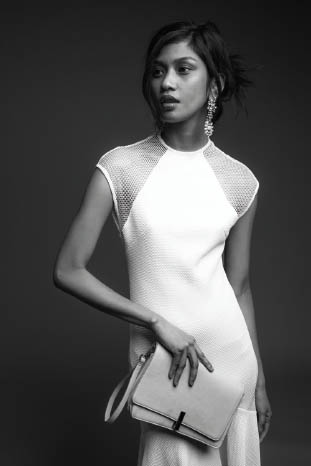
This gallery includes photographs for you to draw inspiration from. Not every pose will work with every client, but you can use the tips earlier in this chapter to accentuate your client’s best features.
