
This photo of my neighbor’s barn deserved more than the usual print-then-frame treatment. Instead, I had it printed onto a 14” square framed, stretched canvas (essentially an oversized embroidery hoop), and then embellished sections of it with embroidered French knots. This photo of it doesn’t do it justice. When you see it in person on the wall, the embroidery gives it a three-dimensional feel and a rich texture that is stunning. If you’re new to embroidery, this is a good beginner project. When first embarking on embroidery, an “even-weave” fabric is often used to learn the techniques of different stitches because its square weave makes it easy to put the needle right where you want it. A printed canvas has this same square weave, plus you get a “pattern” picture to go by.
Buttermilk Biscuits
Tender, flaky, and moist buttermilk biscuits make the perfect accompaniment to soups and stews—or enjoy them as a stand-alone snack. If you have 25 minutes to spare, I strongly encourage you to get out your baking gear and get cookin’—you can thank me later.
HALF BATCH MAKES: SIX 3” BISCUITS
FULL BATCH MAKES: TWELVE 3” BISCUITS
Half Batch:
2 cups flour, plus more for dusting
1 T baking powder
1/4 t baking soda
1/4 t salt
1/4 cup cold butter
1 cup buttermilk
Full Batch:
4 cups flour, plus more for dusting
2 T baking powder
1/2 t baking soda
1/2 t salt
1/2 cup cold butter
2 cups buttermilk
-
Preheat oven to 450°F.
-
In a large bowl, combine flour, baking powder, baking soda, and salt.
-
Using a pastry blender or fork, cut butter into dry ingredients until mixture resembles coarse crumbs with some pea-sized pieces throughout.
-
Make a depression in the center of the mix to receive the liquid. Add buttermilk all at once and mix just until dough forms (do not overmix).
-
Dust a clean work surface with flour and roll out to 1” thickness. Dip a 3” cookie cutter in flour and cut out biscuits (cut 6 biscuits if making recipe for a half batch, and 12 biscuits if making recipe for a full batch). Arrange biscuits 1/2” apart on a 14” cast-iron baking pan.
-
Bake for 10–12 minutes, or until tops are light golden brown.
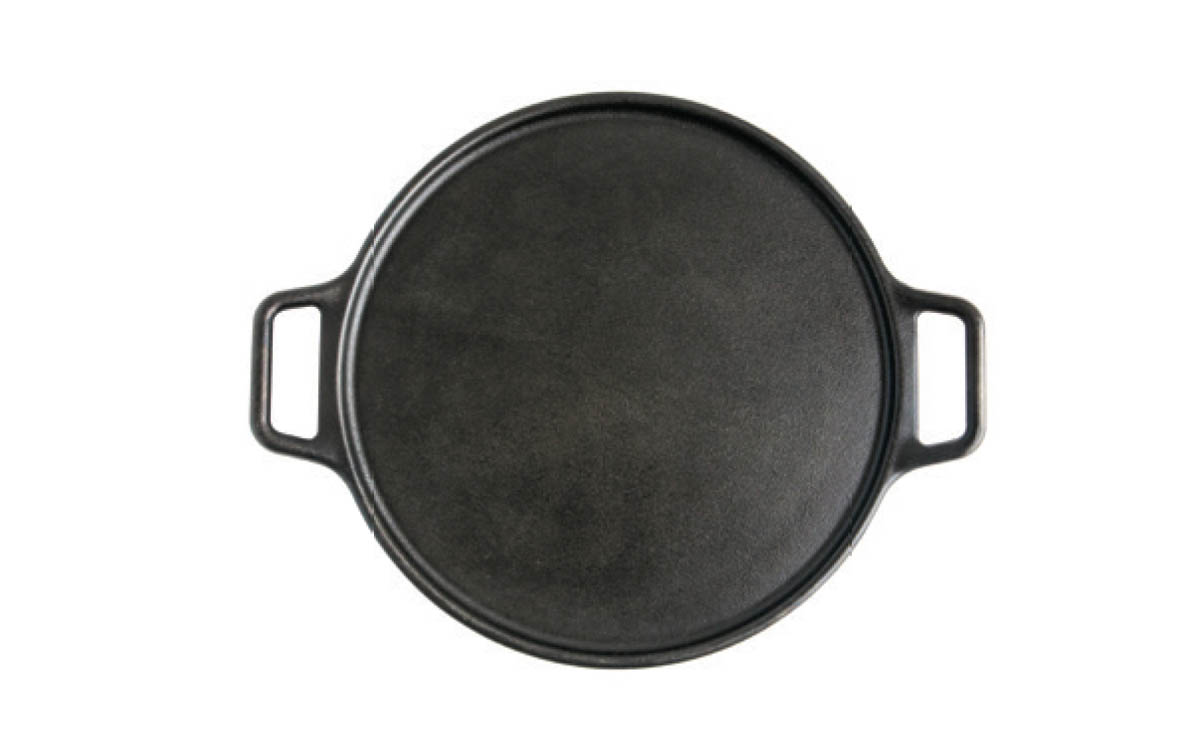
14" Cast-Iron Baking Pan

Victorian Cast-Iron Cookbook Stand
It’s the little things, isn’t it, when it comes to your kitchen counter? This gem completes my kitchen. It sits on my counter next to my cast-iron cow paper-towel dispenser. Next to my cow sits a little cast-iron songbird that holds a roll of bath tissue. For my brand of cookbooks (including this one), my little stand works because mine are bound using something called a “lay-flat” binding. Why fight a cookbook? It needs to lay flat … in my book. Pretty as you please, my little Victorian-style cast-iron stand is available from EsschertDesignUSA.com.

Sprouted-Grain Buttermilk Biscuits
Have you tried sprouted-grain flour yet? It’s an ingredient with a bit of buzz surrounding it. The idea is that sprouted grain is easier to digest than its conventional cousin. That sounds great, but what I like most about sprouted grain is its hearty, sweet, earthy flavor.
MAKES: 12 BISCUITS
2 cups sprouted whole-wheat flour, plus more for dusting
2 t baking powder
3/4 t salt
1/2 t baking soda
6 T cold butter, cut into pieces
1-1/2 cups buttermilk
-
Preheat oven to 425°.
-
In a medium bowl, combine flour, baking powder, salt, and baking soda.
-
Using a pastry blender or fork, cut butter into dry ingredients until mixture resembles coarse crumbs with some pea-sized pieces throughout.
-
Make a depression in the center of the mix to receive the liquid. Add buttermilk all at once and mix just until dough forms (do not overmix).
-
Dust a clean work surface with flour and roll out to 1/2” thickness. Dip a 3” cookie cutter in flour and cut out biscuits. Arrange biscuits 1/2” apart on a 15” x 12-1/4” cast-iron griddle.
-
Bake for 15 minutes, or until tops are golden brown.
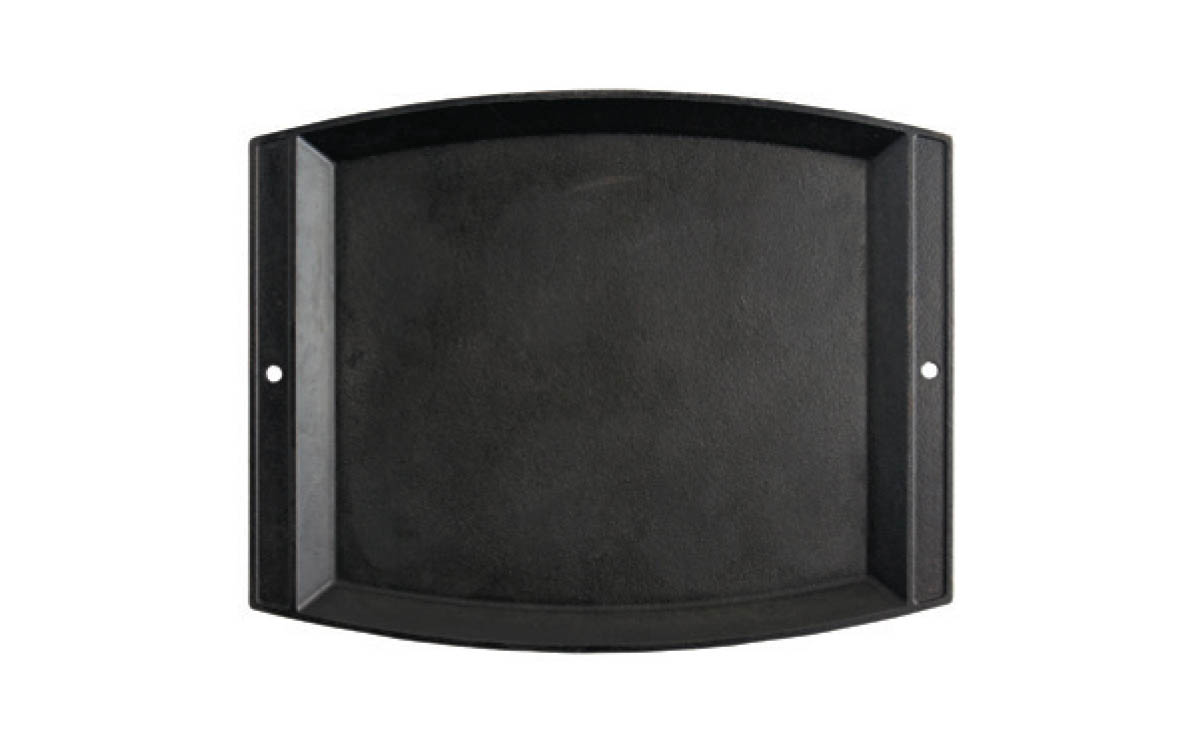
15” x 12-1/4” Cast-Iron Rectangular Griddle

Cherry-Pie Freezer Jam
Is there anything more cheery than cherry-pie jam? Every year, the picking of cherries from our trees falls to my daughter so she can make our first cherry pie of the season. After that, we put up her favorite preserves, cherry-pie jam.
MAKES: 7 CUPS
3 lbs fresh or thawed frozen pie cherries (about 8 cups), stemmed and pitted
2 cups sugar
3/4 t MaryJane’s ChillOver Powder
1-1/2 T fresh lemon juice
2 t almond extract
-
Add pitted cherries to a large saucepan. Using an immersion blender, coarsely blend cherries (or use a food processor and pulse until coarsely diced).
-
Add sugar and mix well. Bring to a simmer over medium heat. Sprinkle in ChillOver Powder and simmer for an additional 3 minutes. Stir in lemon juice and almond extract.
-
Transfer jam to assorted canning jars (leave about 1/2” of space at the tops for expansion), or cool and transfer to airtight freezer containers. For immediate use, chill jam until set. Otherwise, freeze.

Vintage Cast-Iron Cherry Pitter

MaryJane’s ChillOver Powder, MaryJanesFarm.org
Breadsticks
When I think of these breadsticks, one word comes to mind: Crust. The curved bottom of my cast-iron breadstick pan hugs each breadstick, creating a wonderfully crisp crust. It takes measured self-control not to eat the whole pan.
MAKES: 11 BREADSTICKS
3/4 cup warm water
2 T olive oil
1 t honey
1 package active dry yeast (about 2-1/4 t)
1-3/4 cups flour, plus more for dusting
1/4 cup semolina flour
1/2 t salt
1 T Italian seasoning
1 oz Cheddar cheese, shredded (about 1/4 cup)
-
In a small bowl, combine warm water, olive oil, and honey; whisk until honey is dissolved (mixture shouldn’t feel hot on the inside of your wrist). Whisk in yeast and set aside.
-
Add flour, semolina flour, and salt to a stand mixer fitted with a dough hook. Make a depression in the center of the flour to receive the liquid; add yeast mixture to flour.
-
Mix until dough forms, and continue to mix until dough is smooth and pliable (5–8 minutes).
-
Lightly oil a medium bowl with olive oil. Dust hands and dough with flour and shape dough into a ball. Place in prepared bowl, cover with plastic wrap, and let rise in a warm place for 1-1/2 hours, or until doubled in bulk.
-
Preheat oven to 425°F. Generously butter cavities in a cast-iron breadstick pan.
-
Deflate dough and divide into 11 portions. Roll each portion into a 7”-long rope and place in breadstick pan.
-
Sprinkle each breadstick with Italian seasoning and cheese. Bake for 12–14 minutes, or until golden brown.
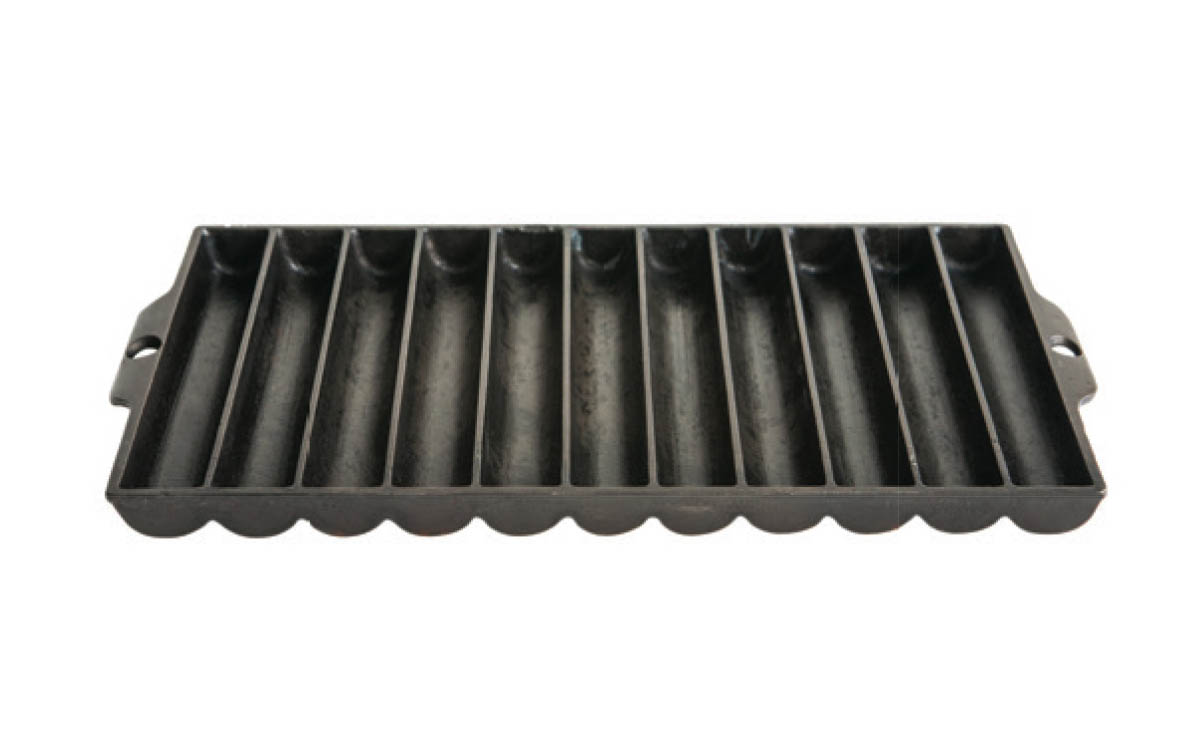
Cast-Iron Breadstick Pan


Cheesesticks
If you’re feeling a little cheesy, try whipping up a batch of these cheesesticks. I love the addition of grated Parmesan cheese to the dough. While you’re at it, cook up a batch of my Red-Pepper Marinara for dipping.
MAKES: 11 CHEESESTICKS
3/4 cup warm water
2 T olive oil
1 t honey
1 package active dry yeast (about 2-1/4 t)
1-1/2 cups flour, plus more for dusting
1/4 cup semolina flour
1 oz Parmesan cheese, grated (about 1/4 cup)
1/2 t salt
1 oz Gruyère cheese, shredded (about 1/4 cup)
1 oz Asiago cheese, shredded (about 1/4 cup)
-
In a small bowl, combine warm water, olive oil, and honey; whisk until honey is dissolved (mixture shouldn’t feel hot on the inside of your wrist). Whisk in yeast and set aside.
-
Add flour, semolina flour, Parmesan cheese, and salt to a stand mixer fitted with a dough hook. Make a depression in the center of the flour to receive the liquid; add yeast mixture to flour.
-
Mix until dough forms, and continue to mix until dough is smooth and pliable (5–8 minutes).
-
Lightly oil a medium bowl with olive oil. Dust hands and dough with flour and shape dough into a ball. Place in prepared bowl, cover with plastic wrap, and let rise in a warm place for 1-1/2 hours, or until doubled in bulk.
-
Preheat oven to 425°F. Generously butter cavities in a cast-iron breadstick pan.
-
Deflate dough and divide into 11 portions. Roll each portion into a 7”-long rope and place in breadstick pan.
-
Sprinkle each cheesestick with Gruyère and Asiago cheeses. Bake for 12–14 minutes, or until golden brown.

Cast-Iron Breadstick Pan

Herb & Parmesan Monkey Bread
Already broken up into bite-sized pieces, this monkey bread is ready-made for dipping and sharing. So go ahead, dig in, but no double-dipping, please!
MAKES: 6 SERVINGS
1-1/4 cups lukewarm water
1 t sugar
1 package active dry yeast (about 2-1/4 t)
3-1/2 cups flour, plus more for dusting
3/4 cup chives, minced
1/4 cup parsley, minced
2 garlic cloves, peeled and minced (about 2 t)
1/2 t salt
4 T butter, melted
1 oz grated Parmesan cheese (about 1/3 cup)
-
In a small bowl, combine water, sugar, and yeast. Set aside for about 5 minutes, or until frothy.
-
In a stand mixer fitted with a dough hook, combine flour, chives, parsley, garlic, and salt. Make a depression in the center of the flour to receive the liquid.
-
Add yeast mixture to flour mixture. Mix until dough forms and continue mixing until dough is smooth and pliable (about 5–8 minutes).
-
Lightly butter a medium bowl, form the dough into a ball, and place in the bowl. Lightly butter top of dough and cover with plastic wrap. Let dough rise in a warm place until it has doubled in bulk (about 1-1/2 hours).
-
Preheat oven to 350˚F. Lightly butter a 36-oz cast-iron oval serving dish.
-
Deflate dough and flatten to 1/2” thickness. Brush with butter and cut into 1/2” cubes. Add cubes to a medium bowl along with butter and Parmesan; toss to combine.
-
Transfer cubes to prepared oval server, cover with plastic wrap, and let rise in warm place for 30 minutes.
-
Remove plastic wrap and bake for 30–35 minutes. Serve with Red Pepper Marinara.
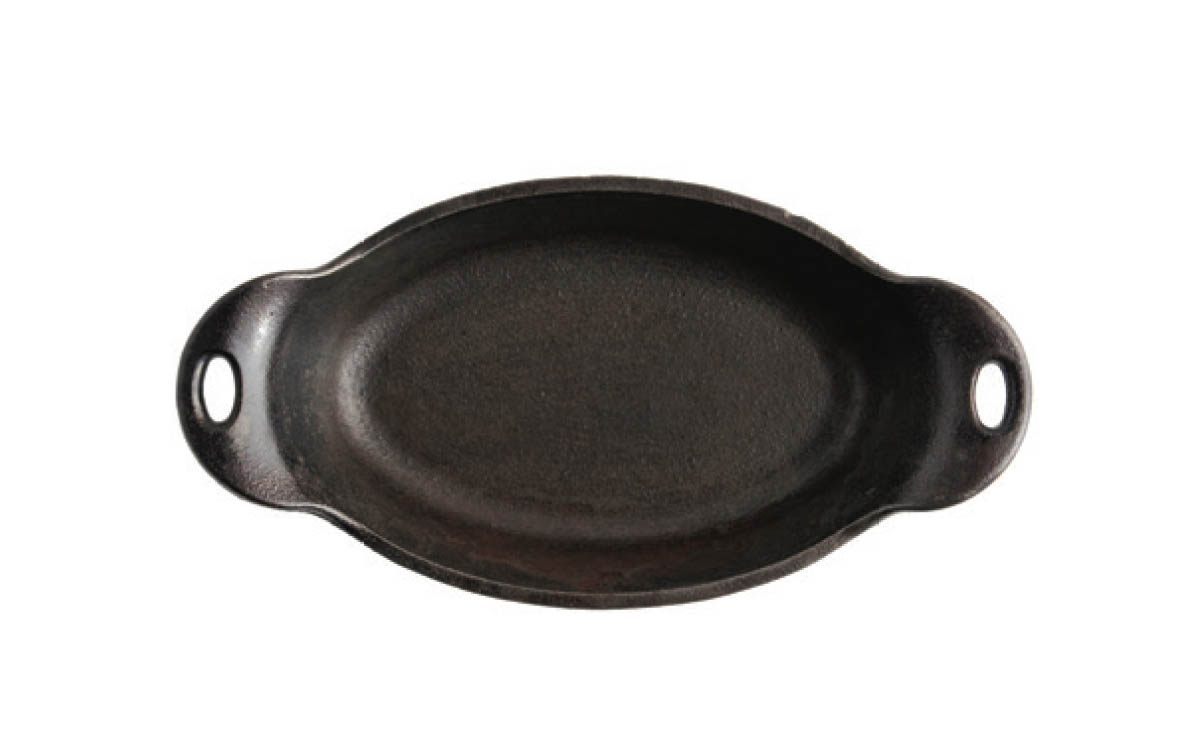
36-oz Cast-Iron Oval Serving Dish


Red-Pepper Marinara
MAKES: 1-1/2 CUPS
1 15-oz can crushed tomatoes
1/4 cup red wine
2 garlic cloves, peeled and minced (about 2 t)
1 red bell pepper, seeded and diced (about 1-1/4 cups)
1/2 t honey
1/2 t salt
1/4 t pepper
-
In a medium saucepan, combine all ingredients. Bring to a simmer over medium heat, reduce heat to low, and simmer until wine is reduced and sauce is thickened, stirring occasionally.

Sweet-Potato Rolls
I love the subtle orange hue of these sweet-potato rolls. They nestle right into my 12” cast-iron skillet, and once baked, lift right out. They’re divine warm with a generous smear of butter.
MAKES: 12 ROLLS
1/4 cup warm water
1 package active dry yeast (about 2-1/4 t)
1 t sugar
4 cups flour, plus more for dusting
3/4 cup buttermilk
6 T butter, divided
1/4 cup brown sugar
1 t salt
1 sweet potato, peeled and cooked
1 egg
-
In a small bowl, combine water, yeast, and sugar. Let stand for 5 minutes, or until yeast is frothy.
-
Meanwhile, add flour to a stand mixer fitted with a dough hook. Make a depression in the center of the flour to receive the liquid; set aside.
-
In a small saucepan, combine buttermilk, 4 T butter, brown sugar, and salt. Cook over low heat, stirring frequently until sugar is dissolved and butter begins to melt. Mixture shouldn’t feel hot on the inside of your wrist.
-
Add sweet potato to a food processor; pour in milk mixture and egg. Pulse until mixture is smooth.
-
Add yeast and milk mixture to the flour. Mix until dough forms and continue mixing until dough is smooth and pliable (about 5–8 minutes).
-
Lightly butter a medium bowl. Dust hands and dough with flour and shape into a ball. Place in prepared bowl, cover with plastic wrap, and let rise in a warm place for 1-1/2 hours, or until doubled in bulk.
-
Preheat oven to 350°F.
-
In a 12” cast-iron skillet over low heat, melt 1 T butter. Remove from heat and brush melted butter all over bottom and sides of skillet; set aside.
-
Deflate dough and divide it into 12 equal portions. Shape into balls, and arrange in skillet. Brush tops of rolls with remaining 1 T butter and cover with plastic wrap.
-
Let rolls rise for 20 minutes, remove plastic wrap, and bake for 20–25 minutes, or until tops are lightly browned.
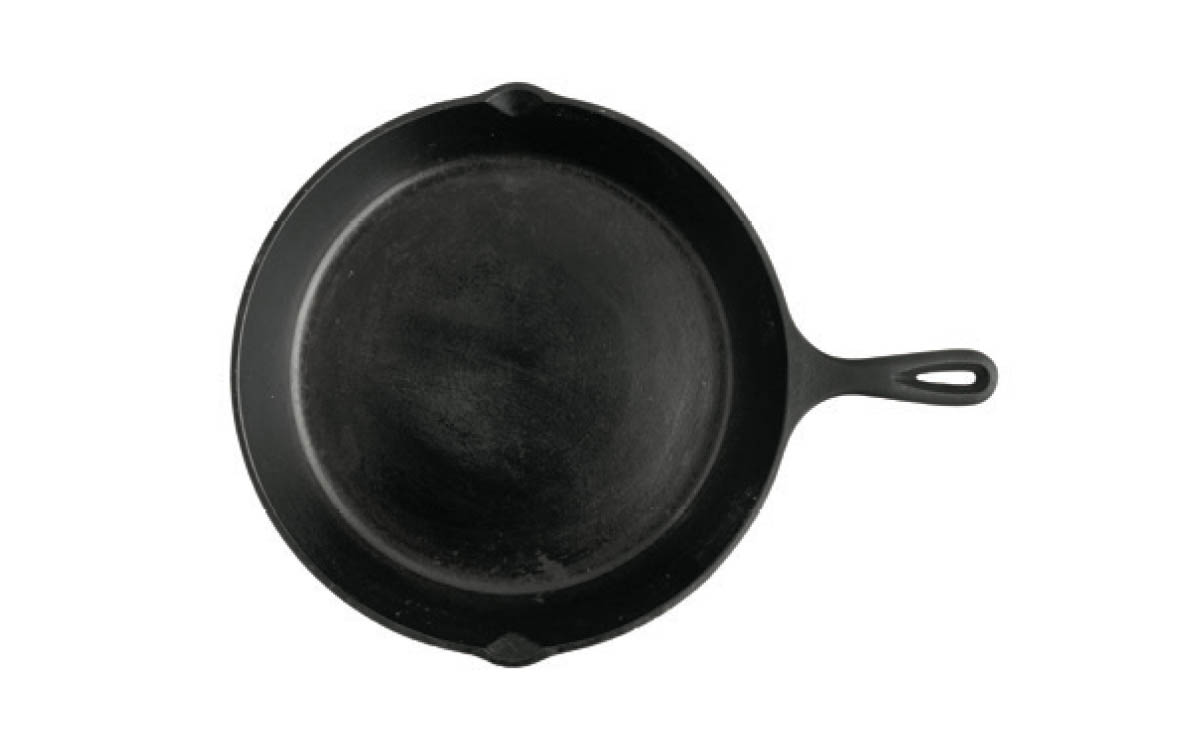
12” Cast-Iron Skillet


I -Might-Die-Tomorrow White Bread
My white-bread-lovin’ father-in-law, a farmer all his life, lived to age 98. His secret to longevity? Daily bacon (two strips), whitebread toast, and one egg (never two) poached in bacon grease.
MAKES: 1 LOAF
1-1/4 cups milk
1 T honey
1 T butter, cut into pieces
1/2 t salt
1 package active dry yeast (about 2-1/4 t)
3 cups flour, plus more for dusting
1 egg
-
In a small saucepan, combine milk, honey, butter, and salt. Over medium-low heat, whisk mixture until honey is dissolved and butter begins to melt (mixture shouldn’t feel hot on the inside of your wrist). Remove from heat, whisk in yeast, and set aside.
-
Add flour to a stand mixer fitted with a dough hook. Make a depression in the center of the flour to receive the liquid; add milk mixture and egg to flour.
-
Mix until dough forms, and continue to mix until dough is smooth and pliable (5–8 minutes).
-
Lightly butter a medium bowl. Dust hands and dough with flour and shape into a ball. Place in prepared bowl, cover with plastic wrap, and let rise in a warm place for 1-1/2 hours, or until doubled in bulk.
-
Preheat oven to 350°F. Generously butter a cast-iron loaf pan.
-
Deflate dough (at this point, you can pinch off some of the dough and make Fried Scones. On a lightly floured surface, gently press dough out into an 8-1/2” x 10” rectangle. Beginning from an 8-1/2” side, roll dough up, jelly-roll style. Pinch seams together at the bottom and sides.
-
Place dough into prepared loaf pan. Cover with plastic wrap and let rise for 30 minutes.
-
After 30 minutes, remove plastic wrap. Using a sharp knife, make a 1/8 “-deep slash down the length of the loaf. Bake for 35–40 minutes, or until internal temperature reaches 200–205°F. Remove loaf from oven, brush top with butter, and transfer to a cooling rack to cool completely.
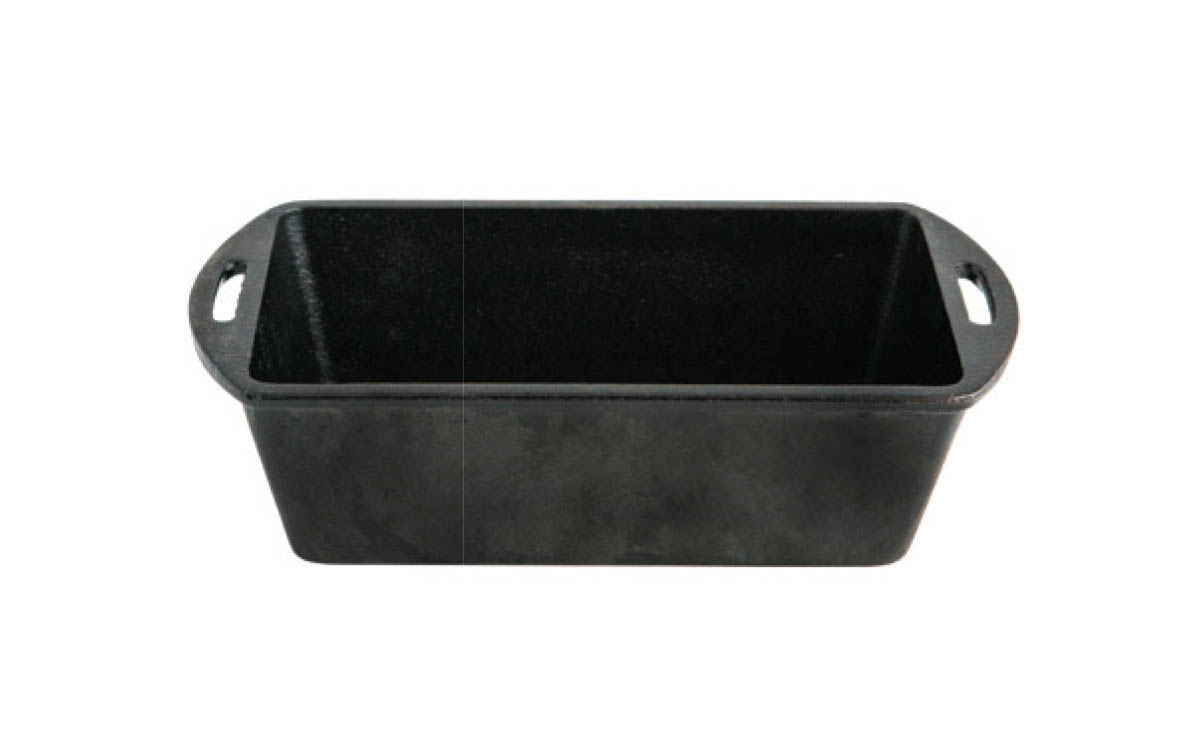
Cast-Iron Loaf Pan


Momma Butters’ Fried Scones
My mother baked bread every week without fail for 50 years. One of my treats on bake day was a handful of dough she’d grab from the bowl, stretch and flatten with her hands, and then toss into a layer of hot butter she’d melted in her faithful cast-iron skillet. Onto a plate it would go so I could drench its crispy-yet-soft warmth in honey.
MAKES: 1 SERVING

8” Cast-Iron Skillet


Cast iron: mere child’s play.
Carrot Bread
Moist, subtly sweet, with just the right amount of spice, this carrot bread will keep you coming back for more. For added decadence, slather it with cream-cheese frosting and sprinkle with walnuts. Yum!
MAKES: ONE LOAF
Carrot Bread:
1-1/2 cups flour
1 t baking powder
1 t baking soda
1/4 t salt
1 t cinnamon
1/2 t ground ginger
1/4 t nutmeg
1/2 cup finely shredded coconut
1/2 cup walnuts, finely chopped
2 eggs, separated
4 T butter, softened
1/2 cup brown sugar
1 carrot, shredded (about 1 cup)
1/2 cup unsweetened applesauce
1/2 cup crushed pineapple
Cream-Cheese Frosting:
6 ozs cream cheese, softened (about 3/4 cup)
3 T butter, softened
1-1/2 t vanilla extract
1-1/2 cups powdered sugar
1/4 cup walnuts, finely chopped (optional)
-
Preheat oven to 350°F. Generously butter a cast-iron loaf pan.
-
In a medium bowl, combine flour, baking powder, baking soda, salt, cinnamon, ginger, nutmeg, coconut, and walnuts; set aside.
-
In a small bowl, whip egg whites into soft peaks; set aside.
-
In a medium bowl or stand mixer, combine egg yolks, butter, and brown sugar; whip until smooth. Add shredded carrot, applesauce, and pineapple; mix well.
-
Add flour mixture to carrot mixture and mix until smooth. Gently fold in egg whites.
-
Spoon batter into prepared loaf pan. Bake for 55–60 minutes, or until a toothpick inserted into the center comes out clean.
-
Remove bread from pan and cool on a wire rack.
-
Make frosting: In a medium bowl, combine cream cheese, butter, and vanilla. Mix with an electric mixer until smooth. Gradually mix in powdered sugar.
-
Frost carrot bread and sprinkle with finely chopped walnuts, if desired.

Cast-Iron Loaf Pan


Carrot Muffins With Cream-Cheese Filling
If you’re gluten-free, these muffins are proof that you can still have your cake (well, muffin) and eat it, too. While the muffins themselves are delicious, I’m partial to their cream-cheese centers.
MAKES: 6 MUFFINS
Cream-Cheese Filling:
2 ozs cream cheese (about 1/4 cup), softened
1 T powdered sugar
1/4 t vanilla
Carrot Muffins:
1/2 cup white rice flour
1/4 cup tapioca flour
1/2 t baking powder
1/4 t baking soda
1/4 t salt
2 T raisins
1/2 t cinnamon
1/4 t ground ginger
1/8 t ground nutmeg
1 egg, separated
2 T butter, softened
1 T brown sugar
1 T honey
1/4 cup shredded carrots
1/4 cup unsweetened applesauce
1/4 cup crushed pineapple
-
Preheat oven to 350°F. Line a 6-cavity cast-iron muffin pan with paper liners.
-
Make filling: Combine cream cheese, powdered sugar, and vanilla in a small bowl and mix until smooth. Set aside.
-
Make muffins: In a small bowl, combine white rice flour, tapioca flour, baking powder, baking soda, salt, raisins, cinnamon, ginger, and nutmeg; set aside.
-
In another small bowl, whip egg white into soft peaks; set aside.
-
In a medium bowl or stand mixer, combine egg yolk, butter, brown sugar, and honey; whip until smooth. Add shredded carrots, applesauce, and pineapple and mix well.
-
Add flour mixture to carrot mixture and mix until smooth. Gently fold in egg white.
-
Scoop about 1 T batter into each muffin cup. Make a slight indentation in center of batter with the back of a spoon and evenly divide cream-cheese filling among muffin cups. Evenly divide remaining muffin batter among cups. Bake for 25 minutes, or until a toothpick inserted into the center of a muffin comes out clean.
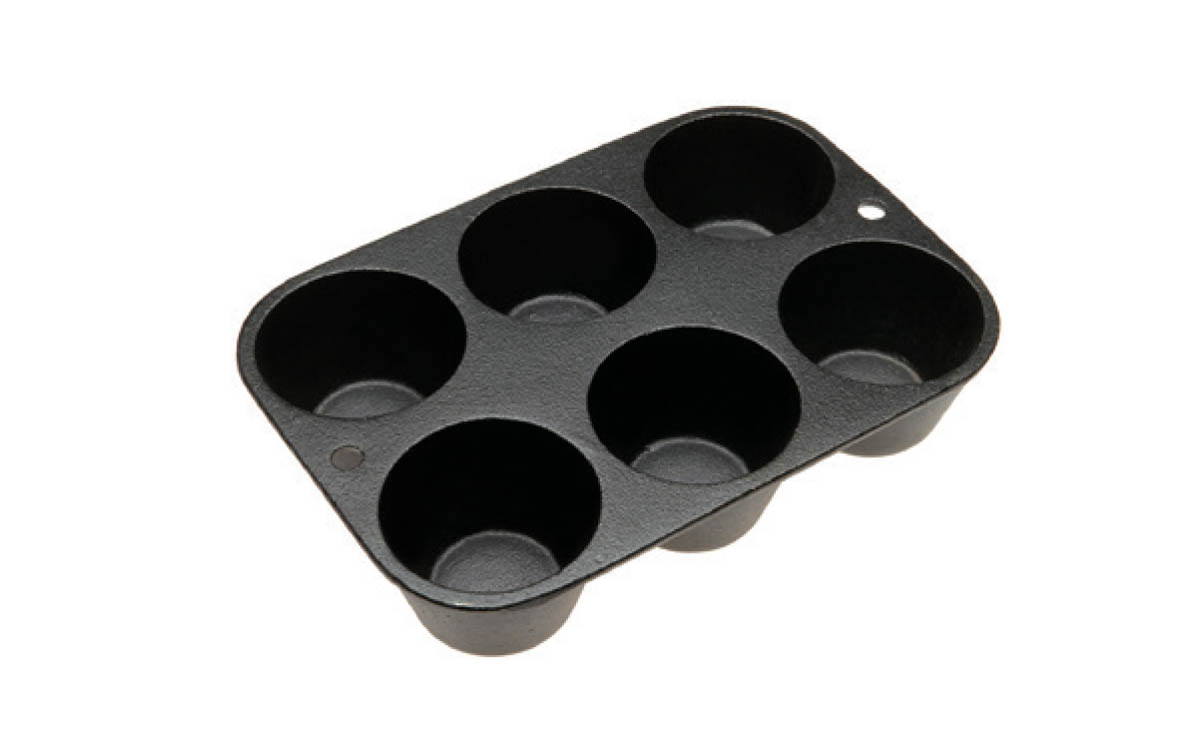
6-Cavity Cast-Iron Muffin Pan


Chicken & “Dumplings”
I know that chicken and dumplings are supposed to be as comforting as home and apple pie, but I’ve struggled to fall in love with the density of a dumpling. Maybe it’s the size when trying to break one up enough to meld its flavor with a bit of creamy chicken in every bite. The solution? Cut the dumplings up first!
MAKES: 8 SERVINGS
Dumplings:
Half batch Buttermilk Biscuits
Creamy Chicken Soup:
1 T safflower oil
1-1/2 lbs boneless, skinless chicken breasts
2 T butter
1 onion, peeled and finely diced (about 2 cups)
6 garlic cloves, peeled and minced (about 2 T)
1 carrot, peeled and diced (about 1 cup)
3 celery stalks, diced (about 3/4 cup)
6 cups chicken broth
1/2 cup flour
2/3 cup water
1 cup sour cream
1/4 cup fresh parsley, minced, plus more for garnish
1 t fresh thyme leaves
1/4 t dried rosemary
1/4 t celery seed
1 cup fresh or thawed frozen peas
-
In a medium skillet over medium heat, heat safflower oil. Once oil is hot, add chicken breasts and cook on each side for 6 minutes. Cover and cook an additional 6–8 minutes, or until internal temperature reaches 165°F. Remove chicken from pan and set aside to cool.
-
Meanwhile, in a 5-qt Dutch oven over medium heat, combine butter, onion, and garlic. Cook until onion is soft, stirring occasionally.
-
Add carrot, celery, and chicken broth. Bring to a simmer over medium heat; reduce heat to low.
-
Add flour and water to a 1-qt canning jar, attach lid, and shake vigorously until mixture is smooth. Pour flour paste into simmering chicken broth in a slow, steady stream, whisking constantly.
-
Once chicken broth is thickened, stir in sour cream, parsley, thyme, rosemary, and celery seed.
-
Using two forks, shred chicken and add to soup. Stir in peas. Continue to simmer over low heat.
-
Make Biscuit Dumplings: Prepare a half batch of biscuit dough. On a lightly floured surface, roll dough into an 8” x 18” rectangle. Cut dough into twenty-four 3/4” x 8” strips. Cut each strip in half to make forty-eight 3/4” x 4” strips.
-
Add biscuit strips to soup, stirring occasionally to disperse strips throughout soup.
-
Cover Dutch oven and continue to simmer over low heat for 40 minutes, or until biscuit strips are cooked, stirring halfway though.
-
Serve immediately. If desired, garnish with fresh parsley.
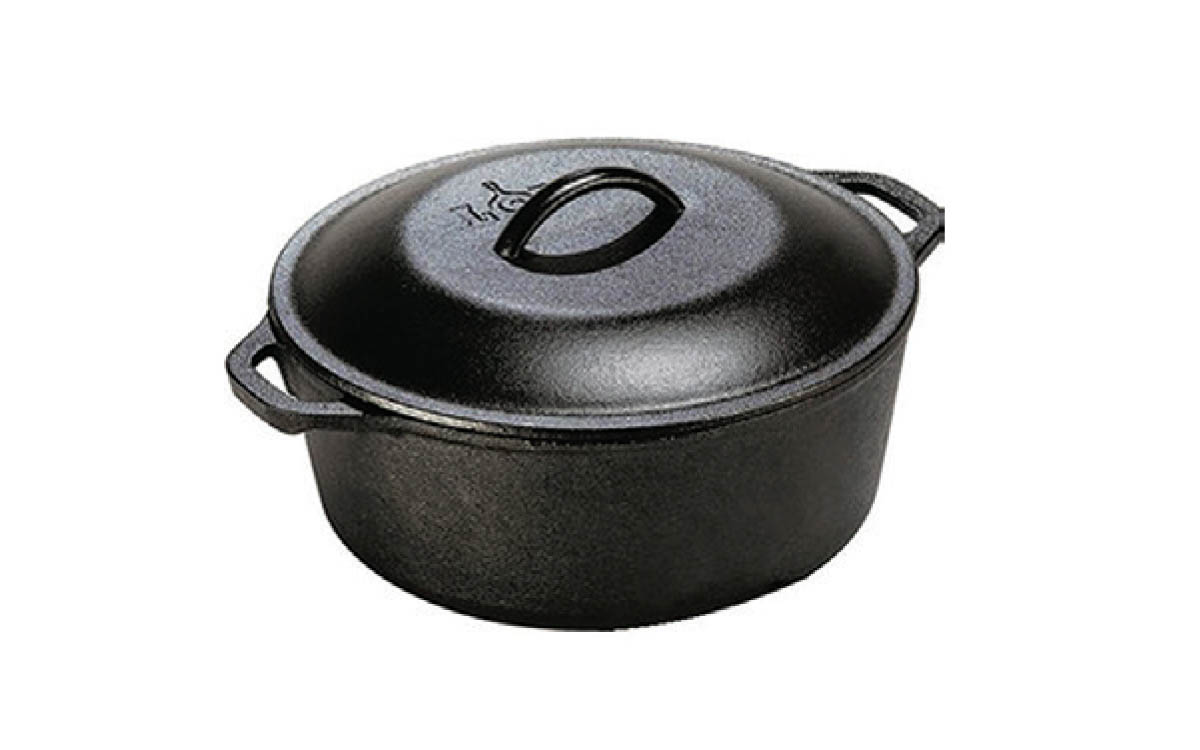
5-qt Cast-Iron Dutch Oven


Ham & Lima-Bean Soup
This was one of my mother’s signature meals. It was our job to sort the beans on a counter (back then, there wasn’t any shortage of dirt clods and rocks in a bag of lima beans). Salty ham and peppery beans in a broth? What’s not to love?
MAKES: 8 SERVINGS
1 lb dry lima beans (about 2-1/2 cups), rinsed and soaked overnight
2 T butter
1 onion, peeled and minced (about 2 cups)
4 garlic cloves, peeled and minced (about 4 t)
6 cups chicken broth
2 fresh bay leaves
1 t fresh thyme
1 lb cooked ham, shredded (about 2-2/3 cups)
2 T fresh parsley, minced
salt and pepper to taste
-
Rinse and drain lima beans; set aside.
-
Melt butter in a 5-qt cast-iron Dutch oven over medium heat. Add onion and garlic; cook until tender, stirring occasionally.
-
Add lima beans, chicken broth, bay leaves, and thyme. Bring to a simmer, reduce heat to low, cover, and continue to cook for 3 hours, stirring occasionally.
-
After 3 hours, add ham and continue to cook on low 1-1/2–2 hours, or until lima beans are tender.
-
Just before serving, remove and discard bay leaves and mix in parsley. Season with salt and pepper to taste.

5-qt Cast-Iron Dutch Oven


Hearty Meatball Soup
A batch of soup happily simmering on the stove brings me great comfort. As the air fills with the rich aroma of this soup, it strengthens my view that there’s nothing better than a home-cooked meal.
MAKES: 8 SERVINGS
Soup:
2 T olive oil
2 carrots, diced (about 2 cups)
1 red bell pepper, seeded and diced (about 1-1/4 cups)
2 celery stalks, halved lengthwise and sliced (about 1 cup)
1/2 onion, peeled and minced (about 1 cup), divided
4 garlic cloves, peeled and minced (about 4 t), divided
8 cups chicken broth
1 14-1/2-oz can diced tomatoes
1-1/2 lbs sweet potatoes, peeled and diced into 1/2” cubes (about 4-1/2 cups)
1 cup orzo
Meatballs:
1/2 lb ground beef
1/2 lb Italian sausage
1/2 cup breadcrumbs
2 eggs
2 ozs Asiago cheese, shredded (about 1/2 cup), plus more for serving
1/4 cup fresh parsley, minced
1/2 t salt
1/2 t pepper
1/4 t baking soda
1/2 lb kale, stemmed and coarsely diced (about 8 cups)
-
Make soup: In a 5-qt cast-iron Dutch oven, combine oil, carrots, bell pepper, celery, 1/2 cup onion, and 2 t garlic. Cook over medium heat until onion is soft (7–9 minutes).
-
Add chicken broth, diced tomatoes, sweet potatoes, and orzo. Bring to a simmer and cook until sweet potatoes and orzo are tender, stirring occasionally.
-
Meanwhile, make meatballs: In a medium bowl, combine ground beef, sausage, breadcrumbs, eggs, Asiago, parsley, salt, pepper, baking soda, and remaining onion and garlic. Mix well and form mixture into 24 meatballs.
-
Once soup is simmering and sweet potatoes are tender, add meatballs and cook for an additional 15 minutes, or until internal temperature of meatballs reaches 160°F. Add kale and cook just until softened. If desired, serve with shredded Asiago.

5-qt Cast-Iron Dutch Oven


Old-Fashioned Chicken Noodle Soup
It’s no wonder chicken noodle soup has become synonymous with healing and renewal. So much more than a mere soup, chicken noodle soup is in a class of its own, for good reason. Sometimes, it’s the only food that sounds good.
MAKES: 8 SERVINGS
Pasta:
2/3 cup flour
1/3 cup semolina flour
2 eggs
1 t olive oil
Soup:
1 half chicken (about 2 lbs)
1-1/2 t olive oil
1-3/4 t salt, divided
1-1/4 t pepper, divided
1 bunch celery, sliced (about 4 cups)
4 carrots, quartered and sliced (about 4 cups)
1 onion, peeled and minced (about 2 cups)
4 garlic cloves, peeled and minced (about 4 t)
6 cups chicken broth
-
Make pasta: In a medium bowl, combine flours. Make a depression in the center, add eggs and olive oil, and gently mix with a fork. When the mixture is mostly large crumbs, transfer to a clean work surface and knead for 8–10 minutes, dusting with flour as needed. Shape dough into a disc, wrap in plastic wrap, and refrigerate for at least 2 hours.
-
Preheat oven to 400°F.
-
Make soup: Place chicken in a 5-qt Dutch oven, cavity side down. Rub chicken with olive oil, 1/4 t salt, and 1/4 t pepper. Cover and bake for 45 minutes, or until internal temperature reaches 165°F.
-
Remove chicken from Dutch oven and place on a cutting board to cool, leaving cooking juices in Dutch oven.
-
Add celery, carrots, onion, and garlic to Dutch oven and cook over medium heat for 10 minutes, until tender-crisp. Add chicken broth and remaining 1-1/2 salt and 1 t pepper. Cook for 30 minutes, or until vegetables are tender.
-
Meanwhile, remove meat from chicken, breaking up into pieces; add to Dutch oven.
-
On a lightly floured surface, roll pasta out thin (if using a pasta maker, roll to a setting of 5) and cut into 1/2” x 2-1/2” strips. Add noodles to soup and cook for 3–5 minutes.

5-qt Cast-Iron Dutch Oven


Chicken Soup
for the Soul
... and mashed potatoes!
This photo is a surprise for my brother, Scott. When we were growing up, meals were less complex than they are today. For our family, a meal meant eating meat we’d raised ourselves (chicken or rabbit), fish we’d caught, or a deer we’d shot. Winter meals always included a “keeper” crop we’d grown (potatoes, carrots, beets, squash, or onions). For birthdays, the Butters’ five children were allowed to choose a meal. My brother always chose mashed potatoes (full of butter and cream) with a ladle full of Mom’s chicken noodle soup in the center. You start out eating this meal with a fork, but once the broth from the soup is no longer contained within the well of mashed potatoes, it’s time for your soup spoon. After that, the mix of soup-y potatoes is mopped up with a piece of homemade buttered bread. By today’s standards, this is way too much starch, but this meal defines comfort food. Scott, next time you visit, I know what you’ll be requesting. I ate this entire plateful in your honor!
French Onion Soup With Croûtes
I love the way my Dutch oven perfectly caramelizes onions every time, making a superb base for this soup. Add crusty croûtes and melty Gruyère cheese, and you have a meal that’s tough to top.
MAKES: 8 SERVINGS
Soup:
3 lbs onions (about 4 onions), peeled, halved lengthwise and thinly sliced
6 T butter
3 bay leaves
2 sprigs thyme
1/4 cup flour
1 cup white wine
2 cups beef broth
2 cups chicken broth
1 t salt
Croûtes:
16 1/2”-thick diagonal slices of baguette
3 T butter, melted
6 oz Gruyère cheese, sliced
-
In a 5-qt Dutch oven, combine onions, butter, bay leaves, and thyme. Cook over medium heat for 1-1/4 hours, stirring occasionally. During cooking, onions will caramelize and turn a deep golden brown.
-
While onions are caramelizing, prepare croûtes. Preheat oven to 350˚F. Arrange baguette slices on a 15” x 12-1/4” cast-iron griddle in a single layer and brush with melted butter. Bake for 20–25 minutes, or until crispy. Set aside.
-
Once onions are caramelized, stir in flour and cook for 1–2 minutes. Stir in wine and cook for 2 minutes. Add beef broth, chicken broth, and salt and bring to a simmer. Reduce heat to low and simmer for 30 minutes. Remove bay leaves and thyme sprigs.
-
To serve, divide soup between eight 10–12-oz soup crocks or oven-safe bowls, add two croûtes to each bowl, top with cheese, and broil for 3–5 minutes, until cheese is melted and bubbling.

5-qt Cast-Iron Dutch Oven

15” x 12-1/4” Cast-Iron Rectangular Griddle


Comfort Crepes
Don’t worry about getting super-thin crepes. To that end, you don’t need a special crepe pan. My well-seasoned cast-iron griddle makes crepes that I’m proud to take to any potluck. I love crepes because they’re so versatile. They’re good for both desserts and savory dishes.
MAKES: SIX 8” CREPES
2 eggs
1 cup milk
1/4 t salt
2 T butter, melted
1 cup flour, sifted
-
In a large bowl, whisk together eggs, milk, and salt. Whisk in melted butter and combine well, then whisk in flour. Refrigerate for at least 1 hour or up to 12 hours.
-
Heat a lightly-oiled 10-1/2” cast-iron griddle over medium heat, reduce heat to low.
-
Pour about 1/3 cup batter onto the griddle and quickly use the bottom of your measuring cup to spread out the batter. (Note: if making gluten-free, almond meal/flour won’t spread out, so your crepes will be smaller.)
-
Cook until top loses its sheen and bottom is lightly browned, then flip with a super-thin spatula and cook second side until slightly browned.
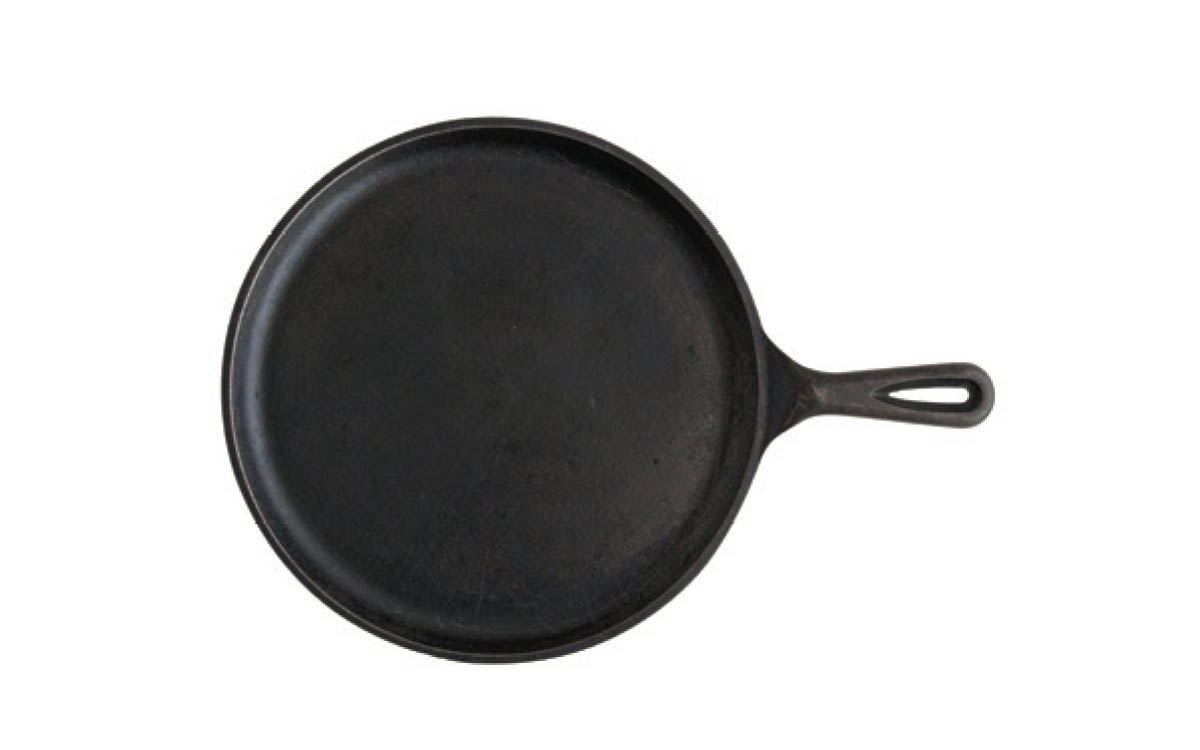
10-1/2” Cast-Iron Griddle

Make it gluten free: Substitute either white rice flour or almond meal/flour.

TIP: Pour about 1/3 cup batter onto the griddle and quickly use the bottom of your measuring cup to spread the batter.

TIP: As you cook your crepes, slide them into a folded piece of foil; the steam will keep the crepes pliable and moist.
Comfort-Crepes Filling
2 T sugar
1/2 cup heavy cream
1 cup peanut butter or almond butter
1 cup peanuts or almonds, chopped
3 bananas, sliced
-
In a small bowl, combine sugar and cream. Whip until soft peaks form.
-
Place peanut or almond butter in a separate bowl. Fold in whipped cream until soft and creamy.
-
Spread 1/3 cup mixture down the middle of 1 crepe. Top with nuts and banana slices. (Optional: drizzle with honey.) Roll up. Repeat for remaining crepes.

Spinach Artichoke Filling
MAKES: FILLING FOR SIX 8” CREPES
1 14-oz can artichoke hearts (not marinated), drained
4 cups fresh baby spinach
1 clove garlic
1/2 t salt
4 oz cream cheese, softened
1 cup Parmesan cheese, finely grated
-
In a food processor, blend first four ingredients until mixed but still slightly chunky. Add cheeses and blend just until incorporated.
-
Spread 1/3 cup mixture down the middle of 1 crepe. Roll up. Repeat for remaining crepes.
