
Note: UK [US]. See Pattern Abbreviations & Symbols for key.
 Adjustable ring (or magic loop)
The adjustable ring method (or magic loop as it is also known) is used in motifs, such as squares and circles, that are worked in rounds. It is especially useful for creating a tight foundation ring that can be closed completely, unlike a chain stitch ring. It is also good for motifs that are worked outwards from a point, eliminating the unsightly knot of a slip knot loop from the beginning of the work to give a much neater finish.

1: Holding tail of yarn securely, wrap the working yarn twice around the tip of your forefinger,
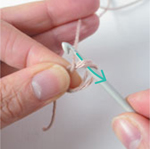
2: slip the ring off your finger and insert hook to pick up working yarn,
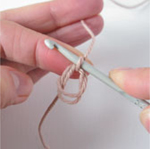
3: pull through to create a starting loop and chain 1 to secure; continue with first round of pattern as required.
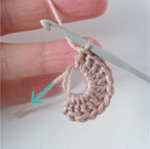
4: To close the ring, pull on the tail of yarn to begin closing the first ring,
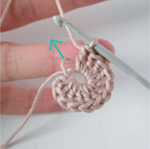
5: before the first ring is closed, pull on this ring to close the second ring tightly (take care not to pull the tail of yarn),
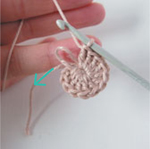
6: pull on the tail of yarn to tightly close the first ring,
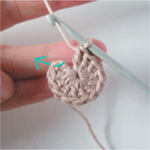
7: complete the first round with a slip stitch or as required by the pattern.
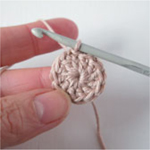
8: Completed adjustable ring with first round of pattern.
Note: Remember to thoroughly weave in the tail of yarn to secure the adjustable ring.
 ch
ch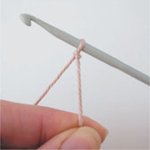
1: Make a slip knot loop and place on hook,
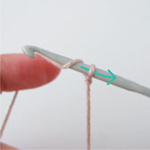
2: yarn over hook and pull through loop,
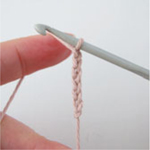
3: repeat step 2 as required.
 ss
ss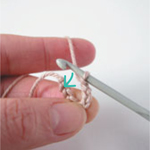
1: Insert hook into work,
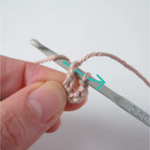
2: yarn over hook and pull loop through, and through first loop on hook.
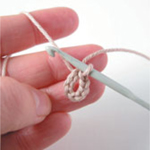
3: Completed ss with foundation ring.
 dc [sc]
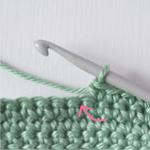
1: Insert hook into work,
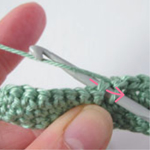
2: yarn over hook and pull loop through,

3: yarn over hook and pull through 2 loops.
 htr [hdc]
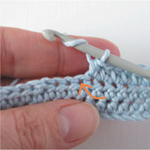
1: Yarn over hook and insert hook into next st in work,

2: yarn over hook and pull loop through,

3: yarn over hook and pull through 3 loops.
 tr [dc]
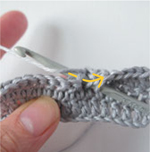
1: Work steps 1 and 2 of htr into next stitch,

2: yarn over hook and pull through 2 loops,
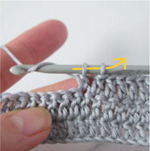
3: yarn over hook and pull through remaining 2 loops to complete the stitch.
 dtr [tr]
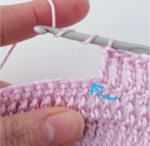
1: Yarn round hook twice and insert hook into work, yarn over hook and pull loop through,
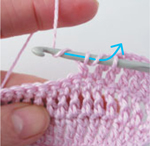
2: yarn over hook and pull through 2 loops twice,
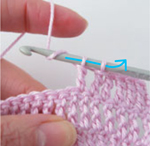
3: yarn over hook and pull through last 2 loops to complete the stitch.
 2dc inc [2sc inc]
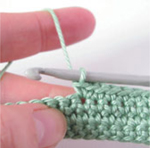
Work as given for dc twice into the same place.
 2tr inc [2dc inc]
Work as given for tr twice into the same place.
 3tr shell [dc shell]
Work as given for tr three times into the same place.
 tr2tog [dc2tog]
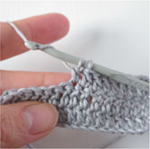
1: Work steps 1 and 2 of tr stitch into next stitch,
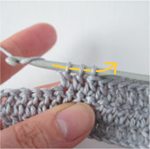
2: rep step 1 into following st,
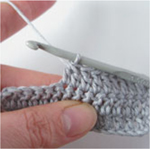
3: yarn over hook and pull through all loops on hook to complete the stitch, decreasing 2 tr stitches together.
 tr3tog [dc3tog]
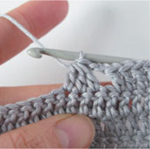
Work as given for tr2tog decreasing 3 tr stitches together
 tr4tog [dc4tog]
Work as given for tr2tog decreasing 4 tr stitches together.
 dtr2tog [tr2tog]
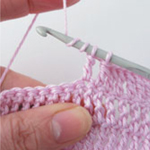
1: Work steps 1 and 2 of dtr stitch into next stitch,
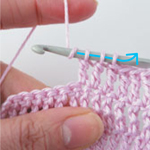
2: rep step 1 into following st,
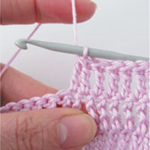
3: yarn over hook and pull through all loops on hook to complete the stitch.
 3tr-cl [3dc-cl]
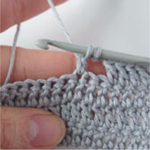
1: Work steps 1 to 3 of tr stitch into next stitch,
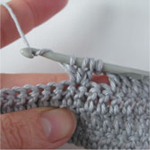
2: rep step 1 twice more into same place,

3: yarn over hook and pull through all loops on hook to complete the stitch.
 4tr-cl [4dc-cl]
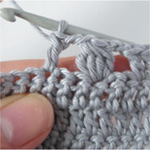
Work as given for 3tr-cl repeating step 1, four times into same place.
 2dtr-cl [2tr-cl]
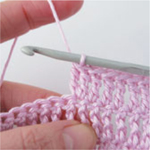
Work steps 1 and 2 of dtr twice into next stitch, yarn over hook and pull through all loops on hook to complete the stitch.
 3dtr-cl [3tr-cl]
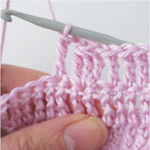
Work steps 1 and 2 of dtr three times into next stitch, yarn over hook and pull through all loops on hook to complete the stitch.
 5tr-fpcl [5dc-fpcl]
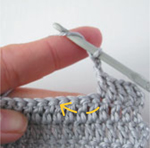
1: Yarn over hook and, from the front of work, insert hook from right to left under stitch in previous row,
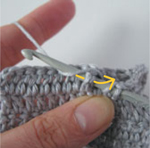
2: yarn over hook and pull loop through,
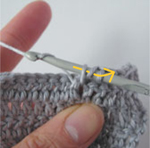
3: yarn over hook and pull through 2 loops,
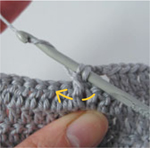
4: rep steps 1 to 3 four more times onto same stitch of prev row,
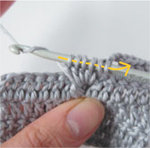
5: yarn over hook and pull through all loops on hook to complete the stitch.
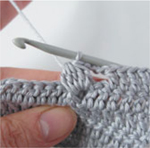
6: Completed 5tr-fpcl.
 pc
pcEach pattern that uses the popcorn stitch will include notes on the type of basic stitch used within it, the number of those stitches and whether it is finished with a chain stitch or not. These instructions demonstrate a 5 treble popcorn stitch finished with a chain stitch.
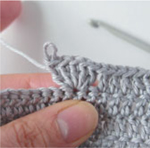
1: Work 5 treble stitches into same space, and slip working loop off hook,

2: insert hook into top of first treble stitch, from front to back, and place working loop on hook,
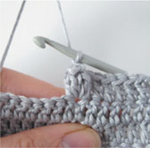
3: pull working loop through and pull tight, so that popcorn stitch ‘pops’ to the front of the work, chain 1.
 sdc [ssc]
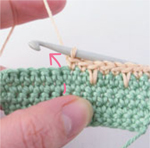
1: From front of work insert hook into stitch 2 rows below, yarn over hook and pull loop through,
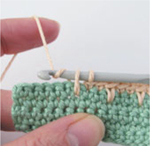
2: pull this loop long and to the height of the row currently working,
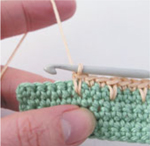
3: yarn over hook and pull through 2 loops on hook to complete the stitch.
 bp-htr [bp-dc]
1: Yarn over hook and, from the back of the work, insert hook from right to left under stitch in previous row,
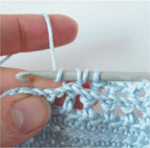
2: yarn over hook and pull loop through,

3: yarn over hook and pull through all loops on hook to complete the stitch.
 s-tr [s-dc] (no chains)
Starting treble stitches are best used when crochet is worked in rounds (eg square and circle motifs) in place of the familiar ‘chain three’ at the beginning of each round. They blend more neatly into the surrounding stitches, unlike the chain stitches, which can leave an unsightly starting line in the finished crochet piece.

1 and 1a: Pull working loop to the height of a treble stitch and hold in place with the tip of your forefinger, from right to left pass the hook behind the 2 threads of this loop,
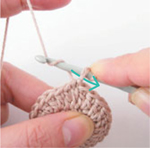
2: yarn over and pull new loop to front of work so that there are 2 loops on the hook,
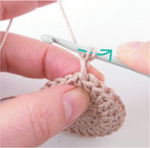
3: yarn over hook and pull through 2 loops.
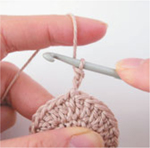
4: Completed s-tr stitch.
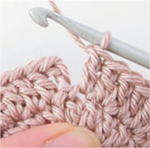
5: To finish a round beginning with a s-tr, simply work a slip stitch into the top of the stitch and you are ready to work the next s-tr to begin the following round.

1: At the end of a round cut a 15cm (6in) tail of yarn, pull working loop free through the top of the last stitch and thread onto a yarn needle,
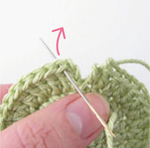
2: insert the needle into the top of the first stitch of the round after the starting chain and pull the yarn through,
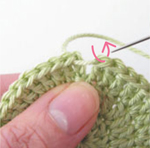

3 and 3a: from the top insert the needle down into the last stitch through the 2 back loops where the tail of yarn originally came from (see 3a),
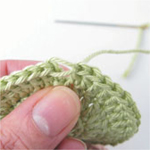
4: pull the loop neatly closed and fasten off securely at the back of the starting chain.

5: Completed invisible fasten off.
 jn
jnNot technically a stitch as such, but a neat, quick and very effective method of joining individual motifs.
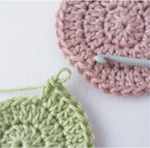
1: Slip working loop off hook,
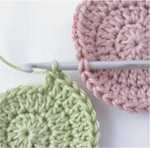
2: insert hook into top of stitch of second motif and pick up working loop of first motif,
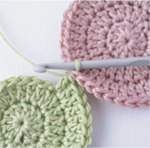
3: pull loop through stitch and continue in pattern.
 jdc [jsc]
This joining stitch is used in the Filet Daisy Potholder pattern to line up the open meshwork of the design and maintain the filet effect in the finished potholder.
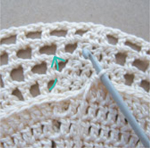
1: With two crochet panels laid back to back, insert hook under corresponding chain stitches of second motif,
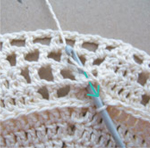
2: yarn over and pull loop through,
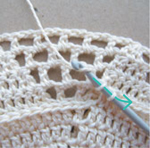
3: yarn over and pull through 2 loops to complete the dc stitch, and continue in pattern.
 pf
pf
1: Take a fabric snippet and gather it at the centre,

2: place the gathered fabric between the hook and working yarn,

3: tightly chain 1 to hold the fabric in place.
 f2tr inc [f2dc inc]
Foundation stitches are usually used to work foundation rows for large flat crochet pieces (blankets, etc.) to avoid the tedious task of trying to accurately count chain stitches! However in this book they are used as a method of increasing in the triangle square motifs used in the pinwheel patterns. These instructions demonstrate how to increase at the end of a row.

1: Yarn over hook and insert hook into third of starting ch3 of previous row, yarn over hook and pull loop through,

2: yarn over hook and pull through 1 loop to create foundation chain,
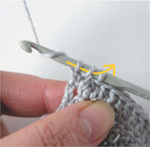
3: yarn over hook and continue to complete tr stitch,
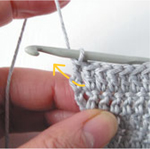
4: work a second tr into the same foundation chain.
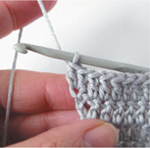
5: Completed f2tr inc.
Joining stitches second section
Make a slip knot loop and place on your index finger.

1: With right side of first section of triangle square facing, insert hook into chain st at end of rnd 1 going under 2 threads of the stitch,
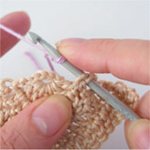
2: place slip knot loop on hook and pull through,
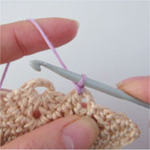
3: chain 1 and continue in pattern.

1: Insert hook into foundation chain of f2tr inc, making sure to go under 2 threads as indicated,
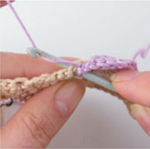
2: yarn over hook and work a slip stitch.

3: Round 1 completed.
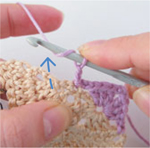
1: Chain 2 and yarn over hook, insert hook into chain stitch at the end of rnd 2 of first section as indicated,
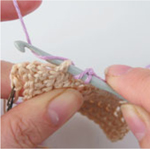
2: yarn over hook and pull loop through,
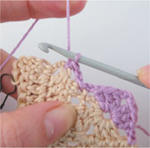
3: yarn over hook and pull through all loops to complete half treble stitch, turn and continue in pattern.
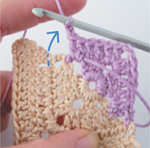
1: As before, insert hook into foundation chain of f2tr inc going under 2 threads,
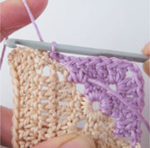
2: yarn over hook and work a slip stitch.
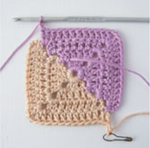
3: To complete a full triangle square motif, continue for as many rounds as required beginning and ending each round as given for rnd two.
Joining stitches for second section
Make a slip knot loop and place on your index finger.
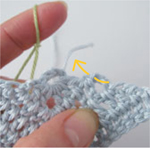
1: With right side of first section of triangle square facing, insert hook into chain st at end of rnd 1 going under 2 threads of stitch,
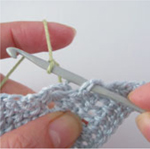
2: place slip knot loop on hook and pull through,

3: chain 1 and continue in pattern.
End round 1
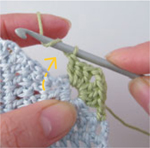
1: Yarn over hook and insert hook into foundation chain of f2tr inc, making sure to go under 2 threads as indicated,
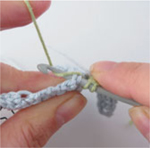
2: yarn over and pull loop through,
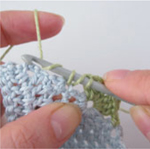
3: yarn over and continue to complete half treble stitch,
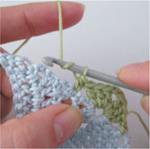
4: yarn over hook and chain 1,

5: cut a 15cm (6in) tail of yarn, pull last loop free and pull thread tight to secure the fasten off.
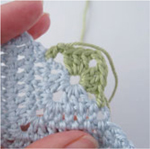
6: Completed round 1.

Work as given for beg of rnd 1 inserting hook into foundation chain of f2tr inc, making sure to go under 2 threads as indicated.

Work as given for end of rnd 1 working half treble stitch into chain stitch at end of rnd 2 of first section. Continue for as many rounds as required for a full triangle square motif, working odd numbered rounds as rnd 1, and even numbered rounds as rnd 2.
