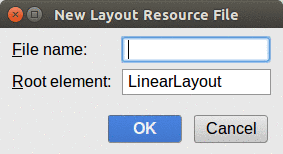
Figure 163: Android Studio New Layout Resource File Dialog
Later in these tutorials, we are going to allow the user to write down notes related to the book. These notes will be stored in a database and can be viewed, modified, or deleted as the user sees fit.
In this tutorial, we are going to set up the layout resource to allow the user to fill in these notes.
This is a continuation of the work we did in the previous tutorial.
You can find the results of the previous tutorial and the results of this tutorial in the book’s GitHub repository:
Right-click over the res/layout/ directory and choose New > “Layout resource file”
from the context menu. This brings up the New Layout Resource File dialog:
Figure 163: Android Studio New Layout Resource File Dialog
Fill in editor as the “Layout File Name”, leave the rest of the dialog
alone, and click the “OK” button.
That should have opened up the graphical layout editor for this new
editor layout resource:
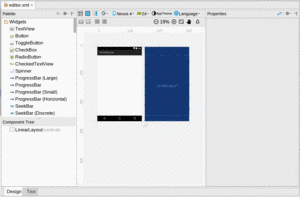
Figure 164: Graphical Layout Editor
Drag a “Multiline Text” widget from the Palette into the preview area.
In the properties pane, change the android:layout_width and
android:layout_height each to be match_parent and
change the ID to editor:
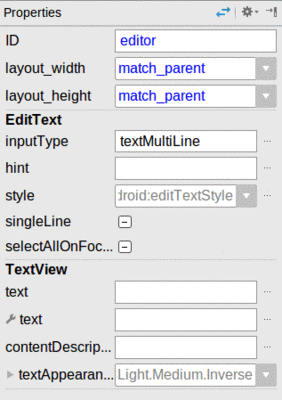
Figure 165: Graphical Layout Editor Properties Pane
Next, in the properties pane, click on the “hint” entry, then click the “…” button to the right of it. This will open up a string resource picker dialog:
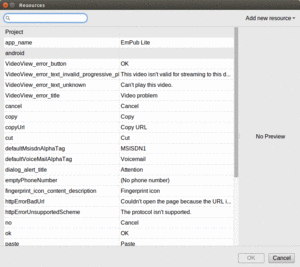
Figure 166: Android Studio String Resource Picker Dialog
Towards the upper right, click the “Add new resource” drop-down and choose “New string Value…” from it, to bring up the string resource editor dialog:
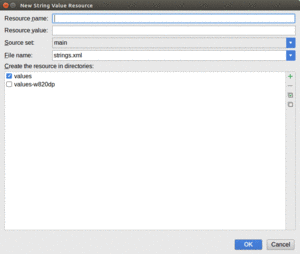
Figure 167: Android Studio New String Resource Dialog
Fill in a resource name of hint and a value of Enter notes here.
Leave the rest of the dialog alone, and click OK.
Then, back in the properties pane, switch to viewing all of the properties,
rather than just the subset. Scroll down to the gravity property,
fold it open, and change the checked values to “top” and “start”:
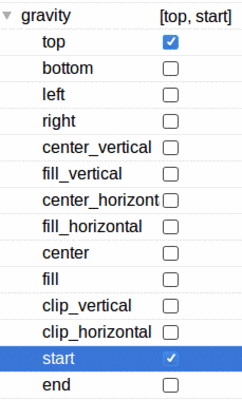
Figure 168: Layout Editor Properties Pane, Showing Gravity Options
If you look at the layout XML in the Text sub-tab, you should have something like this:
<?xml version="1.0" encoding="utf-8"?>
<LinearLayout
  xmlns:android="http://schemas.android.com/apk/res/android"
  android:orientation="vertical" android:layout_width="match_parent"
  android:layout_height="match_parent">

  <EditText
    android:layout_width="match_parent"
    android:layout_height="match_parent"
    android:inputType="textMultiLine"
    android:ems="10"
    android:id="@+id/editor"
    android:hint="@string/hint"
    android:gravity="top|start" />
</LinearLayout>
… we will attach a third-party library to our tutorial project.