The domain and workgroup personalities of Windows are quite different. Here are some of the most important differences.
What you see when you log onto your PC is somewhat different when you’re part of a domain. Instead of the standard Welcome screen, you generally encounter a two-step sign-in process:
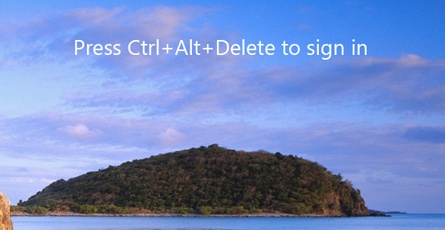
First, the Lock screen instructs you to press Ctrl+Alt+Delete to log on. (This step is a security precaution, described in the box on The Double-Thick Security Trick.)
When you click
 at the Login screen, you can click “Other
User” and then log into the domain you joined (see Figure 26-1).
at the Login screen, you can click “Other
User” and then log into the domain you joined (see Figure 26-1).
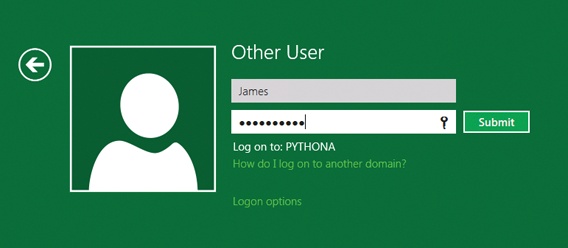
Figure 26-1. Even if your computer is part of a domain, you can still
log in to a local account. But to connect to the domain, you have
to click the button and choose Other User.
Tip
You can turn off the requirement to press Ctrl+Alt+Delete, if you like. Open the Control Panel; then click User Accounts and Family Safety→User Accounts. Next, click Manage User Accounts. Authenticate if asked. Now select the Advanced tab and turn off the “Require users to press Ctrl+Alt+Delete” checkbox.
You can now type your user name and password. To save you time, Windows fills in the User Name box with whatever name was used the last time somebody logged in.
When your PC is part of the domain, all of its resources—printers, shared files, and so on—magically appear in your desktop windows, the Network window, and so on (Figure 26-2).
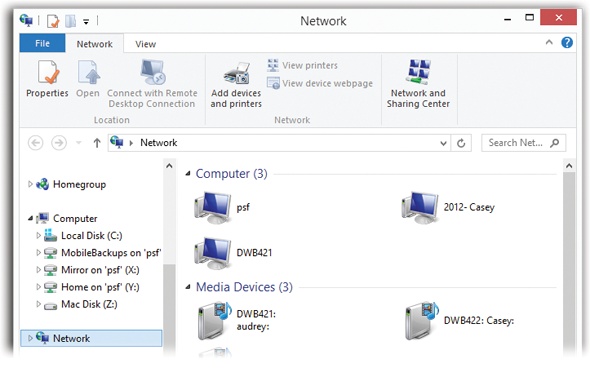
Figure 26-2. To see the icons for the computers on the network, type network at the Start screen and then press Enter. You can browse the computers and access their shared folders (if you have permission) just as you would those of a workgroup. On a large network, you’ll just see a lot more computers.
You can read all about the Search command in Chapter 7. But when you’re on a domain, this tool becomes far more powerful—and more interesting.
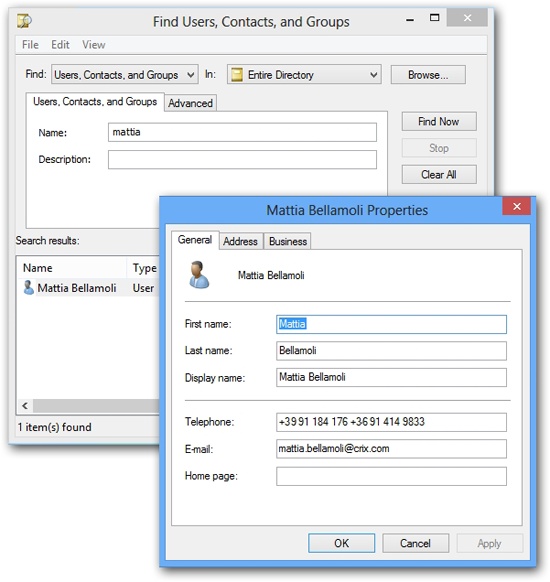
When you open the Network window as described above, the Ribbon changes to include an option to Search Active Directory. Click it to open the dialog box shown at top left in Figure 26-3.
The name of this dialog box depends on what you’re looking for. Your choices are:
Users, Contacts, and Groups. Use this option to search the network for a particular person or network group (Figure 26-3). You can find out someone’s telephone number or mailing address, or see what users belong to a particular group.
Computers. This option helps you find a certain PC in the domain. It’s of interest primarily to network administrators, because it lets them open a Computer Management window for the computer they find. It also lets them manage many of the PC’s functions by remote control.
Figure 26-3. Top left: Searching for people in your network’s Active Directory is like using a phone book. You supply the information you know about the person. Lower right: When you find that person (technically, his user object), you can view the information stored in the user object’s attributes. Of course, the usefulness of this feature depends on how much information your network administrators enter when creating the user objects.
Printers. In a large office, it’s entirely possible that you might not know where you can find a printer with certain features—tabloid-size paper, for example, or double-sided printing. That’s where this option comes in handy; it lets you find the printing features you need. Network administrators may also record the physical locations of the network printers. This way, when your search uncovers a printer that can handle executive paper and also print double-sided, you can simply look at its attributes to find out that it’s located on the fourth floor of the building.
Shared Folders. You might think that this option lets you search for shared folders on the domain’s computers. But only network administrators can publish a shared folder in Active Directory.
Organizational Units. You may not have heard of organizational units, but your network administrator lives and breathes them. (They’re the building blocks of an Active Directory hierarchy.) You, the mere mortal, can safely ignore this option.
In addition to these predefined searches, you can also create a custom search of your own by looking for information in specific fields (that is, attributes) of Active Directory, as shown in Figure 26-4.
When used creatively, these custom searches can be powerful indeed, in ways you might not expect. For example, suppose your car won’t start, and you need a ride home from the office. You can open this dialog box, click the Field button, and choose User→Home Phone. Change the Condition drop-down menu to Starts With, and then type your own area code and telephone exchange into the Value text box. When you click the Find Now button, you’ll get a list of coworkers who live in your neighborhood (as indicated by the first three digits of their phone numbers).
Chapter 27 describes the process of assigning permissions to certain files and folders, so that only designated people and groups can open them from across the network. When you’re a member of a domain, the process is the same, except that you can select people and groups from the domain as well.
NOSTALGIA CORNER: The Double-Thick Security Trick
If you use Windows in a corporation, the Lock screen probably bears a message at the top left corner when you first turn on the machine. You don’t proceed to the regular Login screen until you first press Ctrl+Alt+Delete.
This somewhat inconvenient setup is intended as a security feature. By forcing you to press Ctrl+Alt+Delete to bypass the initial Welcome box, Windows rules out the possibility that some sneaky program (such as a Trojan-horse program), designed to look like the regular Login screen, is posing as the regular Login screen—in order to “capture” the name and password you type there.
This two-layer login system is what you get when you add
your PC to a network domain during the Windows installation. If
you want to use it on a workgroup machine, you can, but you have
to do a little digging to find it. Press  +R to open the Run dialog box; type
control Userpasswords2, and then press Enter.
Authenticate yourself. You see the program shown on Deleting User Accounts—the old-style User Accounts
box. Click the Advanced tab.
+R to open the Run dialog box; type
control Userpasswords2, and then press Enter.
Authenticate yourself. You see the program shown on Deleting User Accounts—the old-style User Accounts
box. Click the Advanced tab.
At the bottom of the Advanced tab, turn on “Require users to press Ctrl+Alt+Delete,” and then click OK. From now on, turning on the PC greets you not with a Login screen, but with the unfakeable Lock screen shown here.
When you open the Properties dialog box for a file or folder, click the Security tab, then click Edit and then Add, you don’t get the same dialog box that you’d see on a workgroup network. On a domain, it’s called the Select Users, Computers, Service Accounts, or Groups dialog box. You’ll also see this dialog box if you right-click on a folder, click Share, and then select Find from the drop-down menu to the left of the Add button.
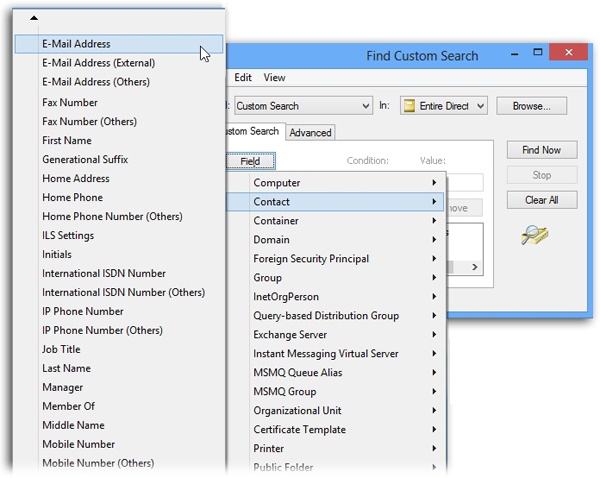
Figure 26-4. To perform a custom search, use the drop-down menus to select an object type and then a particular field in that object. You then specify a condition (such as whether you want to search for an exact value or just the beginning or end of the value) and the value you want to look for. When you click Find Now, a list of the objects matching your criteria appears.