 Games to Make and Play:
Canvas Bag for Jacks or Marbles, Chess or Checkers Board, Manila Ring Toss
 Games to Make and Play:
What better projects to make, and to engage you and your family or friends in hours of game-playing fun. Make these to use for yourself or for holiday giving.
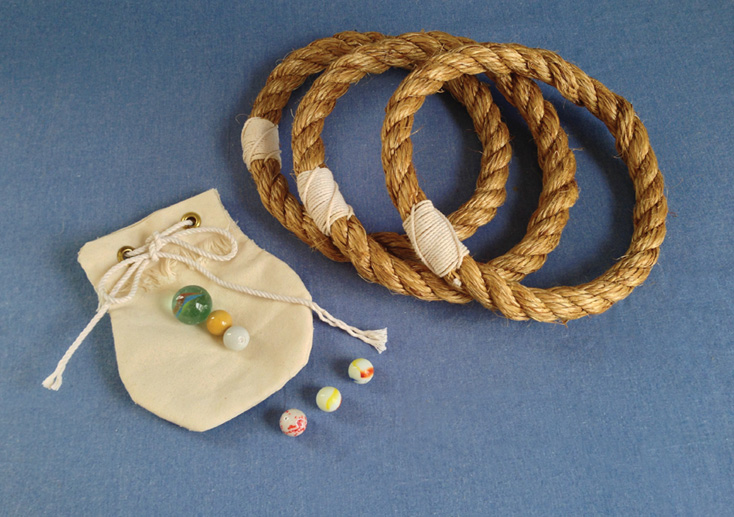
A simple canvas bag and manila rings are easy to craft.
12-inch-square piece of canvas cutting template for bag
sewing needle and heavy cotton thread
2 feet or more of #60 cotton cord for drawstring
sharp knife or scissors
four each of ¼-inch grommets
grommet-inserting tool (optional)
white glue (optional)
Follow these steps to make the canvas bag:
1  Cut out the two canvas pieces by using the template provided on the following page.
2  After you’ve cut the pieces of canvas, you might want to apply a thin coat of white glue along the top edge and both side edges of the canvas, stopping 5 inches from the bottom. This small step will prevent the canvas from unraveling as you work through your project.
3  When the glue is dry, pencil in a sewing line ¼ inch along the sides and bottom (see template).
4  With the outside of the canvas pieces together, sew the two halves together; don’t sew the top closed.
5  Turn the pouch right side out.
6  Turn down the top for the hem.
7  Insert the four grommets, two on each side.
8  Lace the drawstring.
9  Fringe the top hem ½ inch and embellish with colored floss or fabric paint.
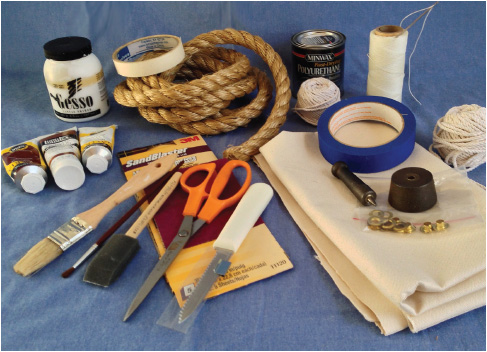
With a small investment in manila and canvas, you can create hours of game-playing fun.
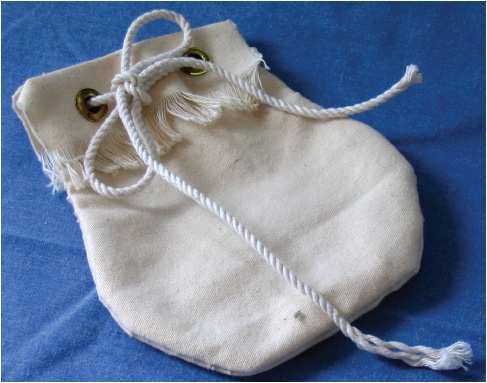
A finished pouch used to store marbles, jacks, or chess or checker pieces.
You will cut two pieces of canvas for the bag, using this template to get the correct shape and size. Pencil in the dotted line, which is the sewing line, on the canvas after you have run a bead of glue along the sides and bottom.
piece of cotton duck canvas
10 inches wide and 2 feet 10 inches long
1 pint gesso
masking tape, 1 inch wide
Acrylic paint in burnt umber, white, and iridescent bronze to paint the board
clear polyurethane
brushes
A canvas chess or checkers board is lightweight and easy to store. You can make a matching canvas bag to hold the game pieces.
Follow these steps to make the board:
1  Pull out 9 inches of horizontal (weft) threads from each of the long ends of the canvas to make the fringe.
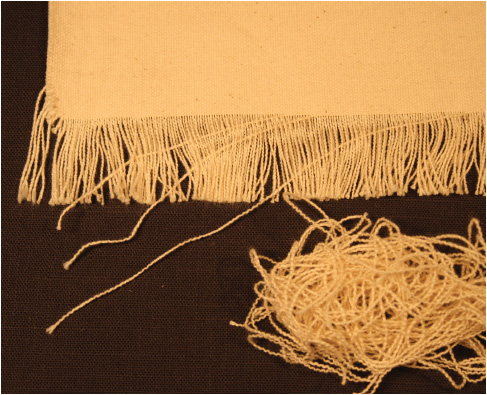
Pulling out the weft threads to create a fringe.

Completed chess board, with fringe hanging over the table.
A completed canvas board.
2  Apply two coats of gesso to the canvas. Let each coat dry, and lightly sand between the coats.
3  After the gesso dries, use the masking tape to outline where the dark squares will go on the board.
4  Paint in the dark square with the burnt umber paint.
5  After the paint dries, use the masking tape to make a ½-inch outline for the edge of the board.
6  Paint the edge of the board with the iridescent bronze paint.
7  After the paint dries, cover the playing area with the clear polyurethane.
8  Add decorative knotting to the fringe at either end of the board. This fringe treatment uses a technique that goes by many names—macramé, drawn fringe lace, McNamara’s lace, or even square knotting. We use square knots to make the decorative knotting (described in Chapters 2 and 7) on one end and alternating overhand knots on the other end (see illustration).
7 feet of  -inch manila rope
sewing needle and heavy cotton thread
sharp knife
ruler
masking tape
The rings we’re making here will serve very well as an option for the kids or more gentle folk for the next game of horseshoes you attend this summer. The material of choice here is three-strand  -inch manila rope. These rings also work well as a pair of handles on a wooden chest.
Follow these steps to make a manila ring:
1  Unlay (unwind the strands in) the 7 feet of
  -inch manila, taking care to preserve the twist in the rope. You now have three strands of rope. Tape the end of each strand to prevent unraveling.
2  Lay one strand full length on a table. Leaving a tail of 18 inches to the right, form a circle about 6 inches in diameter going in a counterclockwise direction (see diagram). The longest tail will be on the left side of the circle.
3  Next, wrap the tail on the right in a clockwise spiral around the circle. Because we’ve taken care to preserve the natural lay and twist of the rope, the strand will find its way into the right spot. Look at the diagram for guidance, and use a gentle hand to coax the strand to lay just right.
4  Wrap the tail on the left counterclockwise around the circle. Again, go easy with the pressure; the strand will want to fall into just the right spot.
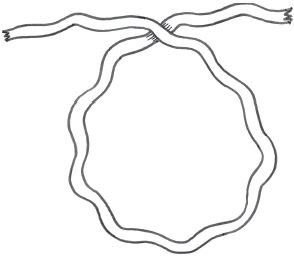
Forming the circle for the grommet.
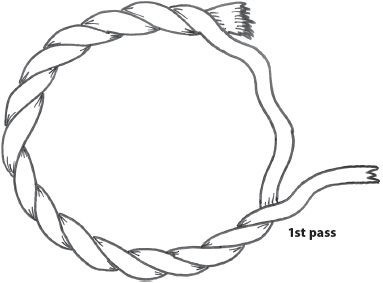
Wrapping the tail clockwise around the circle.
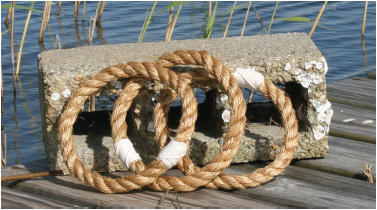
Completed manila rings ready for a game.
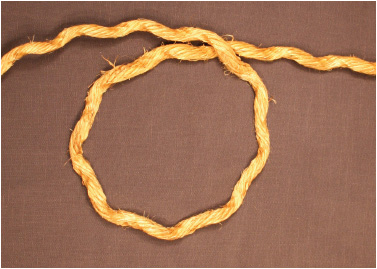
The circle in manila used to make the grommet.
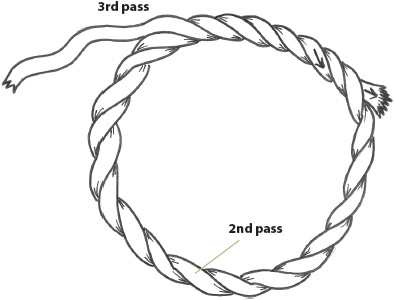
Wrapping the left tail counterclockwise around the circle.
5  To complete the job, carefully cut off the ends of the tails you wrapped clockwise and counterclockwise so that they butt up each other.
6  Now apply a 1-inch-wide tight whipping with the heavy cotton thread (see diagram).
7  Continue making rings until you have enough for your game.
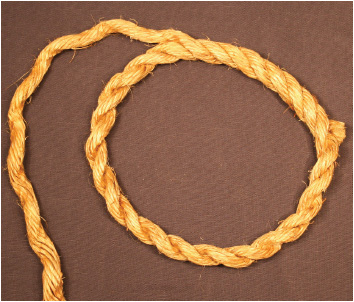
The left tail being wrapped around the circle.
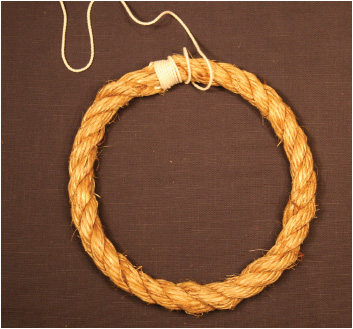
Whipping added to the ring to finish it.
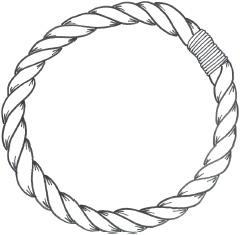
The finished ring.
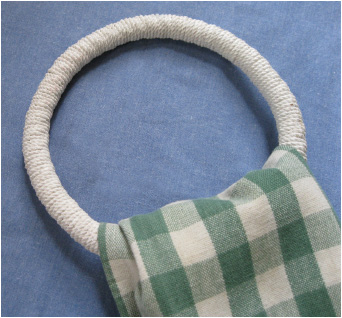
A manila towel ring covered with cotton twine.