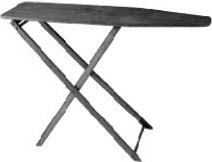
Don’t underestimate the importance of making your workspace just as you like it; it will encourage you to spend time there. In fact, don’t underestimate the importance of a good, functional ironing board. As you will note from the Pressing Matters chapter (page 57), we are champions of the lost art of ironing. A well-padded ironing board cover is essential, and it is quick and cheap to make. An old thick blanket makes good extra padding for the base layer.

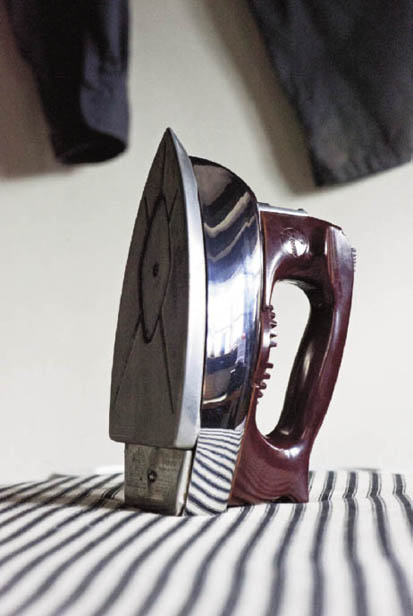
A match made in heaven: a good steam iron and a bespoke ironing board cover.
1. Lay the ironing board on the blanket and trace around it with tailor’s chalk. Add a 2-in/5-cm border all the way around (Fig 1).
Fig 1
Wadding or blanket
2. Also mark around the ironing board onto the main cover fabric, but this time add a 4-in/10-cm border (Fig 2). Cut out the pieces.
Fig 2
Main fabric
1. Bind the edges of the blanket piece with the 3/4-in/15-mm binding. Open the binding on the inside and line up to the edge of the blanket; sew along the fold (Fig 3).
Fig 3
2. Now fold over the binding to the other side; sew along the edge of the binding following your first stitch line as closely as you can (Fig 4).
Fig 4
3. When you get to the end, fold over the end of the binding and lay it on top of your start point before sewing over both layers (Fig 5).
Fig 5
1. When binding the top cover, you will be making a channel for the tape to secure the cover to the ironing board. Sew the 1-in/30-mm binding to the edge of the wrong side of the fabric, starting at the middle of the short flat edge so that the finished ties will be at the center (Fig 6).
Fig 6
2. Where the ends of the binding meet, turn over the edges and sew into place (Fig 7).
Fig 7
3. Now fold over the binding to the right side of the fabric and sew on the same line of stitching as you did before (Fig 8a). This creates a channel (Fig 8b).
Fig 8a
Fig 8b
4. Thread the cotton tape through the channel using a bodkin or a safety pin (Fig 9).
Fig 9
1. Lay the blanket base layer over the ironing board. Place the top cover on top and gather the tape until the cover fits snugly (Fig 10).
Fig 10