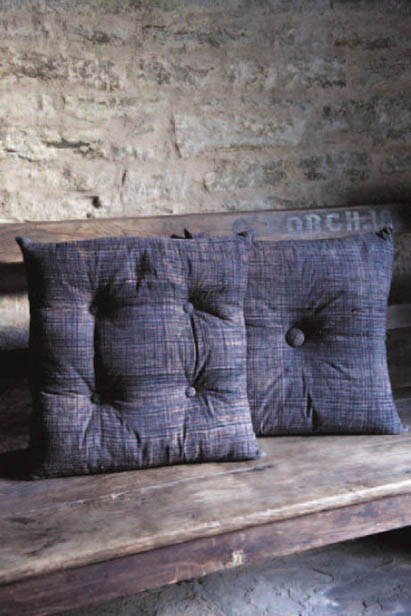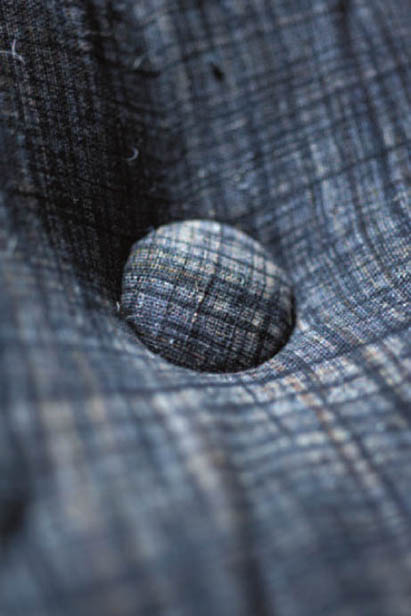
Button cushions are easy to make and look really elegant. We have made a pair, one featuring a single large button and the other with four smaller ones. The button detailing is repeated on both sides of the cushions. We have used the same fabric front and back but you could be bold and and go for a rich front fabric and something plain for the back. The covers are slip stitched closed so will need to be unpicked for washing – most handmade cushions in the interior design trade are made in this way.

We have used the same cloth to cover our cushions and the buttons.
1. Mark and cut two pieces of fabric 20 in/51 cm by 20 in/51 cm for the cushion front and back (the fabric is cut to the exact same size as the cushion pad for a nice snug fit). Mark the position of the button(s) with tailor’s chalk on the right side of each piece of the fabric. For the single button cushion, fold your fabric into quarters and mark the center in the middle. For the four-button cushion, set the buttons 6 in/15 cm from the edges. Taking a 3/8-in/1-cm seam allowance, sew the front and back pieces together with right sides facing (see Step 2). Leave a 10-in/25-cm gap on one side for turning through (Fig 1).
Fig 1
2. For better-looking corners, sew one diagonal stitch across (Fig 2a) rather than a right angle, and trim as shown (Fig 2b).
Fig 2a
Fig 2b
3. Turn the cover right side out and stuff the cushion pad into it. Slip stitch the opening closed (Fig 3).
Fig 3
1. Cover your buttons – see Tip on page 119. To attach the buttons, take a long piece of upholstery thread and thread it through the button shank (Fig 4a). Double the thread and thread the ends through a mattress or doll needle (Fig 4b).
Fig 4a
Fig 4b
2. Push the needle through the cushion at the point where the button is to be attached. Push the needle out the other side where the button is to be sewn on the back (Fig 5).
Fig 5
3. Unthread the needle and slip the back button through the thread (Fig 6).
Fig 6
4. Make a slip knot around the back button (Fig 7).
Fig 7
5. Pull the knot tight to the cushion so that both buttons are tight and deep (Fig 8).
Fig 8
6. Use a double knot to tie the knot off right at the shank (Fig 9).
Fig 9
