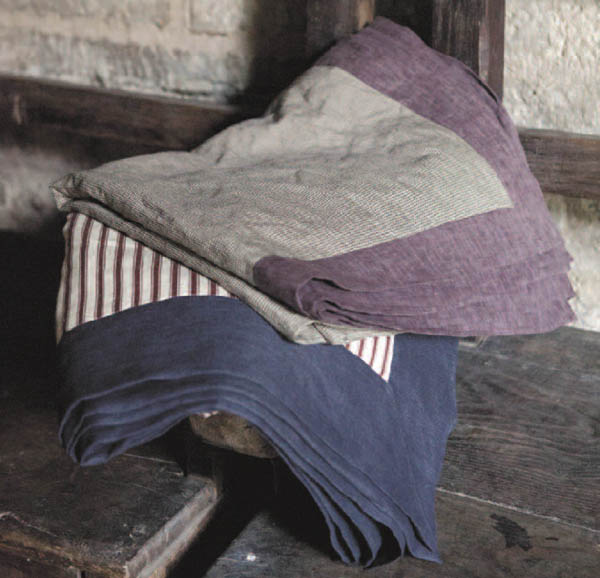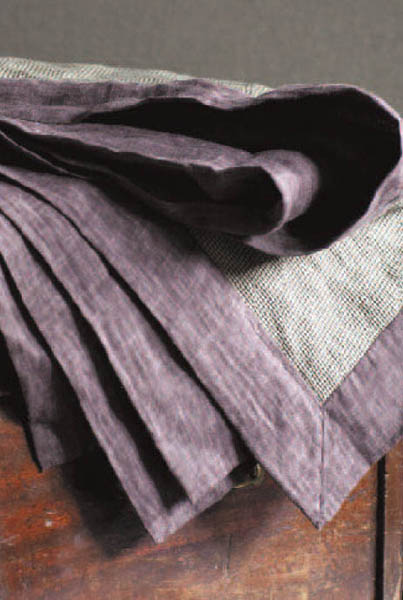
Transform your sofa or bed with a smart throw. Our bordered throw with mitred corners looks simple yet it requires great accuracy, so make sure you cut everything perfectly. The backing fabric is cut larger than the top fabric, then the edges are folded over to make a border. As it is sewn up you must take care to align the borders carefully for an even result all the way around. We have used plain aubergine linen for the backing fabric with linen in a tiny dogtooth check for the top. We love the natural crumpled quality of these fabrics – smart but shabby.

With these throws we have chosen complementary, contrasting fabrics.
Fig 1
1. Snip a notch at the middle of each side of both the top and backing fabric (Fig 1). Note: To customize the size of your throw, cut the top fabric to your desired size. Cut the backing fabric the same size as the main fabric plus two times the border width and two times the seam allowance. For example, our finished throw measures 50 by 50 in/ 127 by 127 cm so the backing fabric was cut to 55 by 55 in/140 by 140 cm, allowing for a 2-in/5-cm border. The top fabric starts at 471/2-in/120-cm square, and both pieces require a 5/8-in/1.5-cm seam allowance.
2. Lay the top fabric over the backing fabric so that the notches align on each side. Sew first along two parallel sides, stopping short at each corner to allow for the 5/8-in/1.5-cm seam allowance (Fig 2).
Fig 2
3. Repeat with the other two parallel sides but leave an opening of approx 12 in/30 cm on one side for turning through later (Fig 3).
Fig 3
1. At each corner, fold the fabric down to make a square of the corner (Fig 4). Press to leave crease marks.
Fig 4

2. Open up the corner square and sew along the crease marks to form the mitre (Fig 5a). Trim the seam down (Fig 5b).
Fig 5a
Fig 5b
1. Turn the throw right side out through the opening. Measure the border to make sure it is even all the way around and pin to hold in place. Depending on your fabric, you can either edge stitch (Fig 6) or sink stitch along the border to finish.
Fig 6
2. If you sink stitch you will first need to slip stitch the opening closed (Fig 7a). Sink stitching goes right into the seam; you are not sewing on either side of the fabric but only into the seam, so the seam is virtually hidden (Fig 7b).
Fig 7a
Fig 7b