You can use Events, Faces, and Places to view a selection of your stored photos. For example, if you have 504 total pictures in iPhoto, one event might store 35 pictures, and another might hold 4.
If you want to view all pictures stored in iPhoto, click the Photos category. This category lets you see every picture, grouped by events. Unlike clicking the Events category, clicking the Photos category lets you view pictures stored in multiple events at the same time—this would let you view all 504 pictures stored in iPhoto.
Albums let you create customized collections of photos no matter what the event or the location. So, for example, you can copy pictures from three different events and store those pictures in one album. (When you store pictures in an album, you can still view those pictures by clicking Events, Faces, Places, or Photos under the Library category.)
The easiest way to create an album is to choose the pictures you want to store in the album, and then make iPhoto create the album. To select pictures and create an album automatically, do the following:
Click Photos under the Library category in the left pane of the iPhoto window. The right pane shows you all the pictures stored in iPhoto.
Hold down the
 key as you click each picture you want to store in an album. A yellow border appears around each picture you select. You may need to scroll down to view all the pictures stored in iPhoto.
Select File ▸ New Album From Selection. A dialog appears, asking you to type a name for your album.
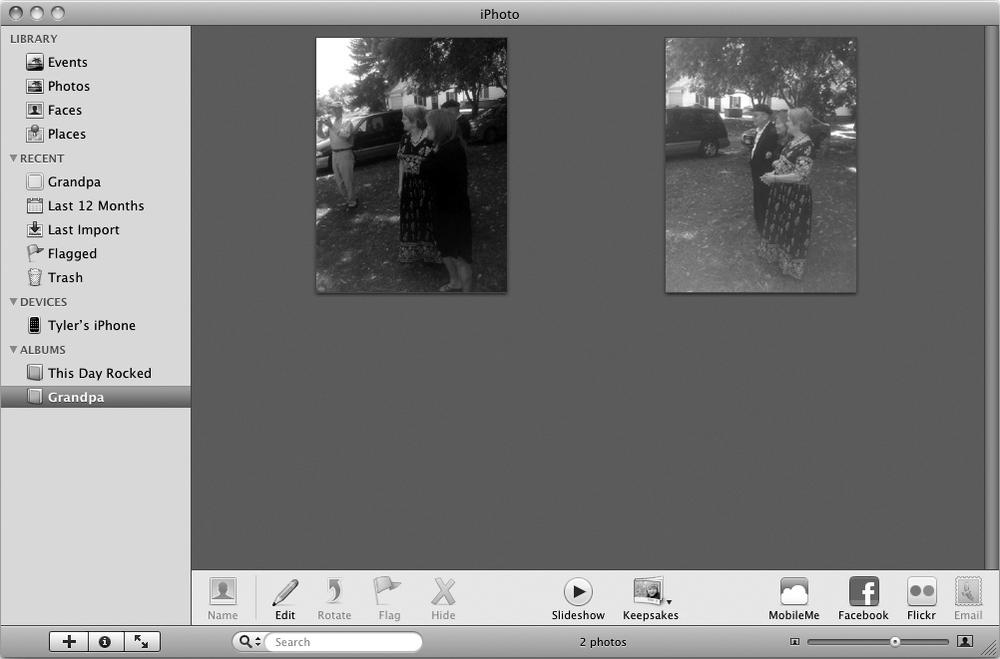
Type a descriptive name for your album and click Create. The name of your new album appears under the Albums category in the left pane of the iPhoto window, as shown in Figure 27-6.
To add a picture to an album, do the following:
Click Photos under the Library category in the left pane of the iPhoto window. The right pane shows you all the pictures stored in iPhoto.
Click a picture you want to copy into an album. (Hold down the
key as you click to select multiple pictures.)Drag and drop the selected picture over the album name under the Albums category in the left pane of the iPhoto window.
To remove a picture from an album, do the following:
Click the album name under the Albums category in the left pane of the iPhoto window. The right pane shows all the pictures stored in your album.
Click a picture that you want to remove from the album. (Hold down the
key and click two or more pictures to remove several pictures from the album.)Select Photos ▸ Delete From Album. Your selected picture disappears from the album (but still remains in the iPhoto Library).