The Places feature of iPhoto can identify where you captured certain pictures. However, if your camera didn't automatically include location information or if you scanned an image, your pictures may not have any location information. To fix this problem, you can manually add location information to any picture by doing this:
View a picture you want to add a location to. (To view a picture, click Events or Photos under the Library category in the left pane of the iPhoto window, or click an album under the Albums category.)
Right-click a picture. A pop-up menu appears.
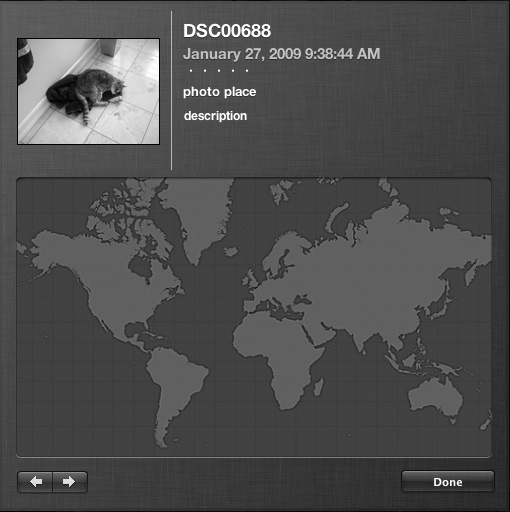
Choose Get Info. An Info window appears, listing information about your chosen picture, as shown in Figure 27-15.
Click the photo place text box. A Find on map option appears, as shown in Figure 27-16.
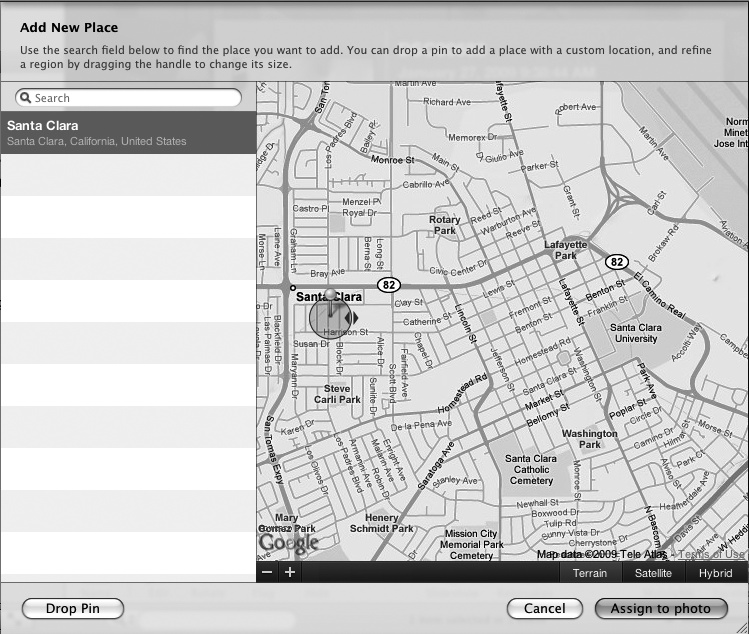
At this point you can type a location or click the Find on map option to identify a location on a map. If you click Find on map, a map appears, as shown in Figure 27-17.
Click the Drop Pin button in the bottom-left corner of the Add New Place window. A pin appears on the map, which you can zoom in or out, as shown in Figure 27-18.
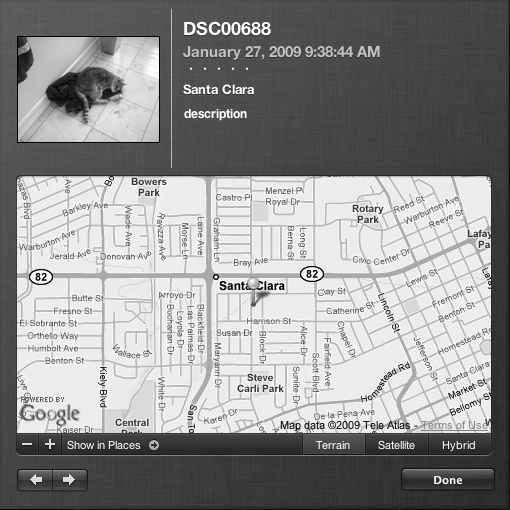
Drag the pin on the map and then click the Assign to photo button when the pin accurately identifies the location where you captured your picture. The Get Info window appears again, displaying your map, as shown in Figure 27-19.
Click the Done button.