Most new Macintosh computers include an iSight digital camera that's built into the top of the computer screen, like a cyclops' eye, watching your every move. To take pictures with iSight, you can use the Photo Booth program.
The Photo Booth program icon looks a lot like the curtain you would close in a coin-operated photo booth, and that's the idea. No quarters are required for these photos, though—you've already spent many hundreds of quarters to buy your Mac. You can take pictures with Photo Booth and store these images in your slideshow folder:
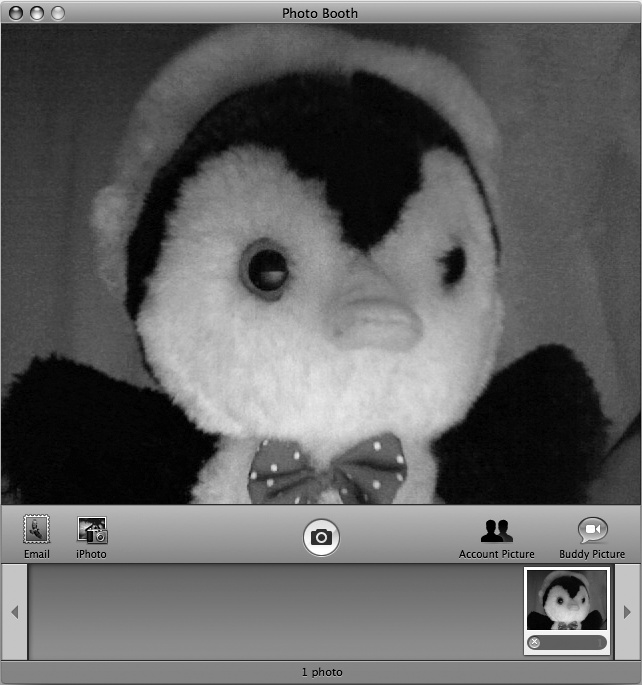
Click the Photo Booth icon on the Dock. (If you can't find the Photo Booth icon on the Dock, look for the icon in the Applications folder in the Finder window.) The Photo Booth window appears, as shown in Figure 30-1—and look, there you are, staring back at yourself. (Better fix your hair first.)
Click the Capture button. Photo Booth displays a countdown (3, 2, 1) before capturing your picture, which then appears at the bottom of the Photo Booth window. (If you hold down the option key while clicking the Capture button, Photo Booth will take your picture immediately without the countdown.)
Capture as many pictures as you want. Make strange faces, angle or raise your Macintosh to take pictures of other people across the room, or hold your dog up to the camera lens and take his picture. This is the time to let your creativity go wild without losing inhibitions completely, even if it could mean doing something you might be embarrassed about later.
Select Photo Booth ▸ Quit Photo Booth.
Click the Finder icon on the Dock. The Finder window appears.
Click Pictures in the left pane of the Finder window. The contents of the Pictures folder appears.
Double-click the Photo Booth folder. All the pictures you captured with Photo Booth appear.
Hold down the
 key and click each picture you want to use in your slideshow. (If you want to select all the pictures in that folder, press -A.)
Select Edit ▸ Copy X Images. This copies your selected pictures (although nothing seems to happen).
Click Pictures in the left pane of the Finder window and double-click your slideshow folder.
Select Edit ▸ Paste Items. Your chosen pictures appear inside the slideshow folder.