After you've stored pictures in your slideshow folder, you can decide how to display your pictures: on the Desktop or as a screensaver.
Displaying pictures on the Desktop means your images will always appear on the Desktop screen. Displaying pictures as a screensaver means your pictures will be displayed only when you stop using your computer and your screensaver starts. If you want to be able to look at your pictures at any time, display them on the Desktop. If you want others to look at your pictures while you're away from your computer, display them as a screensaver.
You can get really creative and have a slideshow appear on both your Desktop and screensaver. You can even display one set of pictures as a slideshow on your Desktop and a second set of pictures as a slideshow on your screensaver, so that way if you walk away from your computer, your screensaver can show pictures of you making faces to your boss, co-workers, spouse, kids, and anyone else who wanders by and stares at your computer.
When you create a slideshow on your Desktop, you must specify how often you want your pictures to change and how you want them to appear on the screen.
Pictures can change as often as every five seconds or as infrequently as every day. You can also choose to change pictures only when you log in to your account (so a different picture greets you every morning) or when your computer wakes up from going to sleep (so a different picture greets you every time you return to your computer).
In addition to defining how often your Desktop will display different pictures, you can also define how your pictures appear. You have five choices:
Fit to Screen or Fill Screen Both choices enlarge pictures to fill the entire screen, but small pictures may appear grainy.
Stretch to Fill Screen This option distorts pictures to fill the entire screen, which can warp small pictures.
Center This option displays each picture in the middle of the screen at its original size.
Tile This choice fills the entire screen with multiple copies of the same picture.
To create a Desktop slideshow, follow these steps:
Click the Apple menu and select System Preferences. The System Preferences window appears.
Click the Desktop & Screen Saver icon under the Personal category. The Desktop & Screen Saver window appears.
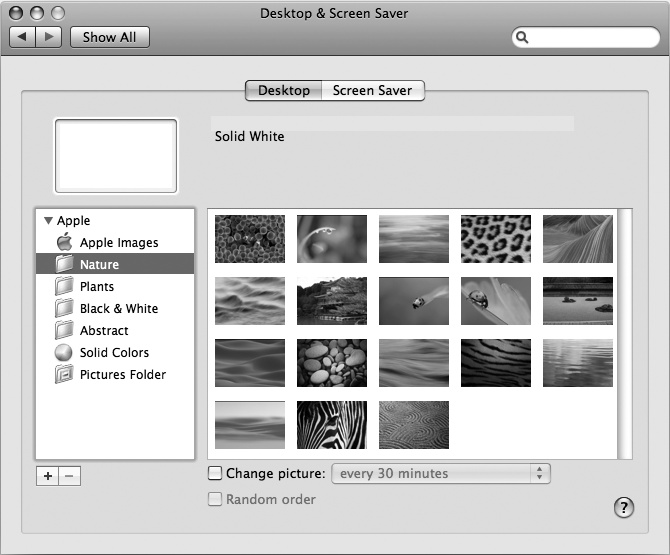
Click the Desktop tab as shown in Figure 30-2.
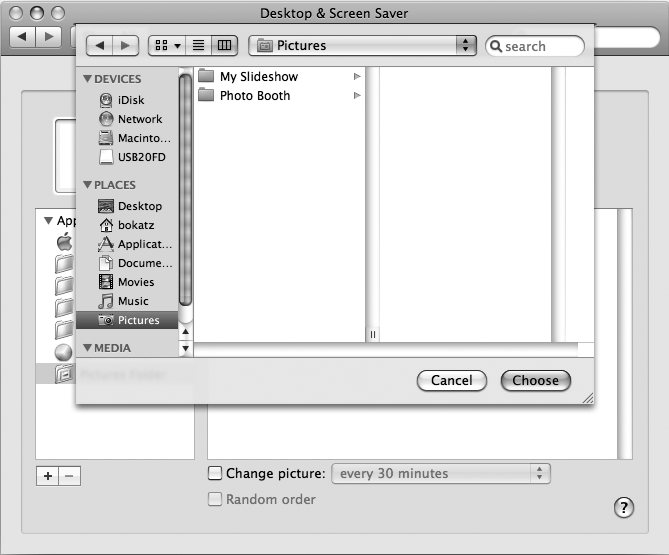
If you can't see the slideshow folder that you created inside the Pictures folder, click the plus button just below the left pane of the Desktop & Screen Saver window. The Finder window appears, as shown in Figure 30-3.
Click Pictures in the left pane of the Finder window. The contents of the Pictures folder appears in the right pane.
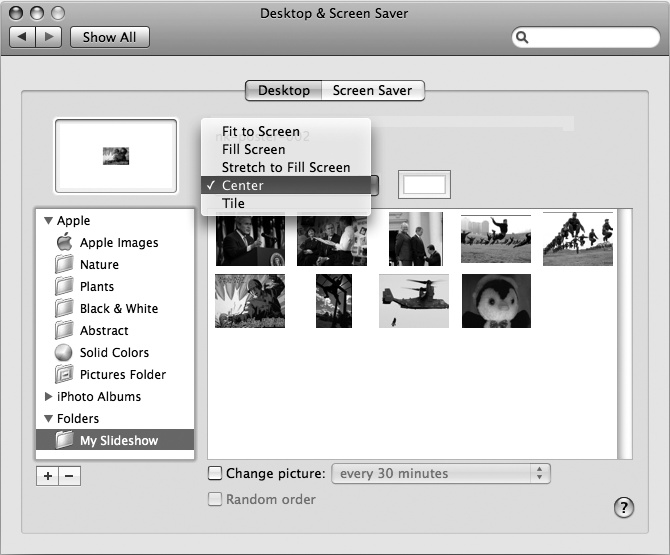
Click your slideshow folder and click the Choose button. The Desktop & Screen Saver window displays thumbnail images of your pictures, as shown in Figure 30-4.
Click the picture display pop-up menu, which appears just under the Desktop and Screen Saver tabs, and choose an option: Fit to Screen, Fill Screen, Stretch to Fill Screen, Center, or Tile, as shown in Figure 30-5.
Check the Change picture checkbox. (If a checkmark already appears, skip this step.)
Click the Change picture pop-up menu and choose a time duration, as shown in Figure 30-6.
(Optional) Check the Random order checkbox so your Macintosh displays pictures in a different order each time instead of alphabetically by filename.
From the Apple menu, select System Preferences ▸ Quit System Preferences. One of your pictures will appear on the Desktop and will change based on the time interval you chose.


One problem with creating a slideshow directly on your Desktop is that the changing pictures can be distracting. As an alternative, you might want to create a slideshow as a screensaver; that way, your slideshow won't begin until you stop using your computer for a while.
When creating a slideshow as a screensaver, you can define how long your computer waits before the screensaver starts and in what style you want to display your pictures. You can use three different types of display styles:
Slideshow Displays pictures one at a time
Collage Displays multiple pictures on the screen, mimicking dropping a picture on a tabletop one at a time
Mosaic Displays pictures as multiple thumbnail images that fill the screen in patterns
To create a Desktop slideshow, follow these steps:
Click the Apple menu and select System Preferences. The System Preferences window appears.
Click the Desktop & Screen Saver icon under the Personal category. The Desktop & Screen Saver window appears.
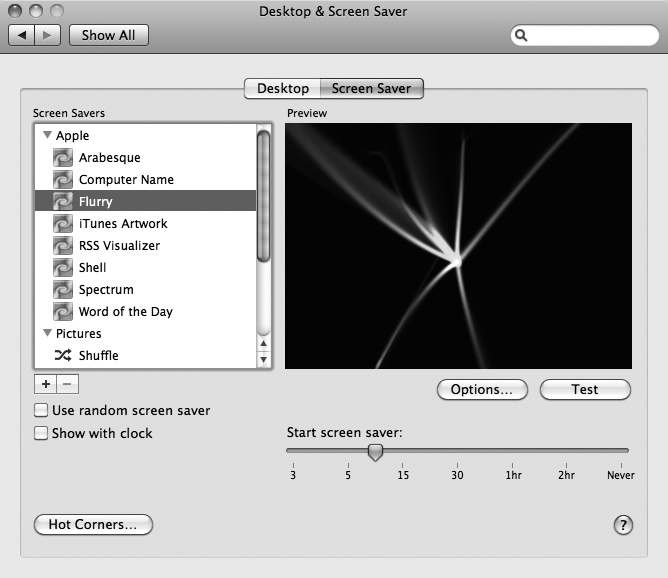
Click the Screen Saver tab as shown in Figure 30-7.
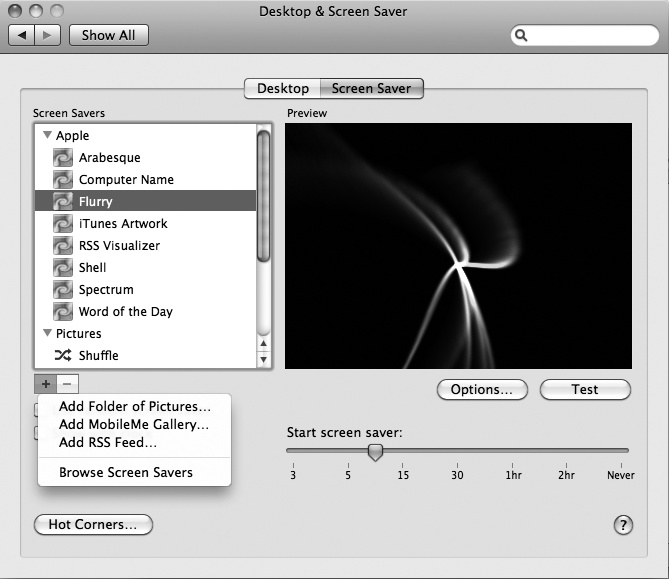
Click the plus sign that appears directly above the Use random screen saver checkbox. A pop-up menu appears, as shown in Figure 30-8.
Click Add Folder of Pictures. A dialog appears, letting you select a folder.
Click the folder that contains the pictures you want to use for your slideshow and click Choose. The Desktop Screen Saver window displays one of the pictures from the chosen folder.
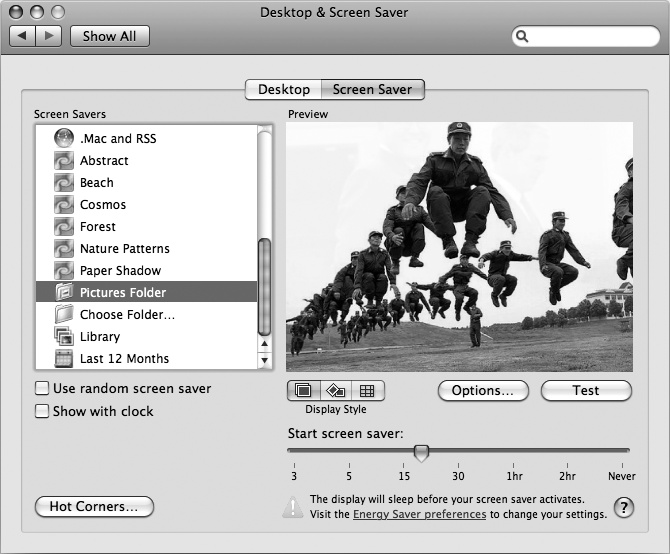
Click the Slideshow, Collage, or Mosaic icon in the Display Style group, as shown in Figure 30-9. The Preview window shows how your screensaver will look.
(Optional) Click Options. A dialog appears, offering additional ways to modify the appearance of pictures depending on which display style you chose.
(Optional) Click Test. Your screensaver fills up the screen so you can preview it. Click the mouse when you're done testing your screensaver.
Drag the Start screen saver slider to specify how much time to wait before starting the screensaver.
From the Apple menu, select System Preferences ▸ Quit System Preferences.