
CARING FOR YOUR CHICKS
If we hadn’t spent hours in our backyard watching baby chicks, we would never have realized how well-equipped for life baby birds are by comparison with babies of other animals. Sure, chicks need to be kept warm, and they need protection and a little help in finding food. But how remarkable is it that baby chicks walk and scamper about immediately upon hatching, and can fly within a week or so? From the moment they hatch, they can see, and they know how to eat; they can even understand a complete chicken vocabulary that includes cries of distress, the clucked expressions of motherly contentment, and calls meaning “hawk—run” and “food—come.” They fight, too, just like daddy roosters. In comparison, baby cats, rabbits, and people may be blind, helpless, mute, or immobile for several weeks or months.
SETTING UP A BROODER
When a hen does your hatching, she’ll take care of the details of raising the chicks. But if you purchase chicks or hatch them in an incubator, all the joys of motherhood will be conferred onto you. Men will have to consent to be mothers, too, as baby chicks have little use for fathers.
To furnish all the same comforts that would be provided by a mother hen, you will need some sort of brooder in which to keep your chicks warm and safe while they grow. If you plan to raise a lot of chicks each year, you might find that a permanent brooder is a good investment. Brooders may be purchased from most of the same places that sell incubators and come in a variety of sizes and types, ranging from inexpensive kits to top-of-the-line metal outfits. A permanent brooder may be homemade once you know the principles involved.
If you plan on raising chicks once, or only a few each year, you can get by with a sturdy cardboard box for a brooder. Line the bottom with a thick layer of paper towels and partially cover the top with newspaper or cardboard to keep out drafts but still allow in some fresh air. The size of the box will depend on the size and number of chicks you intend to put in it, and it will have to be increased as the chicks grow. The chicks should have plenty of room to move around and to spread out to sleep. They should also have enough room to get away from the heat source when they want to.
The traditional way to provide brooder heat is to use a light bulb or an incandescent heat lamp in a spotlight reflector. Over the years, we’ve found that such lamps get too hot for brooding chicks in small numbers, and a bulb that falls can start a fire. For something more than an inexpensive but unsafe light bulb, an infrared radiant heat panel, such as Infratherm’s Sweeter Heater, is a much safer choice. Such a panel is expensive, but it is energy efficient and lasts forever when properly cared for. It has the distinct advantage that it emits no light, and just like you do, your chicks will appreciate lights-out at bedtime. Once the chicks are grown, the heater panel may be used for other purposes, such as warming an injured or ill chicken or providing warmth over the coop roost on bitter winter nights.
If you choose to use a heater panel, you will need to provide some type of light 24/7 for the first 3 days, or until all the chicks are eating and drinking well. After that, you can turn the light out at night, which will allow the chicks to rest and also let them get used to the natural daily cycles of light and dark.
If you set up the brooder inside your house, you will soon learn that chicks produce an awful lot of fine dust that will settle on everything near and far, so you might want to confine the brooder to a spare room, bathroom, or closet with the door shut to keep the dust from spreading throughout the house. While raising our first brood of chicks, we had long-running family disputes over when the house was going to get cleaned, even if it had been only a half hour since the last dusting. Once the chicks were big enough to live outdoors, the problem disappeared, and the cause became apparent.
For the first 2 years we raised chicks, we put up with dust in the house. After we realized that chick-raising was going to be an ongoing activity, we purchased a proper brooder and installed it in the garage. But our friends persisted in remembering the earlier years, and for the longest time, we were known as the people with chickens in their living room. Visitors would enter our house, look around, and ask, “Don’t you have chickens anymore?”
You might want to avoid the dust issue by setting up your brooder in a garage or other outbuilding with electricity, provided the place is draft-free, as well as predator- and kid-proof. If you have small children, explain to them that chicks, like human babies, need a lot of rest and can easily be loved to death by little hands squeezing them.
BROODING TEMPERATURE
The temperature in the brooder should start around 90°F for newly hatched chicks and be decreased by about 5°F each week until ambient temperature has been reached. You don’t need a thermometer to regulate brooder heat. You’ll be able to tell your chicks are happy by the sounds they make and by their body language. Happy chicks make contented, musical peeps. Chicks that are in distress from cold or hunger will tip you off with loud incessant cheeping.
Chicks that pant or press against the corners and edges of the box, away from the heat, are too hot and could possibly suffocate. Reduce bulb wattage, raise a heater panel, or get a bigger box. If the chicks huddle together in a pile under the heat, they are chilly. The heat source could be too high to be effective, bulb wattage could be too low, or the box could be too big and drafty. Cold chicks that huddle overnight or for any long period may smother each other.
 BROODER BEDDING
For the first couple of days, line the brooder floor with paper towels, which serves two purposes: to provide a nonslip surface while little chick legs are strengthening, and to prevent the chicks from eating litter until they learn to eat starter ration. Once the chicks are eating well, fine kiln-dried pine shavings make suitable brooder litter. Shredded paper works, too, although we find it tends to cling to the feet of feather-legged chicks more than shavings.
Chicks are susceptible to a number of chickhood diseases, so proper sanitation in the brooder is essential to keeping them healthy. Provide the box with fresh litter every couple of days. The litter should never be allowed to remain damp; if water is spilled, clean out and replace the wet litter.
SIX FEATHER-LEGGED BREEDS
Booted Bantam
Brahma
Cochin*
Faverolle
Langshan
Silkie*
*Gail’s top picks
Within comfortable limits, the more rapidly the brooder temperature is reduced, the more quickly the chicks will feather out. Comfortable chicks will pursue their normal activities of walking around, pecking at food, pecking at the sides of the box, drinking water, and sleeping, and sleeping, and sleeping. They need quite a lot of rest and will frequently lie about like a carpet on the brooder floor, with their heads down and wings spread out—a position that has alarmed more than a few people unfamiliar with the ways of chicks.
A friend once spent the night in our living room, where we had set up a small brooder. The chicks were active and lively when he went to sleep, but in the morning, they were all spread out motionless on the brooder floor. Our alarmed friend loudly announced that all the chicks had died in the night. Meanwhile, his commotion awakened the chicks. When we hurried to the living room to witness the death scene, our friend was confounded to see that the chicks had “come back to life” and were just as active as they had been the night before.
PROVIDING WATER
Chicks must have clean, fresh water available to them at all times. Inexpensive chick-drinkers are available from most poultry suppliers and feed stores. Their advantage is that they do not tip easily, and they have a small footprint, so they don’t take up much brooder space. A nipple drinker is a popular option that is less apt to accumulate debris, dampen litter, or drown a chick.
Whatever type of water container you use, be sure the chicks cannot walk in it or fall into it. Chicks can drown from being mashed into the water dish by their brooder mates, and they will get droppings into the water if they can walk in it. They may also get water on the litter and feed, causing unpleasant odors and unhealthful conditions.
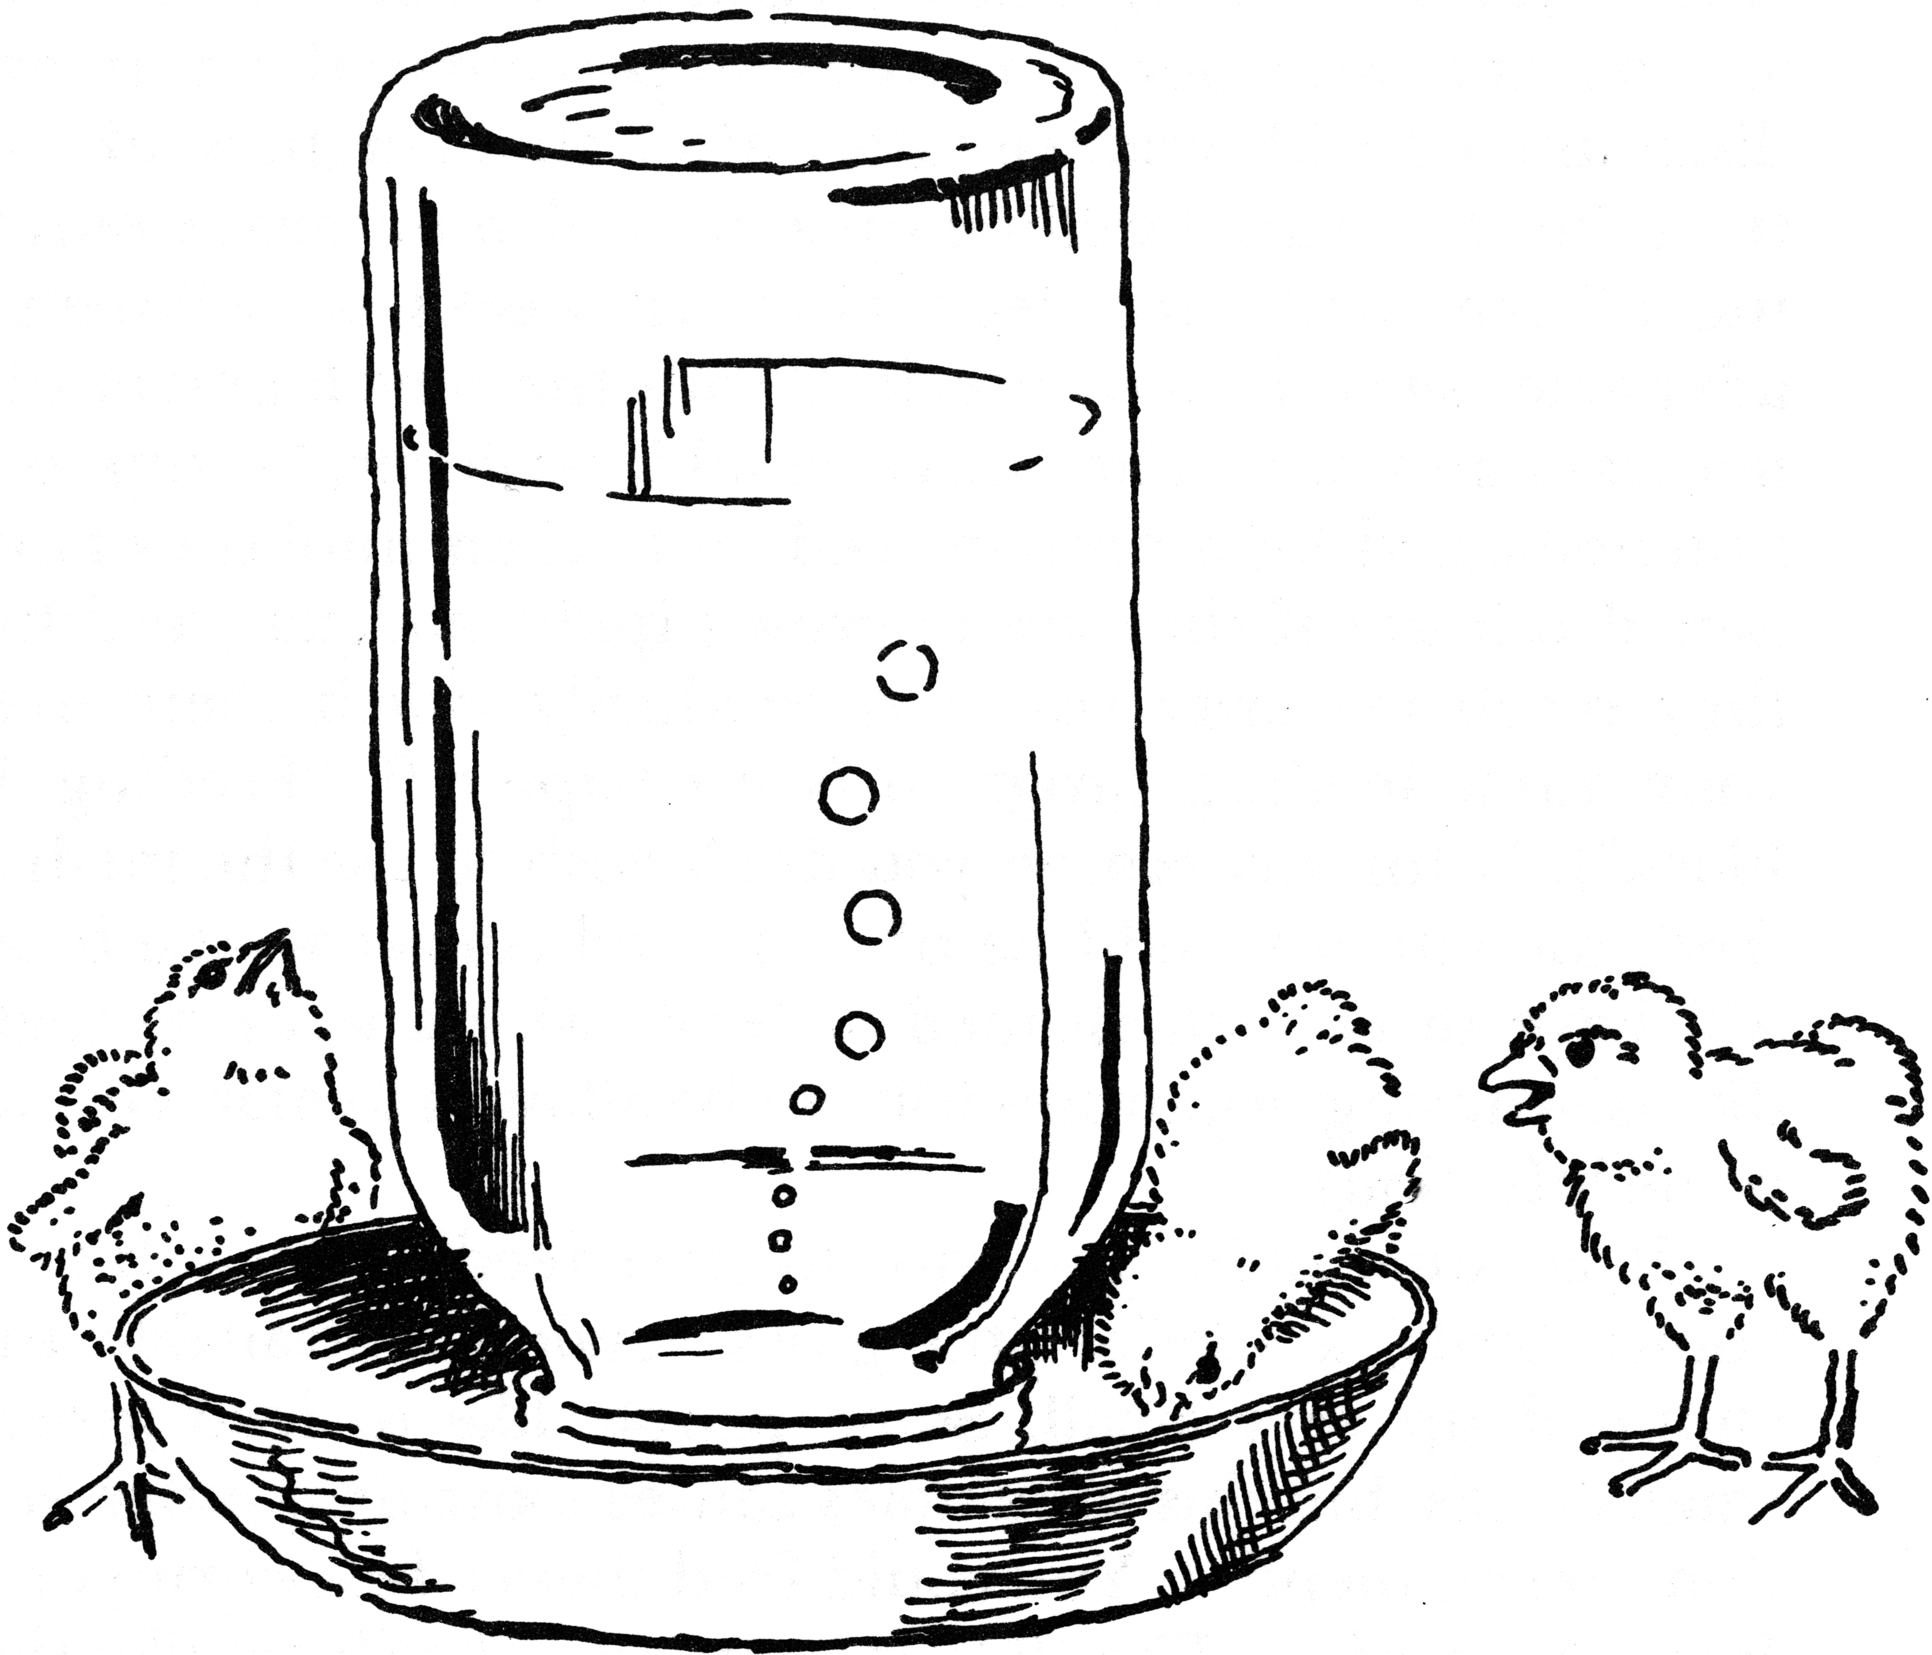
When the chicks first arrive, have the drinker filled with warm water. The chicks may be slightly dehydrated if they arrived in the mail (see this page) or were left in the incubator a little too long. As you place them into the brooder, gently dip each chick’s beak into the water. The chicks will catch on rather quickly, and soon they all will be dipping their beaks in on their own.
FEEDING YOUR CHICKS
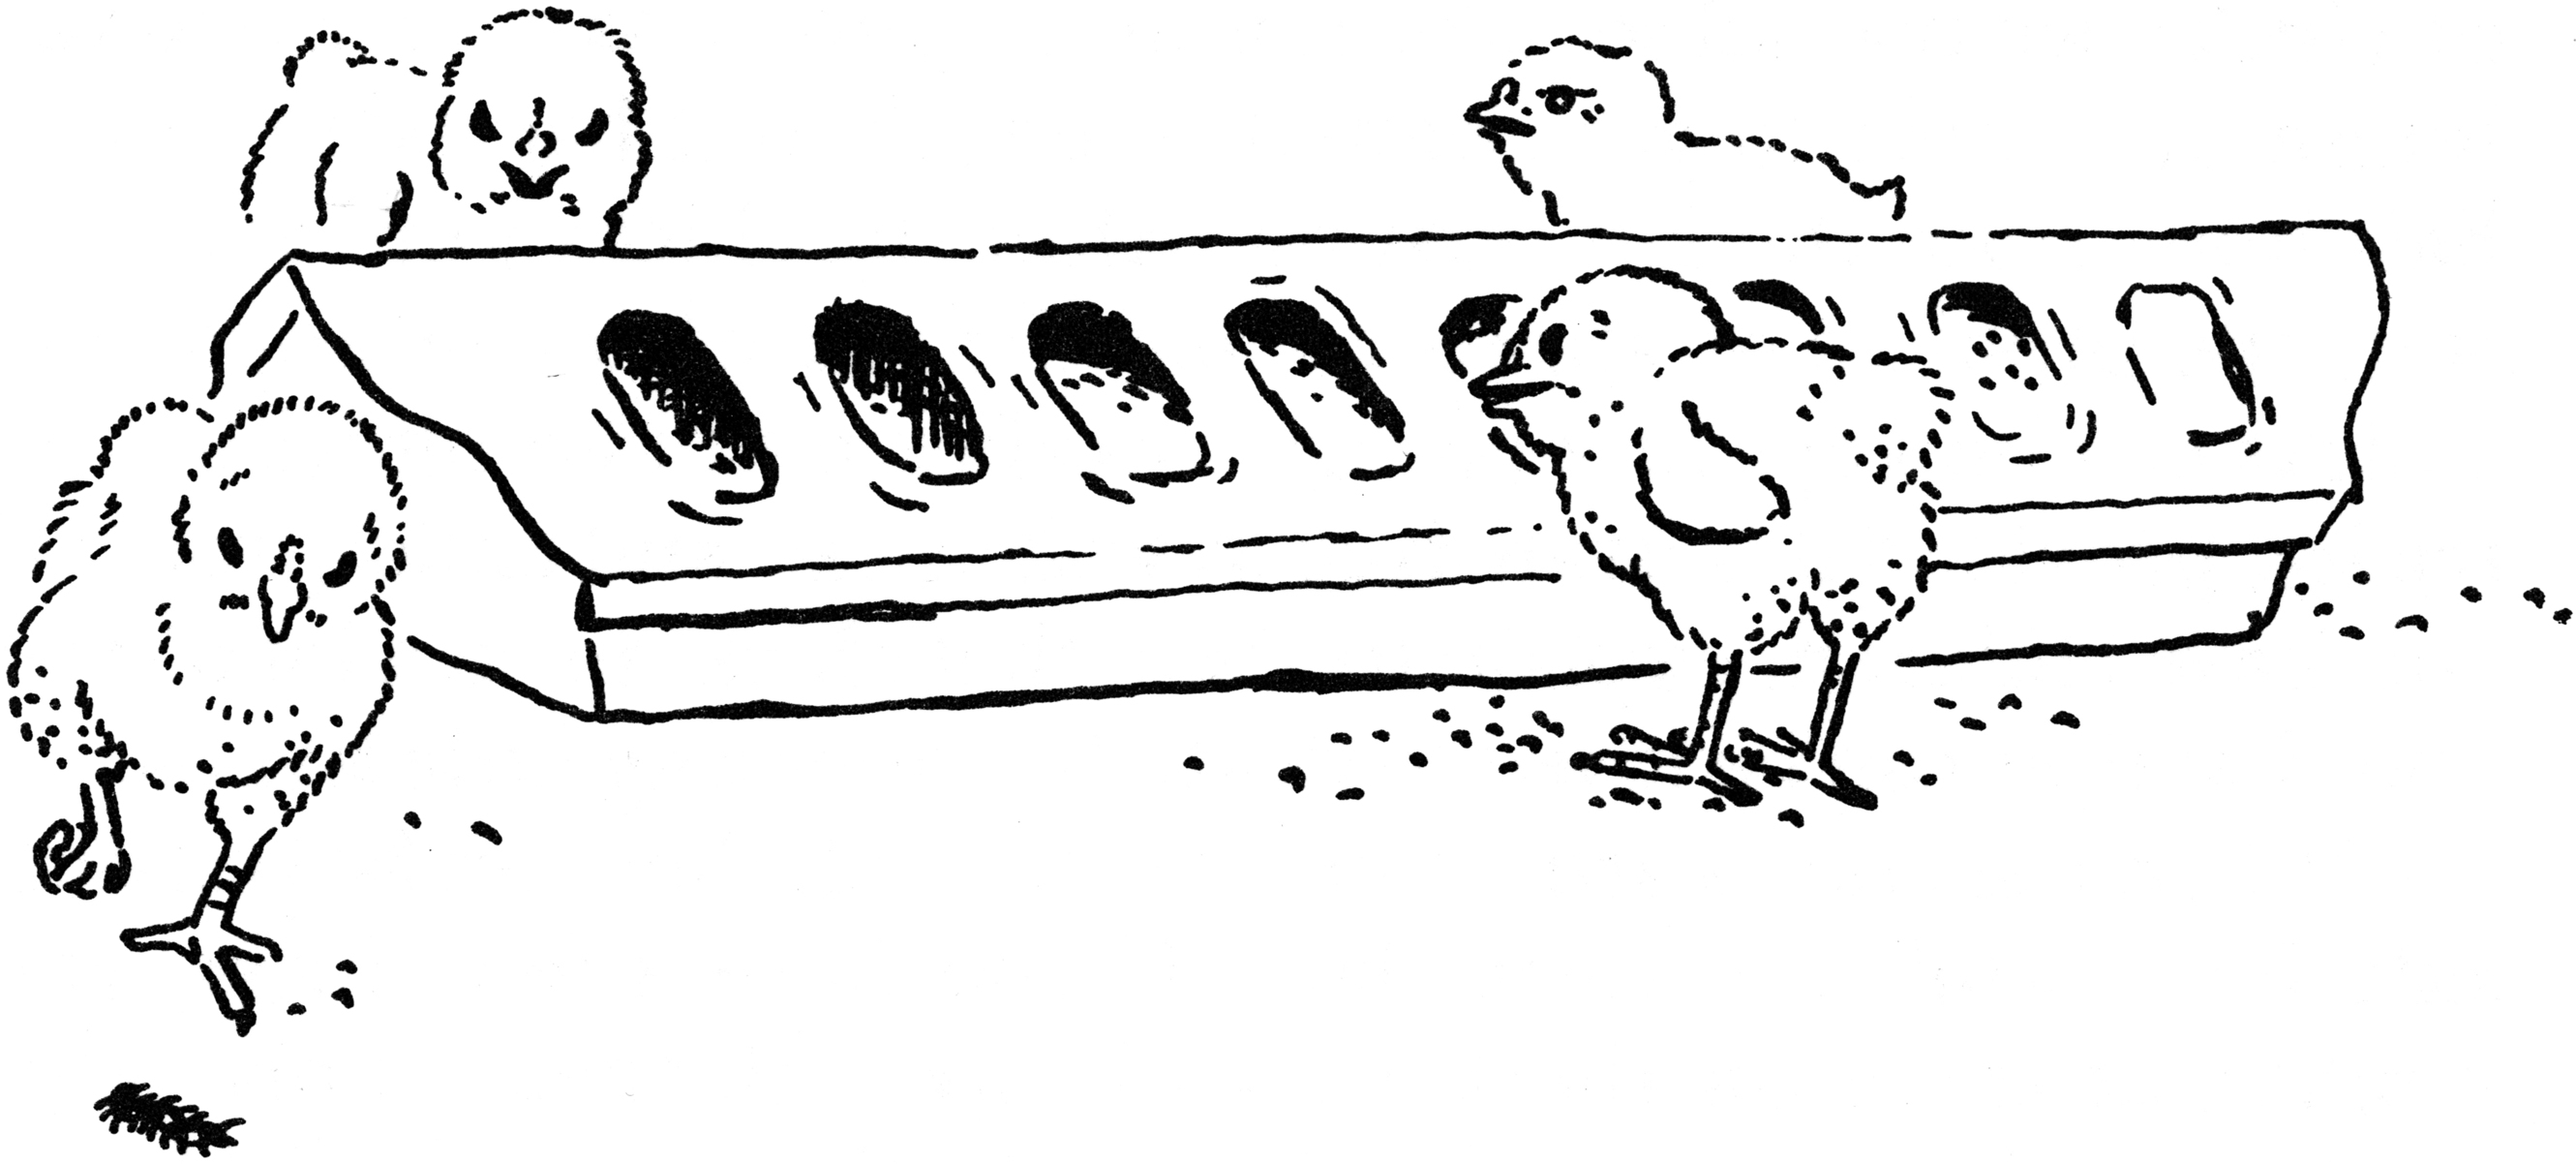
Chicks instinctively start pecking as soon as the opportunity arises. If you place a newly hatched chick on a sheet of newspaper, it will try to peck the print off the page. Once your chicks have started drinking, sprinkle chick starter crumbles on the paper towels lining the brooder floor. After they’ve pecked that up, put some starter in a clean tuna can, large jar lid, or cut-down tissue box. After a day or so, they will be ready to use a regular chick feeder, which may be purchased from any poultry supplier and most feed stores.
PASTING UP
Chicks sometimes develop a condition called pasting up, also known as pasty butt, paste up, or sticky bottom. It happens when soft droppings stick to the vent area, build up, and harden. Eventually, the chick will no longer be able to poop, with dire consequences. Pasting may be caused by disease, but more often, it results from chilling, overheating, or improper feeding. A starter ration that’s heavy on soybeans, for example, can trigger pasting.
If you see this condition starting, clean the chick’s bottom right away. Wearing disposable gloves, gently moisten the hardened poop, then carefully pick off the mess with your fingers, taking care to minimize down removal and avoid tearing skin. Dry the chick’s bottom, and apply a little petroleum jelly to prevent further pasting.
If several chicks in the brooder experience pasting, determining the cause may not be easy. One year, our chicks had a persistent pasting problem for no apparent reason, until we changed to a different brand of chick crumbles. The pasting problem immediately vanished, never to return.
Chicks should be fed a high-protein starter ration, which is usually available both with and without a medication that inhibits coccidiosis—a disease that is extremely common in chicks and can be deadly. The good news is that chicks gradually develop immunity to coccidiosis, which is therefore largely a concern mainly during early chickhood. To prevent coccidiosis, either have chicks vaccinated when purchased at a hatchery, or feed them a medicated starter.
The important word here is “or.” If your chicks are vaccinated against coccidiosis, do not feed them medicated starter, as it will neutralize the vaccine. If, however, your chicks have not been vaccinated, we strongly urge you as a first-time chicken-keeper to feed your chicks a medicated starter, according to the directions on the label. Once you have gained experience in raising chicks, you may choose to use nonmedicated starter in the future. For now, don’t skew the learning curve and run the risk that your chicks will develop a deadly case of coccidiosis.
TO TREAT OR NOT TO TREAT?
Offer your chicks treats only sparingly, if at all. Anything you add in significant amounts to your chicks’ diet will dilute the balance of essential nutrients in the starter ration and inhibit your chicks’ growth and health. Treats such as mashed hard-boiled egg, finely chopped fruit (bananas, grapes, strawberries), and extremely finely chopped greens (clover, lettuce, spinach) may be fed in moderation, once the chicks are a few weeks old and eating and growing well. Offer no more than the chicks will rapidly consume within 15 minutes.
Other important measures in the prevention of coccidiosis include keeping brooder litter clean and dry and keeping feed free of droppings and moisture. Should your chicks manage to get water in their feed, replace it before it turns moldy. If damp feed becomes an ongoing problem, feed your chicks only a little at a time, but often.
Medicated crumbles may be discontinued with relative safety after about 8 weeks, as by then, your chicks will be building up a natural immunity to coccidiosis. Do continue with a high-protein feed so your chicks will grow well and remain healthy. As they reach maturity, gradually switch them over to an adult feeding program (see this page).
GROWING UP
When your chicks are a week or two old, they can spend short periods outdoors on warm days. You might, for instance, sit with them on the lawn.
If you have too many chicks to keep an eye on, or you don’t have time to watch over them, put them in a pen, such as the chicken tractor described on this page. An enclosed pen will protect them from cats and other predators that might wander by and will keep the chicks from wandering away. The chicks will safely and happily scratch in the dirt or peck at weeds and bugs. Move the pen each day, so the chicks will have a fresh place in which to scratch. Be sure to provide shade so the chicks can get out of the hot sun when they want to, and hustle them back to their indoor brooder if rain threatens.
As the weather warms and the chicks grow protective plumage, they may be left in an outdoor pen for progressively longer periods but still should be brought in on chilly nights. When the weather has warmed sufficiently, and the chicks have most of their feathers (at 4 to 6 weeks), you can put them out permanently. We check on our chicks several times during their first few nights out, to make sure that they aren’t huddling and smothering each other.
Chicks start thinking about perching as soon as their little wing feathers grow sufficiently to provide liftoff. Getting them into the habit of roosting early in their lives is a good idea, for at least two reasons. One is that, if you don’t provide proper perches, they will roost on top of the feeder and drinker and poop in their feed and water. Another reason is that chicks that are not acquainted with a perch may have a hard time catching on once they’re housed in a coop that’s equipped with one. So start early by outfitting the brooder with small, low roosting bars. The adorable sight of those mini chickens roosting just like the grown-ups is sure to put a smile on your face.
PECKING-ORDER SQUABBLES
By the time they reach about 6 weeks of age, chicks begin jostling for position in the pecking order, a system of social organization designed to minimize tension and stress by ensuring that every member of a flock knows its place. All the cockerels will establish their order from the most authoritative on down to the meekest. All the pullets will do the same. Between the male hierarchy and the female hierarchy, the system becomes rather more complex.
In a flock of mixed genders and ages, generally, the older cocks will be at the top of the pecking order, then the older hens, then the young cockerels, and, finally, the young pullets. As the cockerels and pullets mature, they will work their way up the ladder among the hens, and the cockerel that reaches the top will then start trying to work his way in among the mature roosters. An aging rooster or hen may eventually lose its top-dog position to a more vigorous, young upstart.
Whenever you bring new chickens into your flock, the pecking order will reorganize as the newcomers jostle to find their place. They won’t necessarily start at the bottom, and they are unlikely to find their way to the top any time soon.
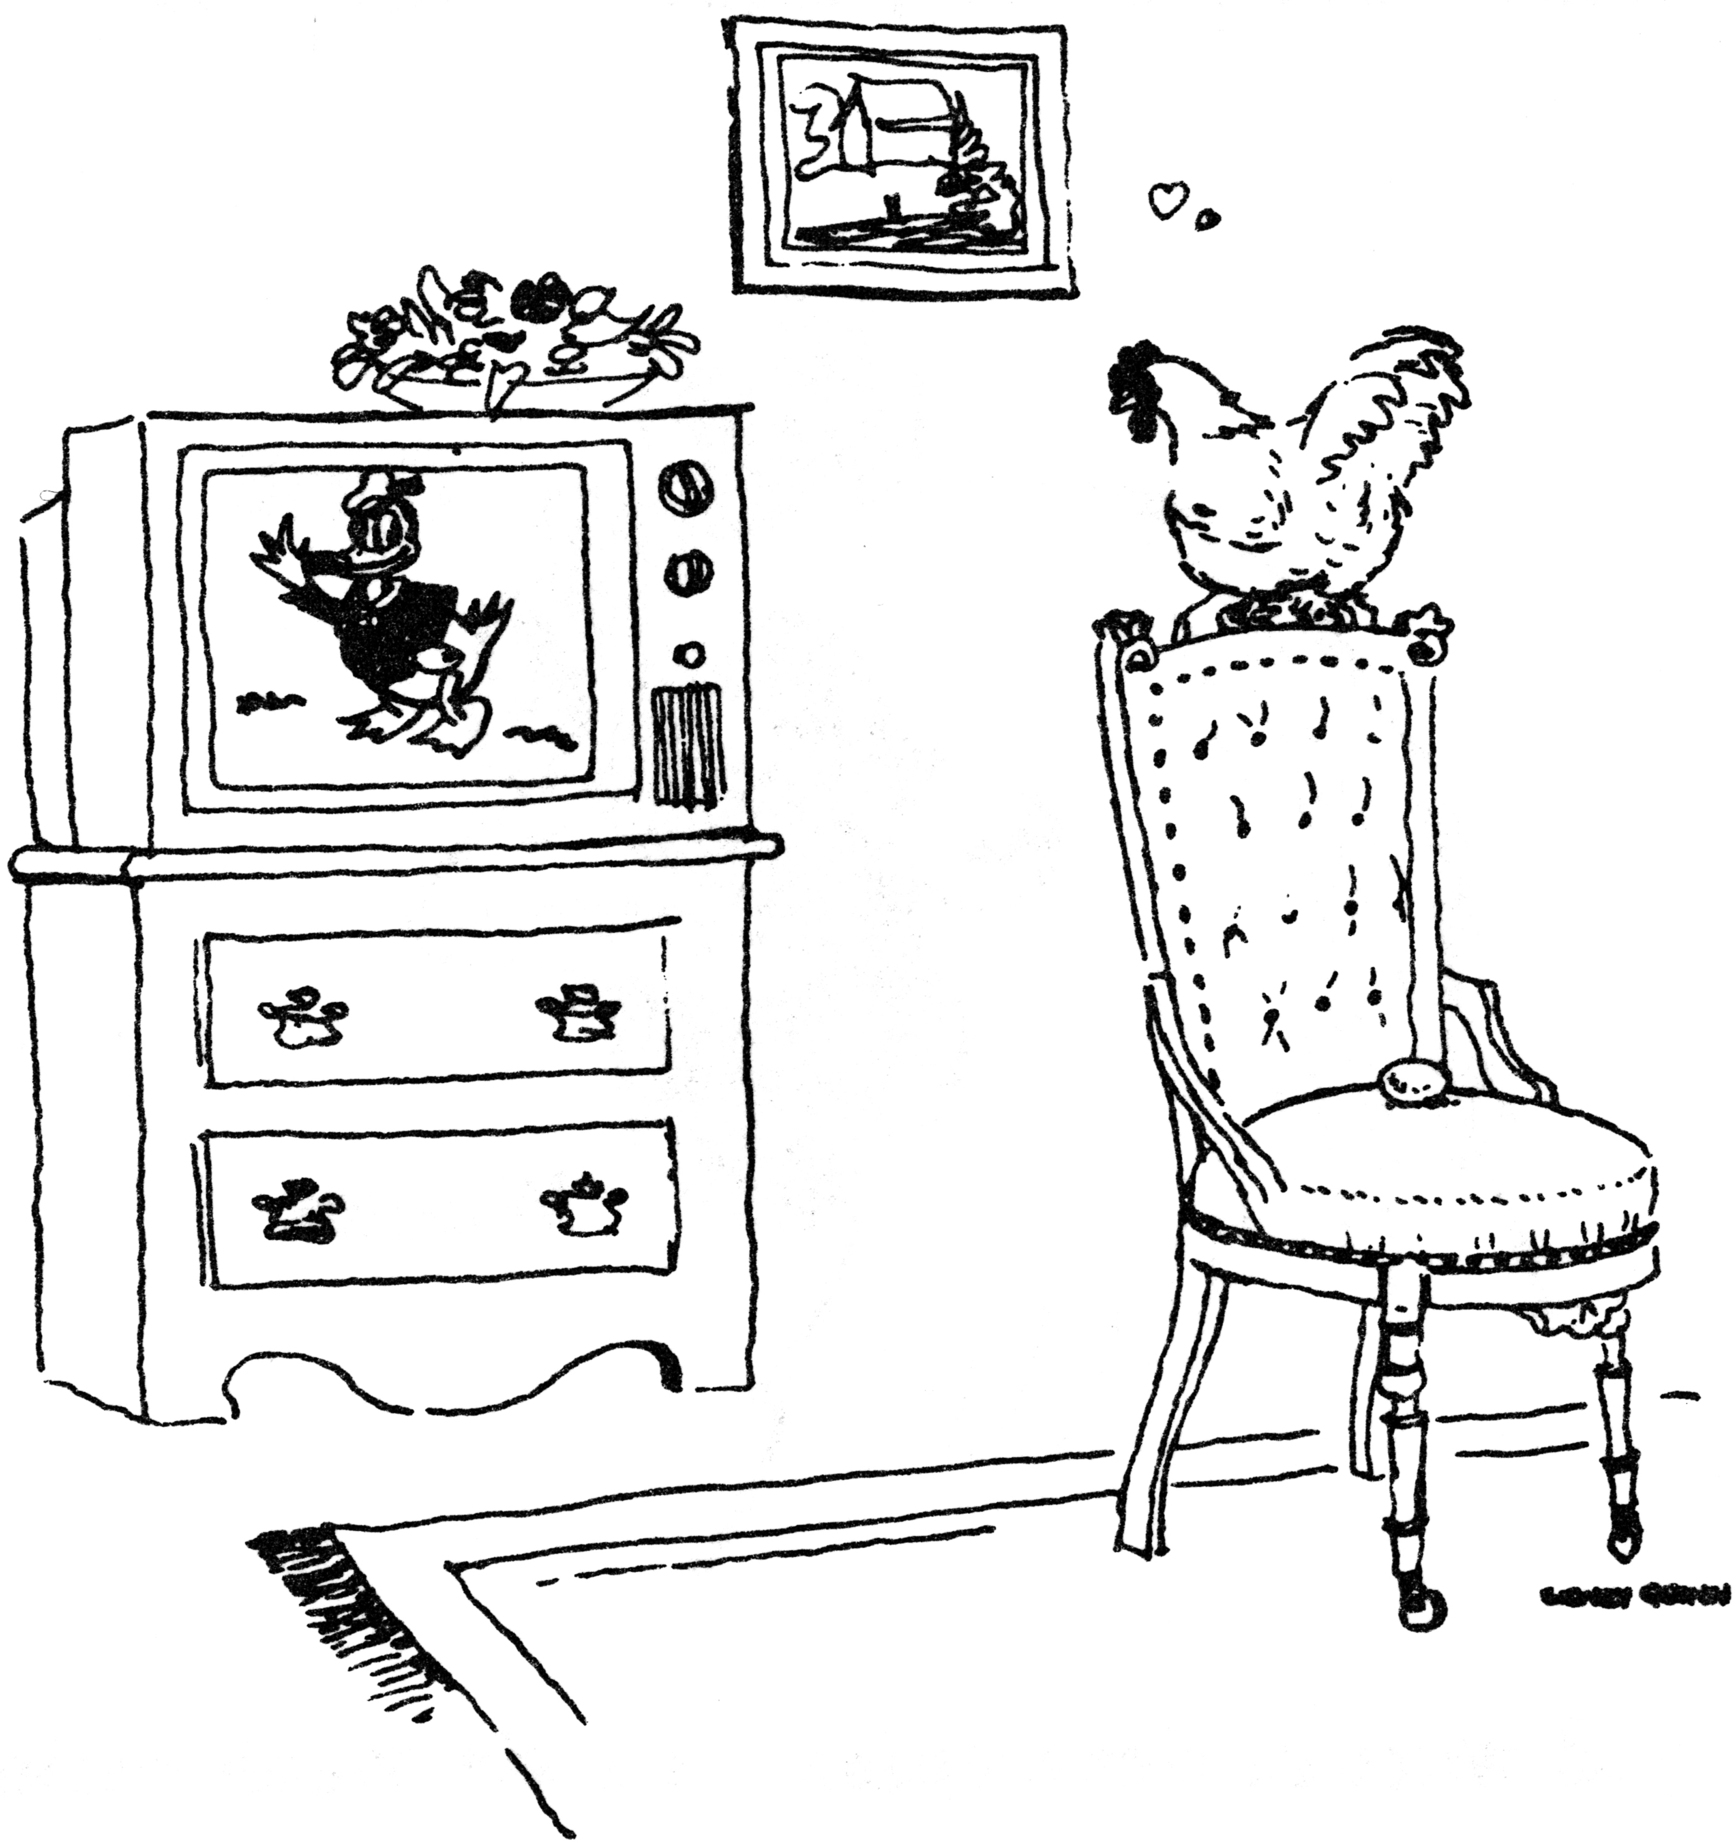
CHICKENS AS HOUSE PETS
We know several people who keep chickens as house pets. Since chickens are not easy to potty train, an entire industry has sprung up producing reusable designer diapers for house-bound hens. One breed, the tiny Serama, was created precisely for the enjoyment of apartment dwellers—chickendom’s answer to the cockatoo or parrot. Friends who keep house hens tell us that chickens are especially fond of watching television. We’ve not been tempted to keep a pet chicken inside our own house, but we once had a house rabbit, so who are we to pass judgment?
INTEGRATING FLOCKS
If your coop already houses mature chickens when your growing chicks are ready to move in, don’t summarily put them together, as the young ones will most likely get picked on. A better plan is to put the younger chickens into a roomy pen, coop, or cage inside or adjacent to the existing flock’s coop or yard. The two groups can then get acquainted through the cage wire or fence, which the newbies can move away from, should things get dicey.
If you have few chickens and lots of space, a system that works nicely is to move the old flock to the separate coop or adjacent run and let the new ones into the main area, which they can then explore unhindered. When the two groups are eventually brought together, the newbies will be less intimidated than they would have been had they both encountered strange chickens and a strange environment at the same time. Adding extra feeding and drinking stations for the combined group also helps reduce territorial conflicts, which often center on access to food and water.