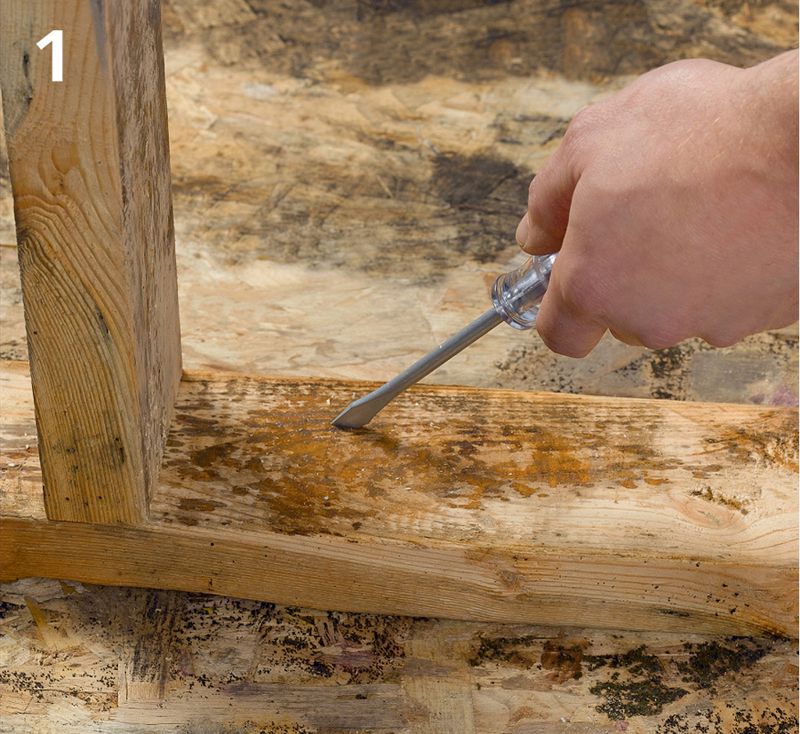
Prepare for the new tub. Inspect and remove old or deteriorated wall surfaces or framing members in the tub area. With today’s mold-resistant wallboard products, it makes extra sense to go ahead and strip off the old alcove wallcoverings and ceiling down to the studs so you can replace them. This also allows you to inspect for hidden damage in the wall and ceiling cavities.
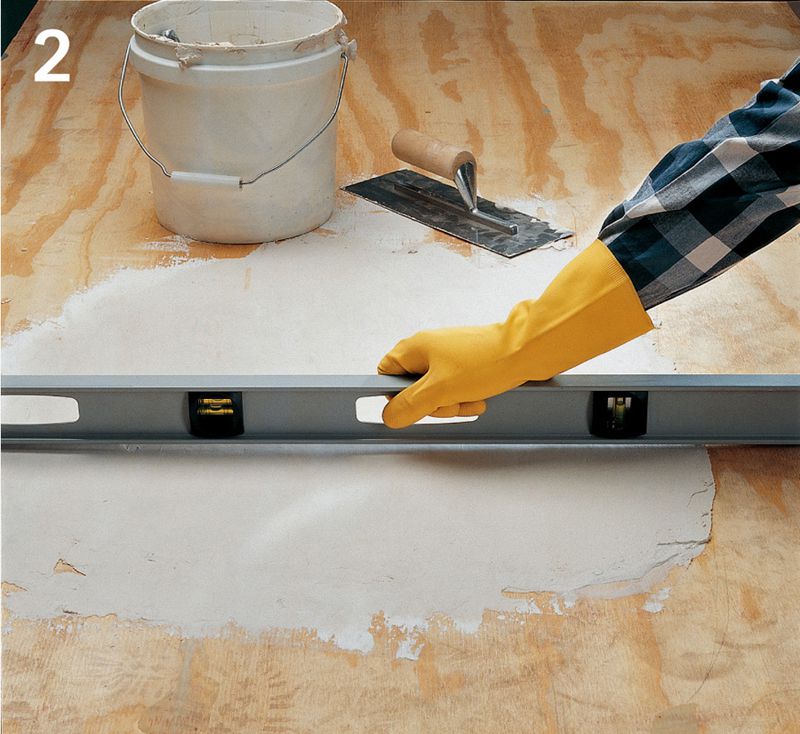
Check the subfloor for level—if it is not level, use pour-on floor leveler compound to correct it (ask at your local flooring store). Make sure the supply and drain pipes and the shutoff valves are in good repair and correct any problems you encounter. If you have no bath fan in the alcove, now is the perfect time to add one.
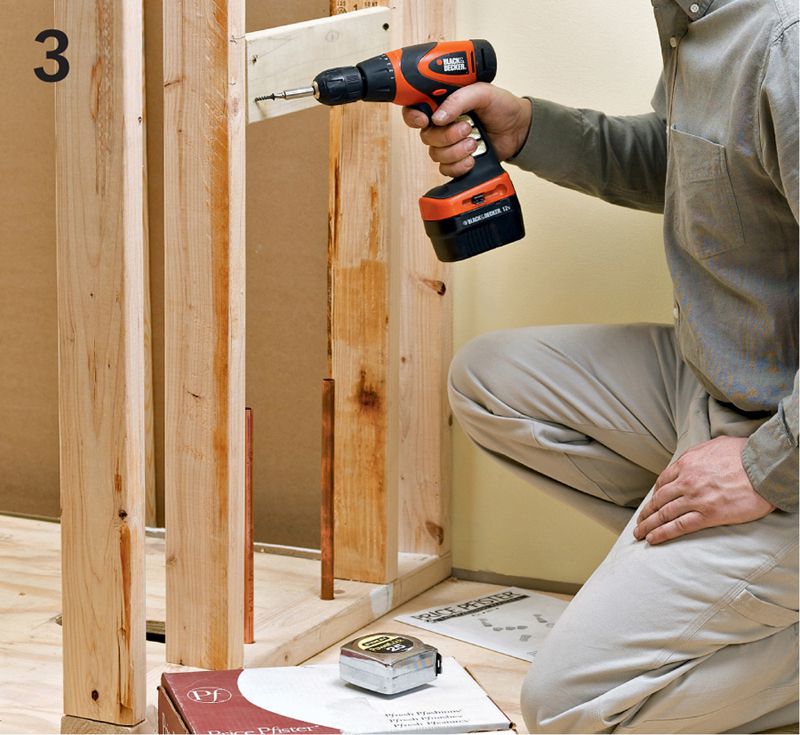
Check the height of the crossbraces for the faucet body and the showerhead. If your family members needed to stoop to use the old shower, consider raising the brace for the showerhead. Read the instructions for your new faucet/diverter and check to see that the brace for the faucet body will conform to the requirements (this includes distance from the surround wall as well as height). Adjust the brace locations as needed.
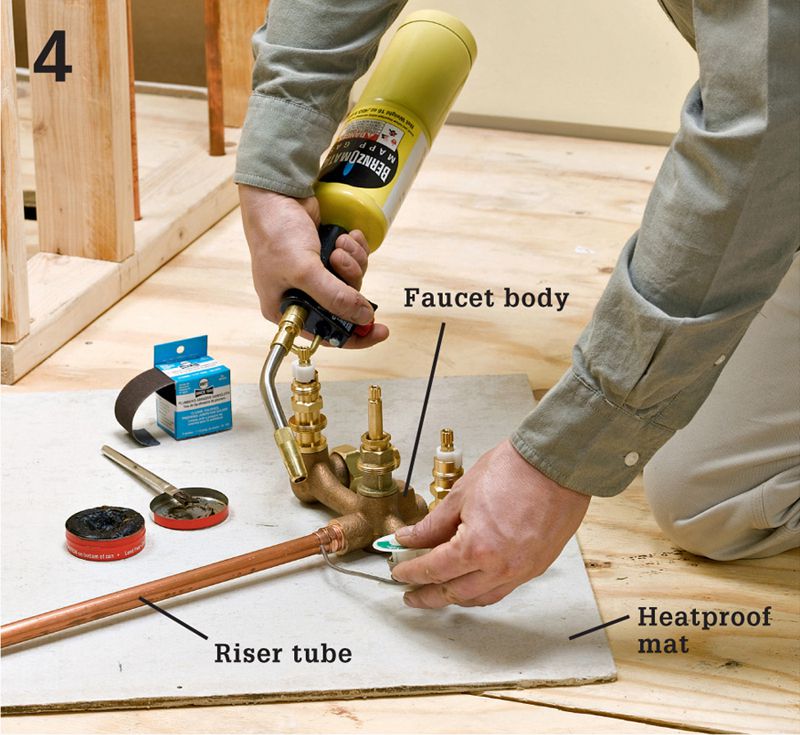
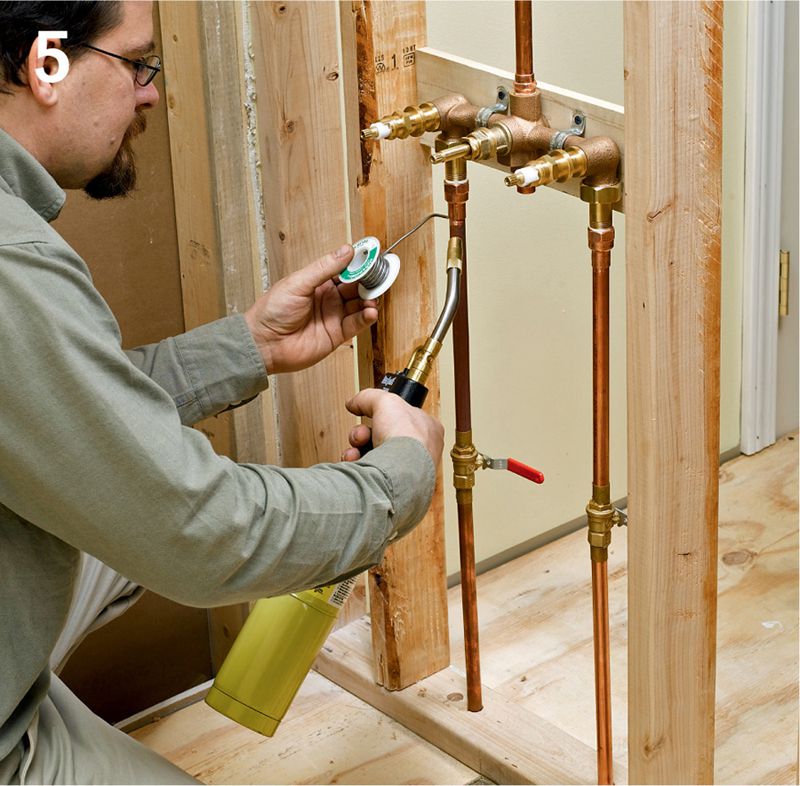
Begin by installing the new water supply plumbing. Measure to determine the required height of your shower riser tube and cut it to length. Attach the bottom of the riser to the faucet body and the top to the shower elbow.
Attach the faucet body to the cross brace with pipe hanger straps. Then, attach supply tubing from the stop valves to the faucet body, making sure to attach the hot water to the left port and cold to the right port. Also secure the shower elbow to its cross brace with a pipe strap. Do not attach the shower arm yet.
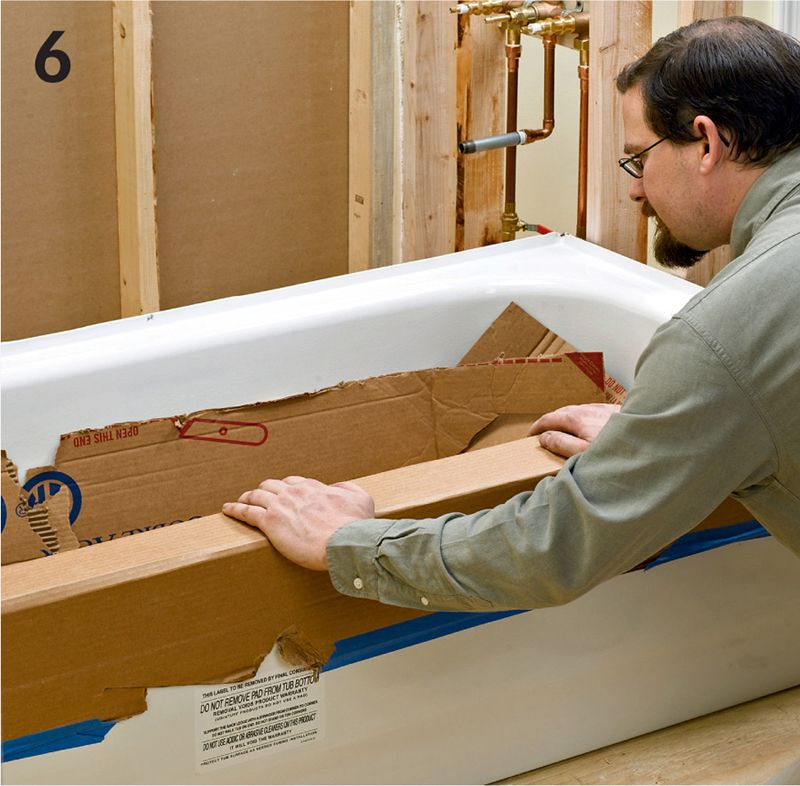
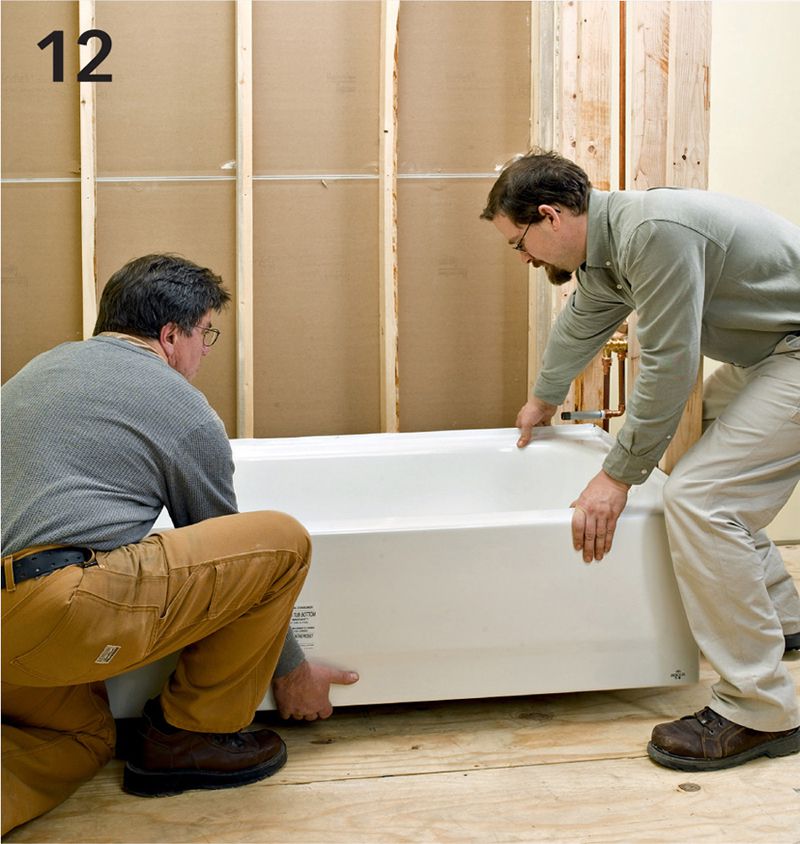
Slide the bathtub into the alcove. Make sure tub is flat on the floor and pressed flush against the back wall. If your tub did not come with a tub protector, cut a piece of cardboard to line the tub bottom, and tape pieces of cardboard around the rim to protect the finish from shoes and dropped tools.
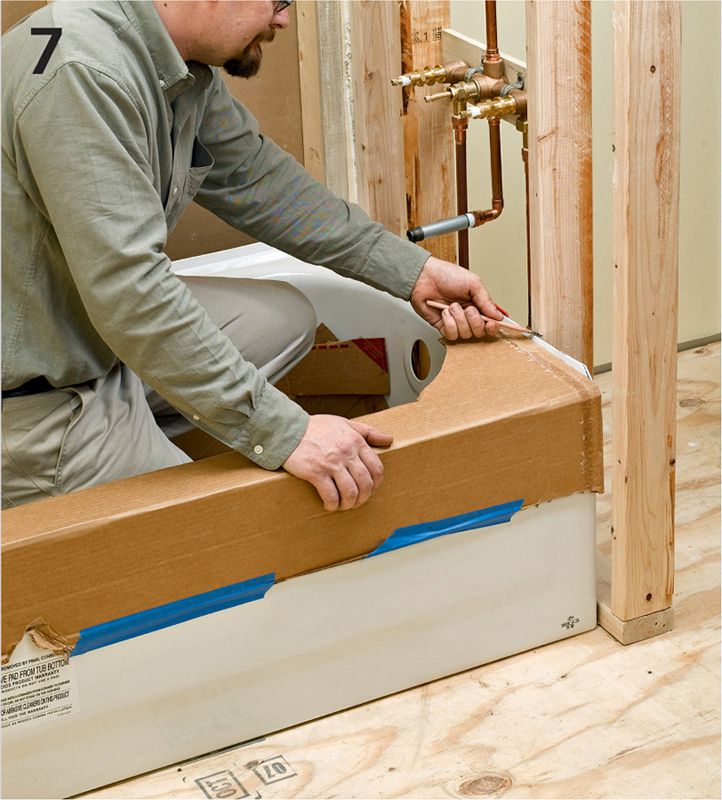
Mark locations for ledger boards. To do this, trace the height of the top of the tub’s nailing flange onto the wall studs in the alcove. Then remove the tub and measure the height of the nailing flange. Measure down this same amount from your flange lines and mark the new ledger board location.
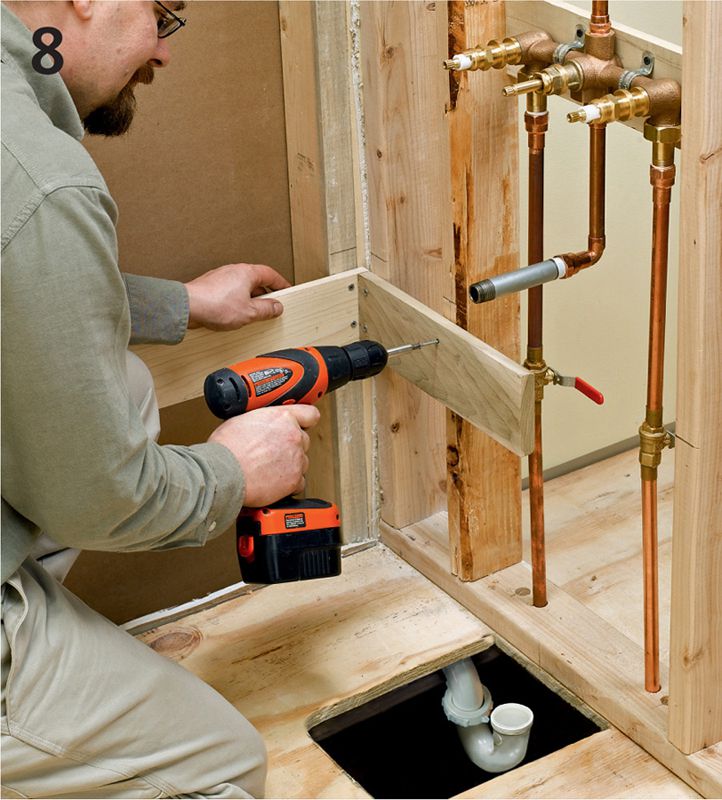
Install 1 × 4 ledger boards. Drive two or three 3"-galvanized deck screws through the ledger board at each stud. All three walls should receive a ledger. Leave an open space in the wet wall to allow clearance for the DWO (drain-waste-overflow) kit. Measure to see whether the drain will line up with the tub’s DWO. If not, you may need to cut and reassemble the drain.
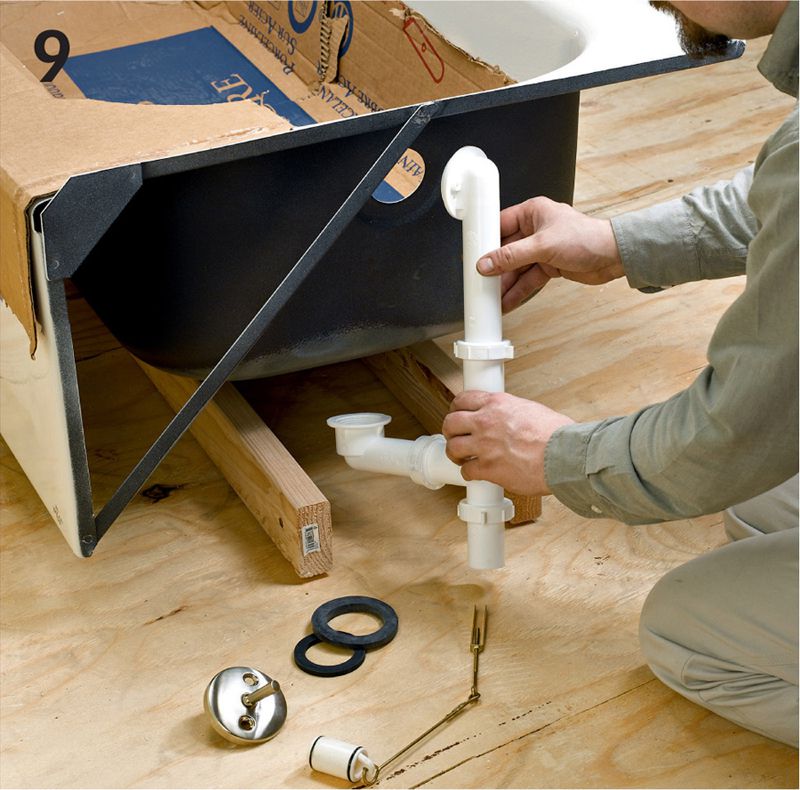
Install the drain-waste-overflow pipes before you install the tub. Make sure to get a good seal on the slip nuts at the pipe joints. Follow the manufacturer’s instructions to make sure the pop-up drain linkage is connected properly. Make sure rubber gaskets are positioned correctly at the openings on the outside of the tub.
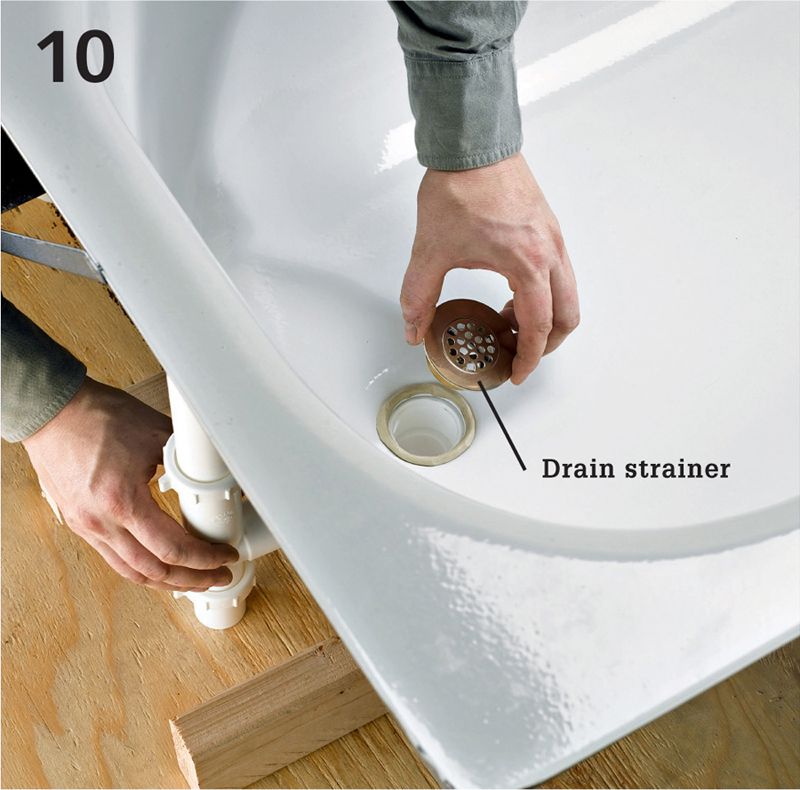
Thread the male-threaded drain strainer into the female-threaded drain waste elbow. Wrap a coil of plumber’s putty around the drain outlet underneath the plug rim first. Hand tighten only.
Attach the overflow coverplate, making sure the pop-up drain controls are in the correct position. Tighten the mounting screws that connect to the mounting plate to sandwich the rubber gasket snugly between the overflow pipe flange and the tub wall. Then, finish tightening the drain strainer against the waste elbow by inserting the handle of a pair of pliers into the strainer body and turning.
Working with a helper, place the tub in position, taking care not to bump the DWO assembly. If the DWO assembly does not line up with the drainpipe, remove the tub and adjust the drain location. Many acrylic, fiberglass, and steel tubs will have a much firmer feeling if they are set in a bed of sand-mix concrete. Check manufacturer’s instructions, and pour concrete or mortar as needed. Set the tub carefully back in the alcove.
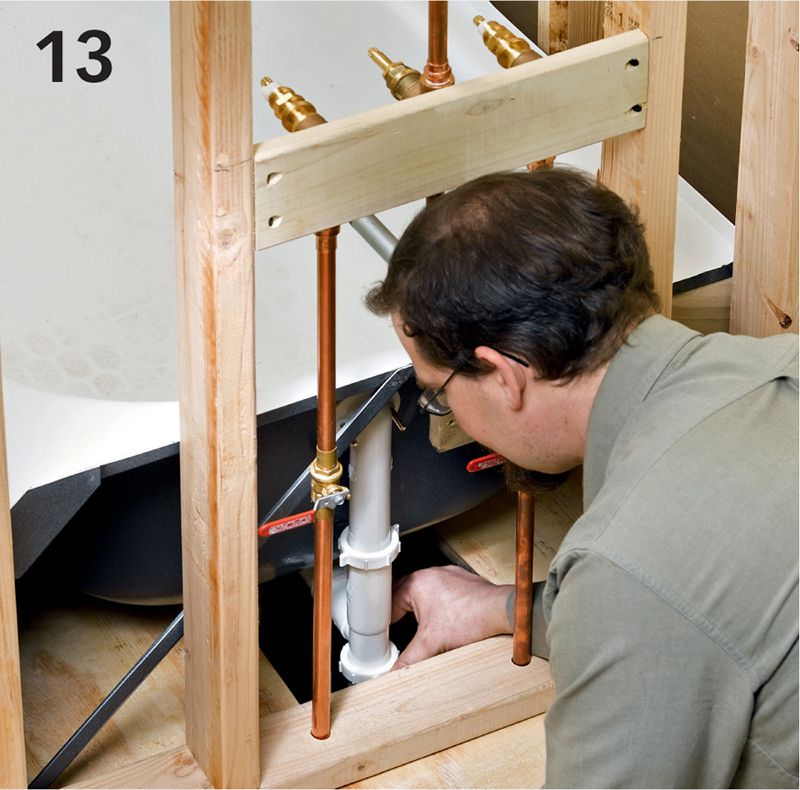
Attach the drain outlet from the DWO assembly to the drain P-trap. This is the part of the job where you will appreciate that you spent the time to create a roomy access panel for the tub plumbing. Test the drain and overflow to make sure they don’t leak. Also test the water supply plumbing, temporarily attaching the handles, spout, and shower arm so you can operate the faucet and the diverter.
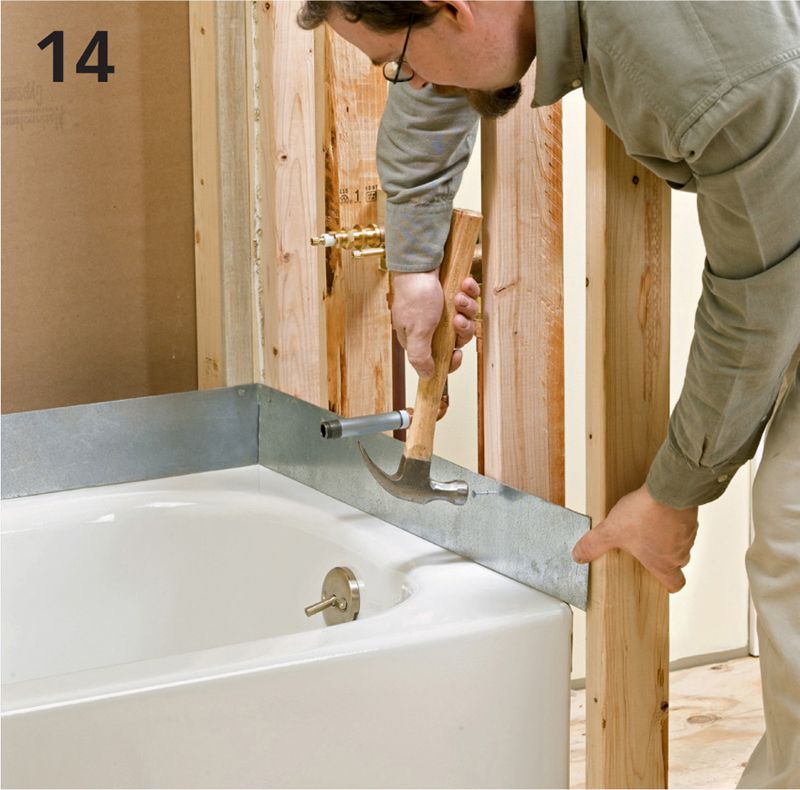
Drive a 1/2" galvanized roofing nail at each stud location, just over the top of the tub’s nailing flange. The nail head should pin the flange to the stud. Be careful here—an errant blow or overdriving can cause the enameled finish to crack or craze. Option: You may choose to drill guide holes and nail through the flange instead.
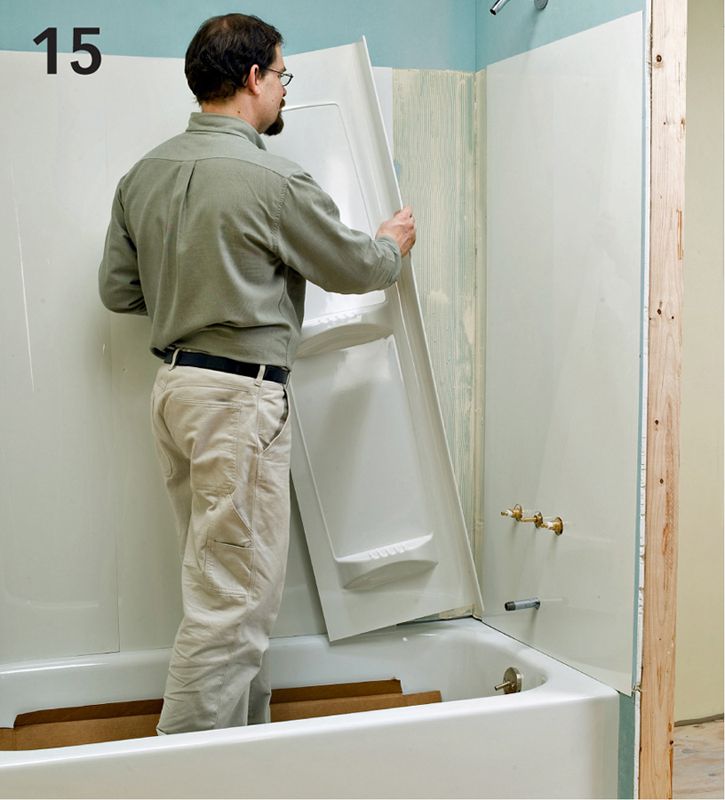
Install the wallcoverings and tub surround (see pages 386-390 for a 3-piece surround installation). You can also make a custom surround from tileboard or cementboard and tile.
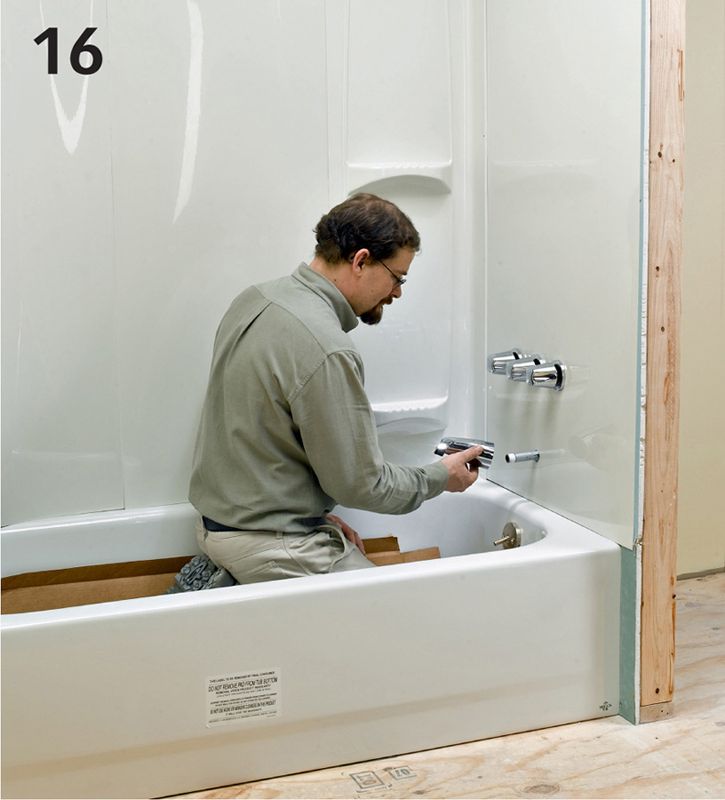
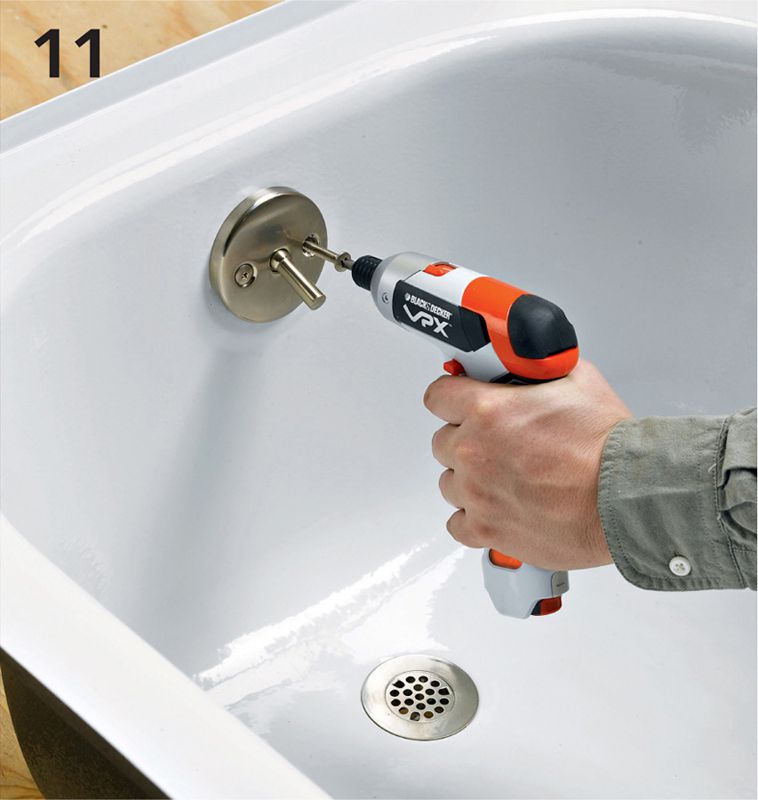
Install fittings. First, thread the shower arm into the shower elbow and attach the spout nipple to the valve assembly. Also attach the shower head and escutcheon, the faucet handle/diverter with escutcheon, and the tub spout. Use thread lubricant on all parts.