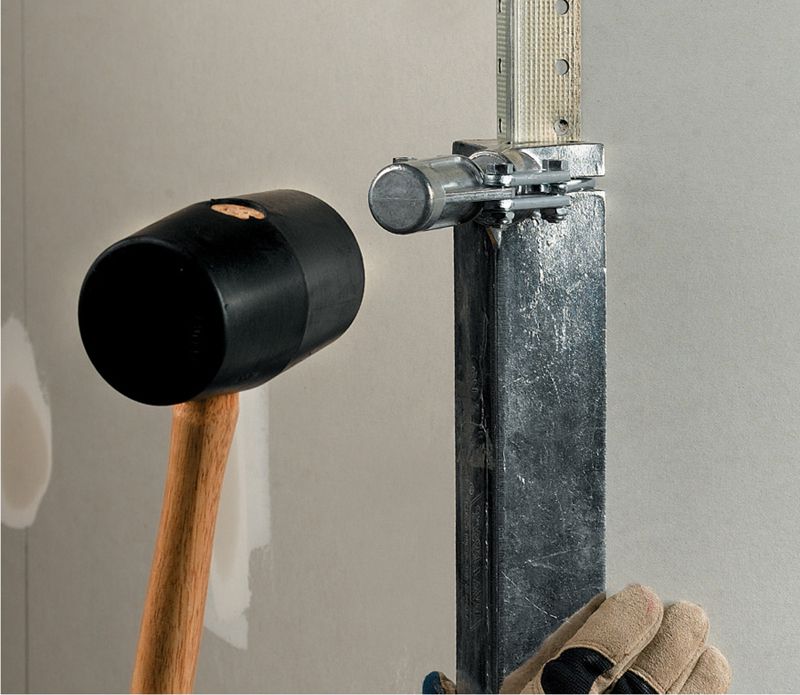
Metal corner bead installed over steel framing can be fastened using a crimper tool. Cut the bead to size and position in the corner (see step 1 below), then crimp every 4 to 6".
After the drywall is hung, the next step is to install corner bead to protect outside corners, soffits, drywall-finished openings, and any other outside angles. Corner bead provides a clean, solid-edge wall corner that can withstand moderate abuse. It is available in a variety of styles for a variety of applications (see page 101). The three most common types are metal, vinyl, and paper-faced beads.
Metal beads can be fastened with nails, screws, or a crimper tool. Vinyl beads are easily installed with spray adhesive and staples, or can be embedded in compound, similar to paper-faced beads.
A number of specialty beads are also available, including flexible archway beads for curved corners and J-bead for covering panel ends that meet finished surfaces. Decorative bullnose beads and caps for 2- and 3-way corners are easy ways to add interesting detail to a room.
Metal corner bead installed over steel framing can be fastened using a crimper tool. Cut the bead to size and position in the corner (see step 1 below), then crimp every 4 to 6".
Tools & Materials 
Work gloves
Eye and ear protection
Aviation snips
Screwgun or drill
Stapler
Hammer
Corner bead
1 1/4" drywall screws
1 1/2" ring-shank drywall nails
Spray adhesive
1/2" staples
Archway bead
Metal file
 HOW TO INSTALL METAL CORNER BEAD
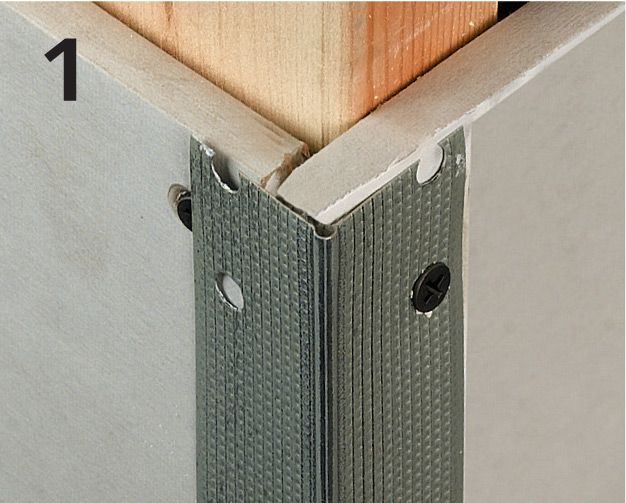
Cut metal corner bead to length using aviation snips, leaving a 1/2" gap at the floor. Position the bead so the raised spine is centered over the corner and the flanges are flat against both walls.
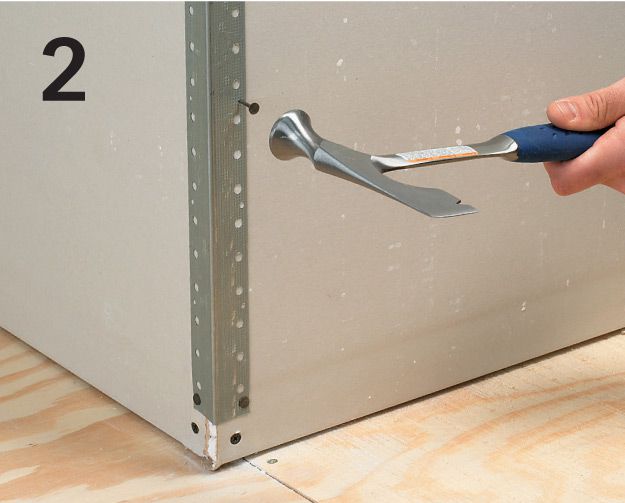
Starting at the top, fasten the bead flanges with drywall nails, driven every 9" and about 1/4" from the edge. Alternate sides with each screw to keep the bead centered. The screws must not project beyond the raised spine.
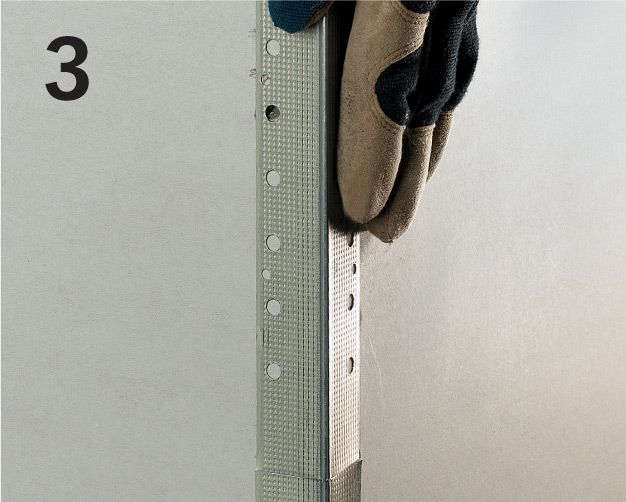
Use full lengths of corner bead where possible. If you must join two lengths, cut the two pieces to size, then butt together the finished ends. Make sure the ends are perfectly aligned and the spine is straight along the length of the corner. File ends, if necessary.
HOW TO INSTALL VINYL CORNER BEAD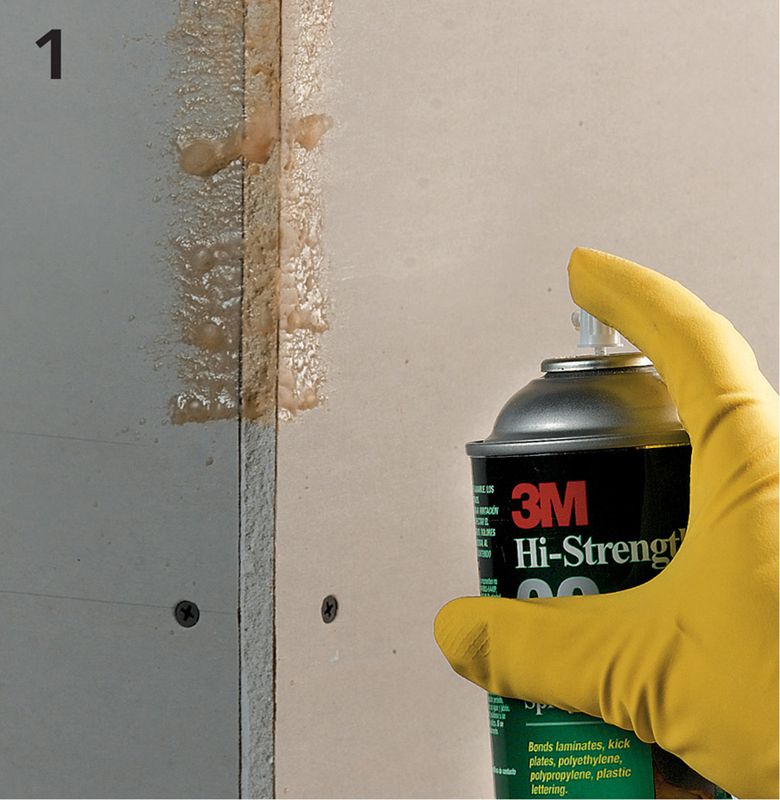
Cut vinyl bead to length and test fit over corner. Spray vinyl adhesive evenly along the entire length of the corner, then along the bead.
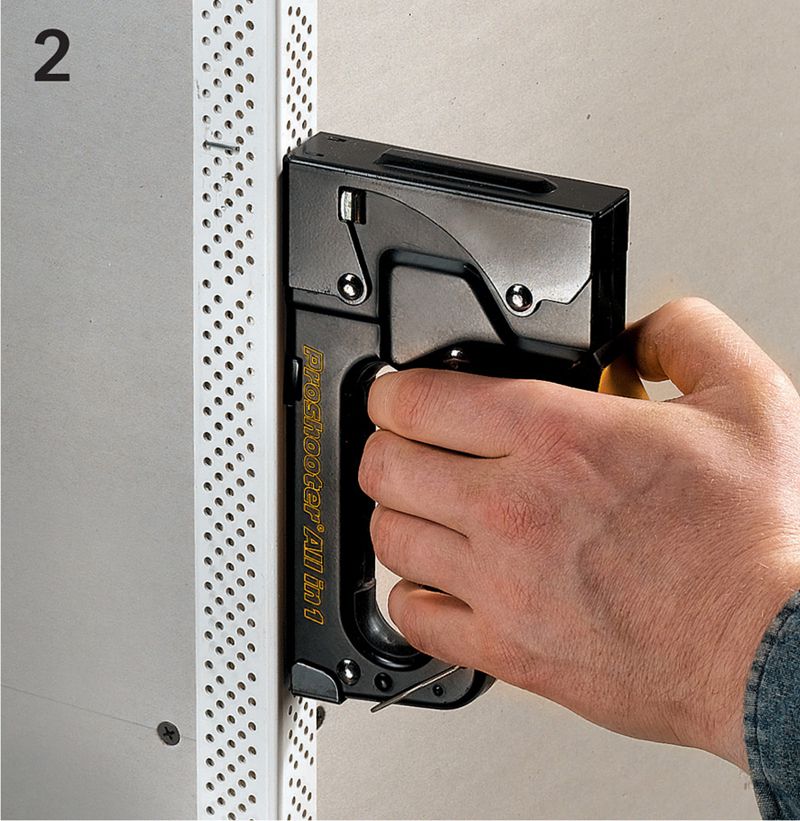
Quickly install the bead, pressing the flanges into the adhesive. Fasten the bead in place with 1/2" staples every 8".
HOW TO INSTALL CORNER BEAD AT THREE-WAY CORNERS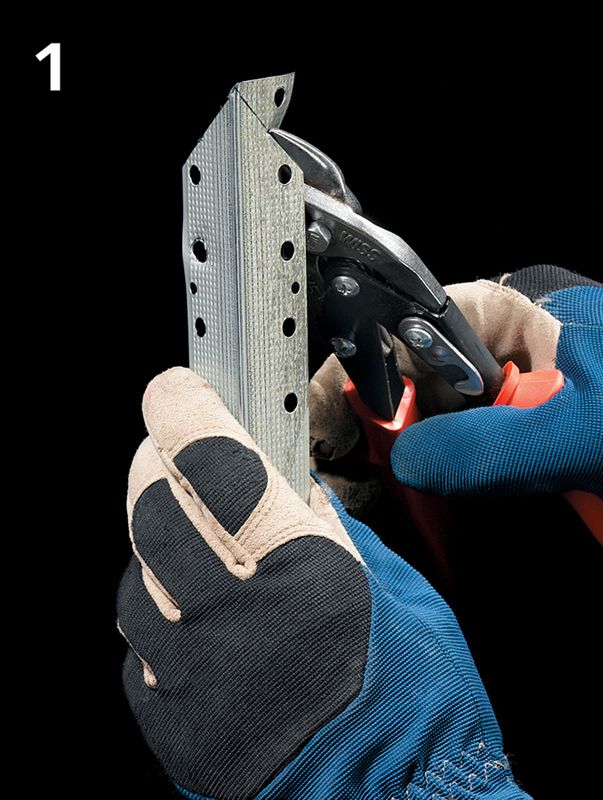
Where two or more outside corners meet, trim back the overlapping flanges of each bead to 45° mitered ends using aviation snips. The ends don’t have to match perfectly, but they should not overlap.
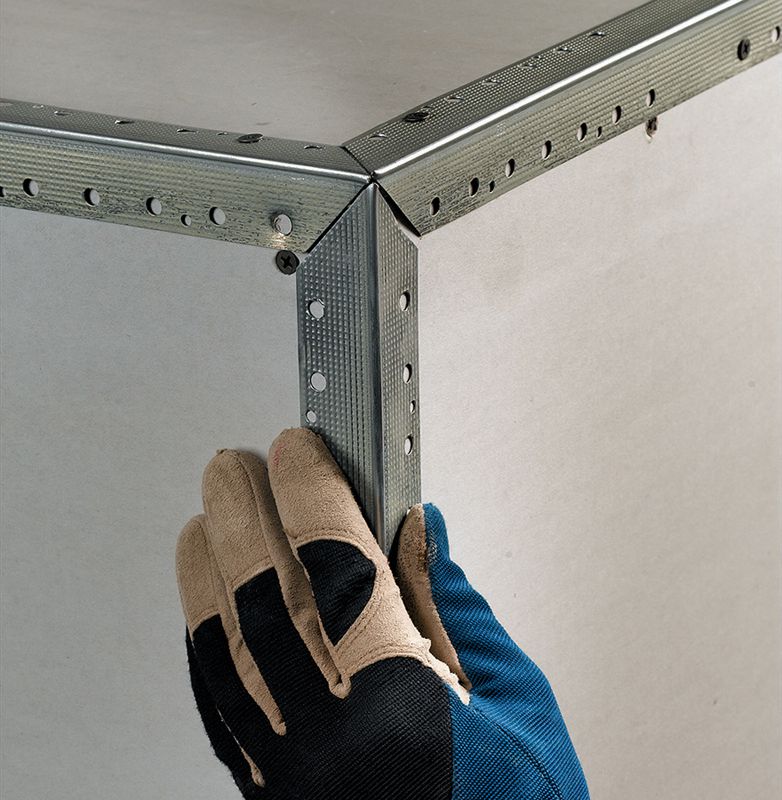
Fasten the first bead in place, then test fit each subsequent piece, trimming any overlapping flanges. Align the tips of the two pieces and fasten in place. Install additional beads in the same way.
File Edges 
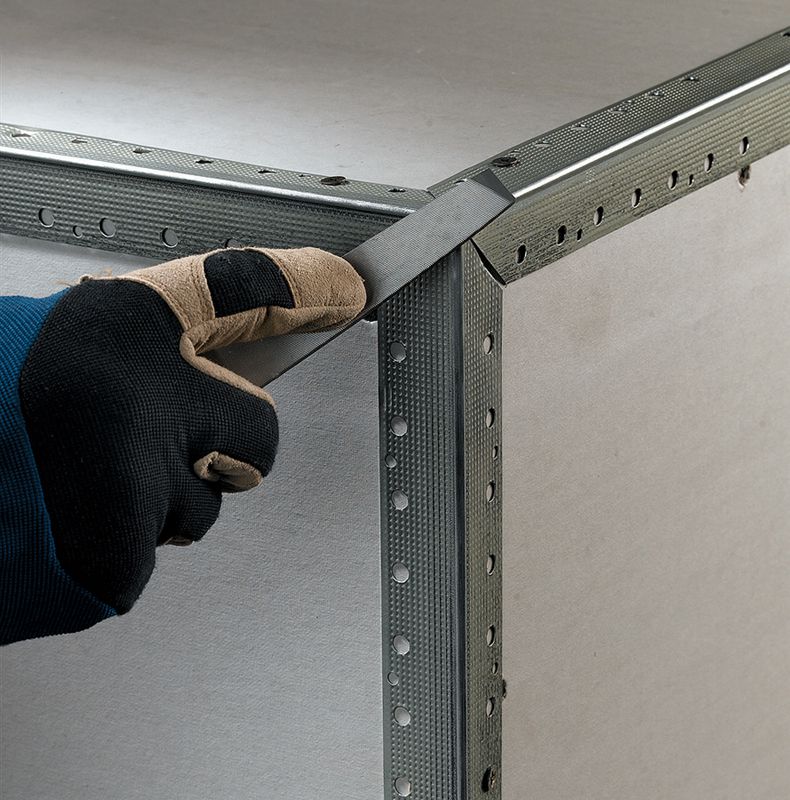
Blunt any sharp edges or points created by metal bead at three-way corners using a metal file.
HOW TO INSTALL FLEXIBLE BEAD FOR AN ARCHWAY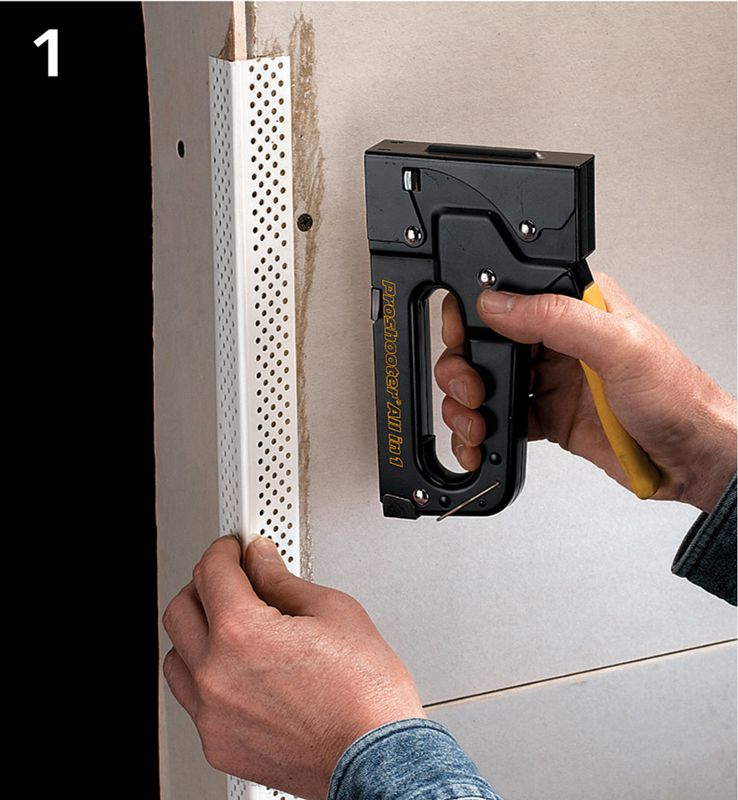
Install standard corner bead on the straight lengths of the corners (see pages 98 to 99) so it is 1/2" from the floor and 2" from the start of the arch.
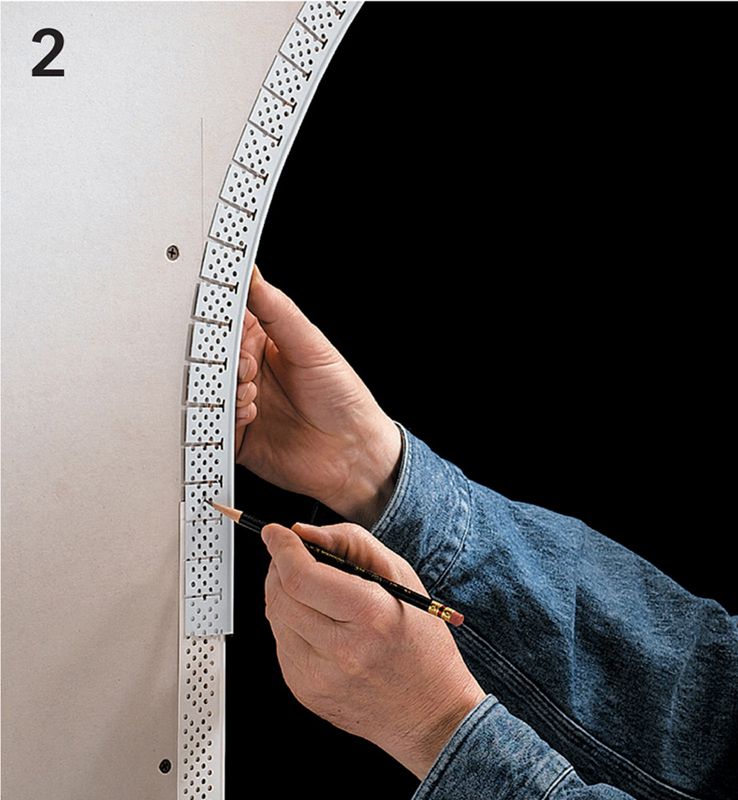
Flatten flexible vinyl bead along the archway to determine the length needed, then add 3". Cut two pieces of bead to this length, one for each side of the archway.

Spray one side of the archway with vinyl adhesive, then spray the bead. Immediately install the bead—work from one end, pushing the bead tight into the corner along the arch. Secure with 1/2" staples every 2". Trim the overlapping end so it meets the end of the straight length of corner bead.
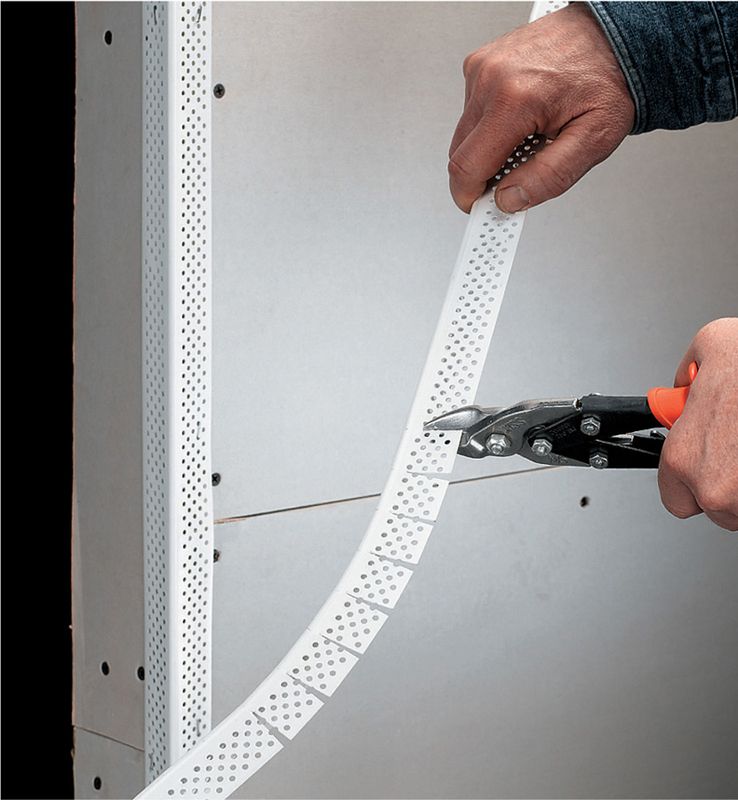
Variation: To substitute for flexible bead, snip one flange of standard vinyl bead at 1" intervals. Be careful not to cut into or through the spine.
HOW TO INSTALL L-BEAD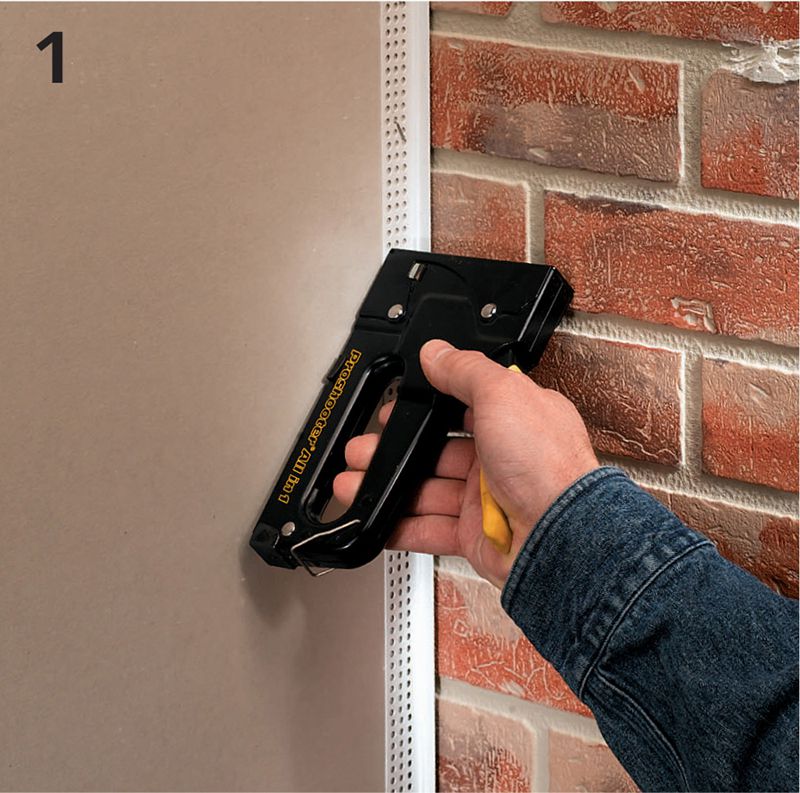
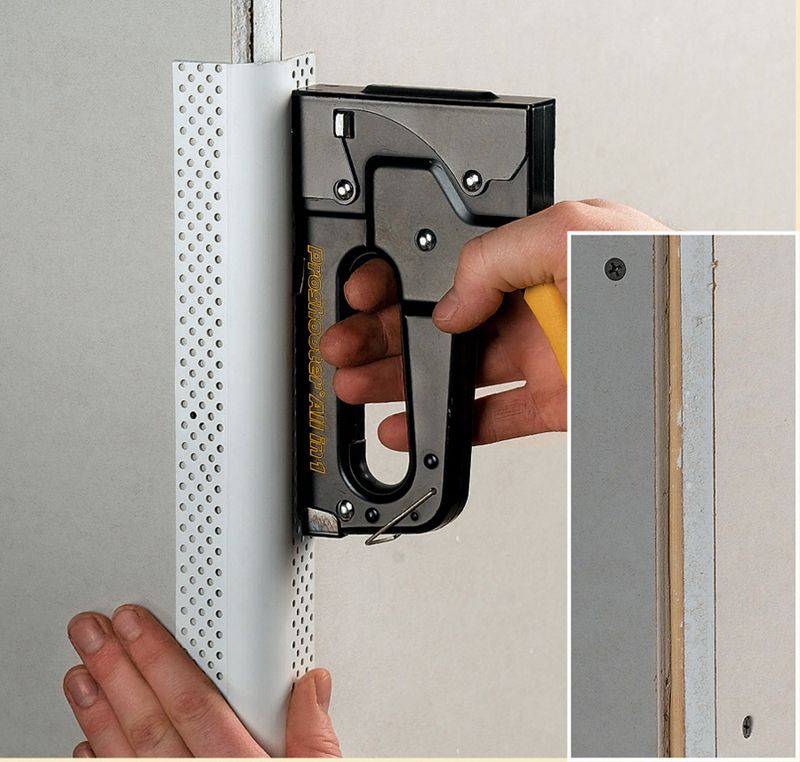
L-bead caps the ends of drywall panels that abut finished surfaces such as paneling or wood trim, providing a finished edge. The drywall is installed 1/8" from the finished surface, then the L-bead is positioned tight against the panel, so its finished edge covers the edge of the adjacent surface.

Fasten L-bead to the drywall with 1/2" staples or drywall screws every 6", then finish with a minimum of three coats of compound (see pages 126 to 129). After final sanding, peel back the protective strip to expose the finished edge of the L-bead.
Installing Vinyl Bullnose Corner Bead
Vinyl bullnose corner bead is installed with vinyl adhesive and 1/2" staples, just like standard vinyl bead (see page 99). However, bullnose beads that have shallow curves may require that the ends of drywall panels be cut back (inset).
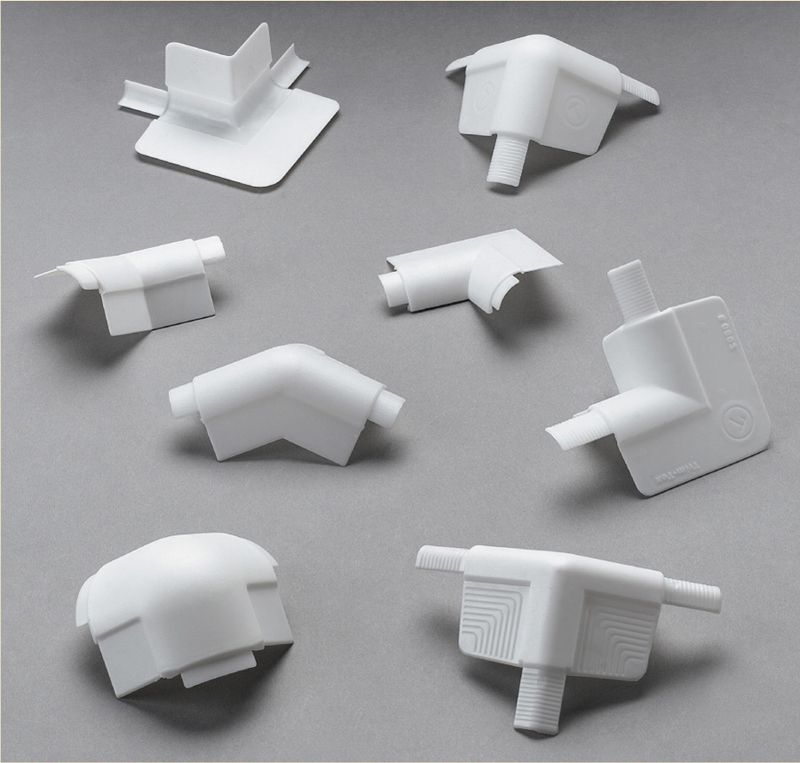
Drywall manufacturers offer a variety of corner caps to ease the process of finishing soffits and other openings trimmed out with bullnose corner bead.