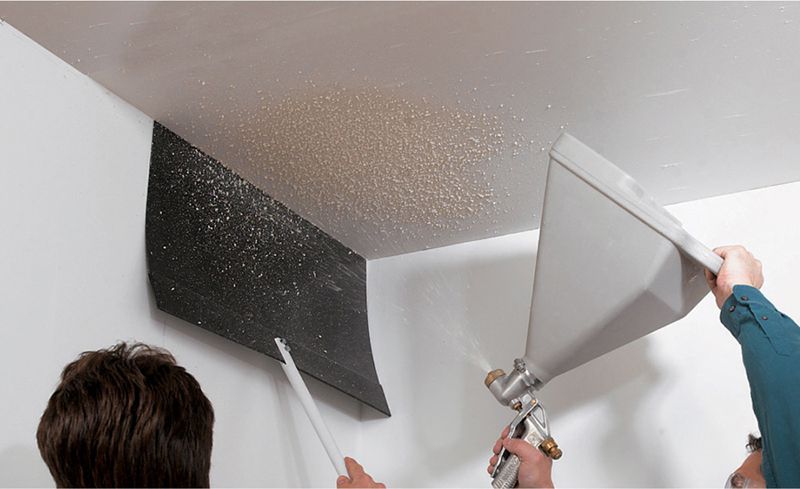
Use a spray shield to protect surfaces you don’t want to receive texture during the texture application process.
Textures may be applied with spray equipment, rollers, or trowels. These application methods create different looks. Spray equipment is expensive and requires some practice and skill to master. Still, spraying is the quickest application method, and equipment may be rented. Rolling is easy and safe and creates less mess, but is slower, does not work well with aggregated textures, and can be tricky on inside corners. Troweling is slower still, but works well for applying thick, smooth compound for deep texture effects.
When spraying or rolling, appropriate texturing compound is thinned to the consistency of pancake batter or thick paint. The best consistency is one that goes on smooth and doesn’t run. Use trial and error on scrap drywall to find this point. Carefully record the water-to-compound ratio that produces the best results, and do not vary this during a job. Set spray equipment air pressure and use nozzle heads according to recommendations from the manufacturer or rental agency. Always test spray on scrap drywall to fine tune the pressure, and then keep the settings consistent throughout the job.
Apply compound or texture evenly. Before tooling rolled or sprayed surfaces, let the material dry for 10 to 15 minutes to a dull sheen. At this point, the surface can be textured with a dry roller, lightly knocked down with a large knife or trowel, or twisted, swirled, and stippled into any number of patterns with any number of instruments. Repeat a pattern in a meticulously measured and regular way or make completely random patterns. Avoid patterns that start off regular and then disintegrate.
Use a spray shield to protect surfaces you don’t want to receive texture during the texture application process.
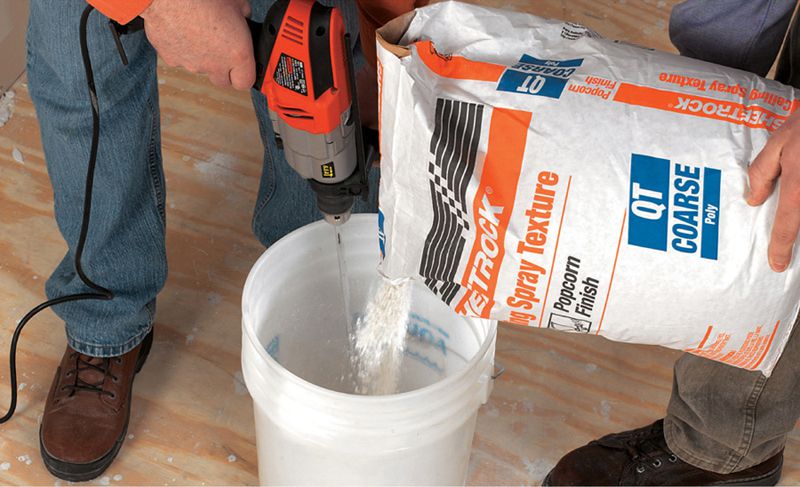
Mix texture compound in a bucket using a joint-compound-mixing paddle mounted in a 1/2" drill. Follow the directions on the bag. Powdered compounds usually have a rest time that follows mixing before application may occur.
 APPLYING A POPCORN CEILING TEXTURE
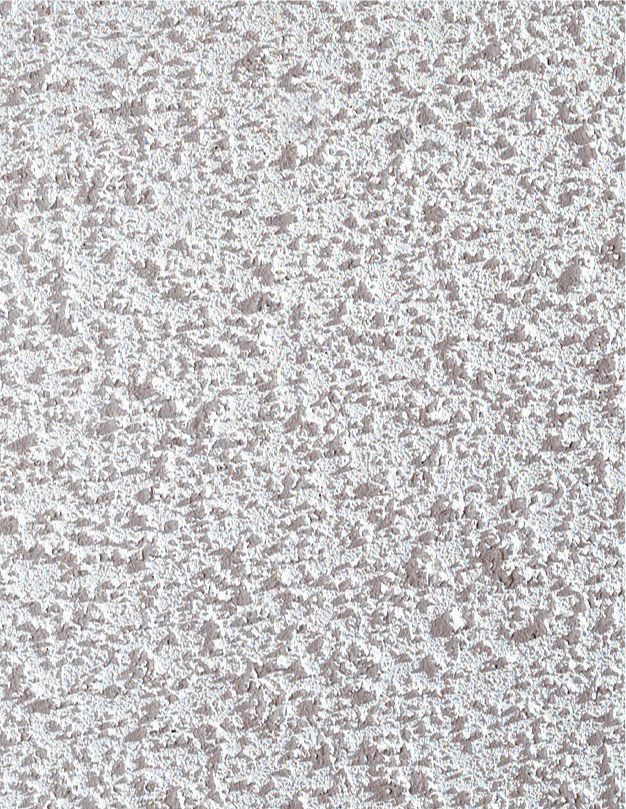
Popcorn texture is a popular treatment for ceilings. Its bumpy surface is created by tiny particles of vermiculite or polystyrene that give it sound-deadening properties. Mixtures are available in fine, medium, and coarse grades.
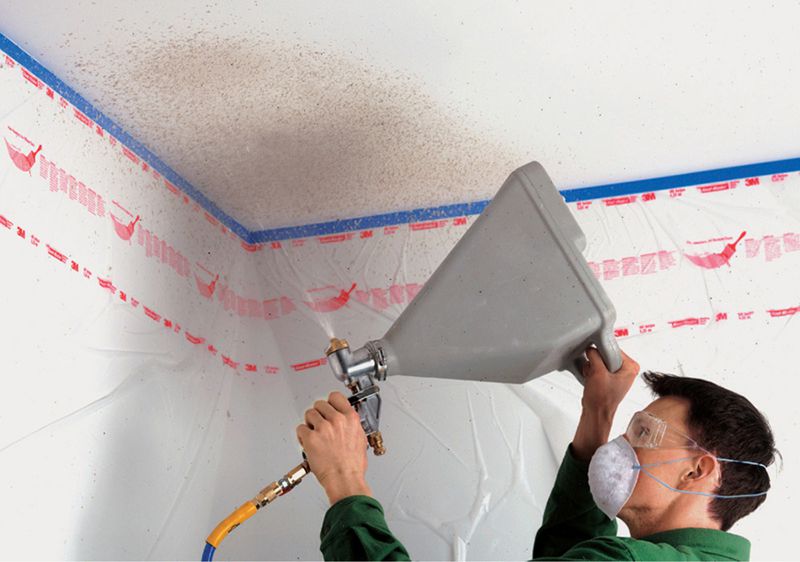
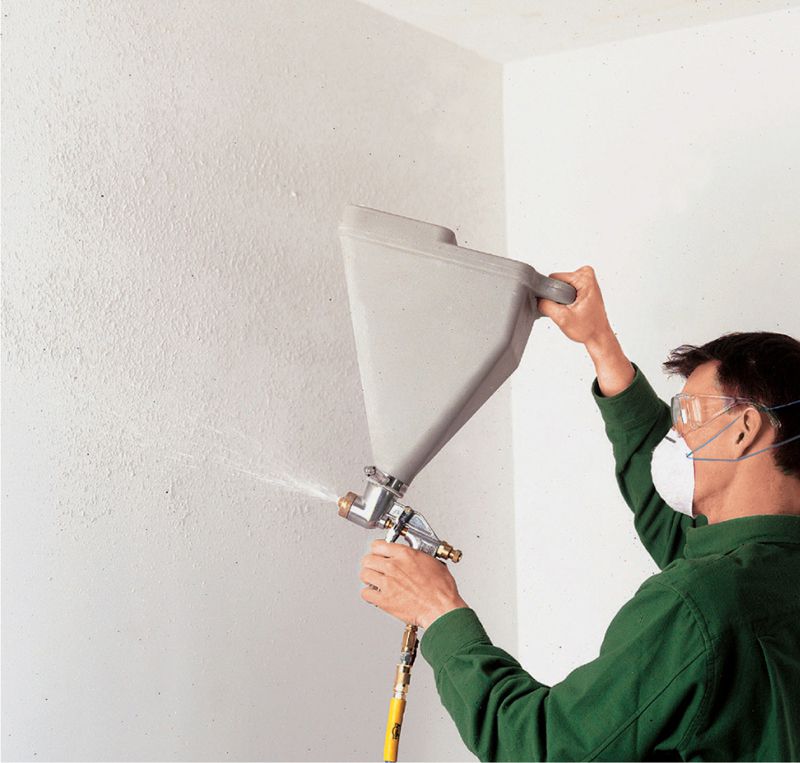
Mix the dry texture following the manufacturer’s directions, then load the hopper of the texture gun. Apply the texture, holding the gun 2 to 4 ft. below the ceiling. Spray in a side-to-side motion (not arching), leaving a thin, even layer over the entire ceiling. Immediately following the first layer, spray on a second thin layer, working in a direction perpendicular to the first. Allow the texture to dry. For a heavy texture, the manufacturer may recommend applying an additional coat.
APPLYING AN ORANGE PEEL TEXTURE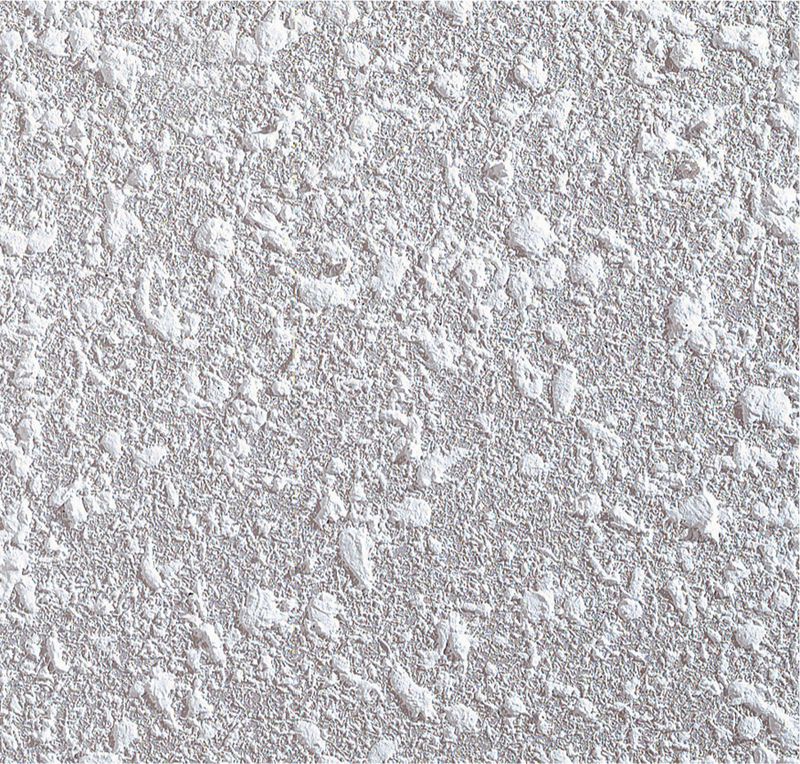
Orange peel textures are most commonly applied to walls. They have a distinctive, spattered look created by spraying a thin texturing product or water-thinned all-purpose drywall compound through a texturing gun. For a heavier spattered texture, repeat the step at right using less air pressure at the gun (atomizing air) and the compressor (feed pressure).
Mix the texture product or compound to the consistency of latex paint. Spray the surface with long, side-to-side strokes, keeping the gun perpendicular to the surface and about 18" away from it. To apply a heavy spatter-coat, let the surface dry for 10 to 15 minutes, then spray with random motions from about 6 ft. away.
CREATING A KNOCK-DOWN TEXTURE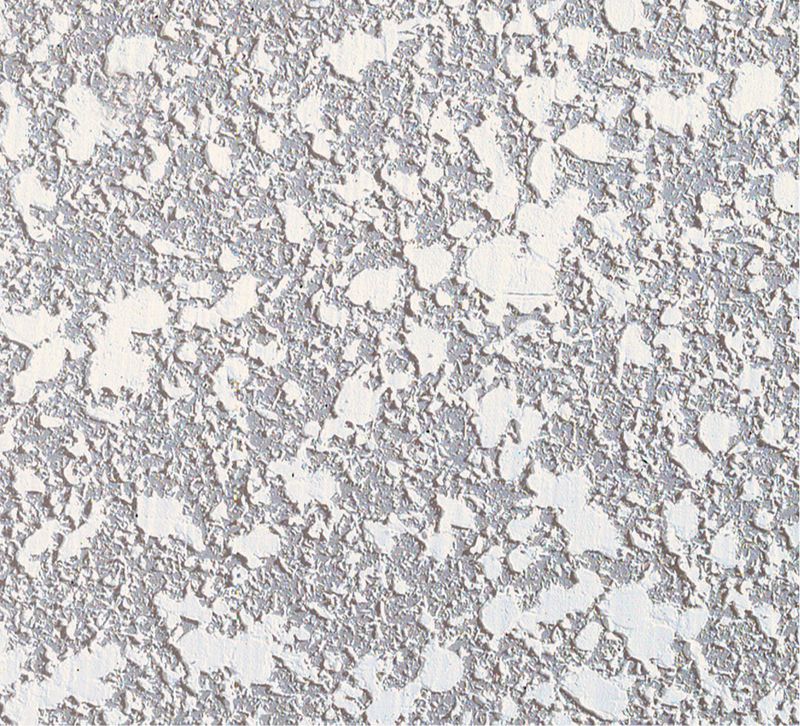
A knock-down texture is an orange peel texture that is partially smoothed with a drywall knife. Its relative flatness creates a subtle effect, and it’s easier to paint and maintain than the heavier textures, making it a good choice for walls. Because of the light troweling required, this texture works best on smooth, flat surfaces.
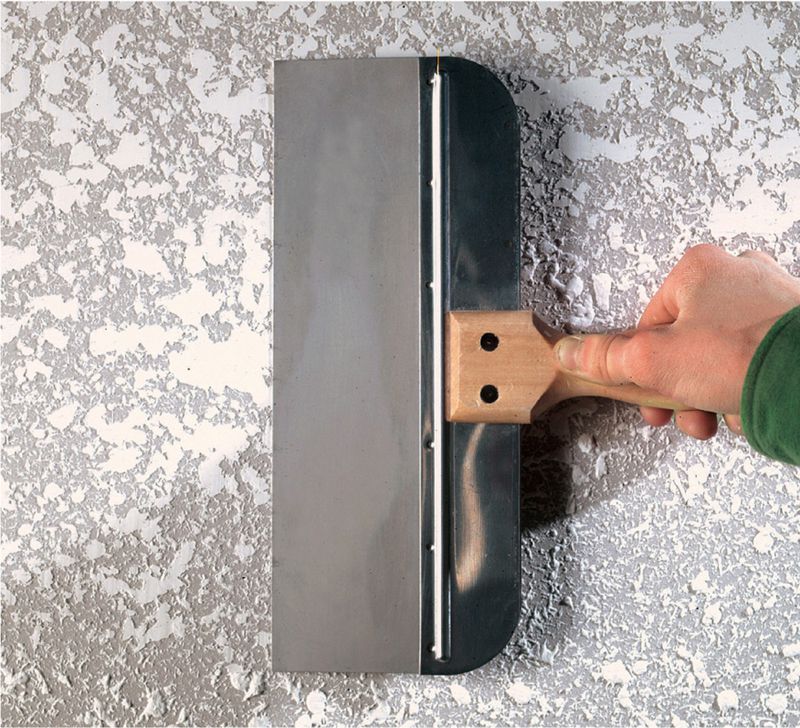
Mix the texture product or all-purpose drywall compound to pancake batter consistency. Spray-texture the entire surface following the orange peel procedure on page 107. Let the texture dry for 10 to 15 minutes, then lightly trowel the surface with a 12" or larger drywall knife. Hold the knife almost flat, and work perpendicularly to the drywall seams.
APPLYING A STIPPLE TEXTURE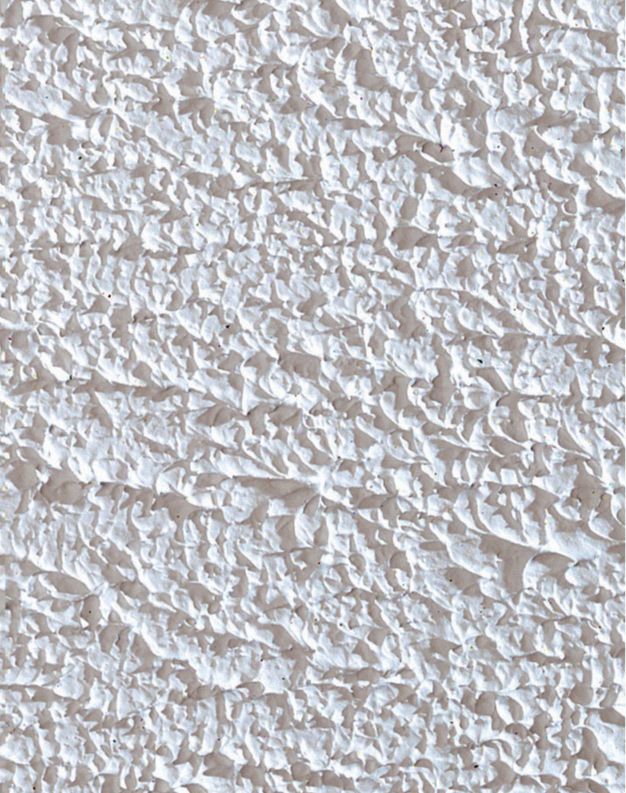
Stipple textures are made with a paint roller and texture paint or all-purpose drywall compound. Randomly shaped ridges have a noticeable grain orientation. The amount of texture is affected by the nap of the roller, which can vary from 1/4" to 1". Stippling can be knocked down for a flatter finish.
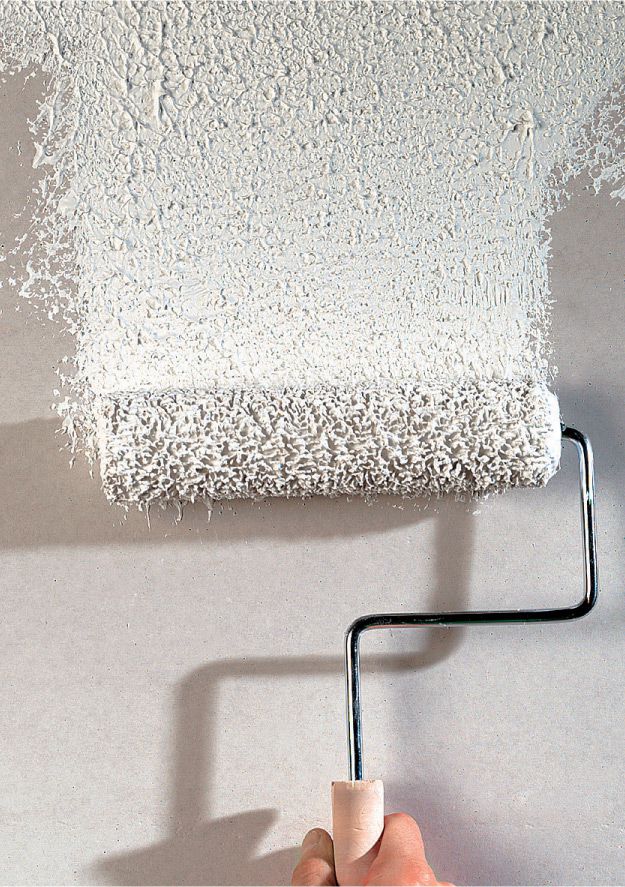
Mix paint or compound to a heavy latex-paint consistency. Coat the roller and roll the surface, recoating the roller as needed to create an even layer over the entire work area. Let the texture dry to a dull-wet sheen, then roll the surface again—without loading the roller—to create the finished texture.
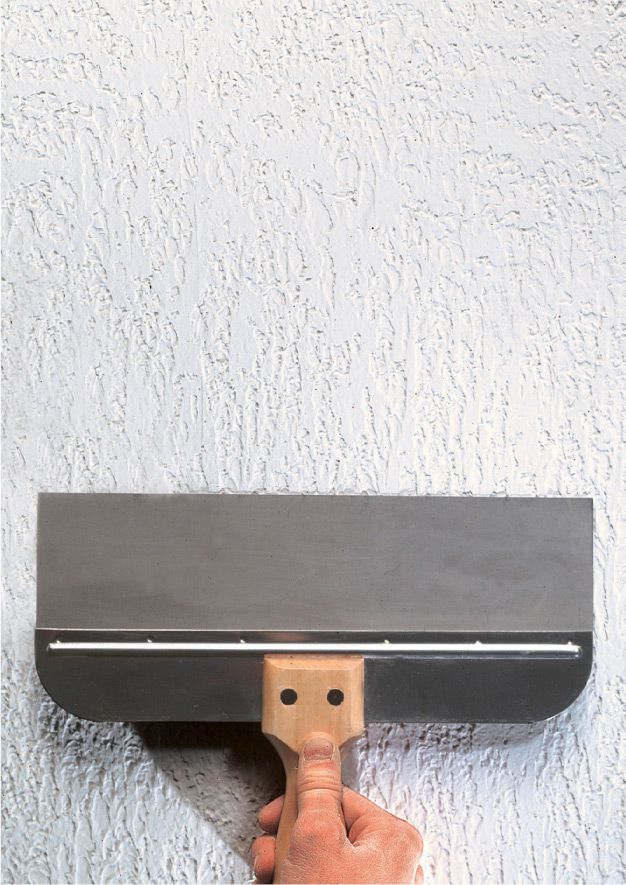
Variation: Knock down the stipple finish for a smoother texture. Apply the stipple texture with a roller, and let it dry for about 10 minutes. Smooth the surface with a 12" or larger drywall knife, holding the knife almost flat and applying very light pressure.
CREATING A SWIRL TEXTURE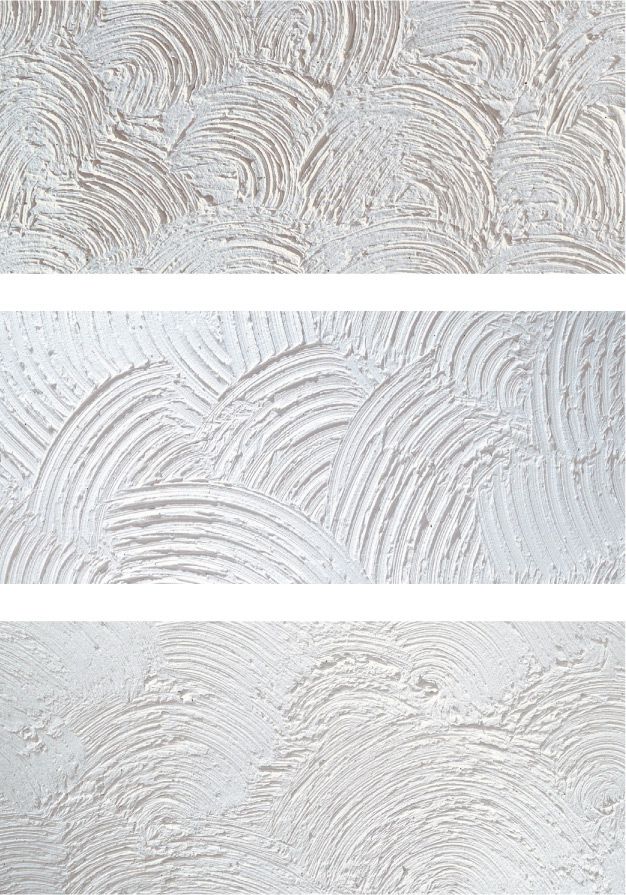
Swirl textures and other freehand designs can have the look of traditionally applied plaster. Swirls can be made with a wallpaper brush, whisk broom, or any type of raking or combing tool.
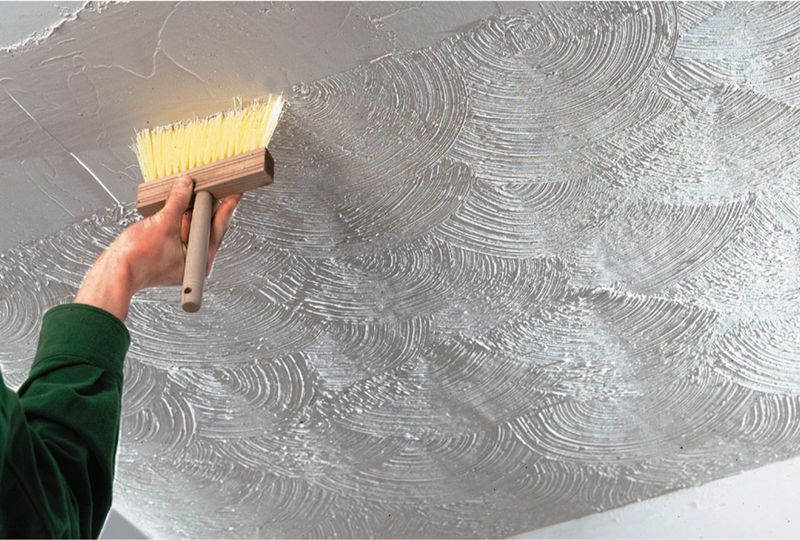
Mix the texture product or all-purpose drywall compound to a heavy latex-paint consistency. For a shallow texture, use a paint roller with a 1/2" nap to apply an even coat over the entire surface; for a deeper texture, apply an even, 1/8"-thick coat with a drywall knife. Let the surface dry to a dull-wet appearance. Brush the pattern into the material using arching or circular motions. Start at one end of the area and work backward, overlapping the starting and end points of previous swirls with each new row.
APPLYING A TROWELED TEXTURE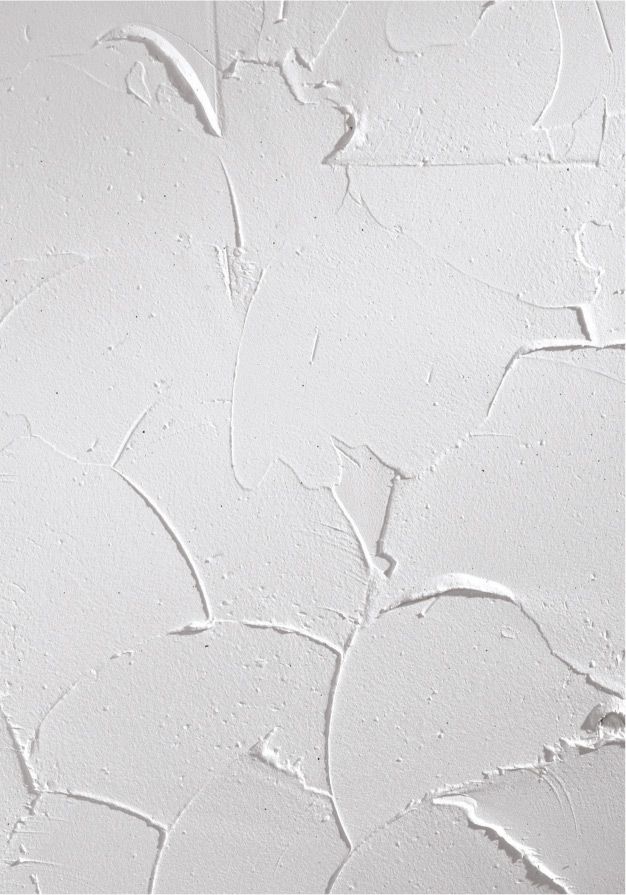
A troweled texture can have almost any design but should be applied with varied motions to create a random appearance. Premixed all-purpose drywall compound works well for most troweled textures, and it’s usually best to work in small sections.
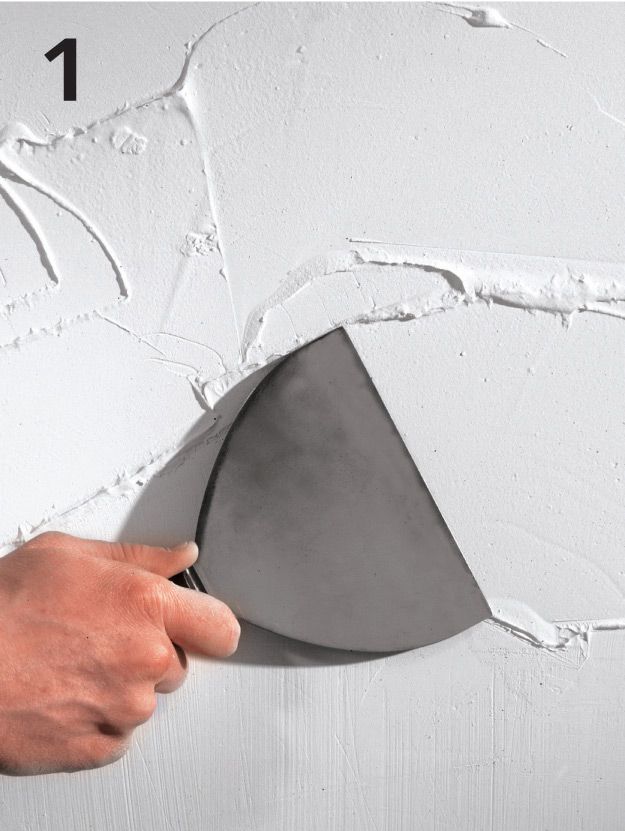
Apply the compound to the surface using a 6" or 8" drywall knife. Vary the direction of the strokes and the thickness of compound. If desired, stipple the surface by stamping the knife into the compound and pulling it away sharply.
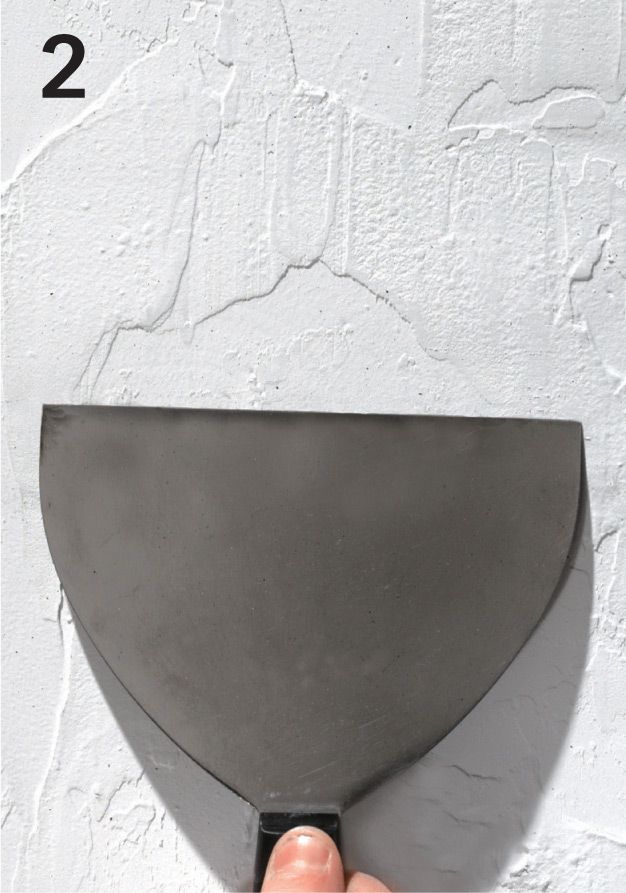
Partially smooth the surface using a 6", 8" or 12" knife. Flatten the tops of ridges and stipples without smoothing lower areas. When you’re satisfied with the design, repeat step 1 in an adjacent section, overlapping the edges of the textured area by a few inches.