Tools & Materials 
Hammer
Aviation snips
Tape measure
Chalk line
Fascia
Aluminum trim nails
Protective equipment
Fascia fits under the drip edge and against the subfascia to provide a smooth transition from the roof to the eaves. You may need to temporarily remove any nails in the face of the drip edge so the fascia can slide in behind it. If your roof does not have drip edge, install a finish trim, such as undersill, at the top of the subfascia to receive the fascia.
If you’re also replacing your gutters, take down the gutters first, then install the fascia. If you don’t want to remove the gutters, you can slip the fascia behind them while they’re in place.
Fascia is nailed along the lip covering the soffits, and the top is held in place by the drip edge, so it doesn’t require any face nailing.
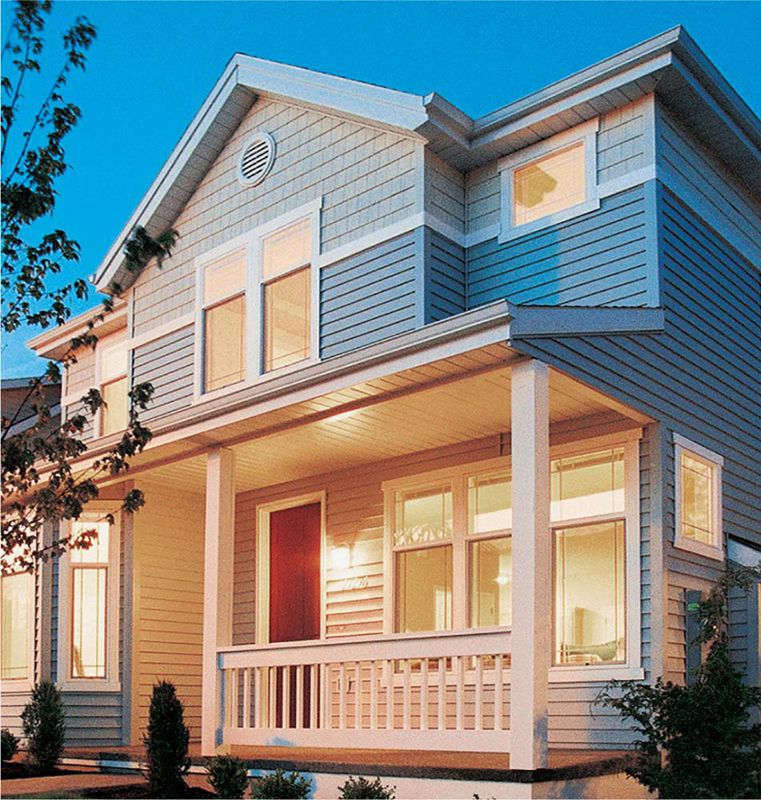
The fascia is installed over the subfascia to cover the exposed edges of the soffits and enhance the appearance of your home. The fascia is usually the same color and material as your soffits.
 HOW TO INSTALL ALUMINUM FASCIA
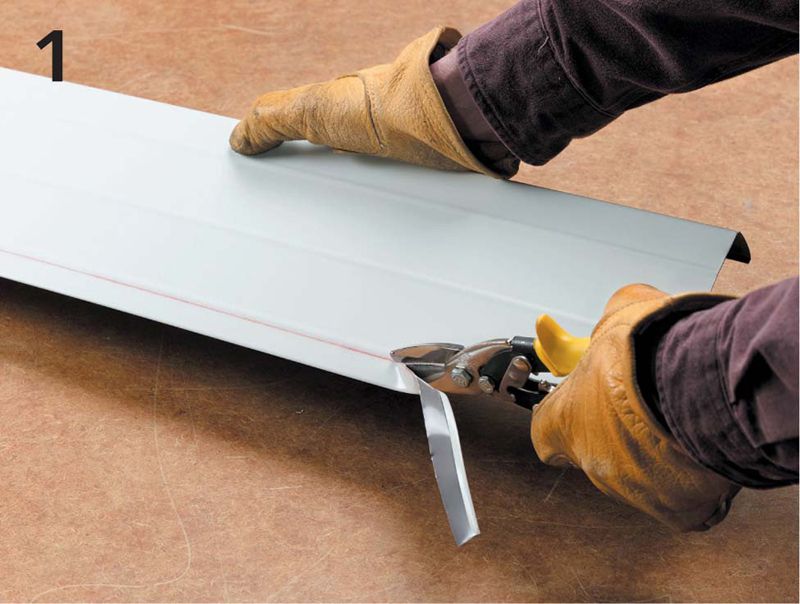
Remove the old fascia, if necessary. Measure from the top of the drip edge to the bottom of the soffits, and subtract 1/4". Cut the fascia to this measurement by snapping a chalk line across the face and cutting with aviation snips. (This cut edge will be covered by the drip edge.) Tip: If your old fascia is wood and still in good shape, you can install aluminum fascia over it without removing it.
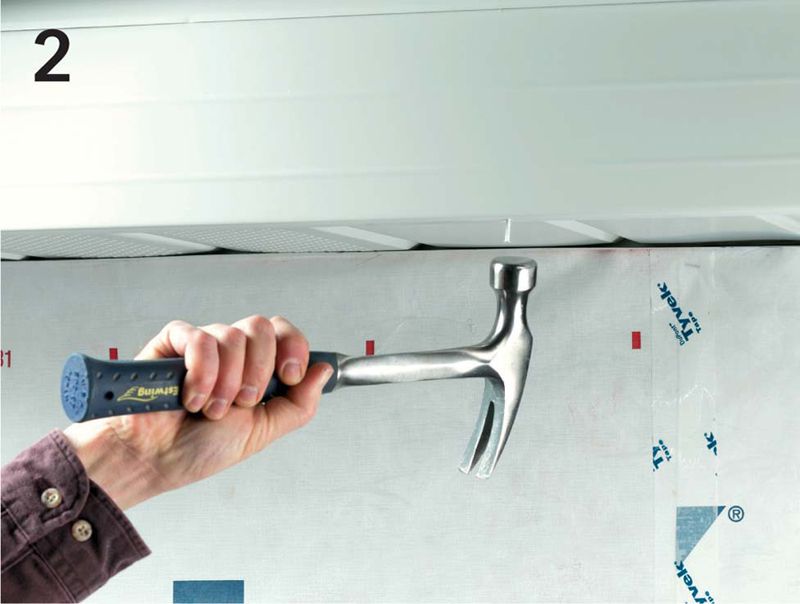
Slide the cut edge of the fascia behind the drip edge. Place the bottom lip over the soffits. Make sure the fascia is tight against the soffits and against the subfascia, then nail through the lip into the subfascia. Nail approximately every 16” at a V-groove location in the soffits.
To overlap fascia panels, cut the ridge on the lip of the first panel 1” from the end using aviation snips. Place the second panel over the first, overlapping the seam by 1”. Nail the fascia in place.
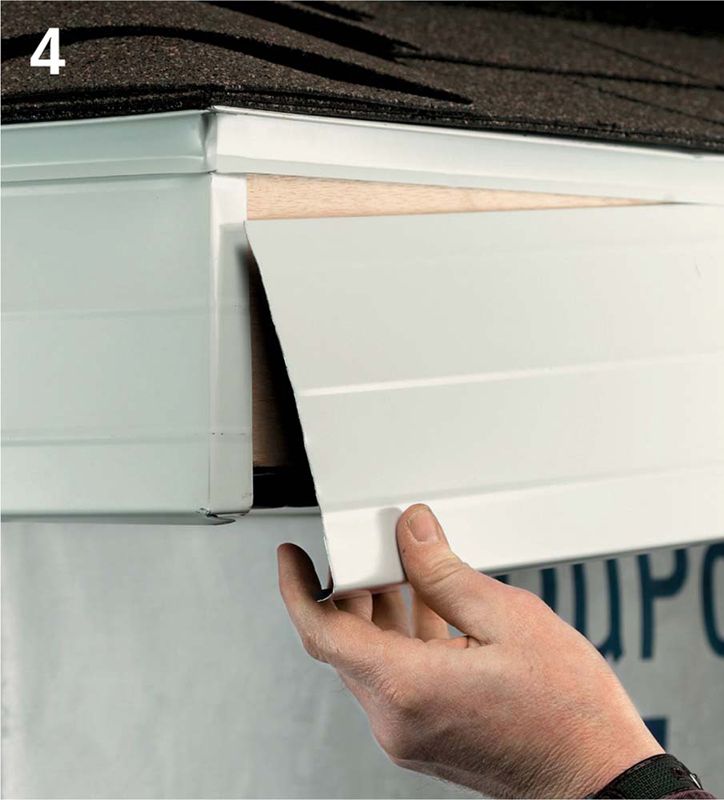
At outside corners, cut the lip and top edge of the first panel 1” from the end. Place a piece of wood 1” from the end, and bend the panel to form a 90° angle. Install the panel at the corner. Cut a 45° angle in the lip of the second panel. Align the end of this panel with the corner, overlapping the first panel.
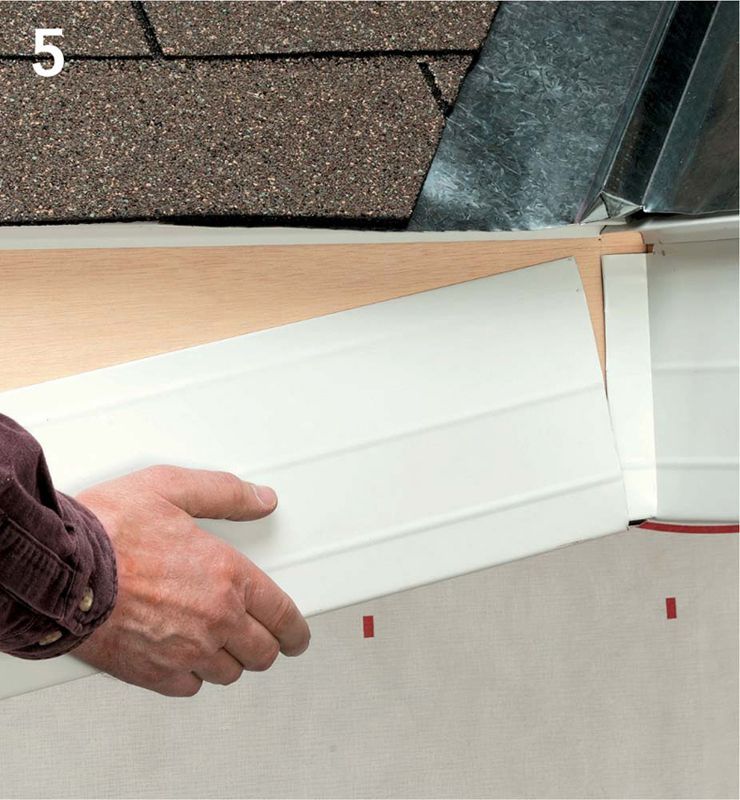
For inside corners, cut and bend the first panel back 1” from the end to make a tab. Install the panel. On the second panel, cut a 45° angle in the lip. Slide the panel over the first panel, butting the end against the adjacent fascia. Nail the panel in place.