Tools & Materials 
Paintbrush (4", 2 1/2", 3")
Sash brush
Scaffolding
Ladders
Paint roller
Primer
House paint
Trim paint
Cleanup materials
Protective equipment
Schedule priming and painting tasks so that you can paint within two weeks of priming surfaces. If more than two weeks pass, wash the surface with soap and water before applying the next coat.
Check the weather forecast and keep an eye on the sky while you work. Damp weather or rain within two hours of application will ruin a paint job. Don’t paint when the temperature is below 50° or above 90°F. Avoid painting on windy days—it’s dangerous to be on a ladder in high winds, and wind blows dirt onto the fresh paint.
Plan each day’s work so you can follow the shade. Prepare, prime, and paint one face of the house at a time, and follow a logical painting order. Work from the top of the house down to the foundation, covering an entire section before you move the ladder or scaffolding.

Paint in a logical order, starting from the top and working your way down. Cover as much surface as you can reach comfortably without moving your ladder or scaffolding. After the paint or primer dries, touch up any unpainted areas that were covered by the ladder or ladder stabilizer.
 TIPS FOR APPLYING PRIMER & PAINT
Use the right primer and paint for each job. Always read the manufacturer’s recommendations.
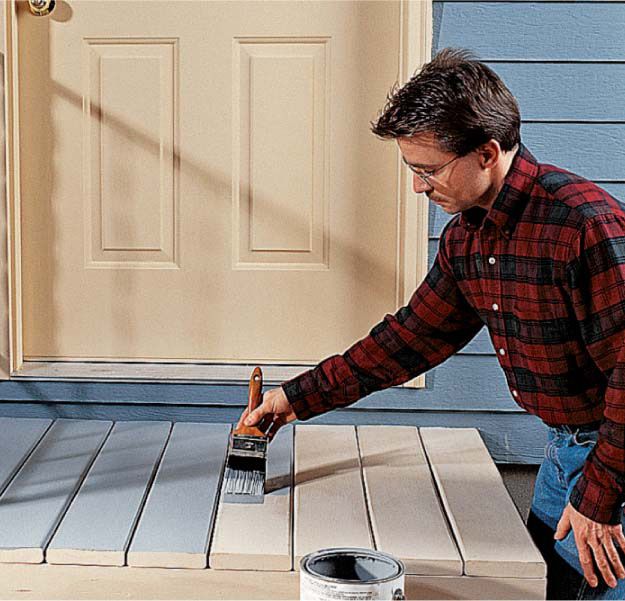
Plan your painting sequence so you paint the walls, doors, and trim before painting stairs and porch floors. This prevents the need to touch up spills.
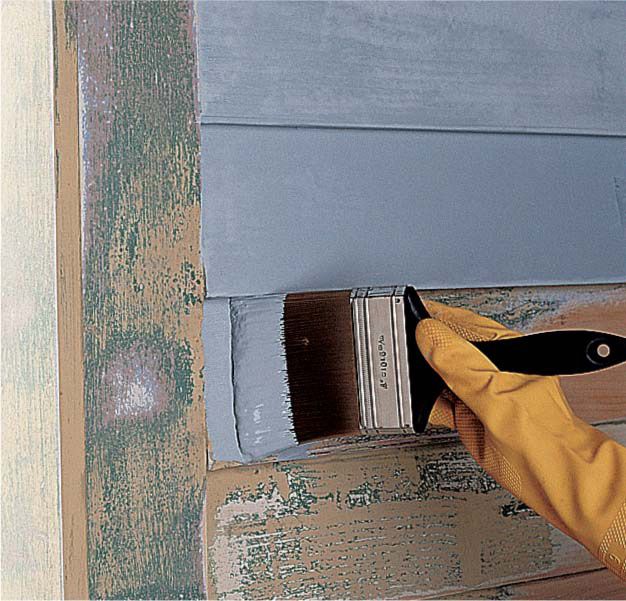
Apply primer and paint in the shade or indirect sunlight. Direct sun can dry primers and paints too quickly and trap moisture below the surface, which leads to blistering and peeling.
 TIPS FOR SELECTING BRUSHES & ROLLERS
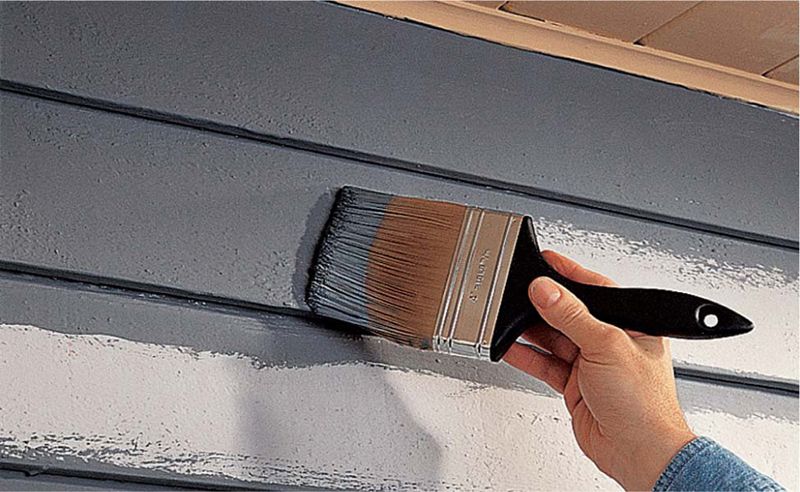
Wall brushes, which are thick, square brushes 3 to 5" wide, are designed to carry a lot of paint and distribute it widely. Tip: It’s good to keep a variety of clean brushes on hand, including 2 1/2", 3", and 4" flat brushes, 2" and 3" trim brushes, and tapered sash brushes.
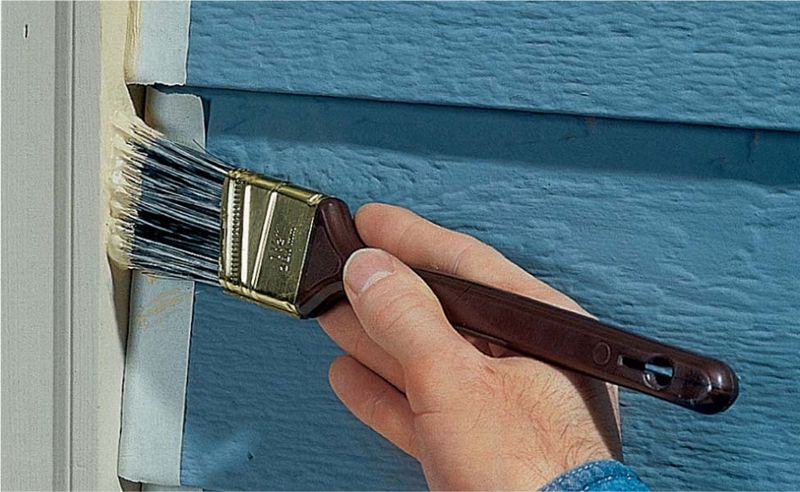
Trim and tapered sash brushes, which are 2 to 3" wide, are good for painting doors and trim, and for cutting in small areas.
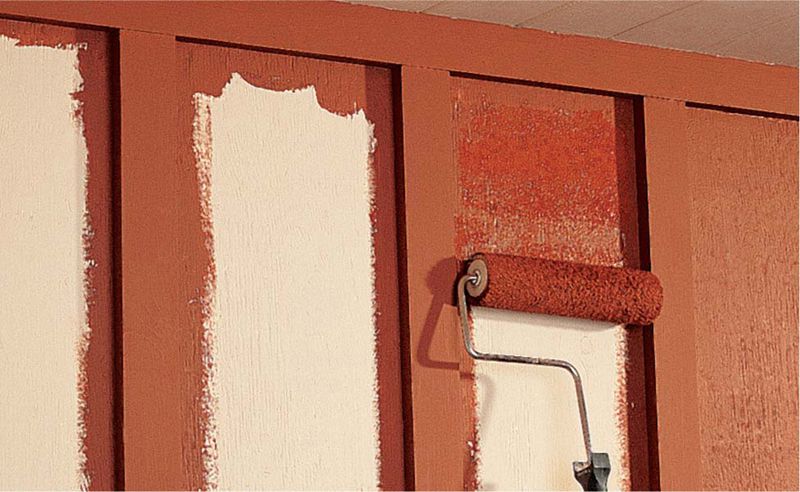
Paint rollers work best for quickly painting smooth surfaces. Use an 8 or 9" roller sleeve for broad surfaces.
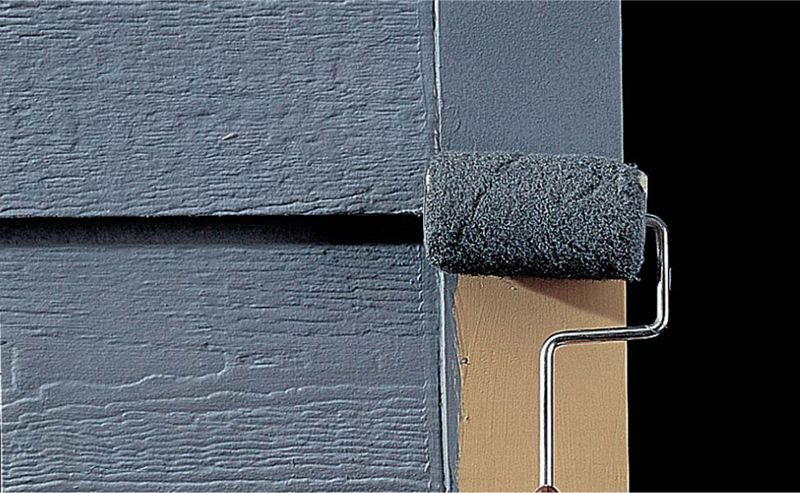
Use a 3" roller to paint flat-surfaced trim, such as end caps and corner trim.
 TIPS FOR LOADING & DISTRIBUTING PAINT
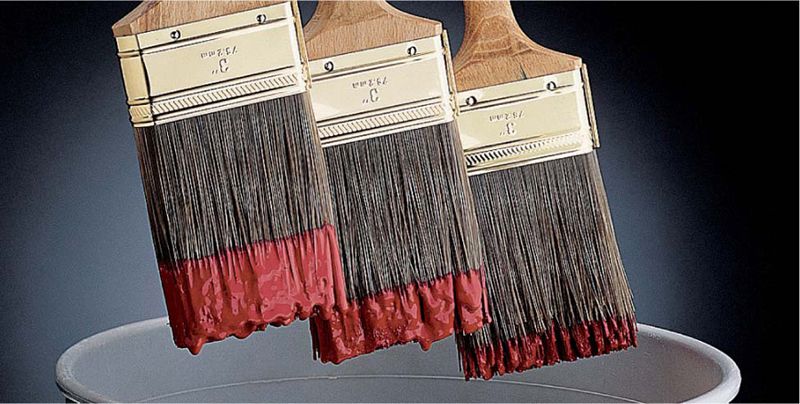
Load your brush with the right amount of paint for the area you’re covering. Use a full load of paint for broad areas, a moderate load for smaller areas and feathering strokes, and a light load when painting or working around trim.
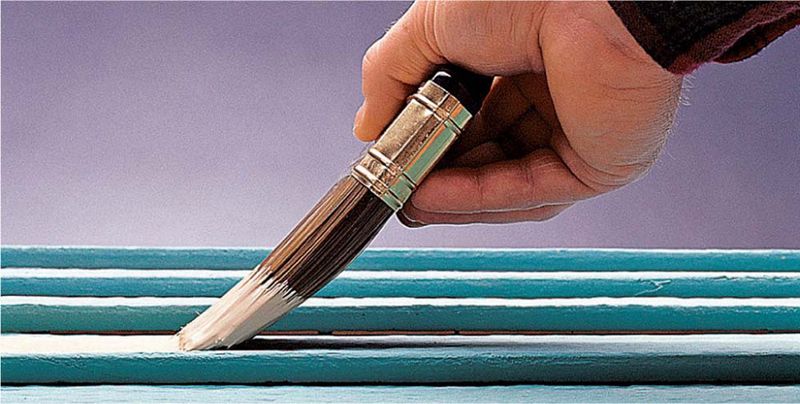
Hold the brush at a 45° angle and apply just enough downward pressure to flex the bristles and squeeze the paint from the brush.
 HOW TO USE A PAINTBRUSH
Load the brush with a full load of paint. Starting at one end of the surface, make a long, smooth stroke until the paint begins to feather out. Tip: Paint color can vary from one can to the next. To avoid problems, pour all of your paint into one large container and mix it thoroughly. Pour the mixed paint back into the individual cans and seal them carefully. Stir each can before use.
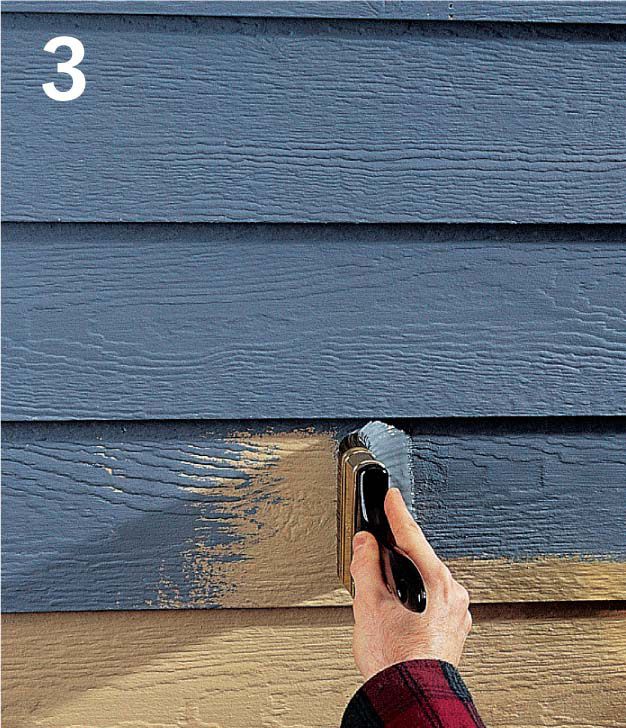
At the end of the stroke, lift the brush without leaving a definite ending point. If the paint appears uneven or contains heavy brush marks, smooth it out without overbrushing.
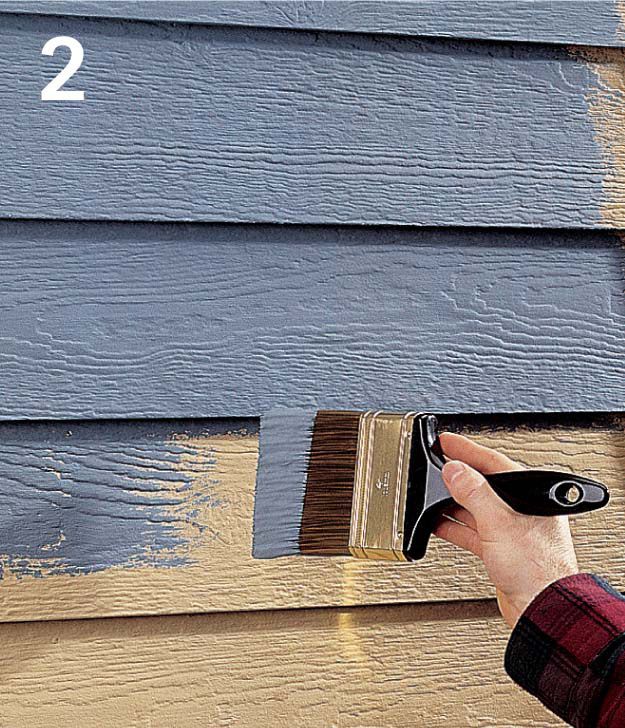
Reload the brush and make a stroke from the opposite direction, painting over the feathered end of the first stroke to create a smooth, even surface. If the junction of the two strokes is visible, rebrush with a light coat of paint. Feather out the starting point of the second stroke.
 TIPS FOR USING PAINT ROLLERS
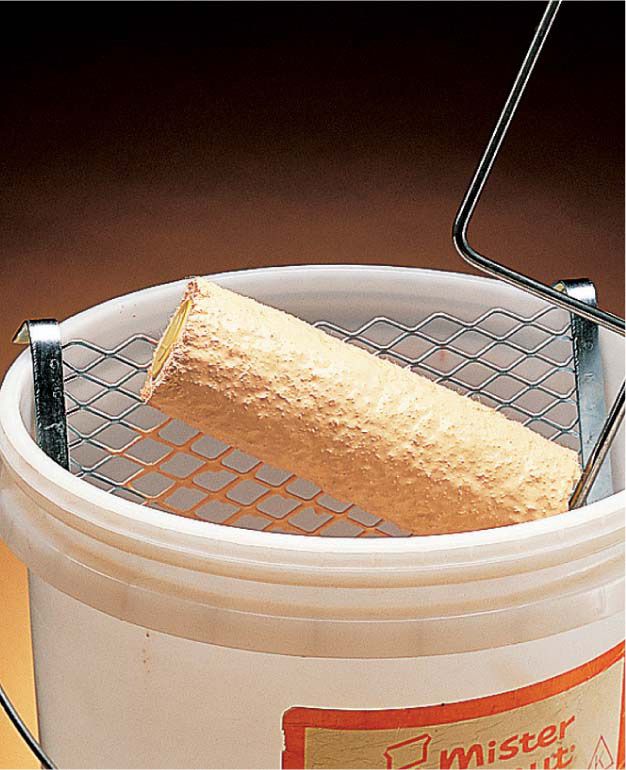
Wet the roller nap, then squeeze out the excess water. Position a roller screen inside a 5-gal. bucket. Dip the roller into the paint, then roll it back and forth across the roller screen. The roller sleeve should be full but not dripping when lifted from the bucket.
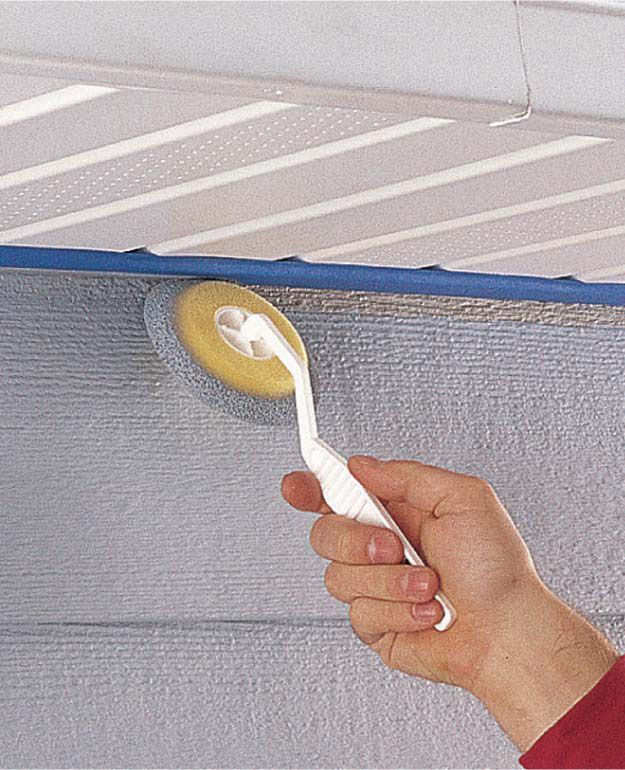
Cone-shaped rollers work well for painting the joints between intersecting surfaces.
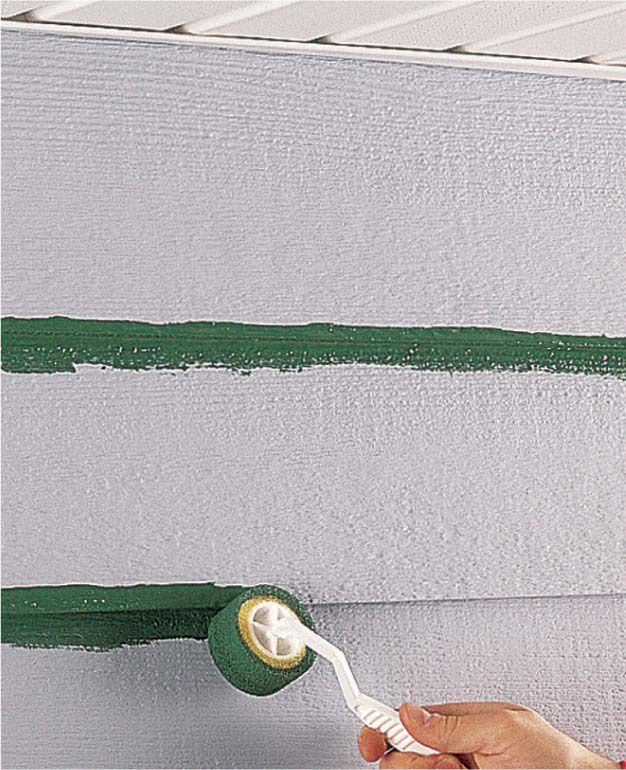
Doughnut-shaped rollers work well for painting the edges of lap siding and moldings.
 HOW TO PAINT FASCIA, SOFFITS & TRIM
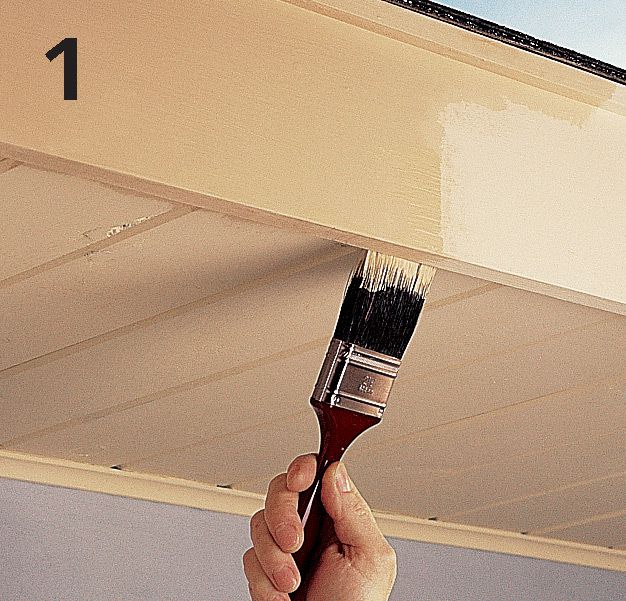
Prime all surfaces to be painted, and allow ample drying time. Paint the face of the fascia first, then cut in paint at the bottom edges of the soffit panels. Tip: Fascia and soffits are usually painted the same color as the trim.

Paint the soffit panels and trim with a 4" brush. Start by cutting in around the edges of the panels using the narrow edge of the brush, then feather in the broad surfaces of the soffit panels with full loads of paint. Be sure to get good coverage in the grooves.
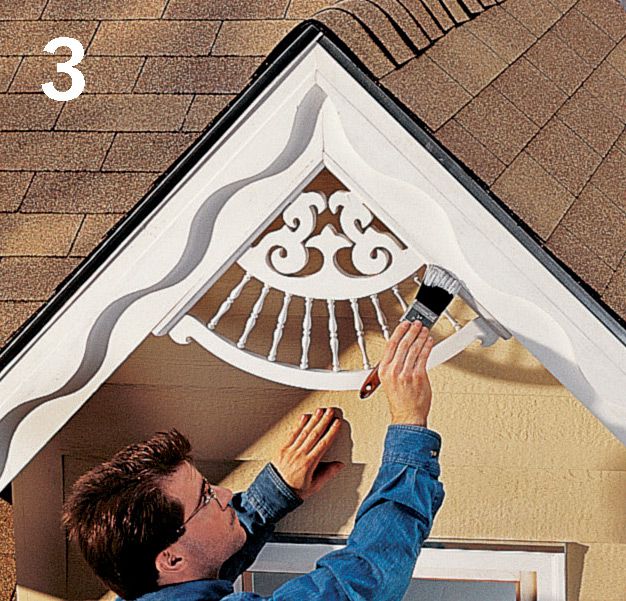
Paint any decorative trim near the top of the house at the same time you paint the soffits and fascia. Use a 2 1/2" or 3" paintbrush for broader surfaces, and a sash brush for more intricate trim areas.
 HOW TO PAINT SIDING
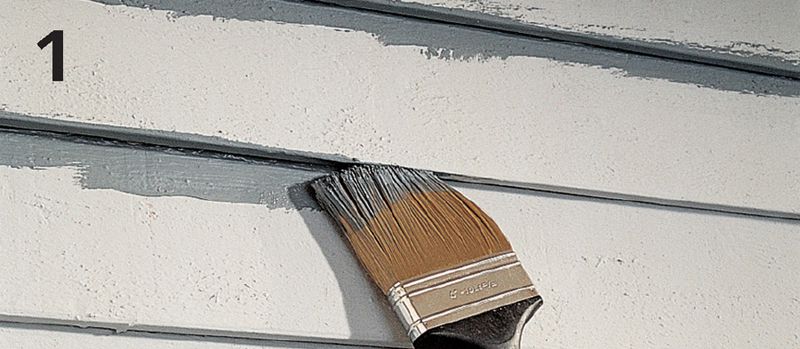
Paint the bottom edges of lap siding by holding the paintbrush flat against the wall. Paint the bottom edges of several siding pieces before returning to paint the faces of the same boards.
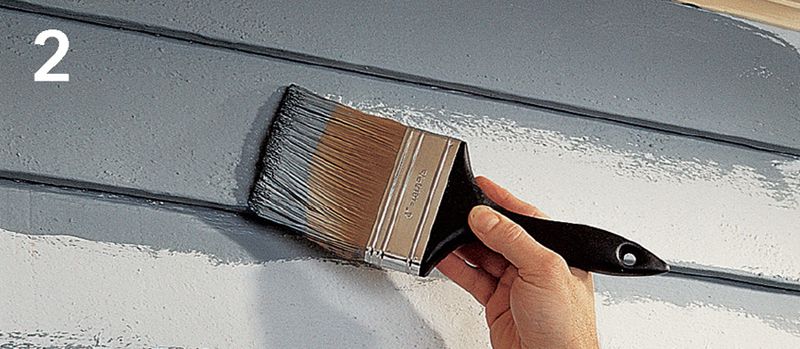
Paint the broad faces of the siding boards with a 4" brush using the painting technique shown on page 300. Working down from the top of the house, paint as much surface as you can reach without leaning beyond the sides of the ladder.
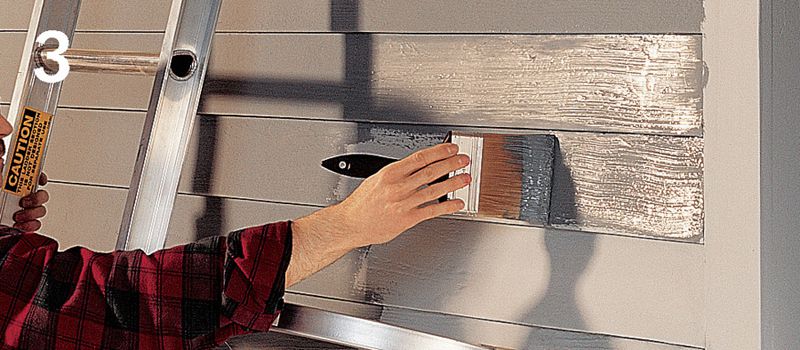
Paint the siding all the way down to the foundation, working from top to bottom. Shift the ladder or scaffolding, then paint the next section. Tip: Paint up to the edges of end caps and window or door trim that will be painted later.

On board and batten or vertical panel siding, paint the edges of the battens, or top boards, first. Paint the faces of the battens before the sides dry, then use a roller with a 5/8"-nap sleeve to paint the large, broad surfaces between the battens.