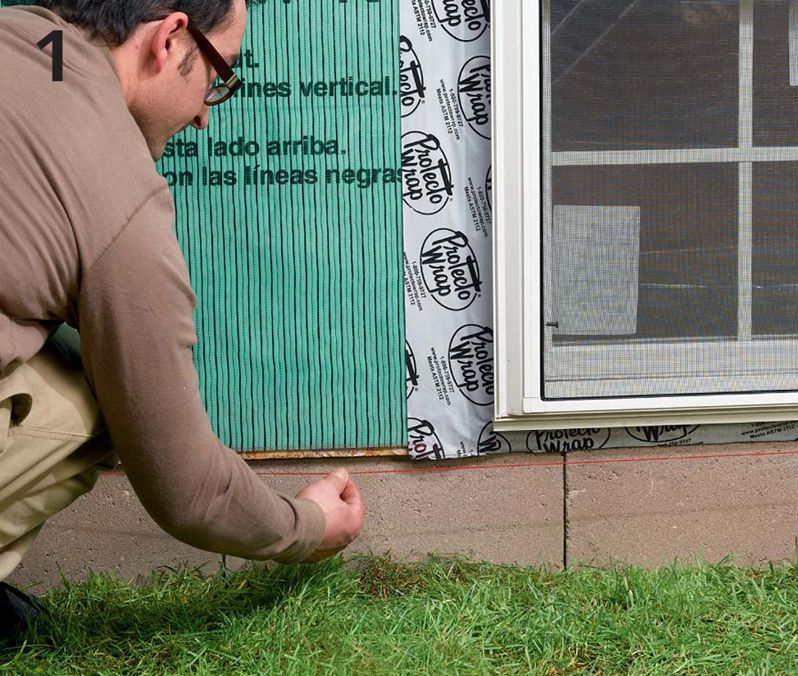

Install housewrap following instructions on pages 241 to 242. Identify the lowest corner of the house that has sheathing, and partially drive a nail 1 1/2" above the bottom edge of the sheathing. Run a level string to the opposite corner of the wall and partially drive a nail. Do this around the entire house. Snap chalk lines between the nails.
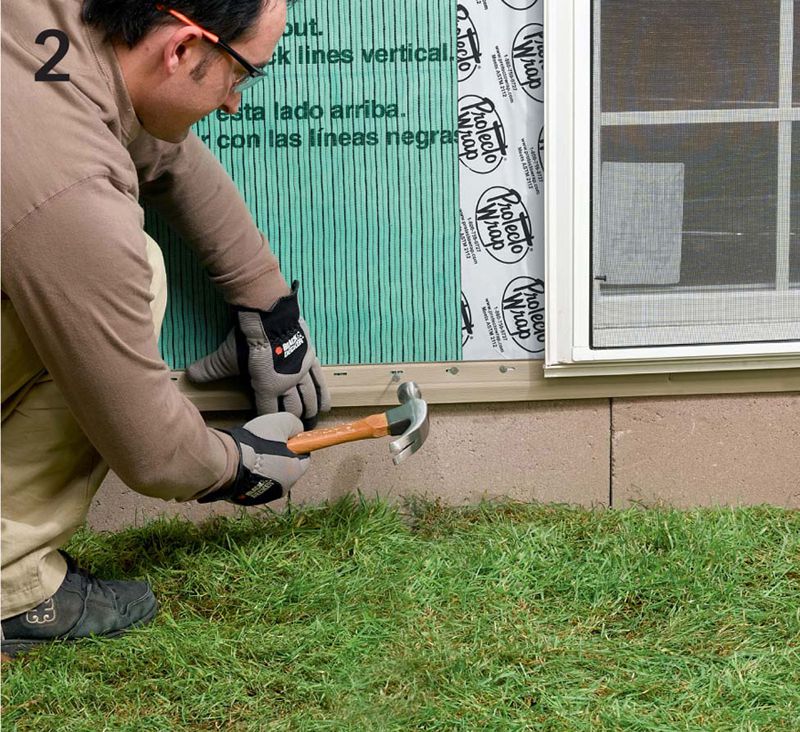
Place the top edge of the starter strip along the chalk line and nail every 10". Nail in the center of the slots and don’t nail tight to the house. Keep a 1/4" gap between strips, and leave space at the corners for a 1/2" gap between starter strips and corner posts.
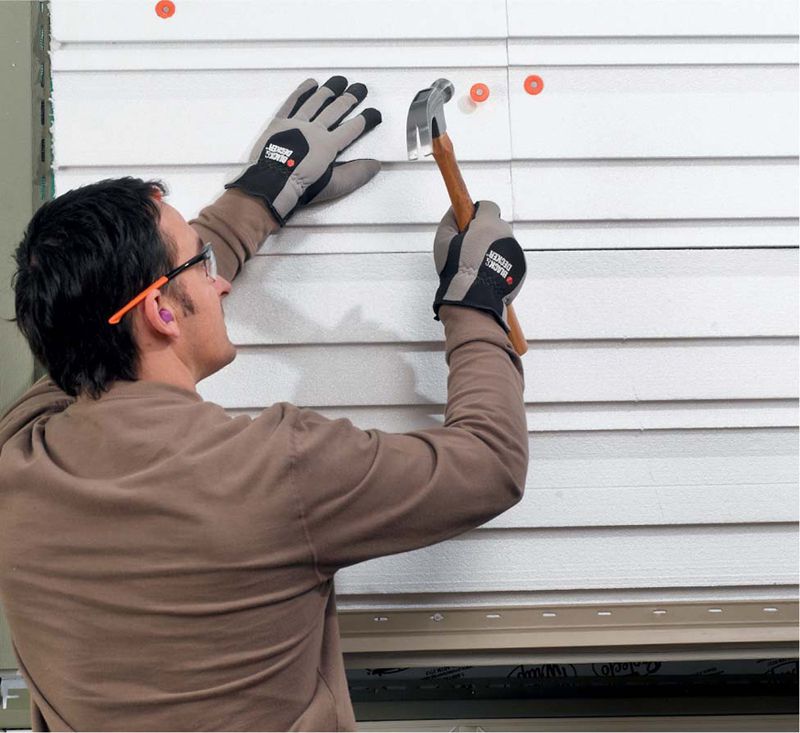
Option: Install foam vinyl siding underlayment on the house using cap nails. Align the bottom of the underlayment with the starting strip. To cut panels to size, score them with a utility knife, then break them over your cutting table. Some panels need to be taped at the seams. Follow manufacturer’s recommendations.
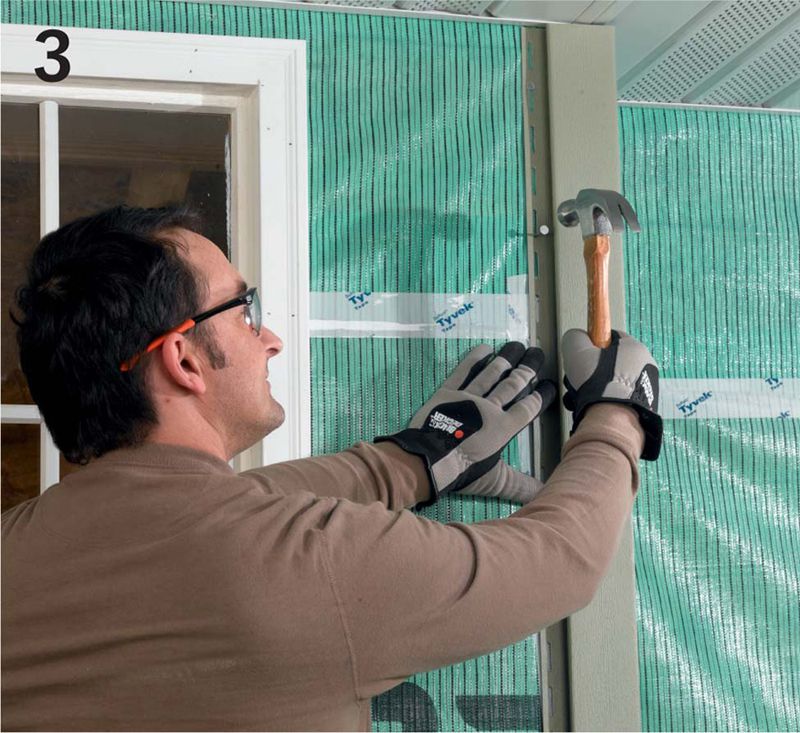
Install a corner post, keeping a 1/4" gap between the top of the post and the soffit. Extend the bottom of the post 1/4" below the bottom of the starter strip. Drive a nail at the top end of the uppermost slot on each side of the post (the post hangs from these nails). Make sure the post is plumb on both sides using a level. Secure the post by driving nails every 8 to 12" in the center of the slots. Do not nail the post tight. Install the other posts the same way.
If more than one corner post is needed to span the length of a corner, the upper post overlaps the lower post. For an outside corner post, cut off 1" from the nailing flanges on the bottom edge of the top post. For an inside corner post, cut off 1" from the nailing flange on the upper edge of the bottom post. Overlap the posts by 3/4", leaving 1/4" for expansion.

Measure and cut two J-channels that are the length of a window plus the width of the J-channel. Place one of the J-channels against the side of the window, aligning the bottom edge with the bottom edge of the window. Nail the channel in place. Nail the second J-channel against the opposite side of the window the same way.
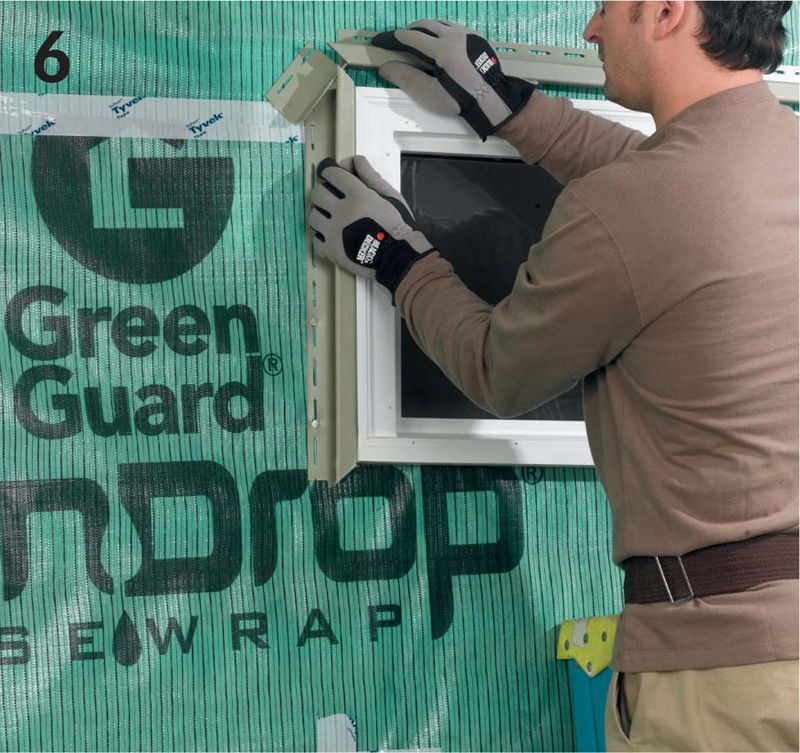
At the top of the window, measure between the outside edges of the side J-channels and cut a piece of J-channel to fit. Cut a 3/4" tab at each end. Bend the tabs down to form a drip edge. Miter cut the face at each end at 45°. Center the J-channel over the window and nail it in place. The top J-channel overlaps the side pieces, and the drip edges fit inside the side pieces. Do this for each window and door.
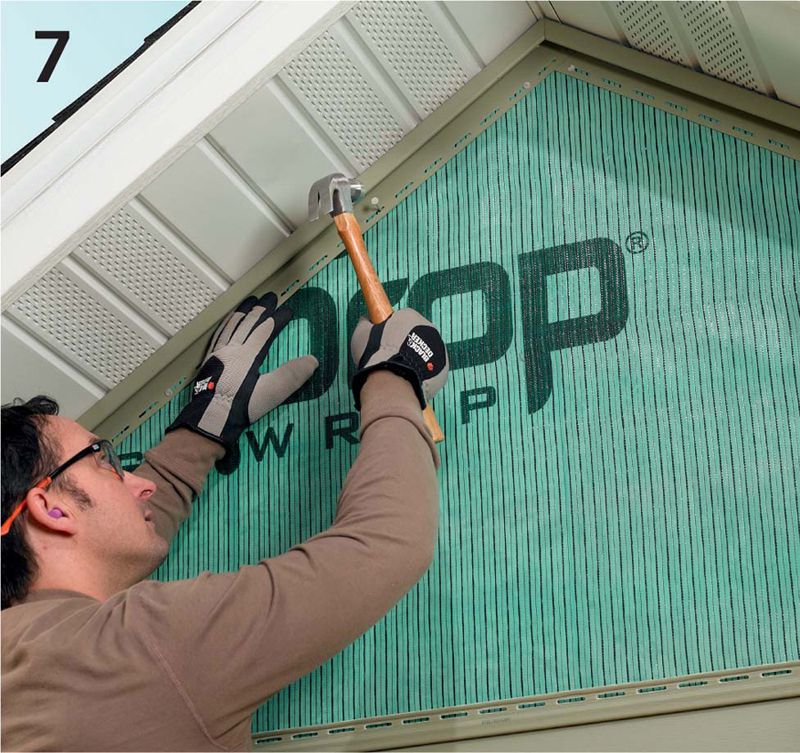
Measure, cut, and install J-channel along the gable ends. Nail the channels every 8 to 12". To overlap J-channels, cut 1" from the nailing hem. Overlap the channels 3/4", leaving 1/4" for expansion. At the gable peak, cut one channel at an angle to butt against the peak. Miter the channel on the opposite side to overlap the first channel.
To install J-channel over a roof line, snap a chalk line along the roof flashing 1/2" above the roof. Align the bottom edge of the J-channel along the chalk line, and nail the channel in place. Make sure the channel does not make direct contact with the shingles.
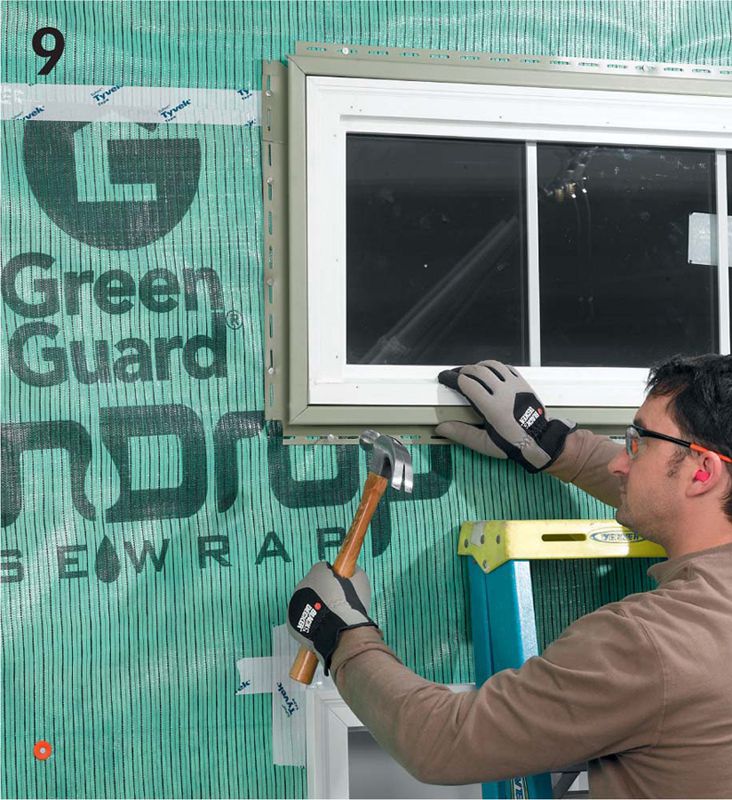
Measure, cut, and install undersill beneath each window. The undersill should be flush with the outside lip of the side channels.

Measure, cut, and install undersill along the horizontal eaves on the house. If more than one undersill is needed, cut the nailing hem 1 1/4" from the end of one undersill. Overlap the undersills by 1".
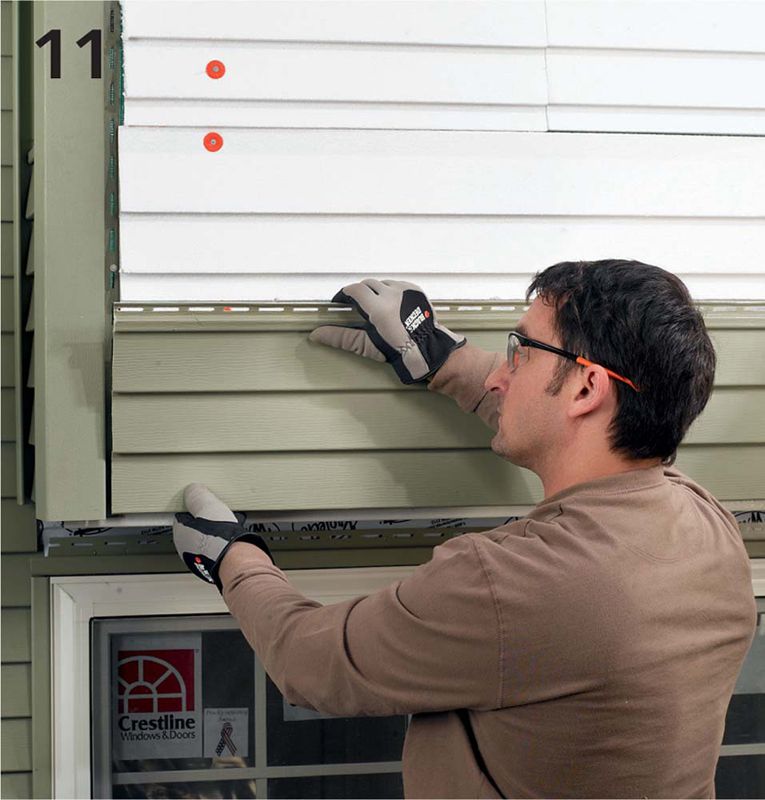
Snap the locking leg on the bottom of the first panel onto the starter strip, making sure it’s securely locked in place. Keep a 1/4" gap between the end of the panel and the corner post. Nail the panel a minimum of every 16" on center. Don’t drive the nails tight. Note: This installation shows a vinyl siding underlayment in place.
Overlap panels by 1". Cut panels so the factory cut edge is the one that’s visible. Keep nails at least 6" from the end of panels to allow for smooth overlap. Do not overlap panels directly under a window.
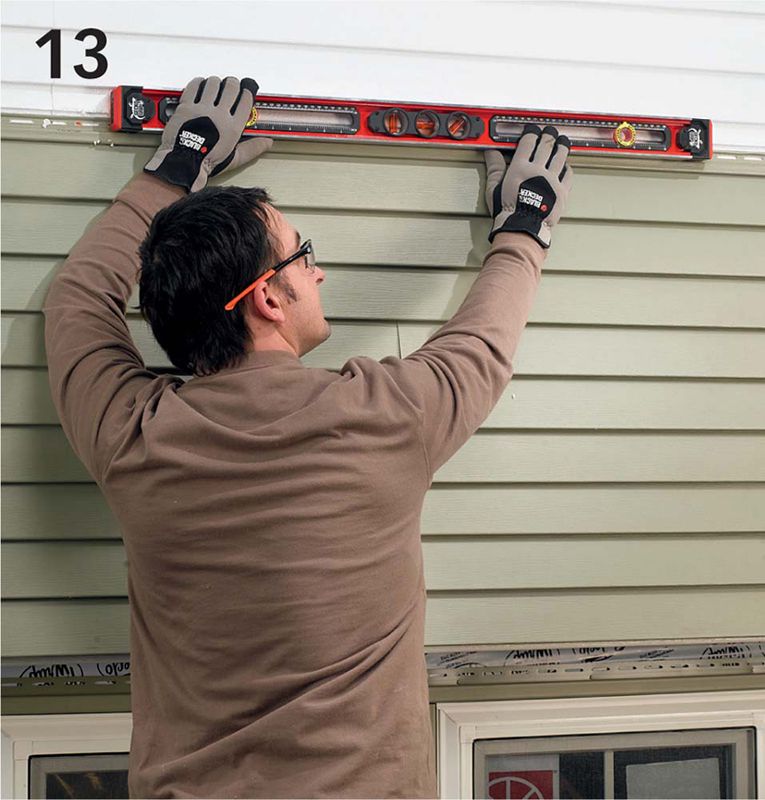
Place the second row over the first, snapping the locking leg into the lock of the underlying panels. Leave 1/4" gap at corners and J-channels. Install subsequent rows, staggering seams at least 24" unless separated by more than three rows. Check every several rows for level. Make adjustments in slight increments, if necessary.
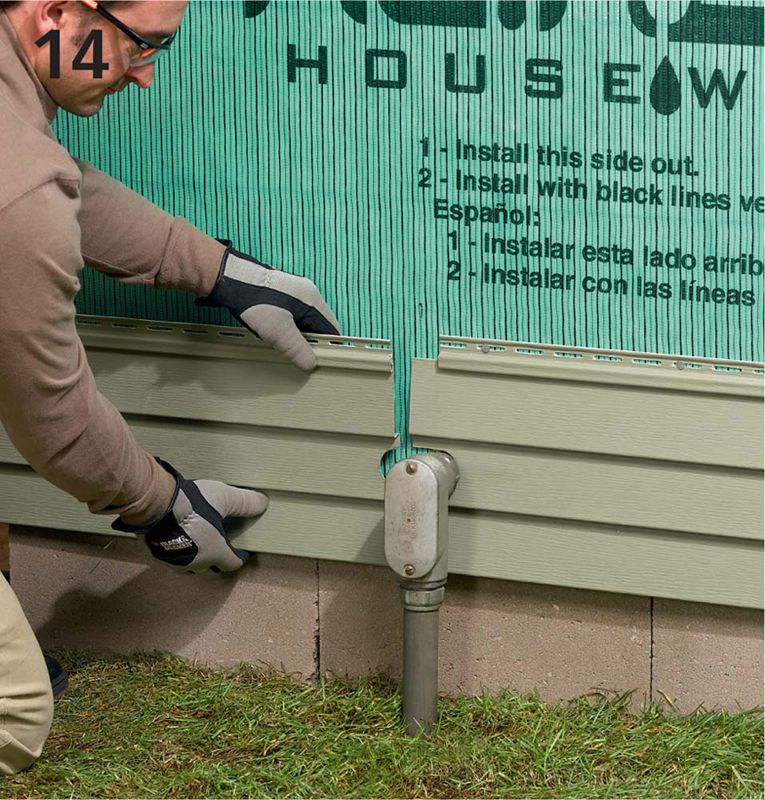
For hose spigots, pipes, and other protrusions, create a seam at the obstacle. Begin with a new panel to avoid extra seams. Cut an opening 1/4" larger than the obstacle, planning for a 1" overlap of siding. Match the shape and contour as closely as possible. Fit the panels together around the obstruction and nail in place.
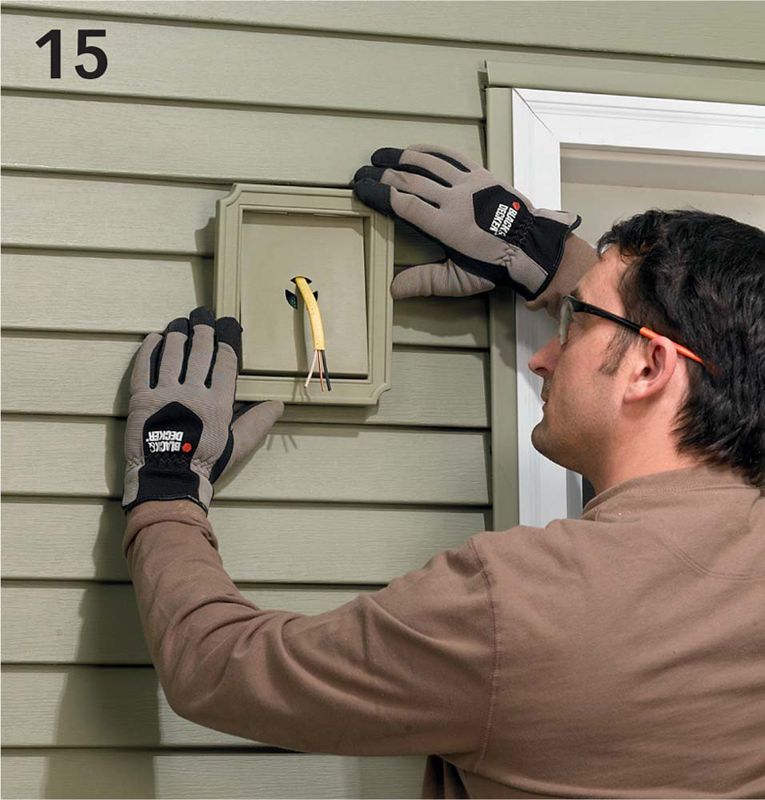
Place mounting blocks around outlets, lights, and doorbells. Assemble the base around the fixture, making sure it’s level, and nail in place. Install siding panels, cutting them to fit around the mounting block with a 1/4" gap on each side. Fasten the cover by snapping it over the block.
Where panels must be notched to fit below a window, position the panel below the window and mark the edges of the window, allowing for a 1/4" gap. Place a scrap piece of siding alongside the window and mark the depth of the notch, keeping a 1/4" gap. Transfer the measurement to the panel, mark the notch, and cut it out. Create tabs on the outside face every 6" using a snap lock punch. Install the panel, locking the tabs into the undersill.
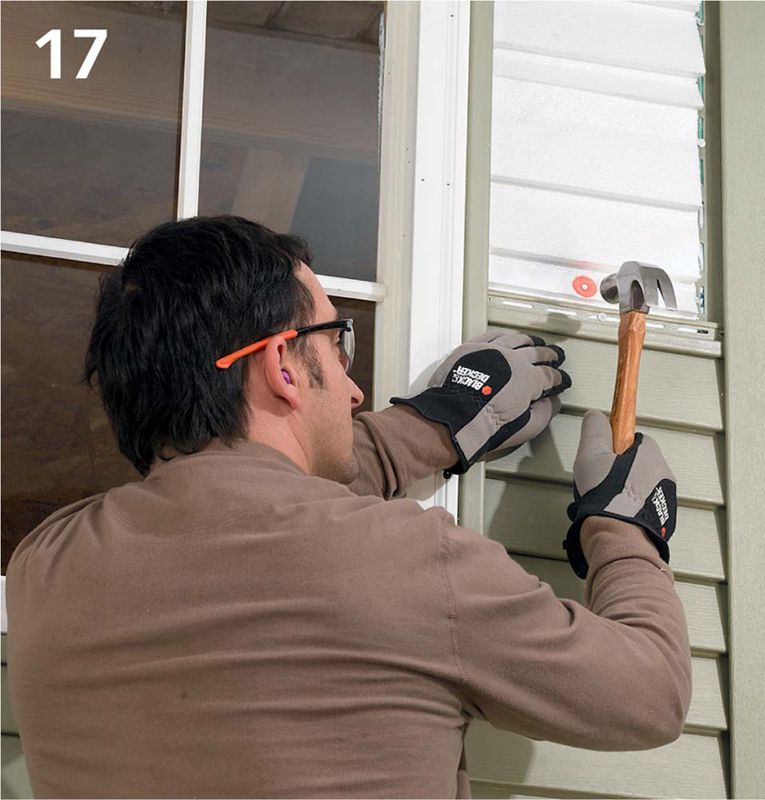
Install cut panels between windows and between windows and corners as you would regular panels. Avoid overlapping panels and creating seams in small spaces. The panels need to align with panels on the opposite side of the window.
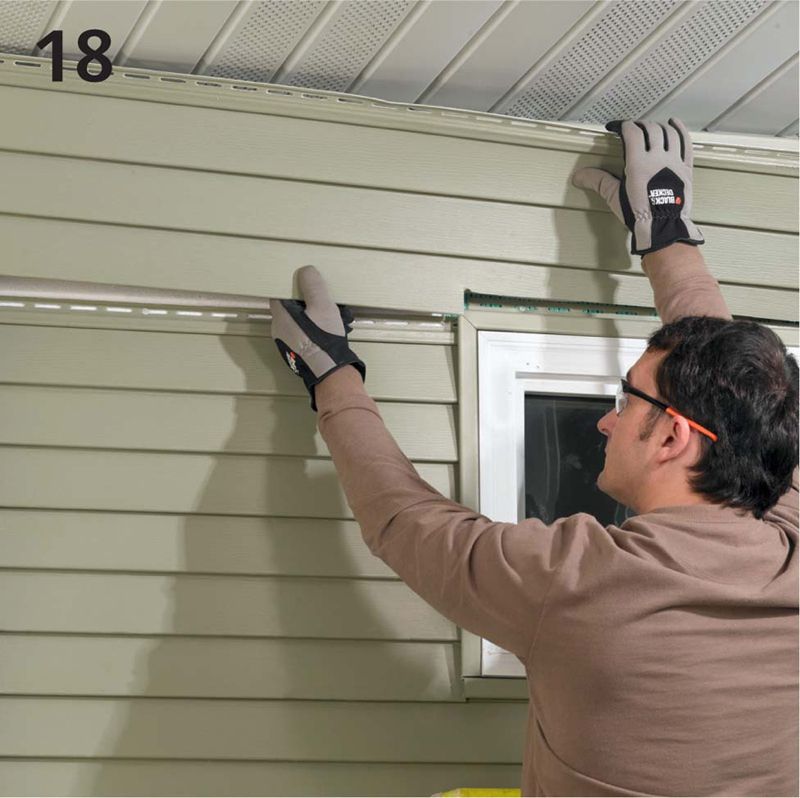
To fit siding over a window, hold the panel in place over the window and mark it. Use a scrap piece of siding to mark the depth of the cut. Transfer the measurement to the full panel and cut the opening. Fit the cut edge into the J-channel above the window, lock the panel in place, and nail it.

For dormers, measure up from the bottom of the J-channel the height of a panel and make a mark. Measure across to the opposite J-channel. Use this measurement to mark and cut the panel to size. Cut and install panels for the rest of the dormer the same way.
Measure the distance between the lock on the last fully installed panel and the top of the undersill under the horizontal eaves. Subtract 1/4", then mark and rip a panel to fit. Use a snap lock punch to punch tabs on the outside face every 6". Install the panel, locking the tabs into the undersill.
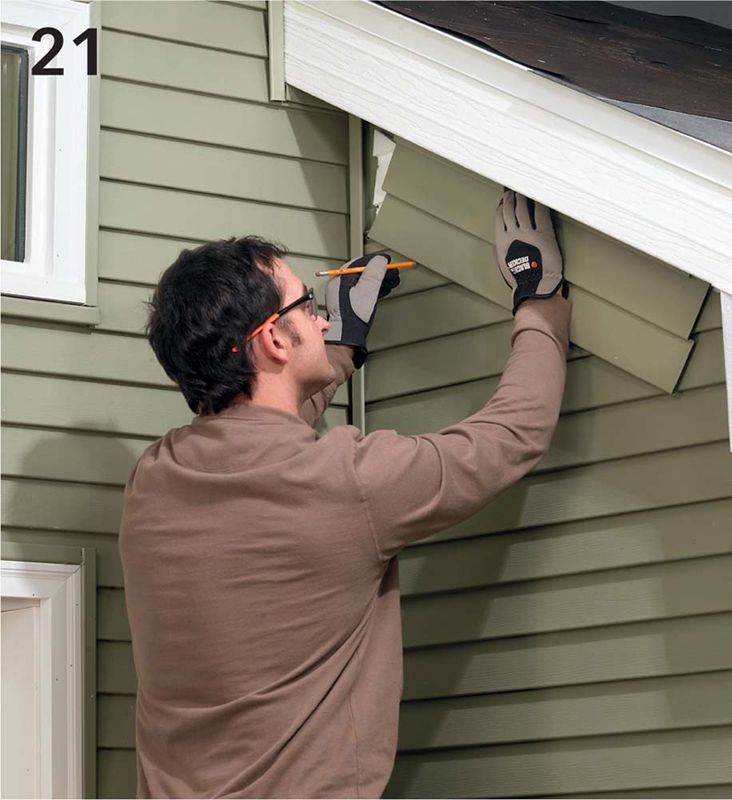
Place a scrap panel in the J-channel along the gable end of the house. Place another scrap over the last row of panels before the gable starts, slide it under the first scrap, and mark the angle where they intersect. Transfer this angle to full panels. Make a similar template for the other side. Cut the panels and set the cut edge into the J-channel, leaving a 1/4" gap.
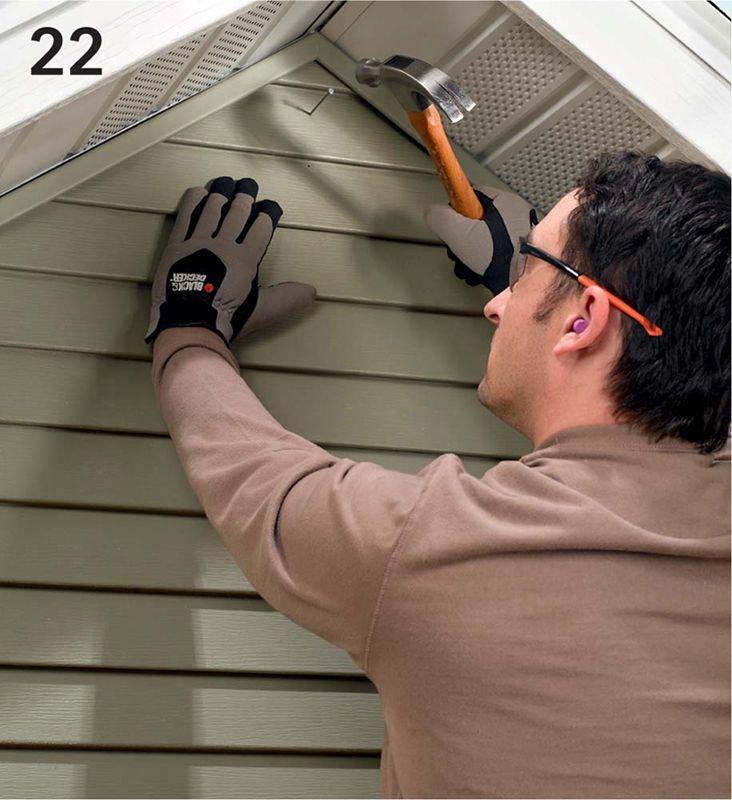
Cut the last piece of siding to fit the gable peak. Drive a single aluminum or stainless steel finish nail through the top of the panel to hold it in place. This is the only place where you will facenail the siding.
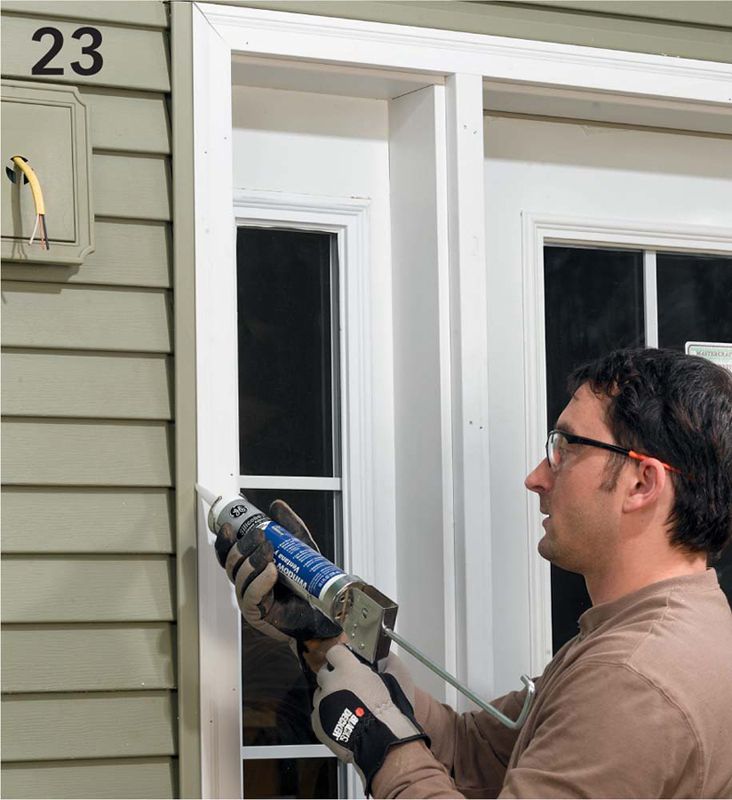
Apply caulk between all windows and J-channel, and between doors and J-channel.