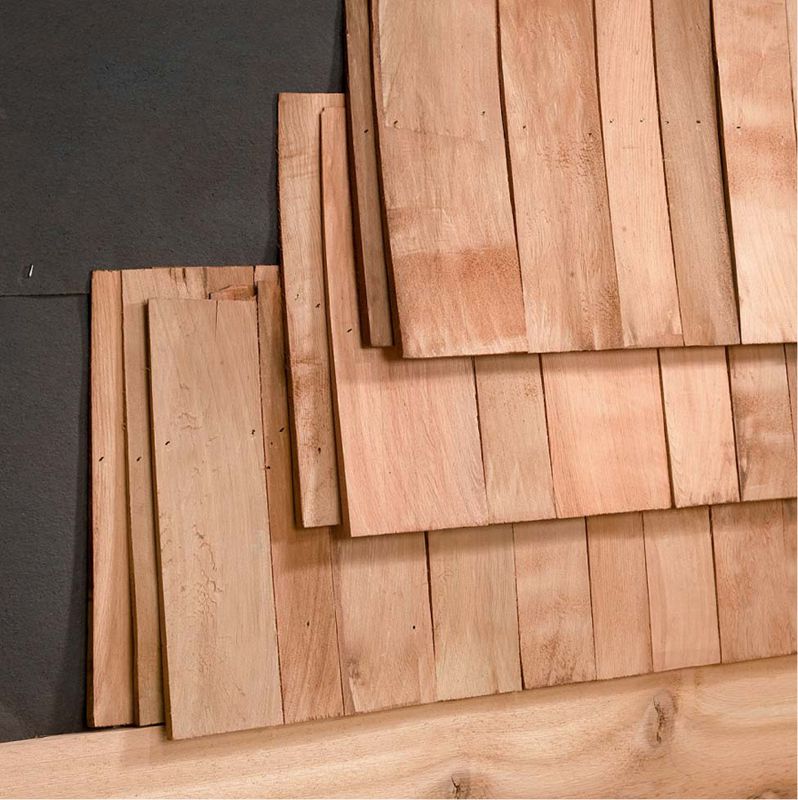

Double-course installation offers a greater look of depth between rows. Each course of shingles is installed 1/2" lower than an undercourse that’s placed beneath it. A lower-grade, less-expensive shingle is typically used for the undercourse.
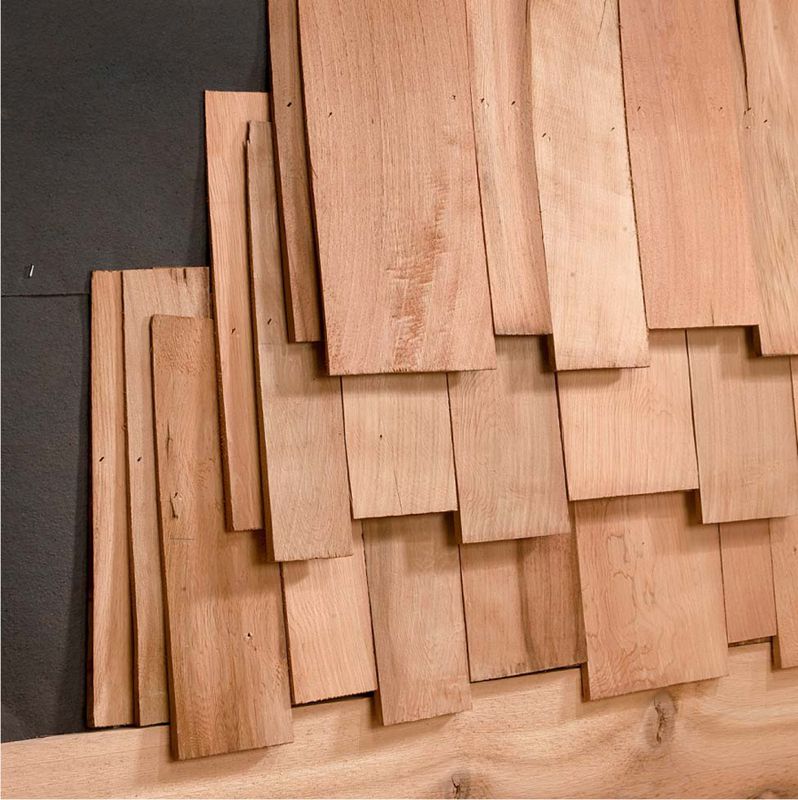
Staggered butt–course installation features a random, three-dimensional look. The application starts with a double starter row, and shingles in overlapping courses are staggered by up to 1".
 VARIATIONS FOR CORNER INSTALLATIONS
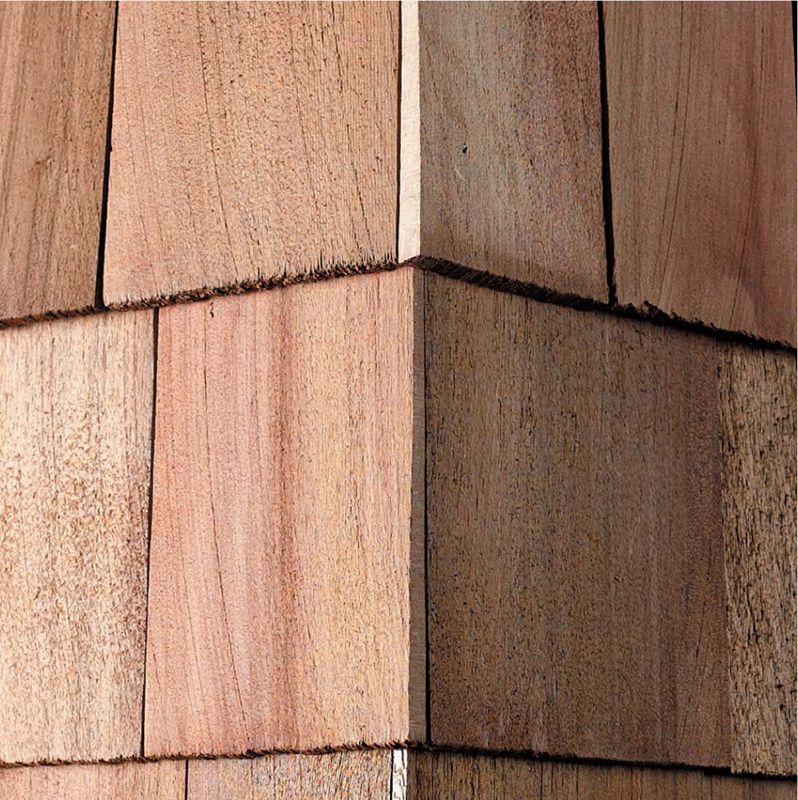
Woven corners have shingles that overlap at the corners for a weave effect. This overlap alternates between walls with each successive course.
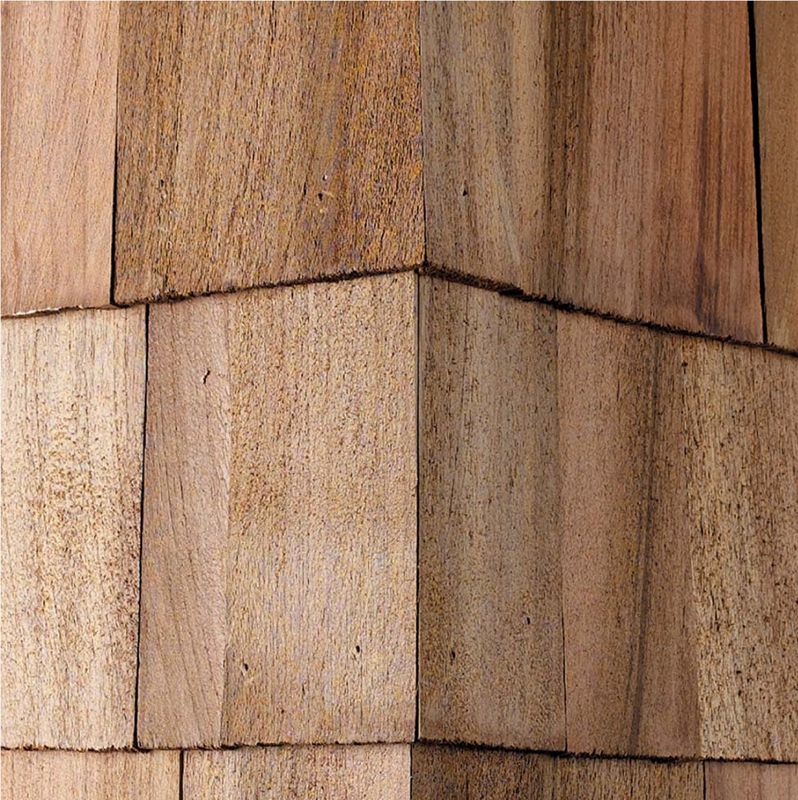
Mitered corners are made by cutting corner shingles at a 45° angle and butting them together. This method is very time-consuming.
 HOW TO INSTALL SINGLE-COURSE WOOD SHAKES & SHINGLES
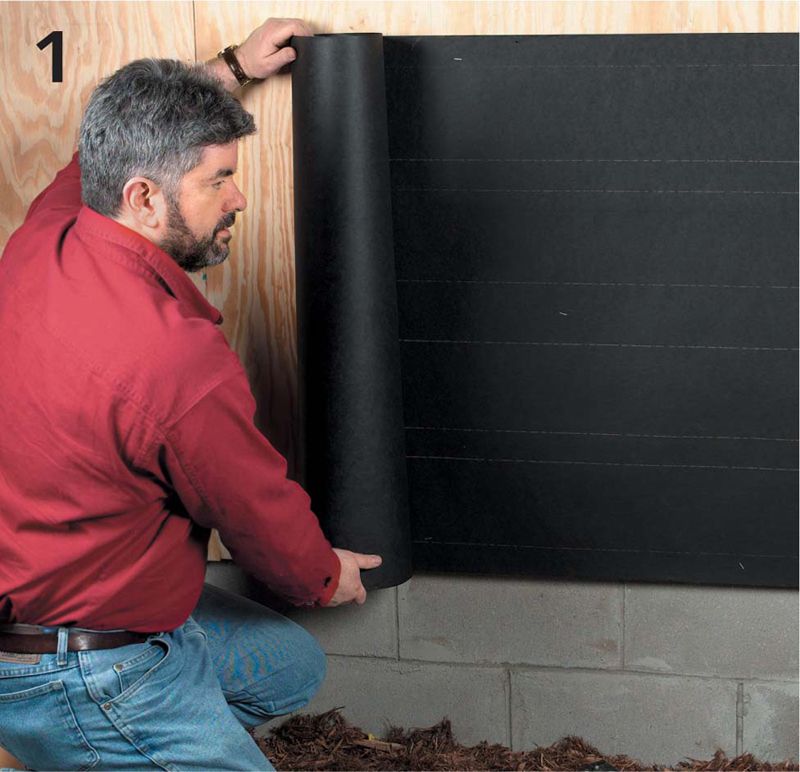
Cover the exterior sheathing with felt paper. Starting at the bottom of a wall, install the paper horizontally using staples. Wrap corners a minimum of 4". Overlap vertical seams 6" and horizontal seams 2". Cut out openings around doors and windows.
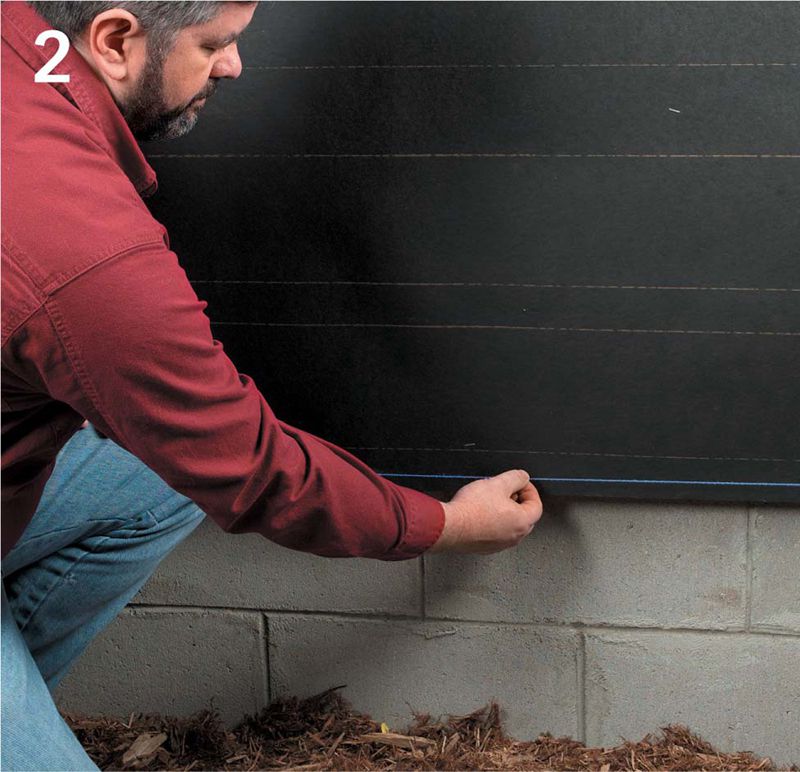
Starting at the lowest corner of the house, snap a level chalk line at the bottom of each wall where the siding will start. Measure the height of the wall from the chalk line to the soffits.
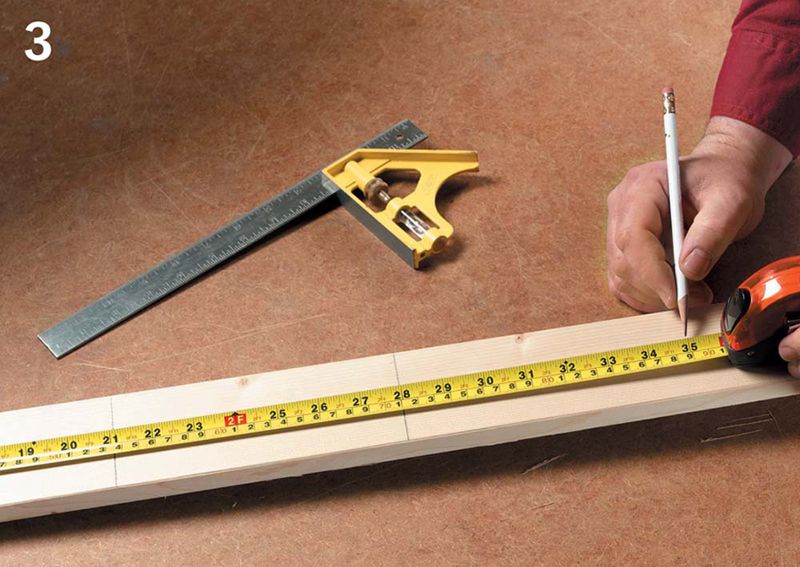
To determine the exposure of the shingles—the amount of wood revealed beneath the overlap—divide the wall height by the number of proposed rows. The goal is to find an exposure measurement that can be multiplied by a whole number to equal the wall height—a 120" wall can have twelve rows with a 10" exposure, for example. Create a story pole on a straight 1 × 3 by making a series of marks equal to the exposure. Tip: It’s best for rows to align with the tops and bottoms of doors and windows.
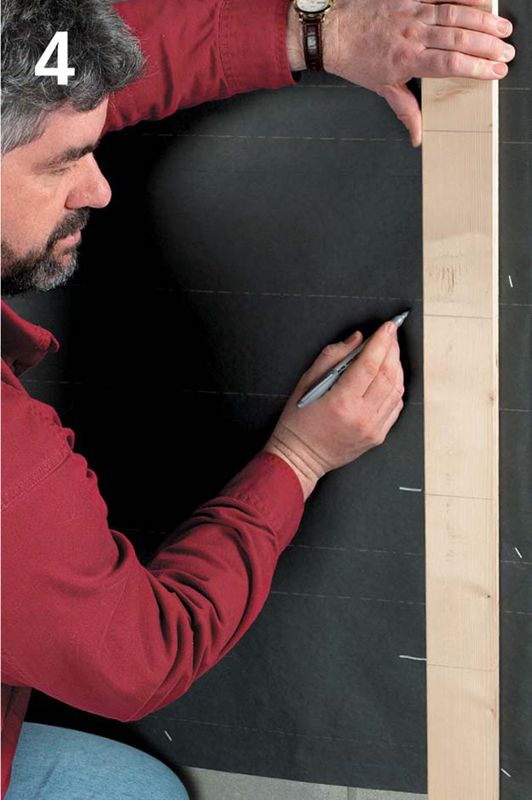
Place the story pole at a corner, aligning the bottom with the chalk line. Transfer the marks onto the wall. Do this at each corner, door, and window location.
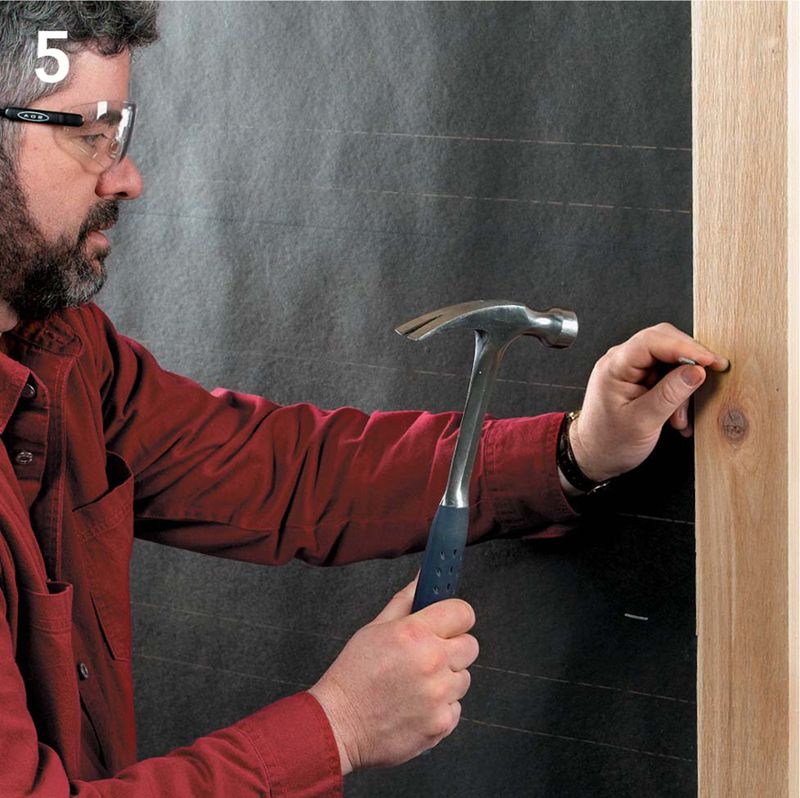
Place a 1 × 3 board at an outside corner, aligning it with the chalk line at the bottom. Keep the outside edge flush with the adjacent wall. Nail it in place. Overlap the edge of the board with a 1 × 4, align it with the chalk line, and nail in place. If more than one trim board is needed to span the length of the wall, miter the ends at 45° and place them together. Do this for all outside corners. Tip: As soon as you cut a shingle or piece of trim, apply sealer to the cut edge.

Fasten a 2 × 2 in an inside corner flush with the chalk line at the bottom. If more than one board is needed to span the height of the wall, miter the adjoining ends at 45° and butt them together.
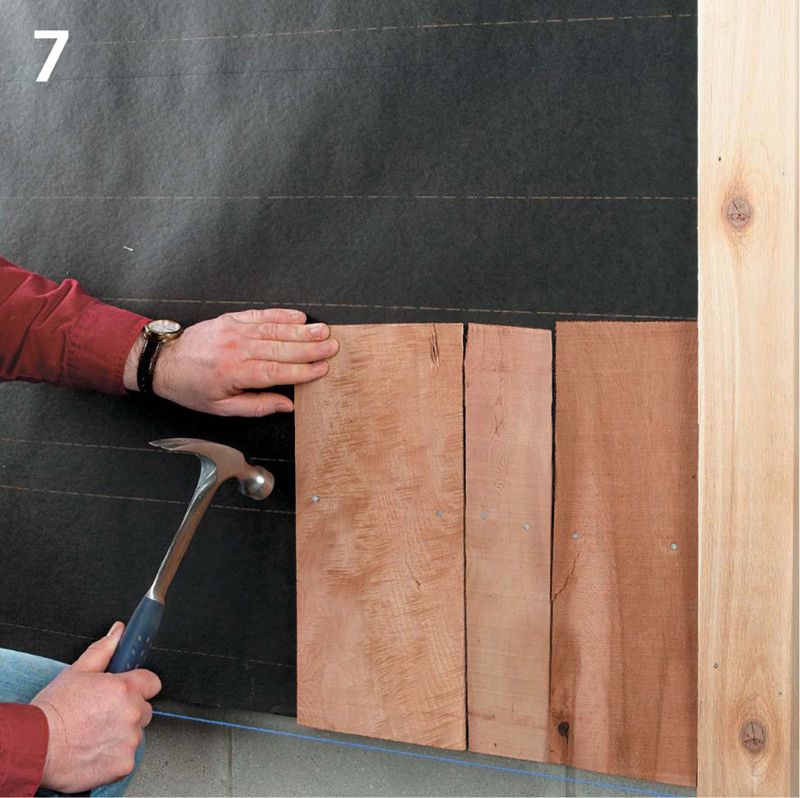
If the chalk line is hard to see, run a string from the bottom of the corner trim pieces. Starting at a corner, install the starter row of shingles 1/2" above the chalk line. Keep the manufacturer’s recommended distance between shingles and between shingles and trim, usually a 1/8 to 1/4" gap. Keep nails 3/4" from edges and 1" above the line of exposure.
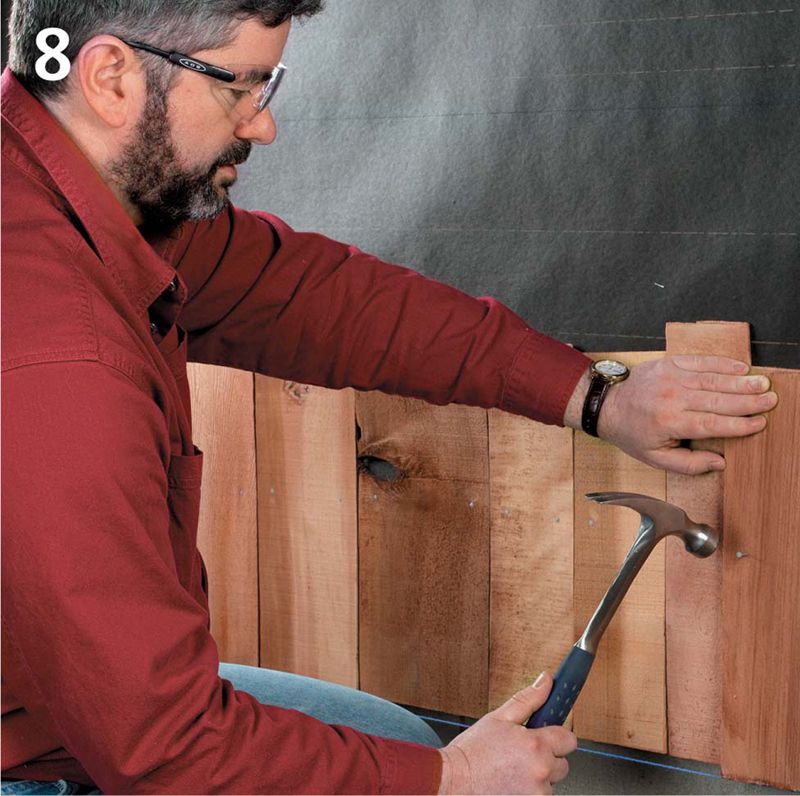
Place the first course of shingles over the starter row flush with the chalk line at the bottom. Overlap the seams in the starter course by at least 1 1/2".
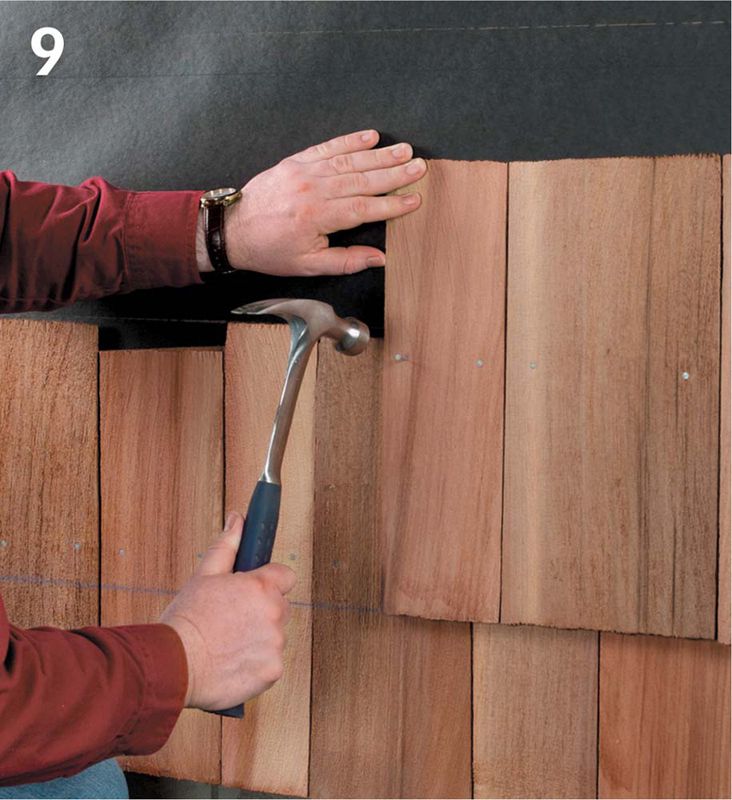
Snap a chalk line across the shingles to mark the exposure using the reference lines from step 4. Install a course of shingles at the chalk line, offsetting the seams. Install remaining rows the same way.
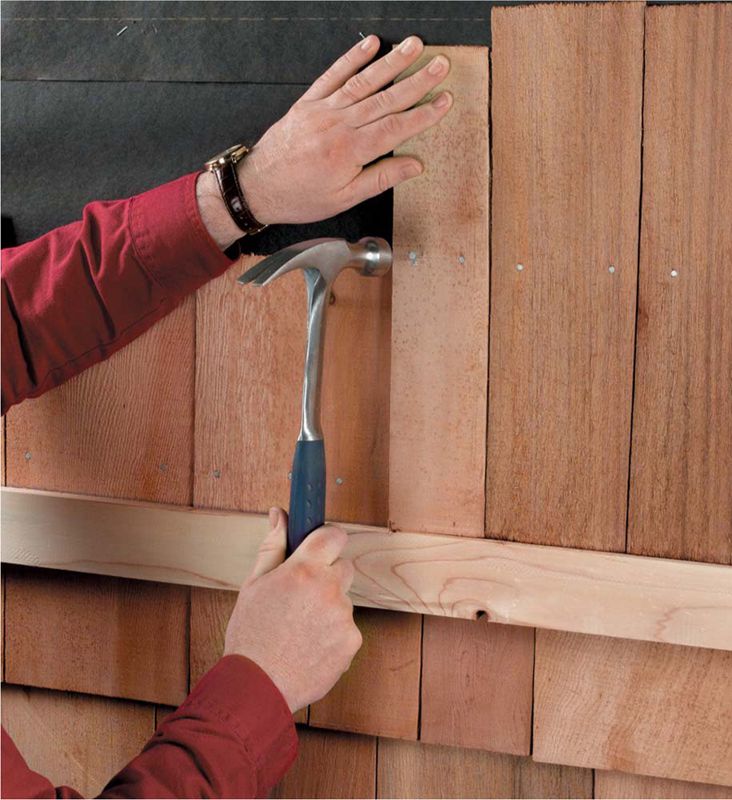
Option: To ensure straight lines, tack a 1 × 4 flush with your reference lines. Nail the board through gaps between shingles. Use the board as a guide for installing the shingles.
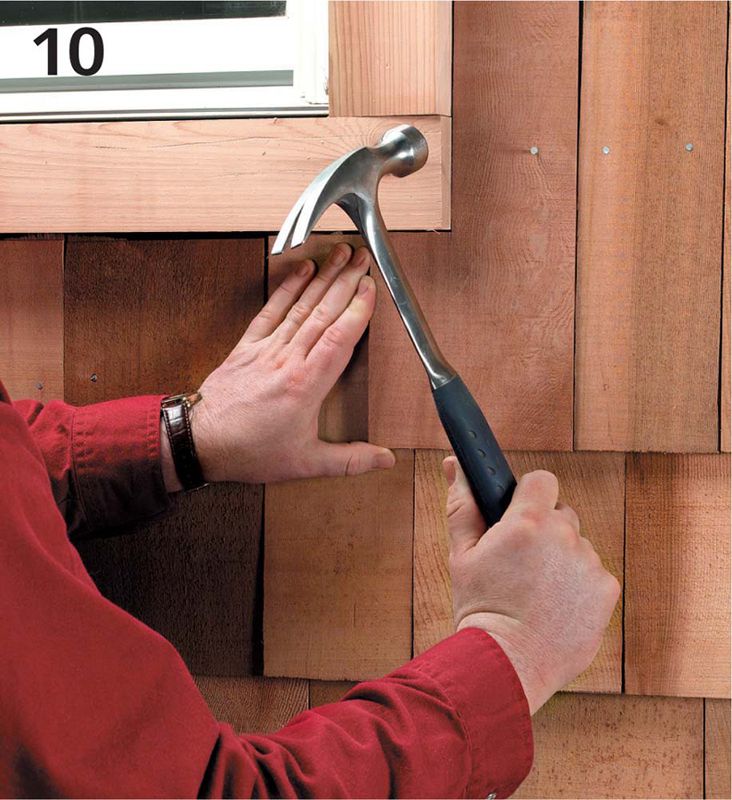
Cut shingles to fit around doors, windows, and protrusions in the walls using a coping saw or handsaw. Make sure gaps between shingles aren’t aligned with the edges of doors and windows. Tip: Whenever possible, plan your layout so you can install full shingles next to doors and windows rather than cutting shingles to fit.
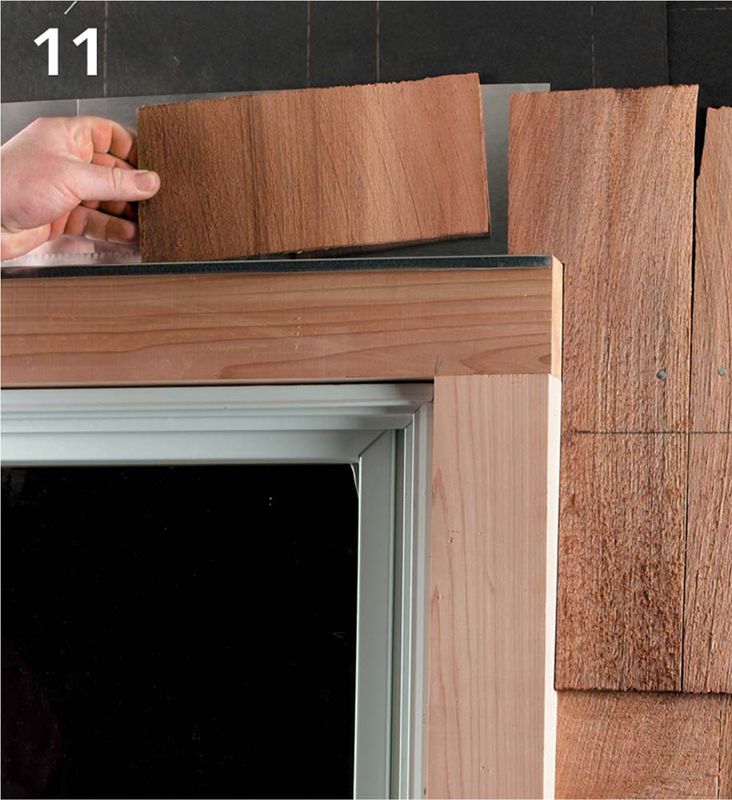
Cut and install the tops of shingles over windows and doors. Align the tops with adjacent shingles on either side of the door or window.
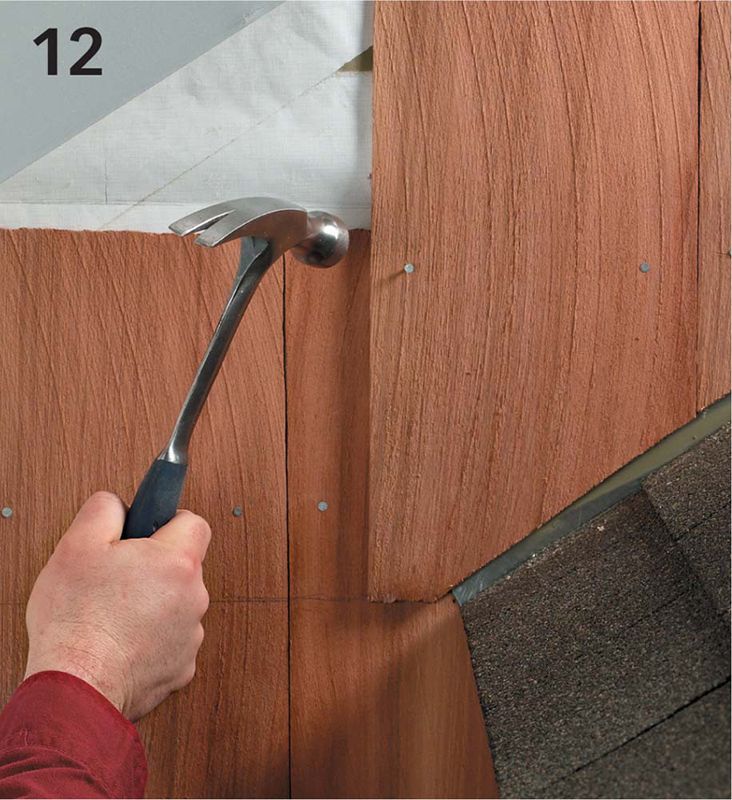
When applying shingles on a dormer or above a roof line, keep the bottom edge of the shingles 1/2" above the roof shingles. Cut shingles with a handsaw or circular saw.
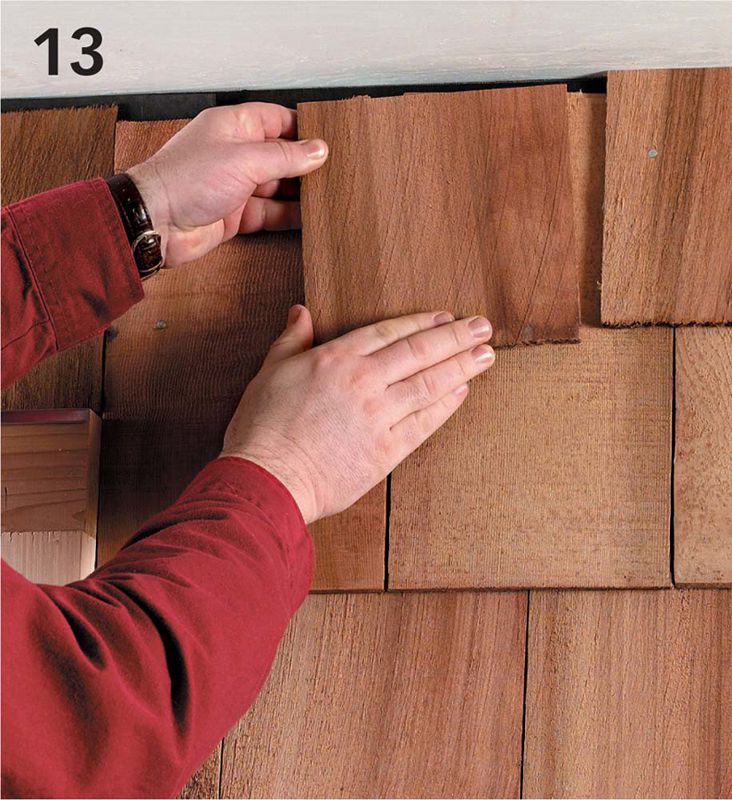
Measure and cut the last row of shingles to fit under the horizontal eaves. Leave the recommended gap between shingles and soffits. Nail the shingles in place.
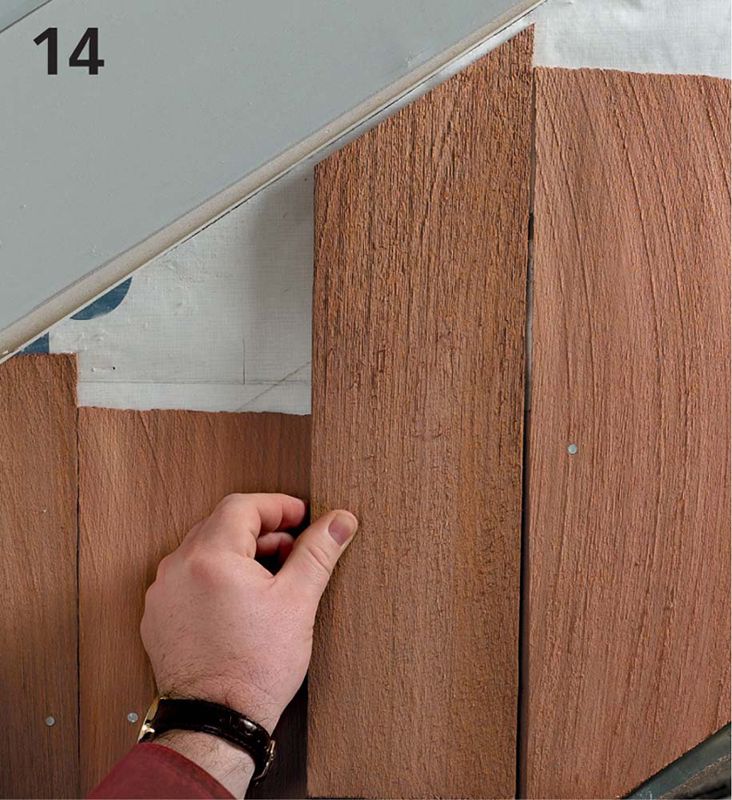
Use a T-bevel to determine the roof angle on the gable end of the house. Cut shingles at this angle for each row at the gable end using a handsaw or circular saw. Install shingles up to the peak. Tip: As you near the top of a wall, measure from the soffits to the shingles on each side of the wall. If the measurements aren’t equal, make small adjustments in successive rows until the distance is the same.
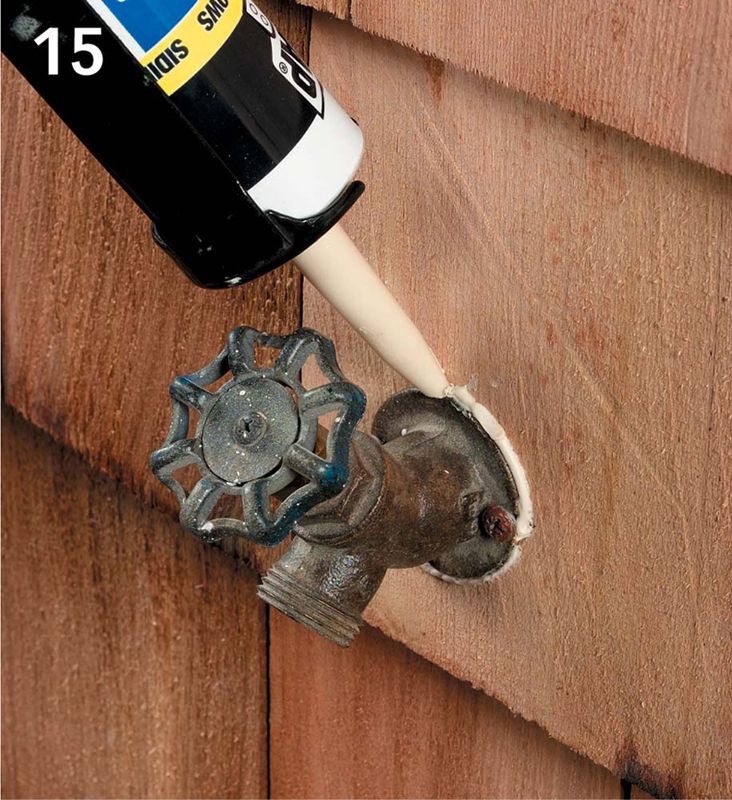
Caulk around all doors, windows, protrusions, and corner trim. Apply your choice of stain or primer and paint (see Painting: Exteriors, starting on page 298).