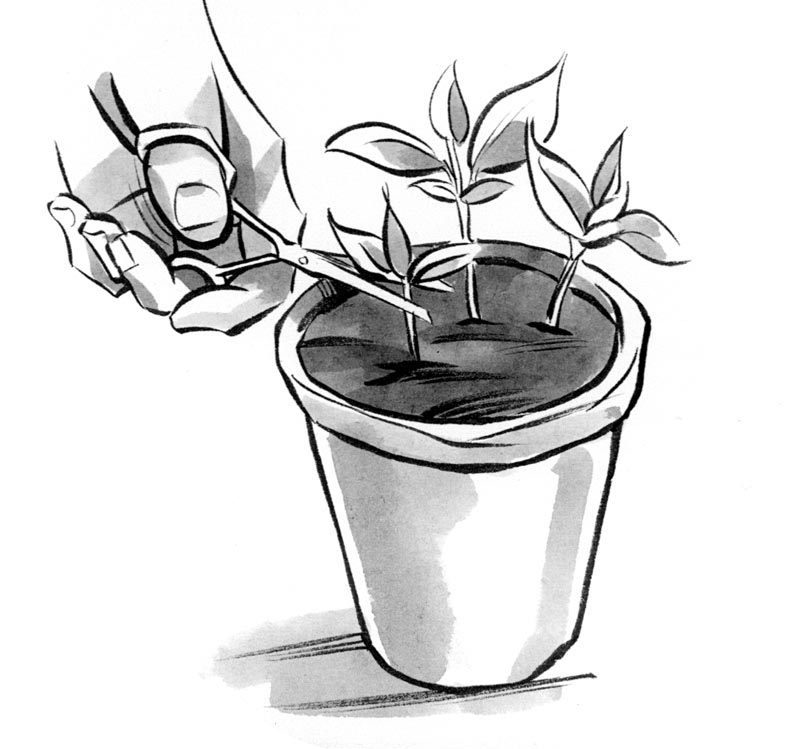
The hardest cut. Removing all but one or two seedlings in a pot is essential for healthy, compact seedlings. Cut off the weakest seedling(s) to avoid disturbing the remaining one(s). Or transplant all of them to individual pots.
Once your seeds are sown, set the flats in the growing area you have selected — in a window, under lights in a basement or spare room, or in a greenhouse. Most germinate quickly and reliably. Your work begins once seedlings appear, since it takes care and attention to detail to keep them growing well. Here is what your seedlings need:
Ample light. Though most seeds don’t need light to sprout, seedlings require ample light to grow into sturdy, robust plants, so it’s easiest to place pots or flats of sown seeds under lights. If you’re starting sun-loving vegetables, consider supplementing natural light with artificial light. Even if you have a bright window, days are short and the light is weak in late winter and early spring, so seedlings may not receive enough light without a boost.
You don’t need a sunny window; you can grow great seedlings under artificial lights. Set up the lights to allow you to adjust the distance between the topmost leaves and the lights as the seedlings grow. Use a timer to turn the lights on and off automatically. If plants grow tall and spindly, they are not receiving enough light. If the leaves are turned down or look scorched, the lights are too close to the leaves. See Let There Be Lights on page 50 for more on providing seedlings with the light they need to grow.
Consistent temperature. Temperatures between 65° and 70°F satisfy most seedlings, although others need cooler or warmer conditions. Check seed packets, or the Internet for recommendations. Once you determine the best temperature for growing your seedlings, try to keep the temperature fairly consistent. In general, the temperature can dip by about 10°F at night. Seedlings exposed to scorching sun during the afternoon hours and chilly temperatures at night will not be as robust as ones grown in a spot where the temperature remains relatively steady.
If you are using a heat mat to help speed germination, you can unplug it after your seeds have sprouted. Once seedlings appear and are growing strongly, you can move them off the heat mat to make space for more germinating seeds.
Thinning is one of the hardest things gardeners have to do. Eliminating healthy seedlings just seems cruel and wasteful. However, overcrowded seedlings are likely to be lanky and weak, and they never reach their full potential. So, once seedlings have four true leaves, it’s time to thin — or time to transplant to individual pots. If you have sown in small pots, with several seeds per pot, use sharp nail scissors to clip off all but the healthiest seedling in the pot. (Some gardeners leave two, and that’s fine as well.) Even after thinning, most seedlings will need transplanting into larger pots to give them room to grow healthy root systems before transplanting outdoors. (See Potting On, page 70.)

The hardest cut. Removing all but one or two seedlings in a pot is essential for healthy, compact seedlings. Cut off the weakest seedling(s) to avoid disturbing the remaining one(s). Or transplant all of them to individual pots.
Even moisture. The key to healthy, happy seedlings is keeping the seed-starting medium evenly moist: never too dry and never soaking wet. Get in the habit of regularly sticking a finger into the soil in pots and flats. You’ll quickly be able to tell if the soil is too wet, too dry, or just right. You can also easily judge moisture by lifting up the pots or flats: wet soil leads to heavy pots and flats, dry soil to lightweight ones. By lifting pots or flats regularly, you’ll soon be able to tell what needs watering.
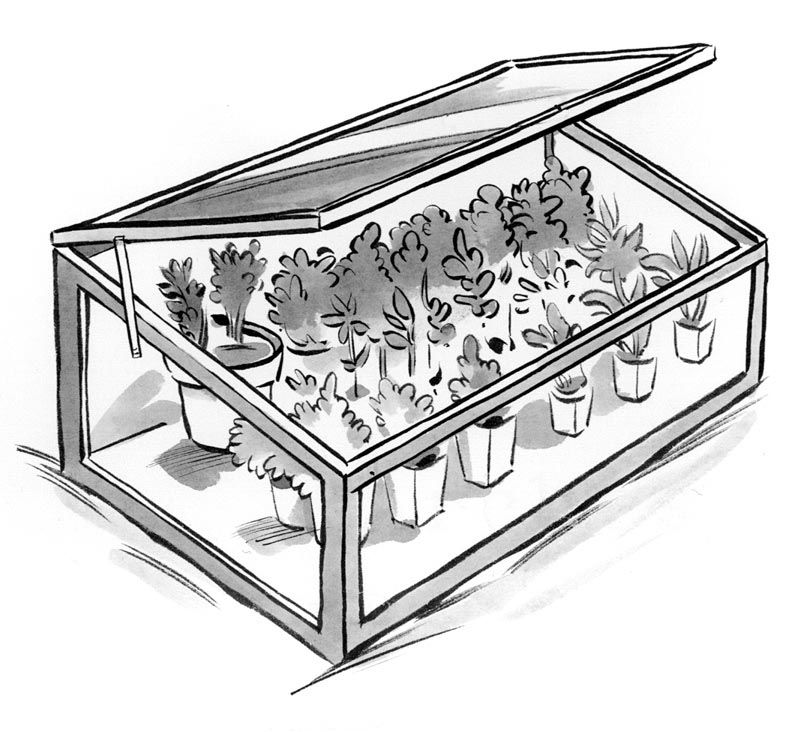
Cold frames are rectangular, boxlike structures that provide cool greenhouse-like conditions. They are handy structures, especially in spring when space for growing seedlings is quickly filled to overflowing. Use them to start seedlings that prefer cool weather, including pansies, cabbage family plants such as broccoli, and many perennials. They are also ideal for hardening off transplants before they go into the garden.

Handy structures. Cold frames are useful for starting cool-weather crops and for hardening off transplants. For best results, install a solar-powered or electric vent to moderate temperatures automatically.
A cold frame can be a permanent structure or it can be portable, so the frame can be moved to a shady spot for germinating crops for the fall garden in summer. There are many designs available. With a quick look through garden supply catalogs or a search of the Internet, you’ll find plans for build-it-yourself frames using recycled windows, and models that are ready to set up in the yard as soon as you unpack them. Set them up facing south for maximum heat collection, as cold frames depend on sun for heat. You can also add heating cables to provide warmer temperatures for plants.
All models need venting. Temperatures can rise very quickly inside them and fry seedlings on sunny winter days. Manual vents that prop open the top are fine if you’re around during the daytime. A solar-powered or electric vent that raises the top automatically to control the interior temperature is more convenient, especially if you work away from home.
There are a couple of ways to water seedlings. Watering from the bottom is one of the best, especially for tiny seedlings that are easily dislodged. Bottom watering is also good for plants — such as basil, petunias, and cabbage — that are prone to damping-off. Simply set pots in a container of water and let moisture seep upward. Lift them up and move them back to their flats once the soil at the top of the pot is damp. Obviously, this can be a time-consuming process. Many gardeners water by tipping a gentle stream of water out of a bottle or other container. There are hose nozzles that deliver a fine mist that doesn’t damage seedlings. Avoid flooding pots with a strong stream of water, since this can wash seeds away and dislodge seedlings.
Tepid water is best, since cold water can shock plants. This is especially true for peppers, eggplant, okra, and similar heat-loving plants. Keep in mind that plants growing in a warm house with dry air need watering frequently — as often as every other day.
Good air circulation. Once seedlings appear, adequate air circulation becomes more important than high humidity. Remove humidity covers once seedlings appear, but be extra vigilant about monitoring soil moisture during this time, since changing the humidity level changes the watering schedule. Check daily to see if pots need watering. If you’re going to be away from home during the day, water in the morning and loosely cover seedlings for the first day or so. (Make sure air can get in from all sides.) If the soil is too wet, uncover the plants for several hours to help it dry it a little before re-covering. Small fans are very helpful for ensuring adequate air circulation, especially in greenhouses or other areas that are warm and damp. Be sure to point them in such a way that they do not blow directly on seedlings, since constant wind will desiccate seedlings.

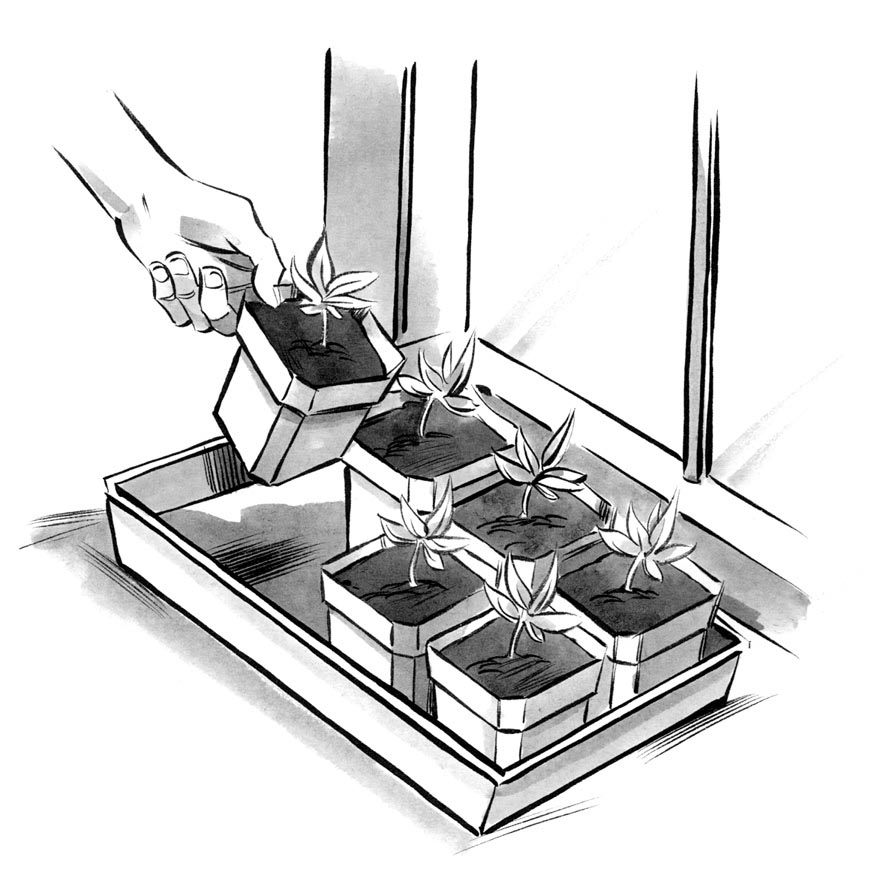
Turn them around. Seedlings grow toward their light source, which isn’t a problem if artificial lights are hanging directly overhead. Plants growing in a window will need to be turned around every couple of days to ensure straight, even growth.
Fertilizer in moderation. Seedlings that germinate in germinating mix need to receive small doses of fertilizer as soon as the first true leaves develop. Most seed-starting mixes contain no soil and are composed primarily of composted bark or peat; unless the package specifies otherwise, you can assume that it will supply few if any nutrients. Liquid fertilizers are easiest to use; fish emulsion and compost tea are also good organic choices. Whatever fertilizer you use, mix it into the water before watering from the bottom or from the top. If you have very hard water, consider using rainwater or bottled water for seedlings. Read the package directions, and mix the fertilizer at half the strength recommended, since stronger dilutions can burn seedlings. Feed weekly for the first three weeks. Switch to full-strength fertilizer after that, feeding every 10 days to two weeks.
If you transplant into a potting mix that contains compost or other nutrients, your seedlings may not need to be fertilized for several weeks. Begin feeding if the color of the leaves begins to look pale.