
A straightforward and versatile stroke, use simple petals to create a wide range of flowers.
Used for: Hydrangea, Delphinium, Dahlia 102-103, Magnolia, Freesia, Sweet pea, Camellia
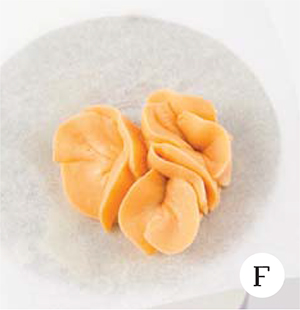
1. Position the nozzle at a 20–30 degree angle with the wide end of the nozzle touching the surface and the narrow end pointing outwards. The narrow end of the nozzle should be in a 12 o’clock position (F).

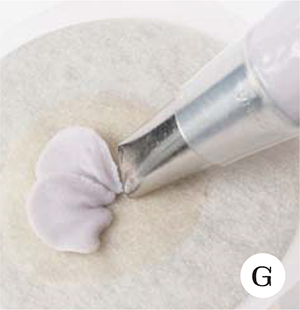
2. Give the piping bag a good squeeze without moving or turning your hands or your piping bag. The wide end of the nozzle should remain in the same position (G).

3. Gently pull the piping bag down or towards you so that the petal has a clean edge. Release the pressure when the buttercream creates a simple petal shape (H).

Nozzles: 102 or 103
1. For each of the small flowers, join four small simple petals together around a common central point. Pipe a dot in the centre, as shown on a flat surface here (I).

2. For a hydrangea ‘head’, pipe a big round mound then pipe small flowers that overlap slightly with each other. Using two-tone buttercream works well for this flower (see Buttercream Basics). To create delphiniums, pipe the small flowers in more of a row, with a few clustered at the base. Pipe a dot in the centre of each flower (J).

Nozzles: 102 or 103
1. Pipe a flat round base mound according to how big you want the flower to be, then pipe your first layer of simple petals (K).

2. Pipe a second layer of petals that make a slightly wider circle than the first layer to begin to create a ball shape. Before progressing to the next layer, fill the centre with a little blob (L).

3. Repeat the process for the next layers of petals to keep the ball shape (M).
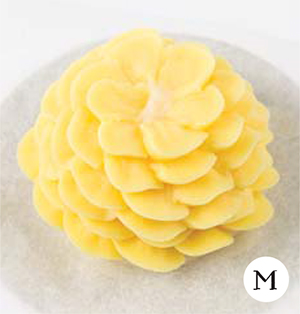
4. Leave a space on the top for the centre spikes and dots, which can be added with a piping bag with a small hole at the tip after the flower has been attached to your cake, if pre-piping (N).

Nozzles: 104, 124 or 125
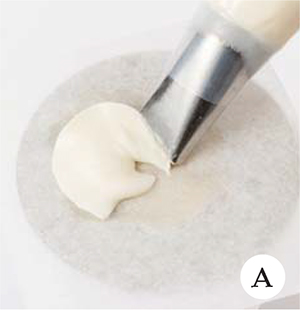
1. Pipe a wide petal by holding your bag at a 20-30 degree angle and continuously squeezing as you move your hand to create a big, wide fan-shaped petal (A).
2. Make about five or six petals in the first couple of layers (B).

3. Add four or five petals to make the second layer, then pipe spikes and dots in the centre using a piping bag with a small hole at the tip (C).

Nozzles: 102, 103 or 104
1. Pipe two simple petals that are side by side (D).

2. Pipe one or two more petals on top to complete each flower (E).

3. Repeat the process to create clusters of flowers, then pipe short spikes in the centre of each using a piping bag with a small hole at the tip (F).
Nozzles: 102, 103 or 104
1. Pipe two simple petals side by side (G).
2. Then pipe two upright petals (see Freesia) on the base of the first petals, in the centre (H).

Nozzles: 102, 103 or 104
1. Pipe a circular layer of simple petals close to each other (I).
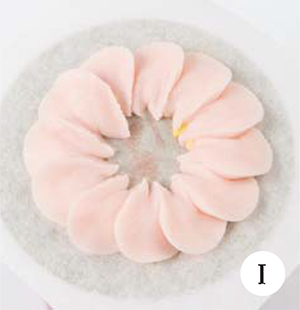
2. Repeat the same process to create one or two more layers, making sure each layer makes a smaller circle within the one below, then pipe spikes in the centre using a piping bag with a small hole at the tip. The spikes cane be added after the flower is attached to the cake, if pre-piping (J).
