In this section, we introduce tools that are designed to fill an area with a color, pattern, or gradient.
Use the Bucket Fill tool (Image: Tools > Paint Tools > Bucket Fill,  , or the Toolbox button shown in Figure 3-61) to fill an area with a solid color or pattern either by clicking in the area that you want to fill or by dragging the foreground or background color and dropping it over the image.
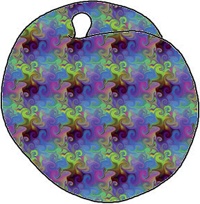
When you click to fill, you fill only the contiguous space with that color or pattern. This means that a line drawing can act as a boundary. For example, we clicked in the line drawing of a peach to fill it with dark orange (Figure 3-62) and then a swirly pattern (Figure 3-63).
Gradients work well in the background of buttons (Figure 3-64), banners, or drawings. They can also add simple shading effects or a unique touch to a photo.
For example, we added color to enhance the dramatic look of the stormy sky photo in Figure 3-65. The cloud front is diagonal to the horizon. We applied the gradient perpendicularly to the cloud front, so that areas with heavier cloud cover are darker, as shown in Figure 3-66.
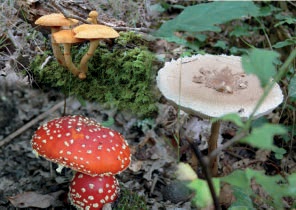
You can also use gradients in layer masks to create smooth transitions between layers. This is how we combined the mushrooms from Figure 3-67 to Figure 3-69 to create Figure 3-70. Gradients are used in layer masks to transition between black and white, as shown in Figure 3-71. White areas are visible, black areas are transparent, and gray areas create the transition.
Apply patterns to decorate a background, create text effects (as shown in Figure 3-72), or make the surface of an object look more organic. See The Patterns Dialog and The Patterns Dialog for more details.


