First, you’re going to build a texture that simulates leather. You will then emboss it with text. The final product will be a luggage tag for “Mr. Gimp Junior.”
Create a new image (Image: File > New or press  ). Choose 400 × 250 as the size and RGB as the image type, and use the default background color (i.e., white).
Fill this image with hurl noise. Select Image: Filters > Noise > Hurl, which opens the dialog in Figure 4-1. Push the RANDOMIZATION slider to 60% (try using the mouse wheel to do this). Leave the REPEAT slider at its default value of 1. Click OK. You get something like Figure 4-2.
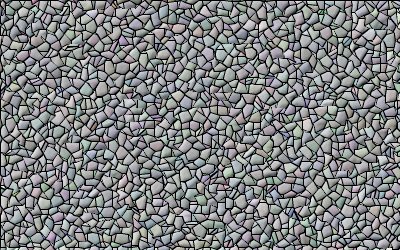
Now select Image: Filters > Distorts > Mosaic. Choose the parameters shown in Figure 4-3 (i.e., OCTAGONS & SQUARES for TILING PRIMITIVES and 10.0 for TILE SIZE). Of course, you’re welcome to experiment with other values later, but for now follow along with us.
The result, seen in Figure 4-4, bears a vague resemblance to leather, but the mosaic is too pronounced. Select the Hurl filter again, but this time set the RANDOMIZATION to 40%. In Figure 4-5 the mosaic is more subdued, but the colors still aren’t realistic.
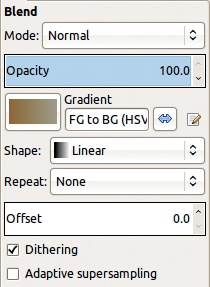
Choose two shades of brown—a darker shade as the foreground color and a lighter one as the background color. We chose 8c6434 and a29d89. Temporarily select the Blend tool ( ) and check that the tool options are set as shown in Figure 4-6 (i.e., a linear gradient from foreground to background with no repetition).
Now apply the Image: Colors > Map > Gradient Map tool. This tool acts immediately without any dialog appearing. You already set the options in the Blend tool. The result appears in Figure 4-7. Note the foreground color is applied to sunken parts of the image, and the background color is applied to the bumps.
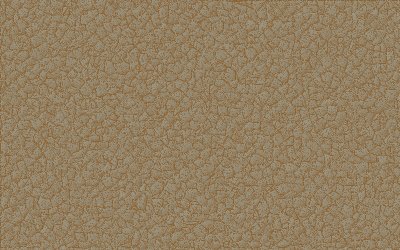
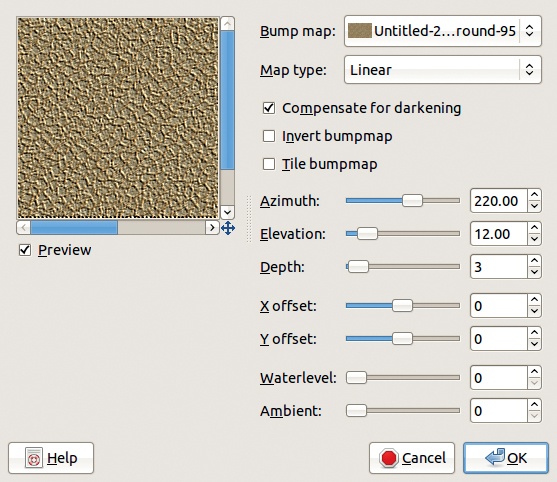
But the image lacks relief. The best tool for adding some is the Image: Filters > Map > Bump Map filter. In the dialog shown in Figure 4-8, the relief is wrong because the channels appear as bumps and the bumps as depressions. This happens because the light comes from below due to the AZIMUTH value. This parameter assigns the direction of the light: 0 is from the right, 90 is from above, 180 is from the left, and 220 is from below. Choose 135 so the light comes from the top left. Set the other parameters as shown in the figure. Click OK and you should see Figure 4-9.
The next tool we use is the Text tool ( ). Its options appear in Figure 4-10. Set the foreground color to black, and choose a bold font and a large font size. We chose 50 pixels, which worked well for this example.
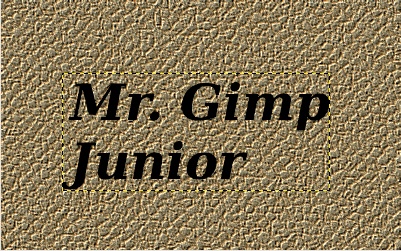
Once you’ve set the options, click in the upper-left corner of the leather texture that you just created. Type Mr. Gimp Junior—or your own name if you prefer. The text appears at the proper size in the image, in a new transparent layer above the background. In Figure 4-11, the limits of the new layer are visible.
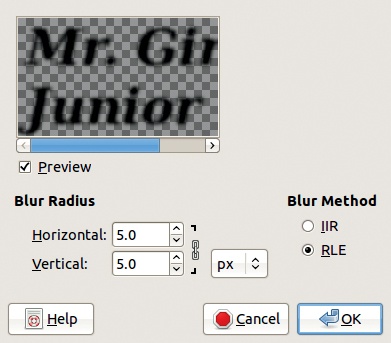
Now duplicate the text layer. Note that the copy keeps the special property of being a text layer. Ensure the copy is selected and then select the Image: Filters > Blur > Gaussian Blur filter. In the dialog shown in Figure 4-12, choose 5.0 for both radii. The BLUR METHOD is irrelevant here. Click OK.
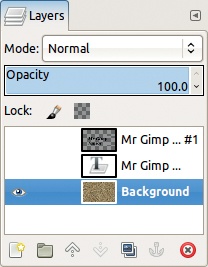
Now create a new layer filled with white (the left button at the bottom of the Layers dialog). Move this layer below the blurred text layer (the down arrow button in the Layers dialog). Merge the blurred text layer with the white layer (right-click the blurred text layer line in the Layers dialog, and choose MERGE DOWN). Hide both text layers (click the eye icons next to their thumbnails in the Layers dialog). Select the background layer (click its thumbnail in the Layers dialog).
The Layers dialog should now look like Figure 4-13. Select Image: Filters > Map > Bump Map. From the BUMP MAP menu, choose the blurred text layer as the map. The WATERLEVEL must be about 80. Either leave the other parameter values as they are or play with them. Note that with an azimuth of 135, the text is embossed in the leather, while with an azimuth of 225, it is in relief. Click OK to get the image shown in Figure 4-14.
This result still needs some improvement. Select the initial text layer, and make it visible (click the eye in its line). Right-click this layer line in the Layers dialog, and choose ALPHA TO SELECTION. Because this layer’s background is transparent, you get a perfect selection around the text. Shrink this selection by 1 pixel (Image: Select > Shrink).
In the Layers dialog, hide the text layer and select the leathery background. Choose a bright red as the foreground color, and fill the selection using  . Finally, remove the selection with
  . You’ll get the final result shown in Figure 4-15.
You could complete the label by adding a bevel (Image: Filters > Decor > Add Bevel), reducing the amount of leather around the label, punching a hole in the corner, and so on. We leave these optional flourishes up to you.

