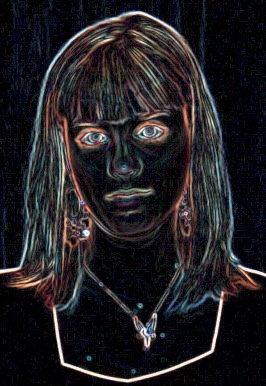
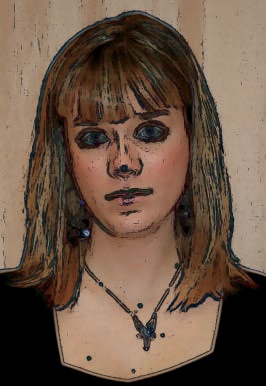
In most cases, major variations in intensity in an image correspond to edges of objects. You can often extract objects in an image by detecting these variations through a process called segmentation. In GIMP, you can do this using the edge detection tools.
Technically, the edges in an image are any areas where the intensity presents a strong local variation. Edge detection is a fundamental part of extracting information from an image during preprocessing. Often, the discovered edges are then fed to a shape recognition system. Shape recognition has applications in robotics, medical image analysis, video surveillance, and other fields.
We won’t go into the mathematical details of the various edge detection methods available. Instead, we’ll demonstrate several of them on one image—the photograph in Figure 7-63. To make this image worthy of edge detection, we first apply a strong blur to it by applying Image: Filters > Blur > Gaussian Blur. The result is shown in Figure 7-64.
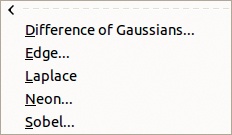
The edge detection filters in GIMP are all found in the Image: Filters > Edge-Detect menu (see Figure 7-65). Here, we explore the various entries on this menu.
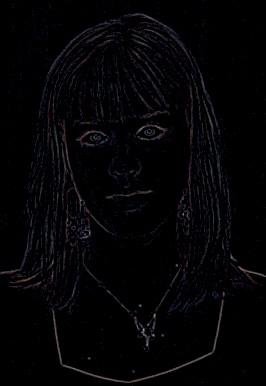
Choosing Image: Filters > Edge-Detect > Difference of Gaussians brings up the dialog shown in Figure 7-66. Here, we adjusted the radius and suggest you do the same. We also unchecked the INVERT box. Figure 7-67 shows the result. Edge detection using the Difference of Gaussians filter worked rather poorly, at least for this image.
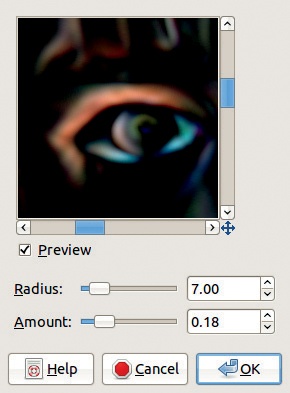
Image: Filters > Edge-Detect > Neon works better for this image. Figure 7-68 shows this filter’s dialog with the settings we used. See the result in Figure 7-69. Note that the important features of the image are much more visible than with the previous filter.
The Image: Filters > Edge-Detect > Laplace filter is a bit disconcerting: When you apply it to this image, no dialog pops up, and the result is completely black. But after applying Image: Colors > Auto > Stretch Contrast to this image, you get the result in Figure 7-70. Not great, but better than nothing.
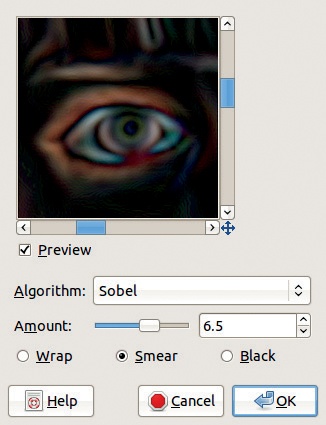
Finally, the most handy tool is Image: Filters > Edge-Detect > Edge, which contains six different filters (algorithms). The dialog, shown in Figure 7-71, is simple. The only setting is the AMOUNT. A low amount value results in a black image with thin edges; a high amount value leads to thicker edges and multicolored dark regions.
Figure 7-72 shows the result of applying Sobel edge detection with an AMOUNT of 6.5. Figure 7-73 shows the result of applying Prewitt compass edge detection with an AMOUNT of 10. Figure 7-74 shows the result of applying Gradient edge detection with the same AMOUNT.
Stretching the contrast of an image you’ve used edge detection on may be useful. For example, we got the image shown in Figure 7-75 by using Differential edge detection with an AMOUNT of 2.5 and then applying Image: Colors > Auto > Stretch Contrast.
You can use an edge detection filter to decompose the image into more readable objects. We show this in two different examples.
To create Figure 7-76 from Figure 7-63, do the following:
Another possible use for edge detection is demonstrated in Figure 7-77. Begin with the image from Figure 7-22. Duplicate the layer and apply the edge detection operator Sobel, as we did in the previous example. Finally, we experiment with the various merging modes in the Layers window to find the one that suits our needs. We choose Screen.

