As you just saw, you can view an image at different sizes and zoom factors. But sometimes you may need several different views open at the same time. Suppose, for example, we are carefully retouching a photograph. We want a closeup view of the detail that we are retouching. At the same time, we want to see the effect of our work on the photograph at the size that it will be printed.
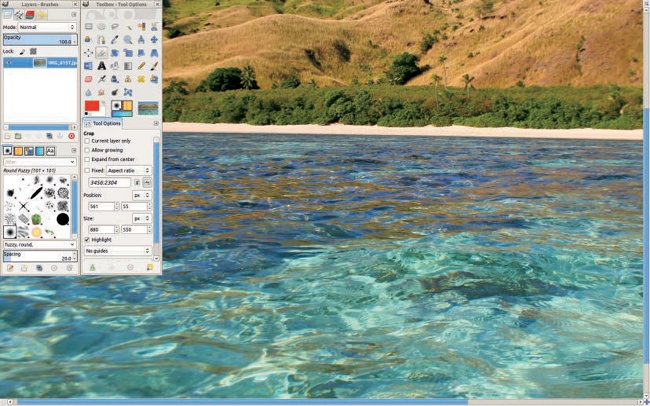
To open multiple views of an image, select Image: View > New View. The new Image window that opens is another view of the same image, not a new copy of it. For example, on the left side of Figure 10-30, you see a seaside landscape photo with a zoom factor of 33.3%, and on the right side, you see the ripple of a small wave from the foreground of the photo using a zoom factor of 200%. When we do something to the image on the right side, the effect is immediately visible in the left-side window as well. Note that this feature isn’t as useful in single-window mode because in that mode you can’t look at two different images at the same time, even if both of them are open in GIMP. You can only shift from one view to the other and then back.
Occasionally, you may want to enlarge the Image window to full screen. The best way to do this is not by using the button on the window bar but rather by applying Image: View > Fullscreen or by pressing  , which is a toggle. The result is shown in Figure 10-31. When setting general parameters (see Chapter 22), you can also choose to minimize what’s displayed on screen to give your image more room. You can hide the rulers, the scroll bars, the status bar, and even the menu bar, as shown in this example. And you can recall them when needed with the menu button at the top left of the Image window (if the rulers are displayed) or by right-clicking the image.
