The filters in the Combine menu are used to combine two or more images. We omit Film-strip, since film is rarely used nowadays.
Depth Merge merges two images using two image maps as guides. It requires four images in total, and they must all be the same size. An image map must be grayscale. The dark areas correspond to areas that will be visible in the associated image, and light areas of the map will be transparent areas in the associated image. In other words, the map acts as a mask.
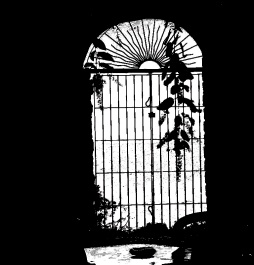
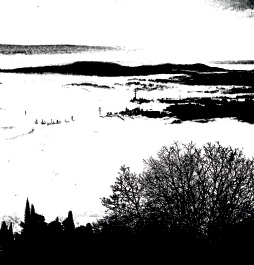
The images shown in Figure 17-139 and Figure 17-140 were used to demonstrate the filter. First they were cut and scaled until they were the same size. To build the maps shown in Figure 17-141 and Figure 17-142, we did the following:
Chose the Select by Color tool.
Clicked a light area of the image, pressed and held
 , and then clicked other light areas until all of the light areas in the image were selected.
Created a new white layer.
Inverted the selection and filled it with black.
Dragged the new layer to the Toolbox to create a new image with it.
Deleted the mask layer from the image.
When the Depth Merge filter is selected, the dialog shown in Figure 17-143 pops up. The menus on the right are used to set the source and depth image maps. The remaining parameters are as follows:
OVERLAP [0 to 2] smooths the transition between images using semitransparency.
OFFSET [–1 to +1] adjusts the respective visibility of the Source images in the resulting image.
SCALE [–1 to +1] does the same thing as OFFSET, but separately for each image, by darkening its map when the value of Scale is lowered.
See the result in Figure 17-144.


