The traditional Cup in Step 7, although a model itself, is the starting point for many models. Its interesting geometry means that it can be developed in many ways, some quite complex. The folding sequence for the Kissing Cousins beyond Step 7 is unusual because only two new, small folds are made. Most of the sequence involves inverting and re-inverting the paper and refolding existing creases.
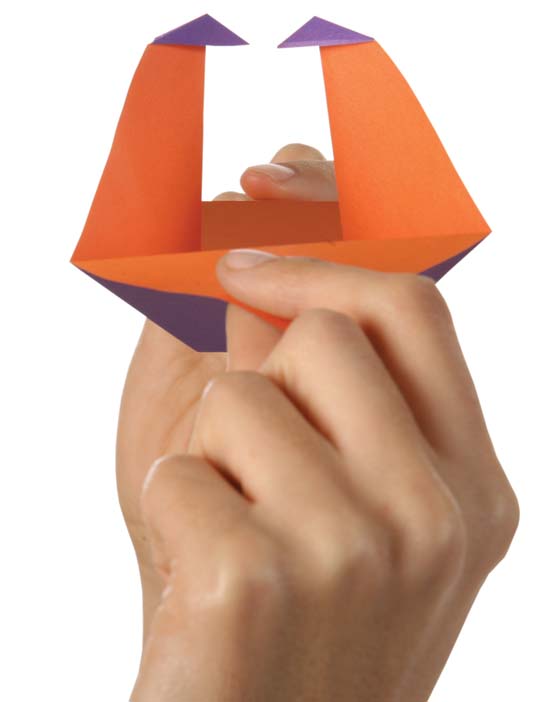
Begin with a square of origami paper, white side up.
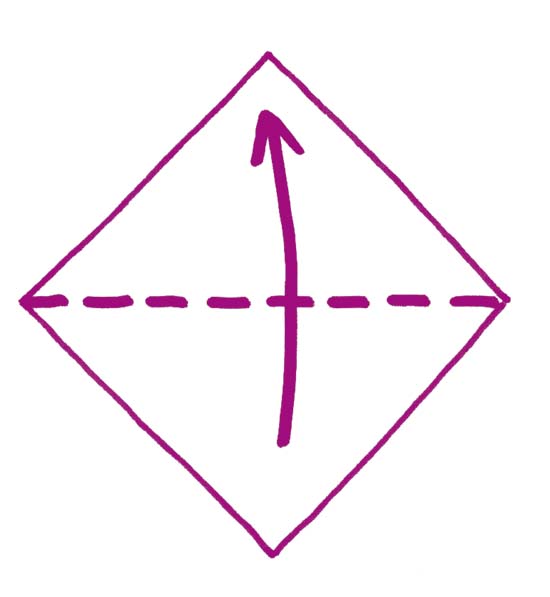
1. Fold corner to corner.
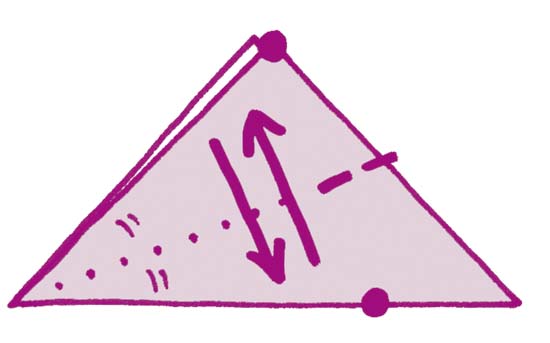
2. Fold dot to dot, but pinch only at the right edge. If the crease were to continue, it would extend to the bottom left-hand corner.
3. Fold dot to dot.
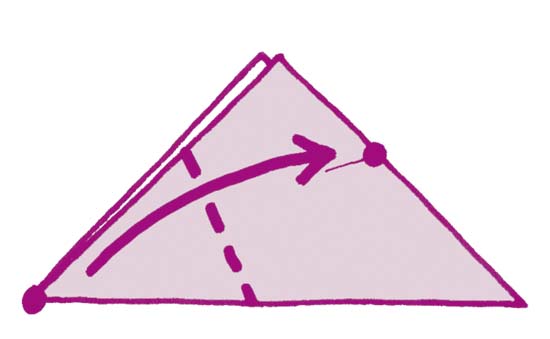
4. Again, fold dot to dot. Everything should line up neatly, left and right. Nice!
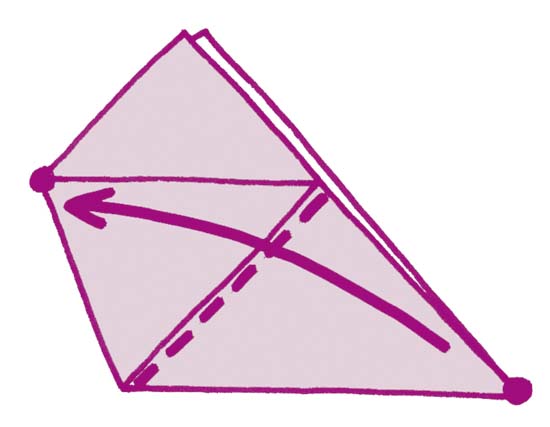
5. There are two loose corners at the top of the paper. Fold down just the front corner.
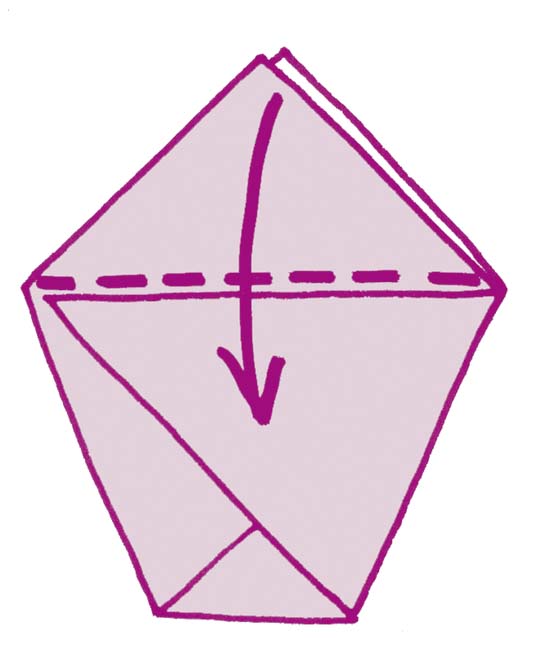
6. Mountain fold the other corner behind.
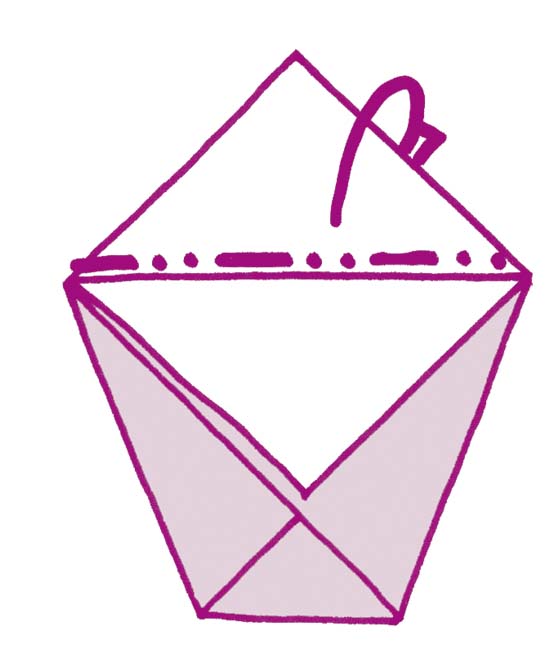
7. This is the traditional Cup model, which really will hold liquids. Unfold back to Step 2.
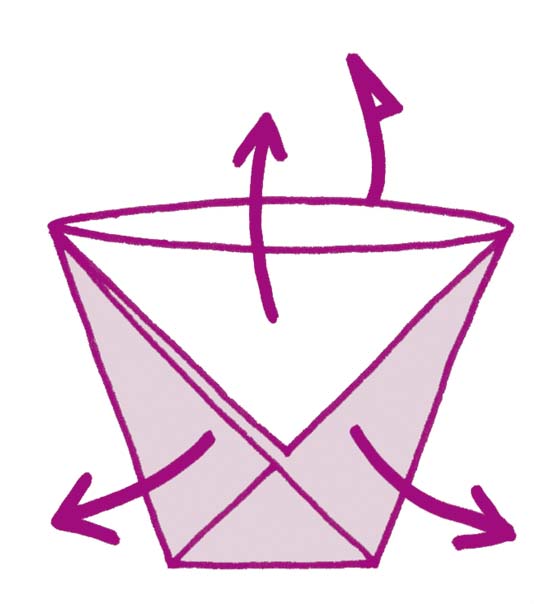
8. Make two very small Outside Reverse Folds at the bottom corners.
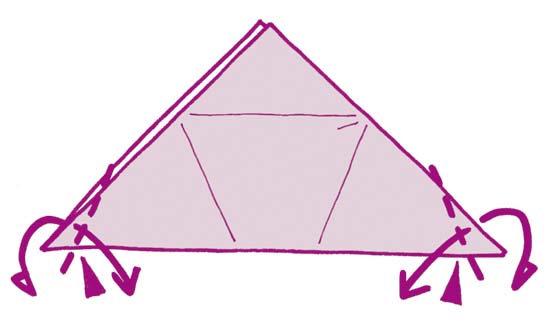
9. Unfold the Outside Reverse Folds.
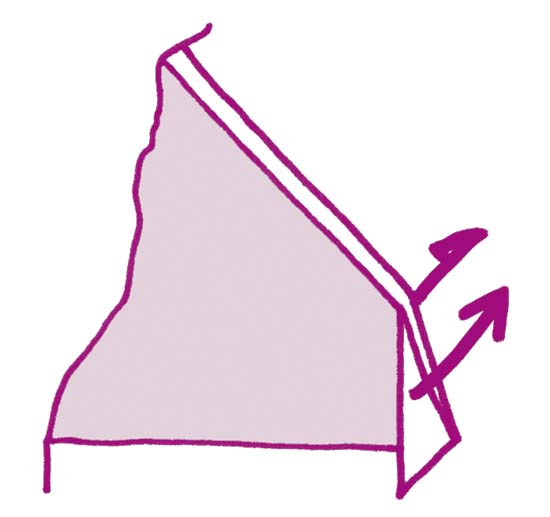
10. Make an Inside Reverse Fold along the Step 3 crease.
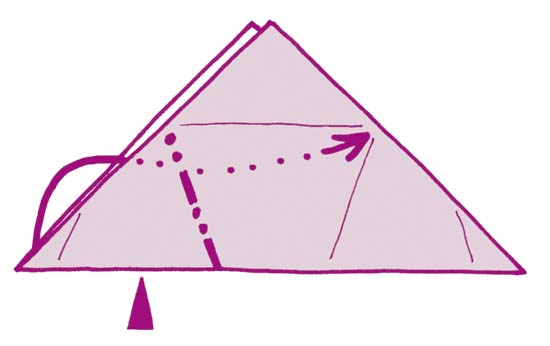
11. Similarly, make another Inside Reverse Fold, along the Step 4 crease . . .
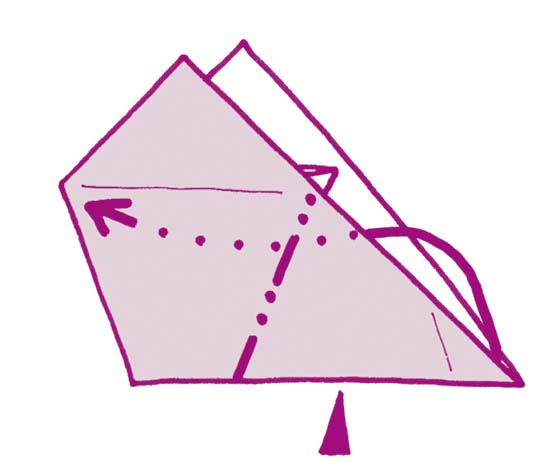
12....like this. The two reverse folds will lie happily alongside each other inside the paper.

13. Hold one of the corners and refold the Step 8 Outside Reverse Folds. But note that the colors are now opposite compared to Step 8.
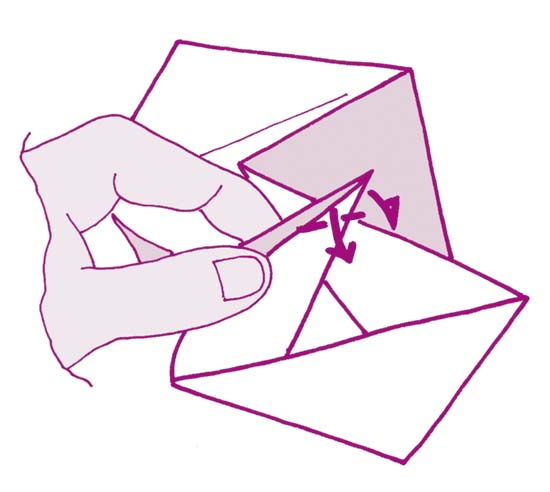
14. Repeat Step 3 with the other corner.
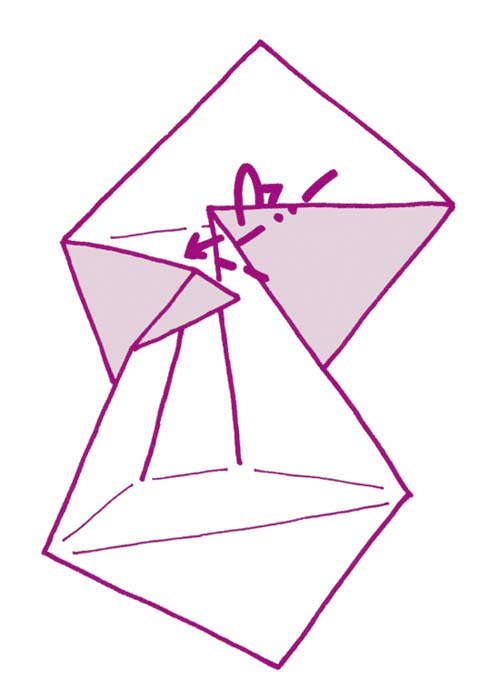
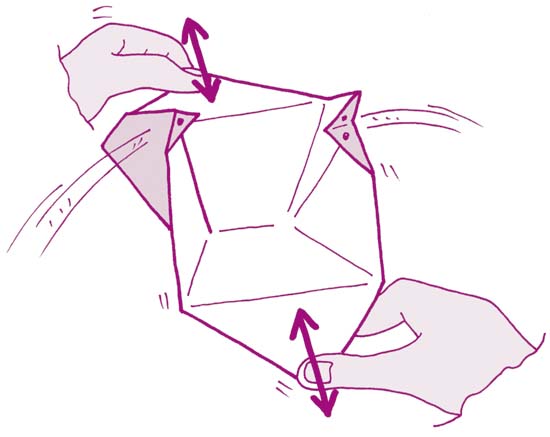
15. This is the result. Draw eyes on the heads of the two “cousins.”
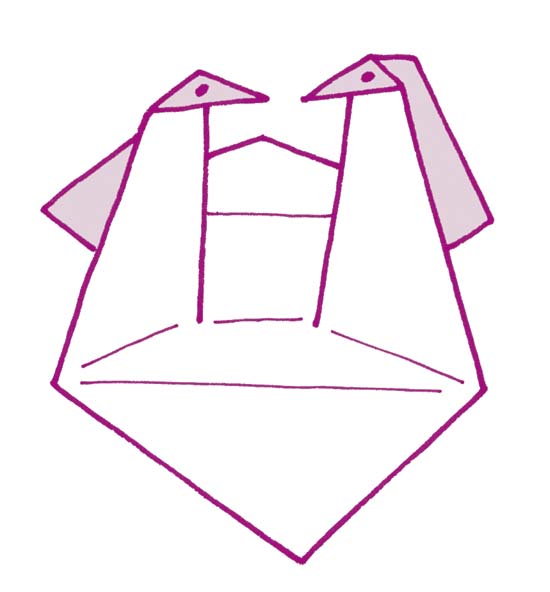
16. To make the cousins kiss—or nearly kiss—hold the two large triangles as shown and move your hands together and apart. It is quite difficult to make the cousins kiss square-on, so practice your kissing technique! The model will fold flat for storage.
