

Some bits and pieces for the mid-morning and mid-afternoon munchies. Portion sizes are intentionally small to make it easier for little chefs, but you can double or even triple amounts if you are cooking for a crowd.
Savoury
![]()
![]()
![]()
Sweet
![]()
![]()
![]()

![]()
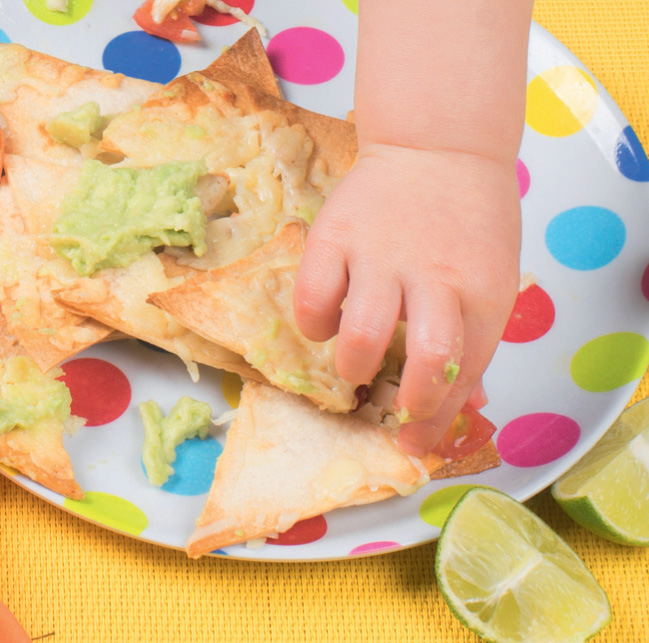
Try to find unsalted or lightly salted chips, or better still, make your own by cutting or tearing tortilla wraps and baking them for about five minutes in a hot oven.
WHAT YOU NEED
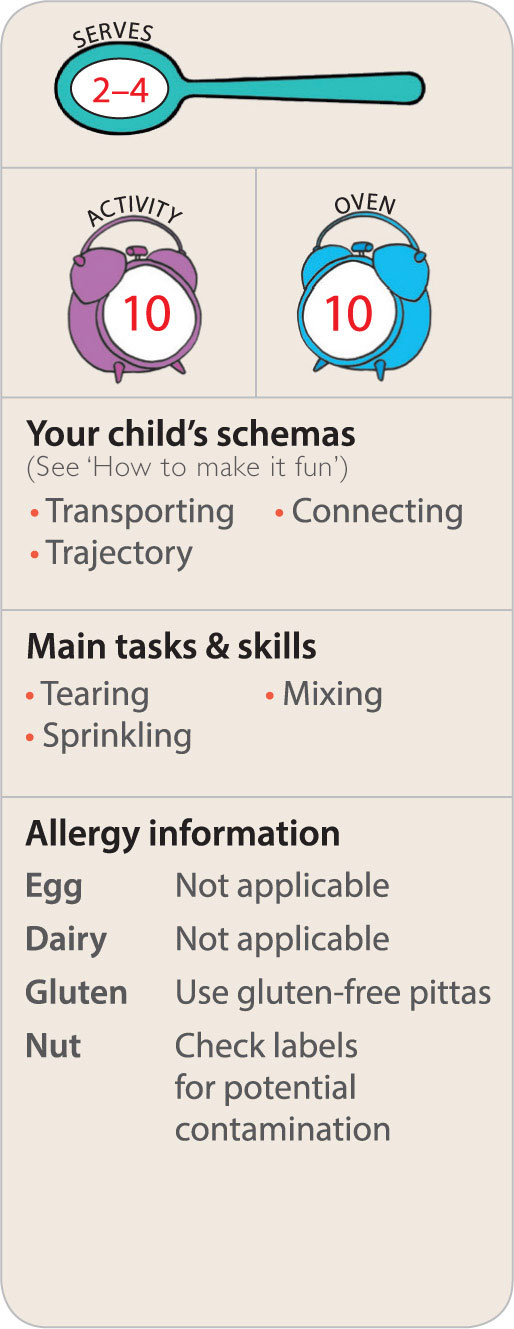
![]() 85 g tortilla chips
85 g tortilla chips
![]() 100 g (1 cup) cheddar cheese
100 g (1 cup) cheddar cheese
![]() 6 tbsp tomato salsa (ready-made or recipe on here)
6 tbsp tomato salsa (ready-made or recipe on here)
![]() 1 avocado
1 avocado
![]() ¼ small lime
¼ small lime
PARENT PREP
![]() Preheat oven to 190°C/375°F/Gas 5
Preheat oven to 190°C/375°F/Gas 5
![]() Grate cheese
Grate cheese
![]() Cut around avocado lengthways and pull apart. Leave stone in and rub a little lime juice on flesh to stop it going brown
Cut around avocado lengthways and pull apart. Leave stone in and rub a little lime juice on flesh to stop it going brown
![]() Lay out: ingredients, mixing bowl, fork or potato masher, tablespoon and oven-proof dish
Lay out: ingredients, mixing bowl, fork or potato masher, tablespoon and oven-proof dish
ALL TOGETHER NOW!
![]() Spread half the tortilla chips in the oven-proof dish.
Spread half the tortilla chips in the oven-proof dish.
![]() Spoon dollops of tomato salsa onto the chips.
Spoon dollops of tomato salsa onto the chips.
![]() Sprinkle over half the grated cheese.
Sprinkle over half the grated cheese.
![]() Layer the other half of the chips on top, followed by the rest of the cheese.
Layer the other half of the chips on top, followed by the rest of the cheese.
Adult: Bake in the oven for 18 minutes, and while cooking…
![]() Use the tablespoon to scoop out the flesh from the avocado into the bowl. Discard the stone. Then mash the flesh with a fork or masher.
Use the tablespoon to scoop out the flesh from the avocado into the bowl. Discard the stone. Then mash the flesh with a fork or masher.
![]() Squeeze over the juice from the lime quarter and mix.
Squeeze over the juice from the lime quarter and mix.
AND FINALLY…
Serve with mashed avocado on the side or dolloped on top.
![]()
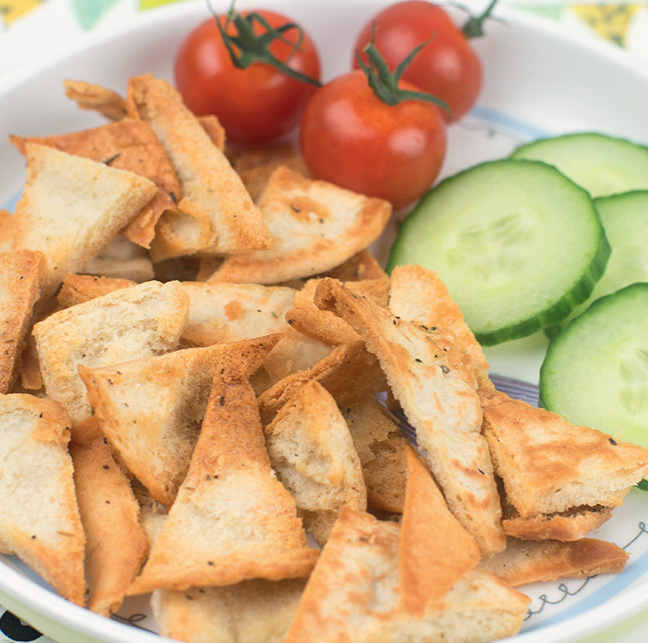
This is an easy, quick snack to just serve plain, but these chips are also great to have with either a dip or a bowl of delicious, warming soup.
WHAT YOU NEED
![]() 2 pittas
2 pittas
![]() 2 tsp of dried mixed herbs
2 tsp of dried mixed herbs
![]() 1 tbsp olive oil
1 tbsp olive oil
PARENT PREP
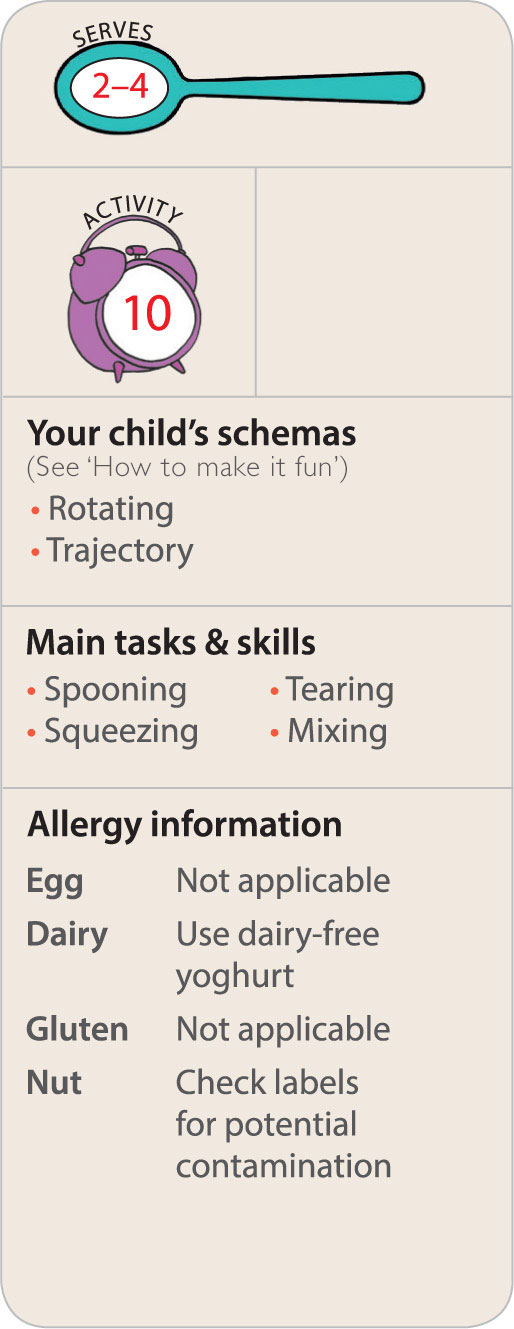
![]() Preheat oven to 200°C/390°F/Gas 6
Preheat oven to 200°C/390°F/Gas 6
![]() Lay out: ingredients, child-safe scissors (optional) and baking tray
Lay out: ingredients, child-safe scissors (optional) and baking tray
VARIATIONS
Leftover baked potato skins, tortillas, thinly sliced carrots, parsnips or aubergines
ALL TOGETHER NOW!
![]() Open the pittas and cut or tear them into 2-cm pieces.
Open the pittas and cut or tear them into 2-cm pieces.
![]() Put the pitta pieces onto the tray.
Put the pitta pieces onto the tray.
![]() Take a pinch of herbs and sprinkle them over the pitta pieces.
Take a pinch of herbs and sprinkle them over the pitta pieces.
![]() Drizzle over the olive oil.
Drizzle over the olive oil.
![]() Mix, using hands or a spoon, to coat pitta pieces with oil and herbs.
Mix, using hands or a spoon, to coat pitta pieces with oil and herbs.
AND FINALLY…
Bake in the oven for 10 minutes until light brown and crispy.
![]()
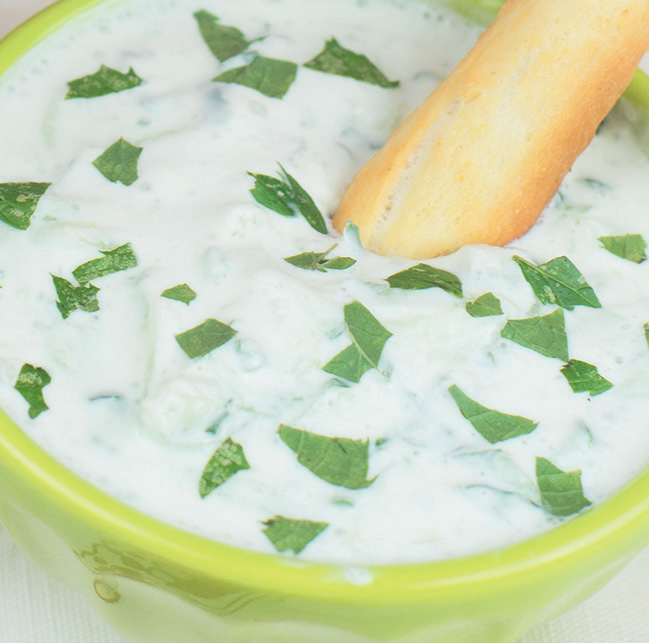
Also known as a ‘cucumber dip’, this mild and simple version of the traditional Greek dish is perfect for little chefs to create all by themselves.
WHAT YOU NEED
![]() 150 g (1 cup) cucumber
150 g (1 cup) cucumber
![]() 120 ml (½ cup) Greek yoghurt
120 ml (½ cup) Greek yoghurt
![]() ½ tsp olive oil
½ tsp olive oil
![]() ¼ small lemon
¼ small lemon
![]() 4 fresh mint leaves (optional)
4 fresh mint leaves (optional)
PARENT PREP
![]() Grate cucumber
Grate cucumber
![]() Lay out: ingredients, bowl and mixing spoon
Lay out: ingredients, bowl and mixing spoon
ALL TOGETHER NOW!
![]() Put the grated cucumber and yoghurt into the bowl.
Put the grated cucumber and yoghurt into the bowl.
![]() Squeeze on the juice from the lemon quarter.
Squeeze on the juice from the lemon quarter.
![]() Add the oil.
Add the oil.
![]() If you are using mint, tear the leaves into little pieces and add to the bowl.
If you are using mint, tear the leaves into little pieces and add to the bowl.
![]() Mix all the ingredients together.
Mix all the ingredients together.
AND FINALLY…
Serve with pitta chips (see here) or breadsticks (see here).
![]()
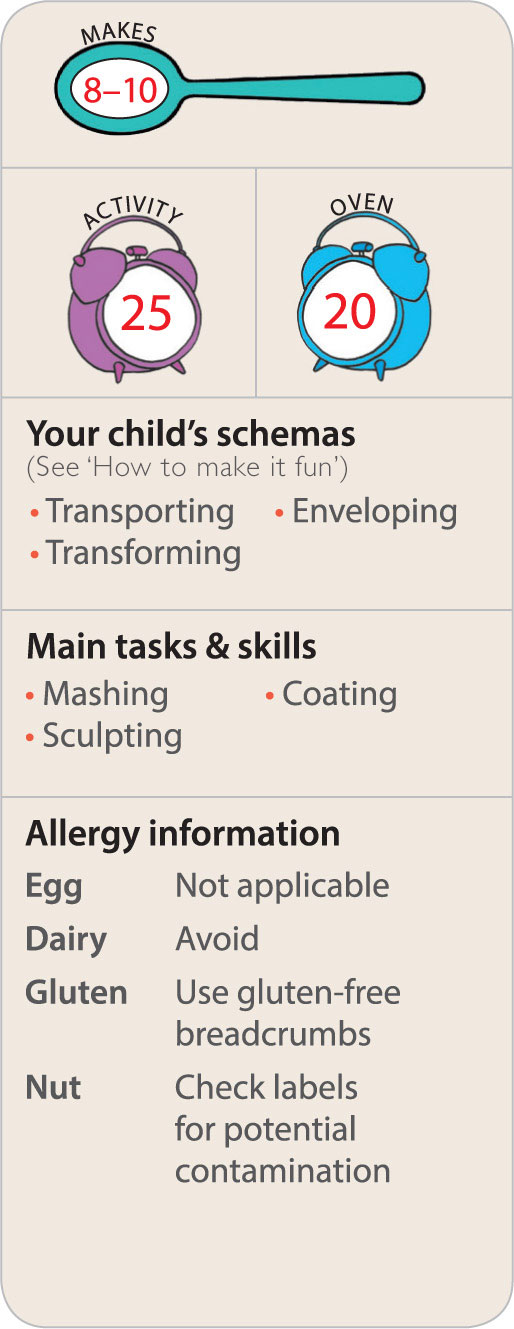
These make a fun snack or light lunch and are a good baby-led weaning dish for a younger sibling. This recipe uses broccoli, but you can use any mashable vegetable.
WHAT YOU NEED
![]() 50 g (¼ cup) rice
50 g (¼ cup) rice
![]() 50 g (about 2 ‘trees’) broccoli
50 g (about 2 ‘trees’) broccoli
![]() 30 g (⅓ cup) cheddar cheese
30 g (⅓ cup) cheddar cheese
![]() 3 tbsp cream cheese
3 tbsp cream cheese
![]() 25 g (½ cup) fresh breadcrumbs
25 g (½ cup) fresh breadcrumbs
PARENT PREP
![]() Preheat oven to 200°C/390°F/Gas 6
Preheat oven to 200°C/390°F/Gas 6
![]() Cook rice or use 125 g (1 cup) leftover cooked rice
Cook rice or use 125 g (1 cup) leftover cooked rice
![]() Cook broccoli until soft, or use leftovers
Cook broccoli until soft, or use leftovers
![]() Grate cheddar cheese. If you have a handled grater, children can help
Grate cheddar cheese. If you have a handled grater, children can help
![]() Lay out: ingredients, chopping board, fork or masher, spoon, mixing bowl, plate and baking tray
Lay out: ingredients, chopping board, fork or masher, spoon, mixing bowl, plate and baking tray
ALL TOGETHER NOW!
![]() Put the broccoli into the bowl and mash.
Put the broccoli into the bowl and mash.
![]() Add rice, cheddar cheese and cream cheese to the bowl and mix.
Add rice, cheddar cheese and cream cheese to the bowl and mix.
![]()
![]() Squish everything together to form balls. If it won’t combine, add more cream cheese.
Squish everything together to form balls. If it won’t combine, add more cream cheese.
![]() Put the breadcrumbs onto the plate.
Put the breadcrumbs onto the plate.
![]() Put each ball onto the plate and bury it with breadcrumbs until fully coated.
Put each ball onto the plate and bury it with breadcrumbs until fully coated.
![]() Place on the baking tray.
Place on the baking tray.
AND FINALLY…
Bake for 20 minutes.
NB Never leave cooked rice lying around because bacteria can grow on it that isn’t killed by reheating. If not using straight away, cool in running cold water, cover and put into the fridge.

![]()
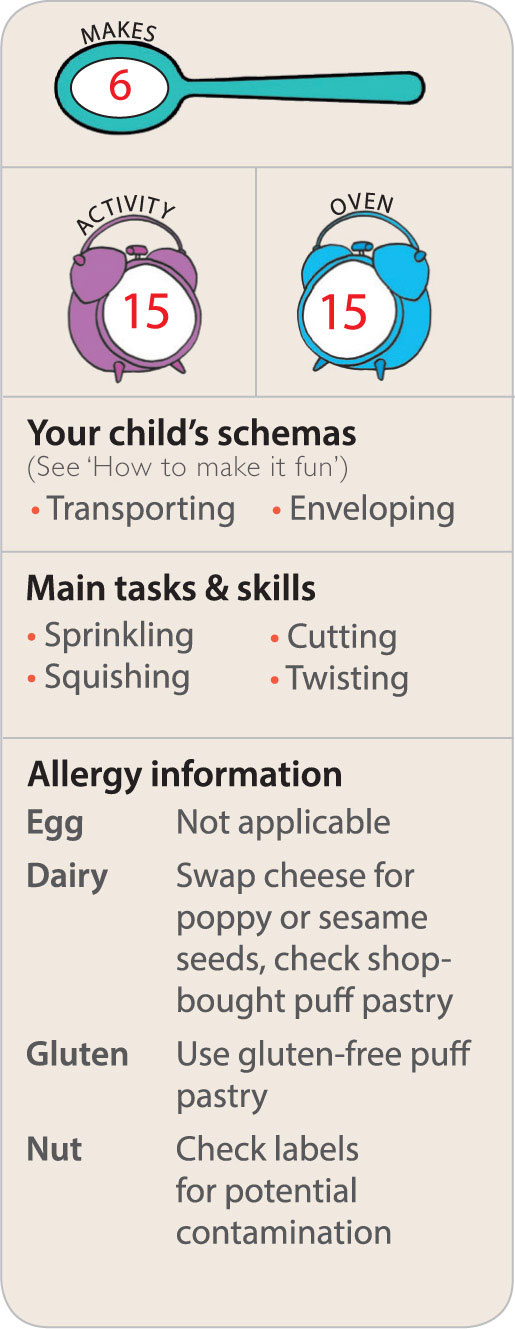
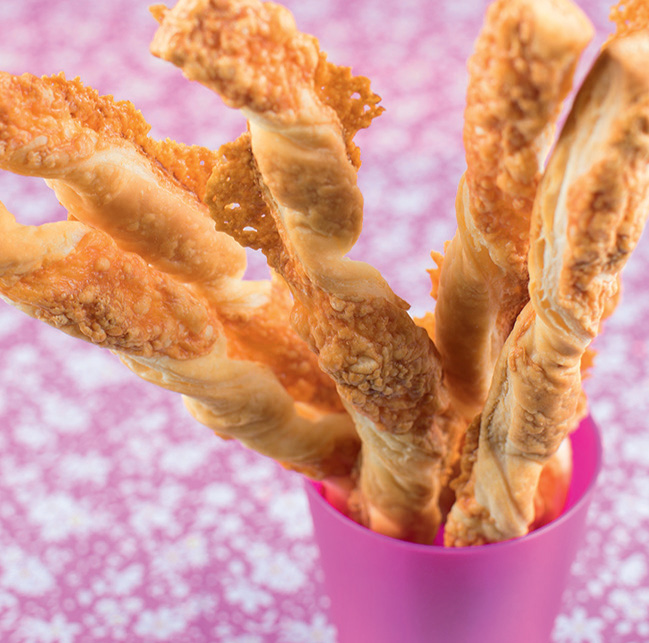
These two-ingredient cheese straws get demolished within minutes in our house. They also work with other toppings such as poppy seeds or parmesan.
WHAT YOU NEED
![]() 130 g ready-rolled puff pastry sheet
130 g ready-rolled puff pastry sheet
![]() 40 g (½ cup) cheddar cheese
40 g (½ cup) cheddar cheese
PARENT PREP
![]() Preheat oven to 220°C/425°F/Gas 7
Preheat oven to 220°C/425°F/Gas 7
![]() Finely grate the cheese
Finely grate the cheese
![]() Lay out: ingredients, table knife, chopping board, rolling pin (optional) and baking tray
Lay out: ingredients, table knife, chopping board, rolling pin (optional) and baking tray
ALL TOGETHER NOW!
![]() Put the ready-rolled pastry on the board.
Put the ready-rolled pastry on the board.
![]() Sprinkle cheese all over the pastry.
Sprinkle cheese all over the pastry.
![]() Squish the cheese into the pastry with the palm of the hand and/or roll it in with the rolling pin.
Squish the cheese into the pastry with the palm of the hand and/or roll it in with the rolling pin.
![]() Use the table knife to cut the pastry into 1.5-cm strips.
Use the table knife to cut the pastry into 1.5-cm strips.
![]() Hold one end of each strip while turning the other end until you get 4 or 5 twists.
Hold one end of each strip while turning the other end until you get 4 or 5 twists.
![]() Put on the baking tray and sprinkle any cheese that fell off while twisting back onto the straws.
Put on the baking tray and sprinkle any cheese that fell off while twisting back onto the straws.
AND FINALLY…
Bake in the oven for 12–15 minutes until golden brown. Leave to cool on the tray before serving or storing in a tin.
![]()
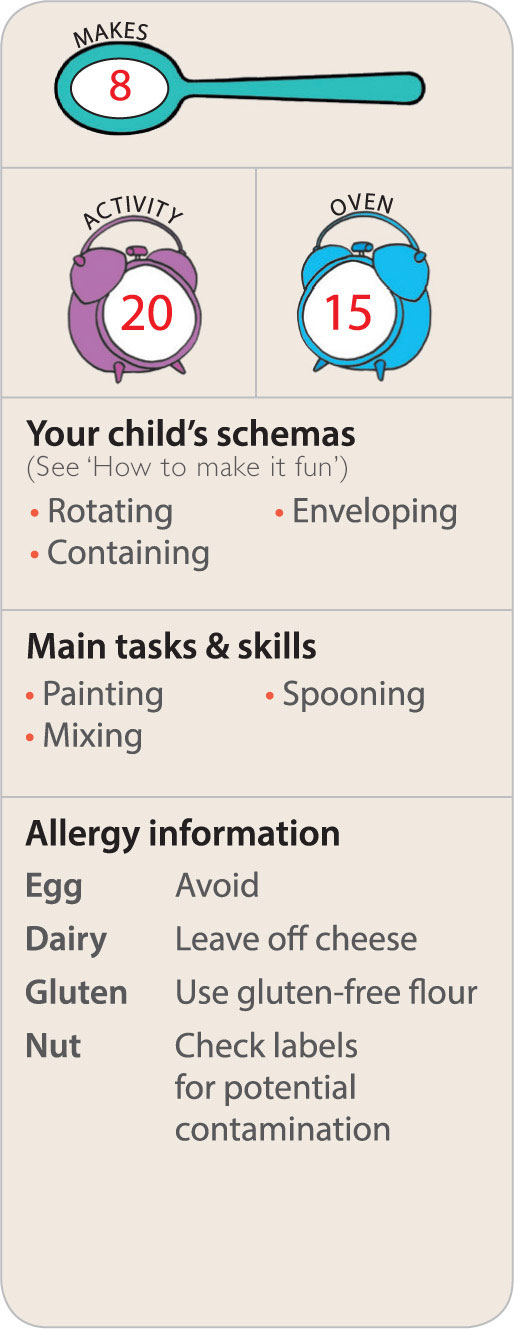
This is a mini frittata-muffin hybrid, which is yummy and versatile for breakfasts, snacks, lunches, lunchboxes or to take on a picnic.
WHAT YOU NEED
![]() ½ tbsp olive oil
½ tbsp olive oil
![]() 2 eggs
2 eggs
![]() ½ carrot
½ carrot
![]() ½ courgette
½ courgette
![]() 45 g (⅓ cup) self-raising flour
45 g (⅓ cup) self-raising flour
![]() 50 g (½ cup) cheddar cheese
50 g (½ cup) cheddar cheese
![]() 1–2 rashers bacon (optional)
1–2 rashers bacon (optional)
PARENT PREP
![]() Preheat oven to 190°C/375°F/Gas 5
Preheat oven to 190°C/375°F/Gas 5
![]() Grate courgette, carrot and cheese. If you have a handled grater, your toddler could help
Grate courgette, carrot and cheese. If you have a handled grater, your toddler could help
![]() If using, fry bacon rashers.
If using, fry bacon rashers.
![]() Lay out: ingredients, pastry brush, cupcake tray, large bowl, fork, mixing spoon and 2 tablespoons
Lay out: ingredients, pastry brush, cupcake tray, large bowl, fork, mixing spoon and 2 tablespoons
ALL TOGETHER NOW!
![]() Use the pastry brush to paint oil all over the cupcake tray.
Use the pastry brush to paint oil all over the cupcake tray.
![]() Break the eggs into the bowl and whisk with a fork until mixture turns yellow.
Break the eggs into the bowl and whisk with a fork until mixture turns yellow.
![]() Add the flour, grated courgette, carrot and cheese. Mix everything together.
Add the flour, grated courgette, carrot and cheese. Mix everything together.
![]() If using, tear up the bacon rashers into little pieces and add to the bowl. Mix everything again.
If using, tear up the bacon rashers into little pieces and add to the bowl. Mix everything again.
![]() Use 2 spoons to spoon and scrape 1 heaped spoonful of mixture into each cupcake hole in the tray.
Use 2 spoons to spoon and scrape 1 heaped spoonful of mixture into each cupcake hole in the tray.
AND FINALLY…
Bake in the oven for 15 minutes, until firm and golden.

![]()
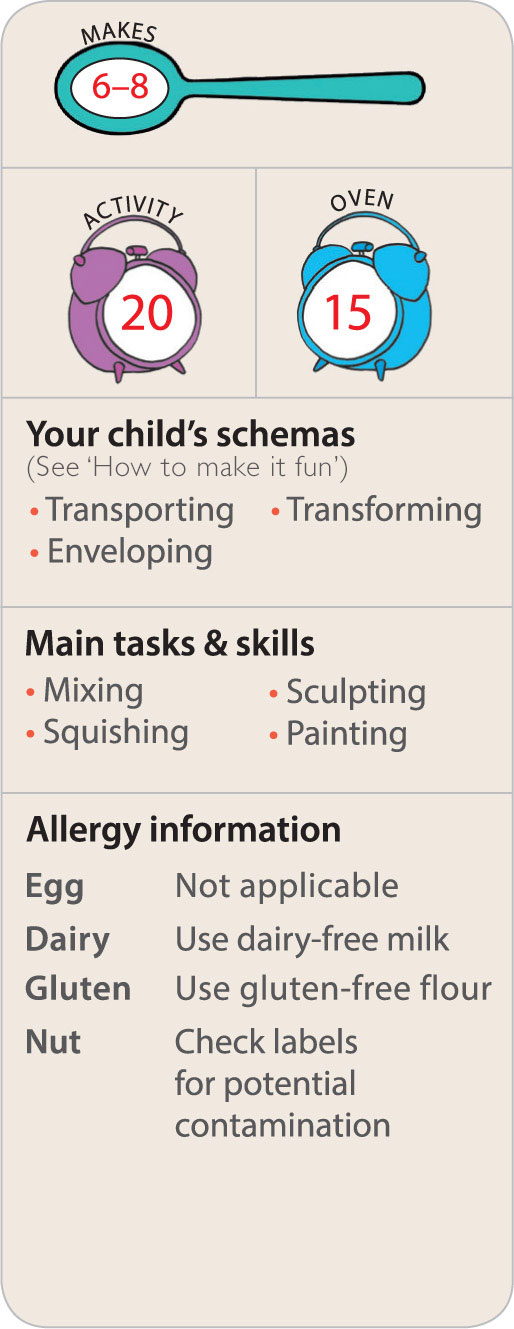
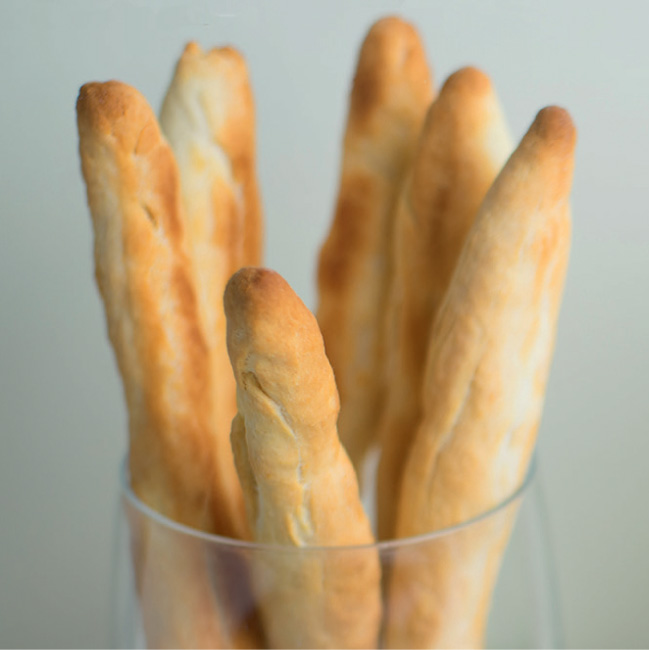
Breadsticks are my children’s number-one snack of choice, especially with a tasty dip. Bake as sticks, or have fun sculpting shapes such as snails, letters and circles.
WHAT YOU NEED
![]() 90 g (⅔ cup) self-raising flour
90 g (⅔ cup) self-raising flour
![]() ⅛ tsp salt
⅛ tsp salt
![]() 60 ml (¼ cup) milk
60 ml (¼ cup) milk
![]() 1 tbsp plain flour for dusting
1 tbsp plain flour for dusting
![]() 1–2 tbsp olive oil
1–2 tbsp olive oil
PARENT PREP
![]() Preheat oven to 220°C/425°F/Gas 7
Preheat oven to 220°C/425°F/Gas 7
![]() Lay out: ingredients, mixing bowl, mixing spoon, board, baking tray and pastry brush
Lay out: ingredients, mixing bowl, mixing spoon, board, baking tray and pastry brush
ALL TOGETHER NOW!
![]() Put the flour, salt and milk into the bowl and mix until they come together.
Put the flour, salt and milk into the bowl and mix until they come together.
![]() Dust the plain flour onto the board and tip the mixture onto it.
Dust the plain flour onto the board and tip the mixture onto it.
![]()
![]() Squish and squash the mixture on the board until you get a smooth dough.
Squish and squash the mixture on the board until you get a smooth dough.
![]() Take a small chunk of dough and roll it out with flat hands until you get a long, thin worm shape. Repeat.
Take a small chunk of dough and roll it out with flat hands until you get a long, thin worm shape. Repeat.
![]() Use the pastry brush to paint oil all over the tray.
Use the pastry brush to paint oil all over the tray.
![]() Put the dough sticks onto the tray and brush more oil on the tops.
Put the dough sticks onto the tray and brush more oil on the tops.
AND FINALLY…
Bake in the oven for 10–15 minutes (depending on the thickness of the sticks), until they turn golden brown.
![]()
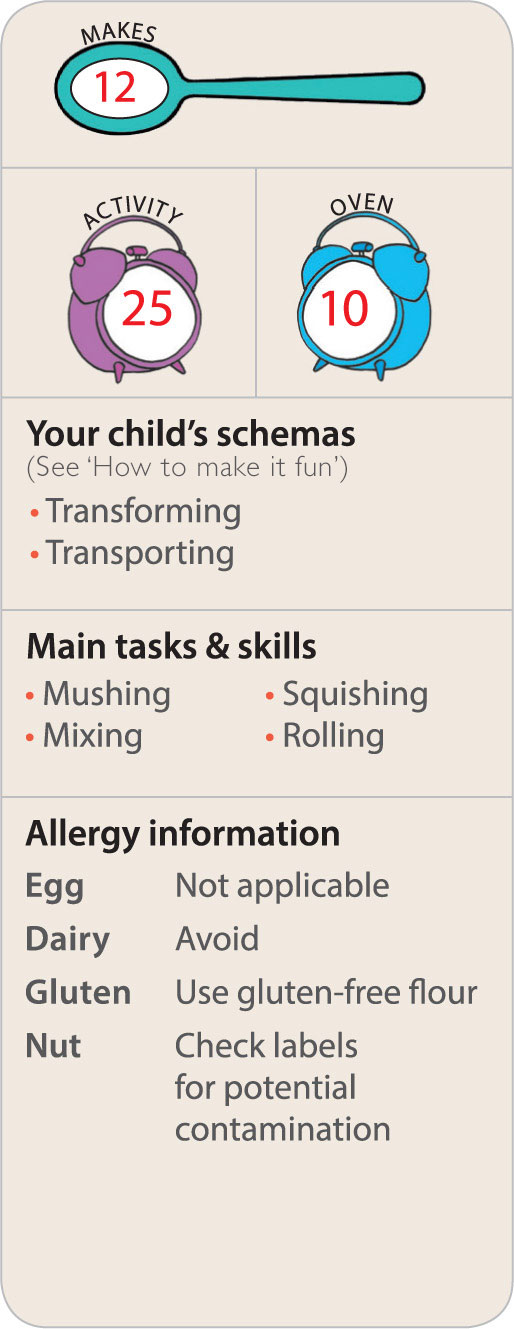
I said don’t worry about making things dinner-party worthy, but I do serve these as party nibbles. I love seeing surprised friends’ faces when I tell them who made them.
WHAT YOU NEED
![]() 50 g (⅓ cup) self-raising flour, plus some for dusting
50 g (⅓ cup) self-raising flour, plus some for dusting
![]() 40 g butter
40 g butter
![]() 40 g (½ cup) parmesan cheese
40 g (½ cup) parmesan cheese
![]() 10 g (2 tbsp) cheddar cheese
10 g (2 tbsp) cheddar cheese
![]() ½ tbsp water
½ tbsp water
PARENT PREP
![]() Preheat oven to 180°C/350°F/Gas 4
Preheat oven to 180°C/350°F/Gas 4
![]() Grate parmesan and cheddar
Grate parmesan and cheddar
![]() Take butter out of the fridge at least an hour beforehand, to soften
Take butter out of the fridge at least an hour beforehand, to soften
![]() Lay out: ingredients, mixing bowl, fork, mat/board, rolling pin, cookie cutter (approx 45 mm) and lined baking tray
Lay out: ingredients, mixing bowl, fork, mat/board, rolling pin, cookie cutter (approx 45 mm) and lined baking tray
ALL TOGETHER NOW!
![]() Mush the cheese into the butter with a fork.
Mush the cheese into the butter with a fork.
![]() Mix in the self-raising flour.
Mix in the self-raising flour.
![]()
![]() Sprinkle over the water and squeeze the mixture together with hands until you have a ball of dough.
Sprinkle over the water and squeeze the mixture together with hands until you have a ball of dough.
![]() Dust the flour all over the mat/board and rolling pin to prevent sticking.
Dust the flour all over the mat/board and rolling pin to prevent sticking.
![]() Roll out the dough to about 4 mm thick.
Roll out the dough to about 4 mm thick.
![]() Cut out the shapes with a cookie cutter and place them on the baking tray.
Cut out the shapes with a cookie cutter and place them on the baking tray.
AND FINALLY…
Bake for 8–10 minutes until golden brown.

![]()
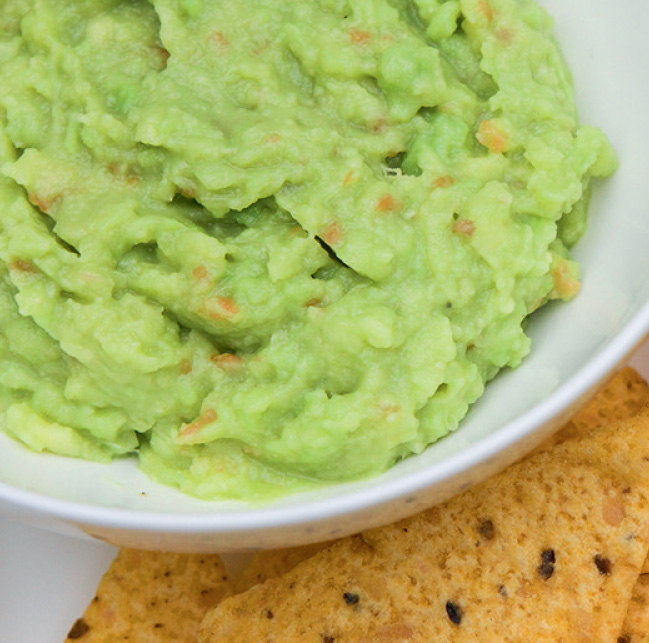
A great recipe for talking about colours (purple, green and red) and textures (hard avocado stone, soft avocado flesh, smooth tomato skin and rough avocado skin).
WHAT YOU NEED
![]() 1 ripe avocado
1 ripe avocado
![]() 2 cherry tomatoes
2 cherry tomatoes
![]() 1 small garlic clove
1 small garlic clove
![]() ¼ small lime
¼ small lime
![]() Tiny pinch salt (optional)
Tiny pinch salt (optional)
PARENT PREP
![]() Cut vertically around avocado so your child can pull it open
Cut vertically around avocado so your child can pull it open
![]() Lay out: ingredients; mixing bowl, metal spoon, fork or potato masher, table knife, chopping board, garlic press
Lay out: ingredients; mixing bowl, metal spoon, fork or potato masher, table knife, chopping board, garlic press
ALL TOGETHER NOW!
![]() Spoon out the avocado flesh into the bowl and mash it with a fork or masher. Discard the stone.
Spoon out the avocado flesh into the bowl and mash it with a fork or masher. Discard the stone.
![]() Squeeze over the juice from the lime quarter and mix into the avocado.
Squeeze over the juice from the lime quarter and mix into the avocado.
![]() Use the table knife to cut the tomatoes in half.
Use the table knife to cut the tomatoes in half.
![]() Use the table knife to cut the garlic clove in half, then peel. Discard the peel.
Use the table knife to cut the garlic clove in half, then peel. Discard the peel.
![]() Squash the cherry tomatoes and garlic through the garlic press into the bowl.
Squash the cherry tomatoes and garlic through the garlic press into the bowl.
![]() Sprinkle on the salt (optional). Mix thoroughly.
Sprinkle on the salt (optional). Mix thoroughly.
AND FINALLY…
Serve with nachos (here), pitta chips (here), breadsticks (here) or carrot or cucumber sticks.
![]()
Easy, everything-into-the-bowl flapjacks. If you want a low-sugar version, you can leave out the syrup/honey because the banana binds them.
WHAT YOU NEED
![]() ½ banana
½ banana
![]() 3 tbsp vegetable oil
3 tbsp vegetable oil
![]() 1 tbsp golden syrup or honey
1 tbsp golden syrup or honey
![]() 100 g (1 cup) oats
100 g (1 cup) oats
![]() 10 glacé cherries
10 glacé cherries
PARENT PREP
![]() Preheat oven to 180°C/350°F/Gas 4
Preheat oven to 180°C/350°F/Gas 4
![]() Lay out: ingredients, mixing bowl, fork or potato masher, table spoon and 20-cm (1-lb/450-g) loaf tin
Lay out: ingredients, mixing bowl, fork or potato masher, table spoon and 20-cm (1-lb/450-g) loaf tin
ALL TOGETHER NOW!
![]() Peel and put the banana in the bowl. Mash with a fork or a masher.
Peel and put the banana in the bowl. Mash with a fork or a masher.
![]() Add the oil and golden syrup. Mix.
Add the oil and golden syrup. Mix.
![]() Count out the 10 cherries, then tear or squish them into about 4 pieces. Add them to the bowl.
Count out the 10 cherries, then tear or squish them into about 4 pieces. Add them to the bowl.
![]() Add the oats and mix again.
Add the oats and mix again.
![]() Spoon the mixture into the loaf tin.
Spoon the mixture into the loaf tin.
![]() Spread out and pat down with a spoon or hands until it is level-ish.
Spread out and pat down with a spoon or hands until it is level-ish.
AND FINALLY…
Bake in the oven for 30 minutes. Cut into portions while warm, then leave to cool in the tin before removing.

![]()
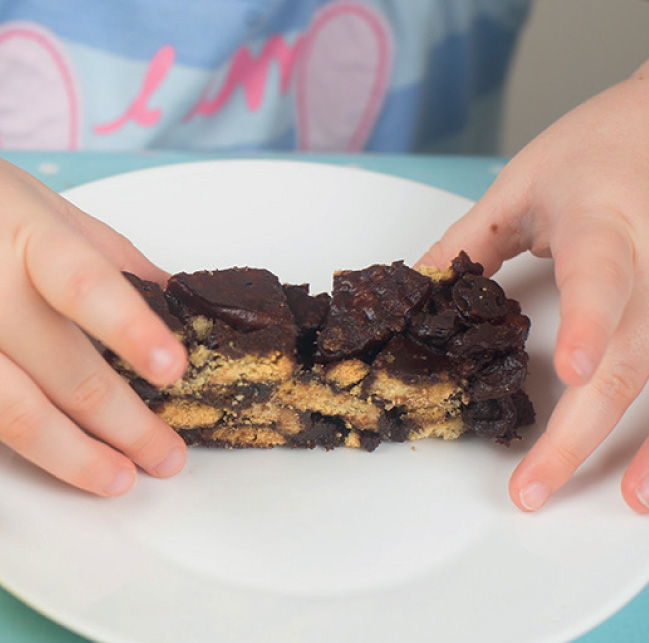
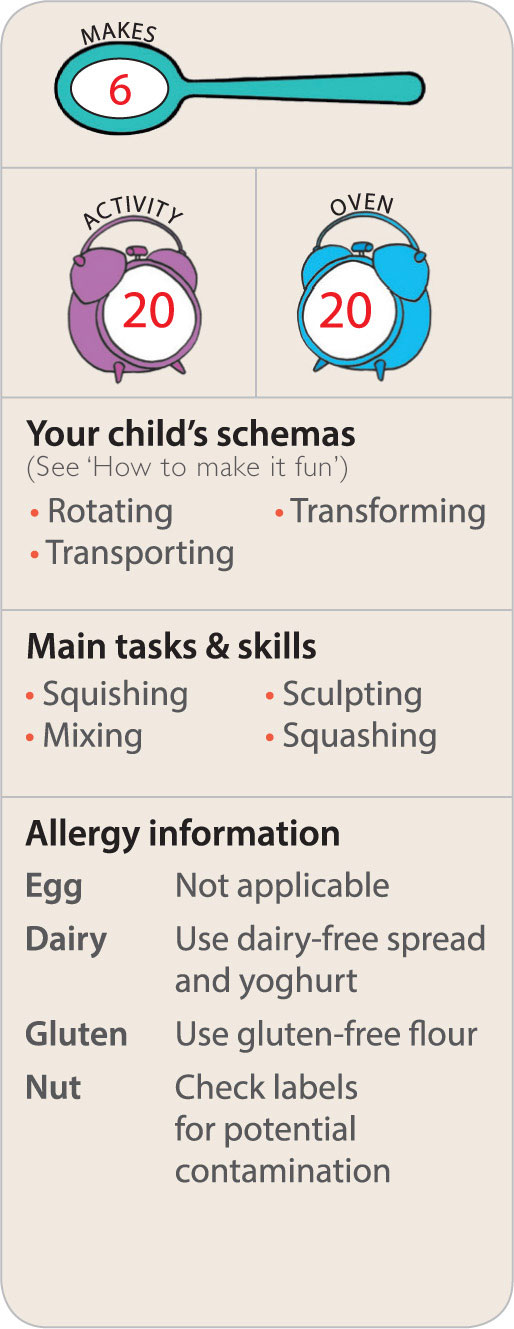
Definitely not a healthy option, but this delicious no-bake cake will give the budding chef the best chocolatey fingers they’ve ever had the chance to lick!
WHAT YOU NEED
![]() 120 g (about 8) digestive biscuits
120 g (about 8) digestive biscuits
![]() 3 tbsp raisins
3 tbsp raisins
![]() 30 g (3 tbsp) butter
30 g (3 tbsp) butter
![]() 3 tbsp cocoa powder
3 tbsp cocoa powder
![]() 3 tbsp golden syrup
3 tbsp golden syrup
PARENT PREP
![]() Gently melt butter, cocoa powder and golden syrup together in a pan. Transfer to a jug
Gently melt butter, cocoa powder and golden syrup together in a pan. Transfer to a jug
![]() Lay out: remaining ingredients, 15-cm cake tin or 20-cm (1-lb/450-g) loaf tin, 2 tablespoons, mixing bowl and greaseproof paper
Lay out: remaining ingredients, 15-cm cake tin or 20-cm (1-lb/450-g) loaf tin, 2 tablespoons, mixing bowl and greaseproof paper
VARIATION
Swap digestives for any plain biscuit, cornflakes or rice crispies
ALL TOGETHER NOW!
![]() Break the digestives into about 6–8 pieces. Put them into the bowl.
Break the digestives into about 6–8 pieces. Put them into the bowl.
![]() Add the raisins and mix them in.
Add the raisins and mix them in.
![]() Pour the melted syrup mixture onto the biscuits and mix until the biscuit bits are completely covered.
Pour the melted syrup mixture onto the biscuits and mix until the biscuit bits are completely covered.
![]() Use 2 spoons to spoon and scrape the mixture into the cake tin.
Use 2 spoons to spoon and scrape the mixture into the cake tin.
![]()
![]() Spread the mixture out and press down with hands to make a compressed, flat top. If the children don’t like sticky hands, put the greaseproof paper on before they press down.
Spread the mixture out and press down with hands to make a compressed, flat top. If the children don’t like sticky hands, put the greaseproof paper on before they press down.
AND FINALLY…
Cover the top with greaseproof paper and put into the fridge for at least an hour. Cut into slices to serve.
![]()
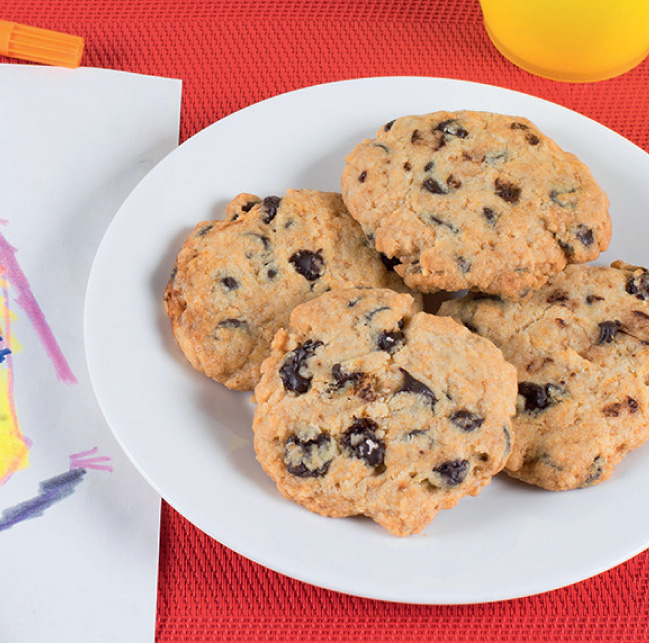
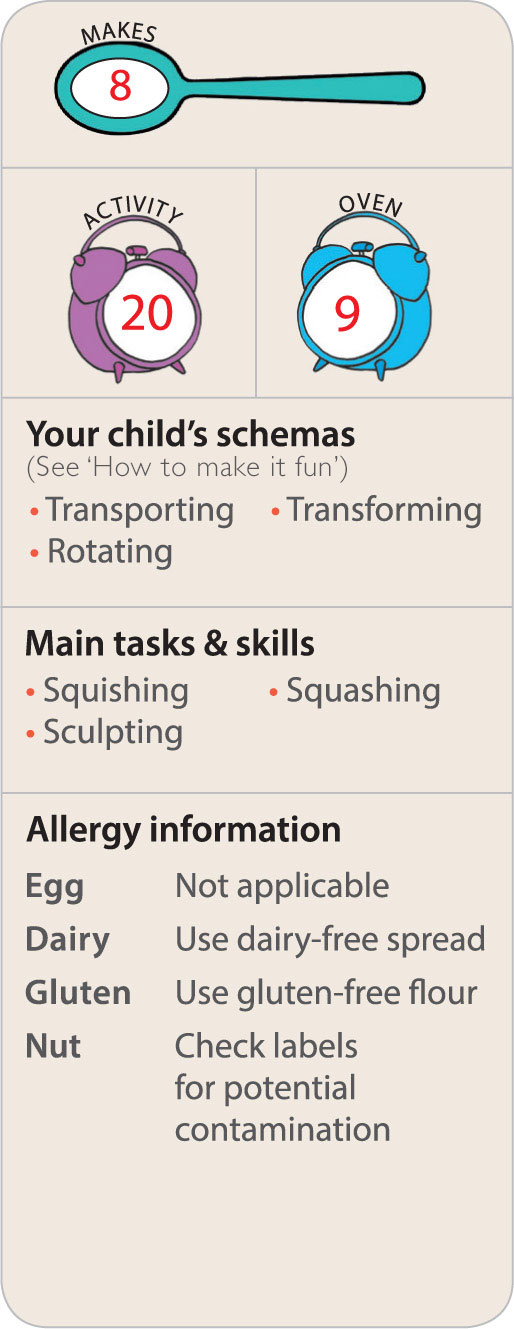
I’ve used chocolate chips here, but you can make different versions: raisins with pinch of cinnamon, orange/lemon zest, thumb-print holes to fill with jam, or just plain.
WHAT YOU NEED
![]() 45 g butter
45 g butter
![]() ½ tbsp caster sugar
½ tbsp caster sugar
![]() ½ tbsp demerara sugar
½ tbsp demerara sugar
![]() 1 tbsp Greek-style or natural yoghurt
1 tbsp Greek-style or natural yoghurt
![]() 65 g (½ cup) plain flour
65 g (½ cup) plain flour
![]() ⅛ tsp bicarbonate of soda
⅛ tsp bicarbonate of soda
![]() 50 g (¼ cup) chocolate chips
50 g (¼ cup) chocolate chips
PARENT PREP
![]() Take butter out of the fridge at least an hour before using, to soften
Take butter out of the fridge at least an hour before using, to soften
![]() Preheat the oven to 180°C/350°F/Gas 4
Preheat the oven to 180°C/350°F/Gas 4
![]() Lay out: ingredients, mixing bowl, mixing spoon and baking tray
Lay out: ingredients, mixing bowl, mixing spoon and baking tray
ALL TOGETHER NOW!
![]() Squish, squash and mix the butter, sugar and yoghurt until combined.
Squish, squash and mix the butter, sugar and yoghurt until combined.
![]() Add the flour, bicarbonate of soda and chocolate chips and mix until it comes together. If the mixture is too dry, add a little more yoghurt.
Add the flour, bicarbonate of soda and chocolate chips and mix until it comes together. If the mixture is too dry, add a little more yoghurt.
![]()
![]() Mould the dough into 6 balls.
Mould the dough into 6 balls.
![]() Put on the baking tray and flatten with hands.
Put on the baking tray and flatten with hands.
AND FINALLY…
Bake in the oven for 15–20 minutes until golden but still soft. Leave to cool before removing from the tray.
![]()
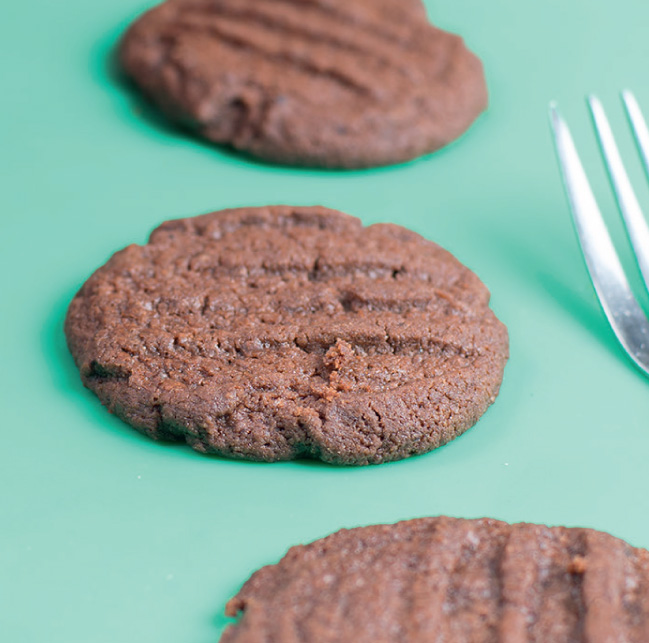
These were the first things I made with my girls when they were about 13–14 months of age. My mum used to make them with me too.
WHAT YOU NEED
![]() 65 g butter
65 g butter
![]() 2 tbsp sugar
2 tbsp sugar
![]() 65 g (½ cup) self-raising flour
65 g (½ cup) self-raising flour
![]() 2 tbsp cocoa powder
2 tbsp cocoa powder
PARENT PREP
![]() Take butter out of the fridge at least an hour before cooking, to soften
Take butter out of the fridge at least an hour before cooking, to soften
![]() Preheat the oven to 180°C/350°F/Gas 4
Preheat the oven to 180°C/350°F/Gas 4
![]() Lay out: ingredients, mixing bowl, mixing spoon, 2 tablespoons, cup of water, fork and baking tray
Lay out: ingredients, mixing bowl, mixing spoon, 2 tablespoons, cup of water, fork and baking tray
ALL TOGETHER NOW!
![]() Put the butter and sugar into the bowl and squish and stir until well combined.
Put the butter and sugar into the bowl and squish and stir until well combined.
![]() Add the flour and cocoa powder and mix until combined. Don’t worry if mixture is dry – squish together with hands.
Add the flour and cocoa powder and mix until combined. Don’t worry if mixture is dry – squish together with hands.
![]()
![]() Take out walnut-sized lumps and shape them into balls. Put the balls onto the tray – spaced out because they will spread.
Take out walnut-sized lumps and shape them into balls. Put the balls onto the tray – spaced out because they will spread.
![]() Lightly press the top of each ball with a fork. If the mixture sticks to the fork, dip it into the cup of water in between each ball.
Lightly press the top of each ball with a fork. If the mixture sticks to the fork, dip it into the cup of water in between each ball.
AND FINALLY…
Bake in the oven for 9 minutes. Leave to cool on the tray.
![]()
Yoghurt is a binding agent, so this is a good cake to make egg-free; great for toddlers who like to sneak a lick of cake batter or who haven’t yet mastered breaking eggs.
WHAT YOU NEED
![]() 160 g (⅔ cup) natural or Greek-style yoghurt
160 g (⅔ cup) natural or Greek-style yoghurt
![]() 125 g (1 cup) self-raising flour
125 g (1 cup) self-raising flour
![]() ¼ tsp bicarbonate of soda
¼ tsp bicarbonate of soda
![]() 60 ml (¼ cup) vegetable oil
60 ml (¼ cup) vegetable oil
![]() 75 g (⅓ cup) sugar
75 g (⅓ cup) sugar
![]() ½ lemon
½ lemon
![]() 3 tbsp icing sugar (optional)
3 tbsp icing sugar (optional)
PARENT PREP
![]() Preheat oven to 160°C/320°F/Gas 3
Preheat oven to 160°C/320°F/Gas 3
![]() Take zest off lemon half and set aside
Take zest off lemon half and set aside
![]() Lay out: ingredients, mixing bowl, lemon squeezer (optional), hand whisk, 18-cm lined cake tin, spatula and, if icing, a small mixing bowl and teaspoon
Lay out: ingredients, mixing bowl, lemon squeezer (optional), hand whisk, 18-cm lined cake tin, spatula and, if icing, a small mixing bowl and teaspoon
ALL TOGETHER NOW!
![]() Put the yoghurt, oil, flour, bicarbonate of soda, sugar and lemon zest into the bowl.
Put the yoghurt, oil, flour, bicarbonate of soda, sugar and lemon zest into the bowl.
![]() Squeeze the juice from the lemon half and add to the bowl.
Squeeze the juice from the lemon half and add to the bowl.
![]() Whisk until ingredients are combined.
Whisk until ingredients are combined.
![]() Tip the batter into the cake tin and spread out with the spatula.
Tip the batter into the cake tin and spread out with the spatula.
AND FINALLY…
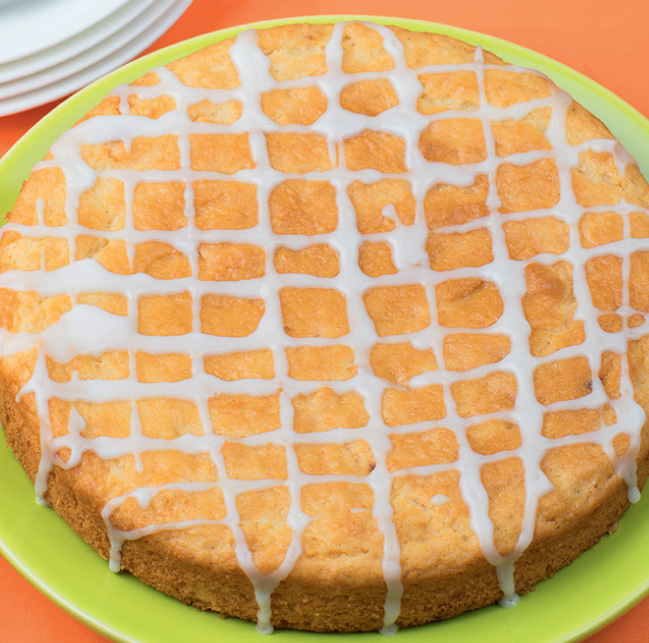
Bake for 40–45 minutes until springy to the touch. You can serve the cake as it is or wait for it to cool to add the icing. Mix the icing sugar with 1–2 tsp water. Use a spoon to drizzle the icing over the top; the crazier the pattern, the better.
![]()
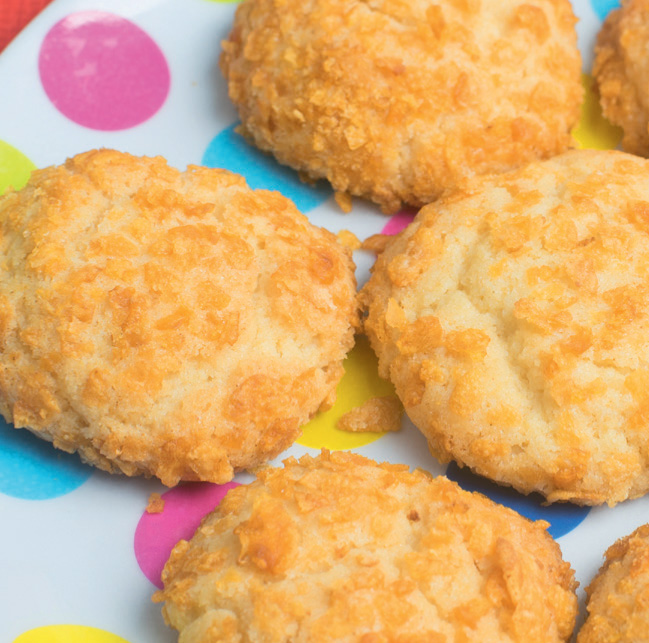
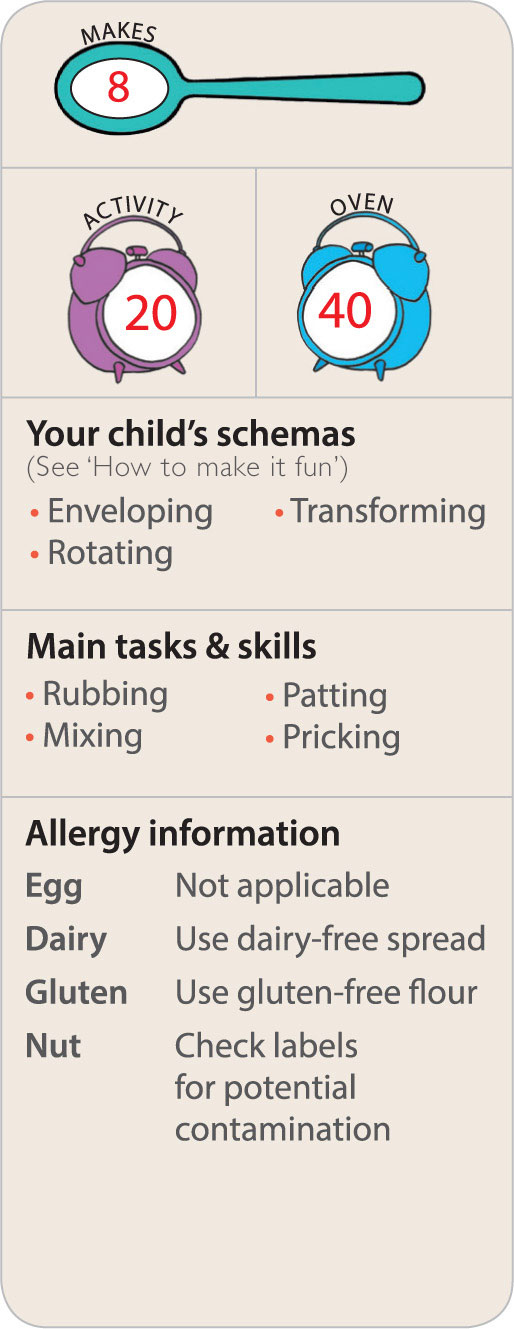
This was my granny’s favourite biscuit recipe. Hers included some beaten egg to make them fluffier, but as they work well without, I leave it out when cooking with toddlers.
WHAT YOU NEED
![]() 50 g butter
50 g butter
![]() 2 tbsp sugar
2 tbsp sugar
![]() ¼ tsp vanilla extract
¼ tsp vanilla extract
![]() 1 tsp water
1 tsp water
![]() 65 g (½ cup) self-raising flour
65 g (½ cup) self-raising flour
![]() 1 adult handful (½ cup) cornflakes
1 adult handful (½ cup) cornflakes
PARENT PREP
![]() Take butter out of the fridge at least an hour before cooking, to soften
Take butter out of the fridge at least an hour before cooking, to soften
![]() Put cornflakes into a freezer bag
Put cornflakes into a freezer bag
![]() Preheat the oven to 180°C/350°F/Gas 4
Preheat the oven to 180°C/350°F/Gas 4
![]() Lay out: ingredients, small plate, rolling pin (or other bashing implement), mixing bowl, mixing spoon, bowl of water and baking tray
Lay out: ingredients, small plate, rolling pin (or other bashing implement), mixing bowl, mixing spoon, bowl of water and baking tray
ALL TOGETHER NOW!
![]() Hold one end of the freezer bag while your child bashes it with the rolling pin to crush the cornflakes.
Hold one end of the freezer bag while your child bashes it with the rolling pin to crush the cornflakes.
![]() Tip the cornflakes onto a plate. Set aside.
Tip the cornflakes onto a plate. Set aside.
![]() Put the butter, sugar, vanilla and water into a large bowl and mix until combined.
Put the butter, sugar, vanilla and water into a large bowl and mix until combined.
![]() Add the flour and mix again until combined. If the mix is too dry to combine, add ½ tsp more water.
Add the flour and mix again until combined. If the mix is too dry to combine, add ½ tsp more water.
![]()
![]() Dip hands into a bowl of water, then take a lump of the mixture and make a walnut-sized ball.
Dip hands into a bowl of water, then take a lump of the mixture and make a walnut-sized ball.
![]() Roll each ball in crushed cornflakes and place on the tray.
Roll each ball in crushed cornflakes and place on the tray.
AND FINALLY…
Bake for 18 minutes. Leave to cool for at least 5 minutes on the tray before removing.
![]()
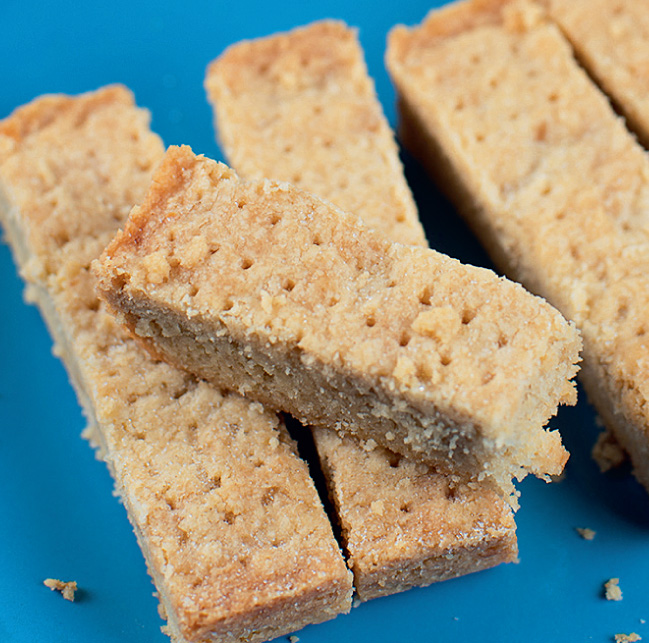
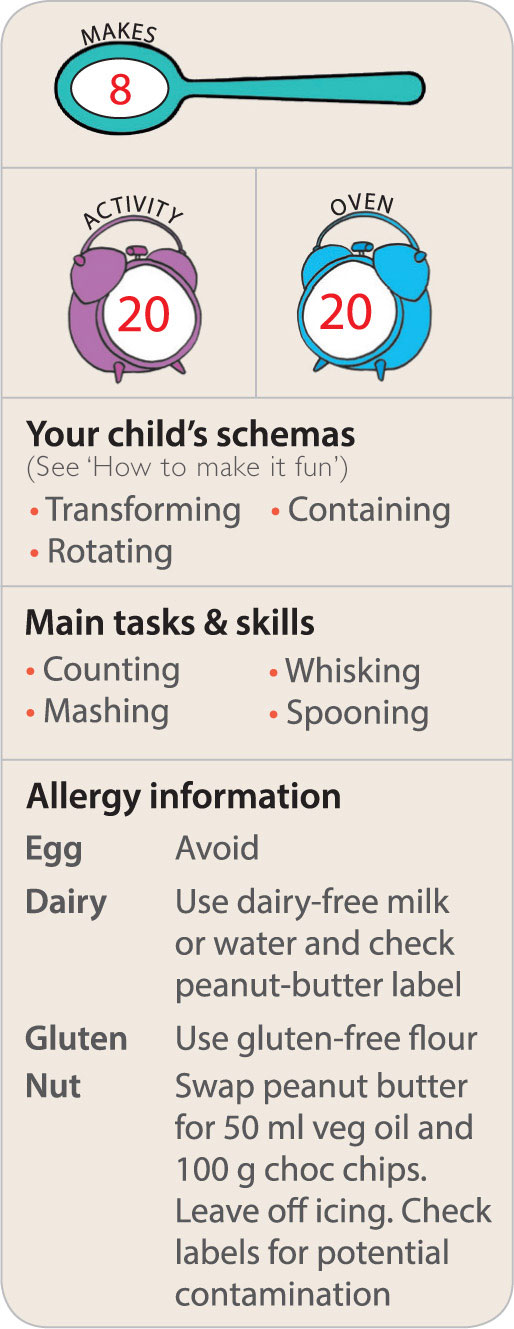
This classic recipe has many versions and ways of making it. This method is fun – a bit like making ‘sand’ and then building a sandcastle with it.
WHAT YOU NEED
![]() 125 g butter, plus ½ tsp for greasing
125 g butter, plus ½ tsp for greasing
![]() 60 g (⅓ cup) brown sugar
60 g (⅓ cup) brown sugar
![]() 180 g (1¼ cups) plain flour
180 g (1¼ cups) plain flour
PARENT PREP
![]() Take butter out of fridge at least an hour before using, to soften
Take butter out of fridge at least an hour before using, to soften
![]() Preheat oven to 170°C/340°F/Gas 3
Preheat oven to 170°C/340°F/Gas 3
![]() Lay out: ingredients, 20-cm (1-lb or 450-g) loaf tin, mixing bowl, tablespoon, mixing spoon and fork
Lay out: ingredients, 20-cm (1-lb or 450-g) loaf tin, mixing bowl, tablespoon, mixing spoon and fork
ALL TOGETHER NOW!
![]() Rub ½ tsp of butter all over the cake tin to grease it. Set aside.
Rub ½ tsp of butter all over the cake tin to grease it. Set aside.
![]() Put the butter and sugar into the bowl and squish and stir with a wooden spoon until they are well combined.
Put the butter and sugar into the bowl and squish and stir with a wooden spoon until they are well combined.
![]() Mix in the flour until it is just combined. Don’t worry if it looks crumbly.
Mix in the flour until it is just combined. Don’t worry if it looks crumbly.
![]() Put the mixture into the tin. Spread and pat it down as if you were making a sand castle.
Put the mixture into the tin. Spread and pat it down as if you were making a sand castle.
![]() Lightly prick the dough all over with the fork.
Lightly prick the dough all over with the fork.
AND FINALLY…
Bake in the oven for 40 minutes until light brown. Cut into portions while still warm in the tin and if you want to be strictly traditional, sprinkle some caster sugar on top. Then leave to cool before removing.
![]()
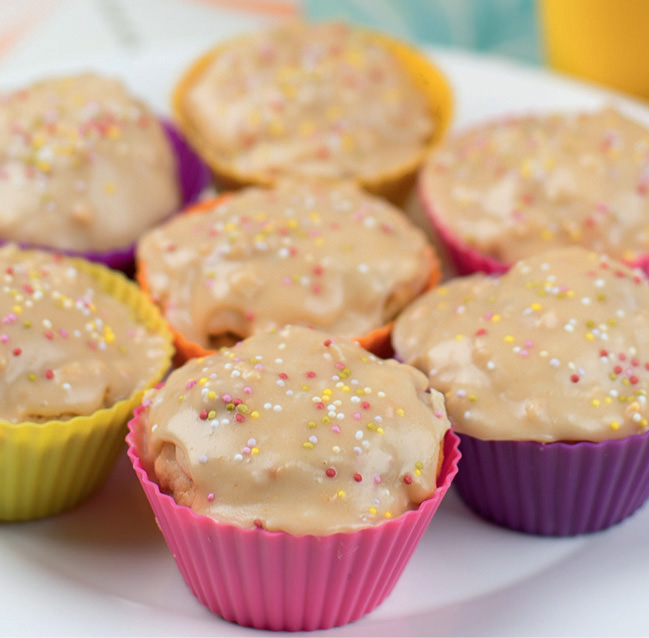
My children don’t think a cake is a cake unless it has icing and sprinkles, but these ones are great without icing if you want a healthier option.
WHAT YOU NEED
![]() 1 ripe banana
1 ripe banana
![]() 2 tbsp light-brown sugar (optional)
2 tbsp light-brown sugar (optional)
![]() 1 egg
1 egg
![]() 50 ml milk
50 ml milk
![]() 125 g (1 cup) self-raising flour
125 g (1 cup) self-raising flour
![]() 70 g (⅓ cup) chunky peanut butter
70 g (⅓ cup) chunky peanut butter
For the icing:
![]() 65 g (½ cup) icing sugar
65 g (½ cup) icing sugar
![]() 1 tbsp peanut butter
1 tbsp peanut butter
![]() 1–2 tbsp milk
1–2 tbsp milk
PARENT PREP
![]() Preheat oven to 180°C/350°F/Gas 4
Preheat oven to 180°C/350°F/Gas 4
![]() Lay out: ingredients, cupcake tray, 8 cupcake cases, mixing bowl, whisk, mixing spoon, fork or potato masher and 2 tablespoons
Lay out: ingredients, cupcake tray, 8 cupcake cases, mixing bowl, whisk, mixing spoon, fork or potato masher and 2 tablespoons
ALL TOGETHER NOW!
![]() Count the cupcake cases into a tray and set aside.
Count the cupcake cases into a tray and set aside.
![]() Put the banana and peanut butter into the mixing bowl and mash them together with a fork or potato masher.
Put the banana and peanut butter into the mixing bowl and mash them together with a fork or potato masher.
![]() Add the sugar, egg and milk – and whisk.
Add the sugar, egg and milk – and whisk.
![]() Add flour and stir until combined.
Add flour and stir until combined.
![]() Spoon the mixture into the cases until each is two-thirds full.
Spoon the mixture into the cases until each is two-thirds full.
AND FINALLY…
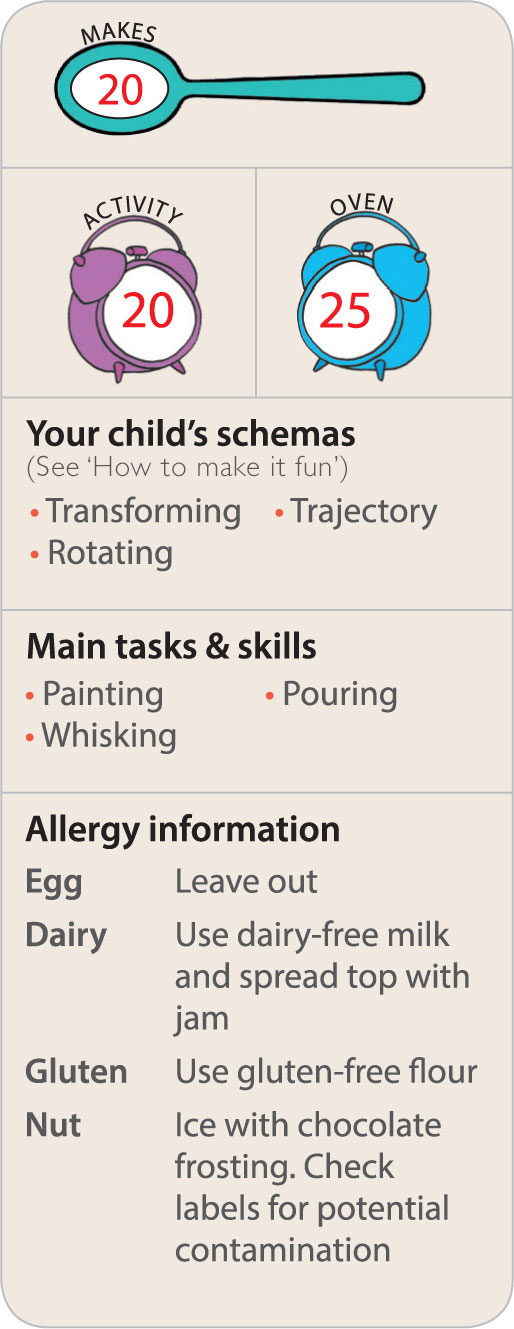
Bake for 15–20 minutes until springy to the touch. If you are adding icing, leave the cakes to cool, then mix the icing ingredients and dollop onto the tops.
![]()
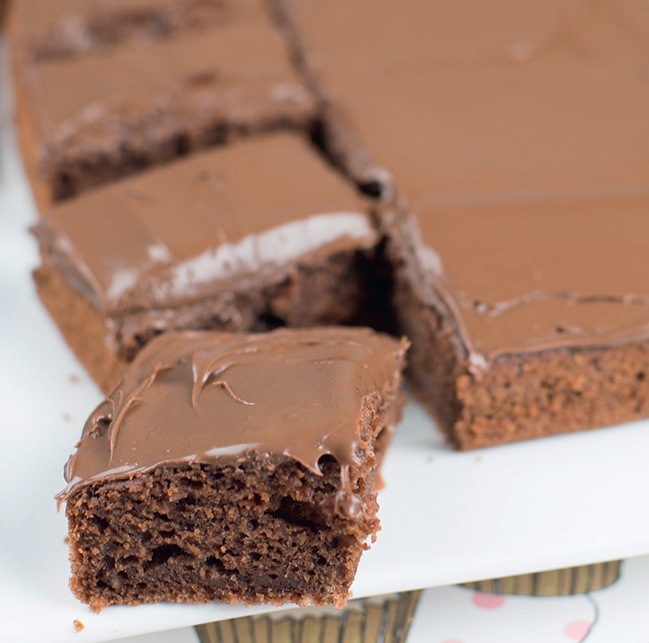
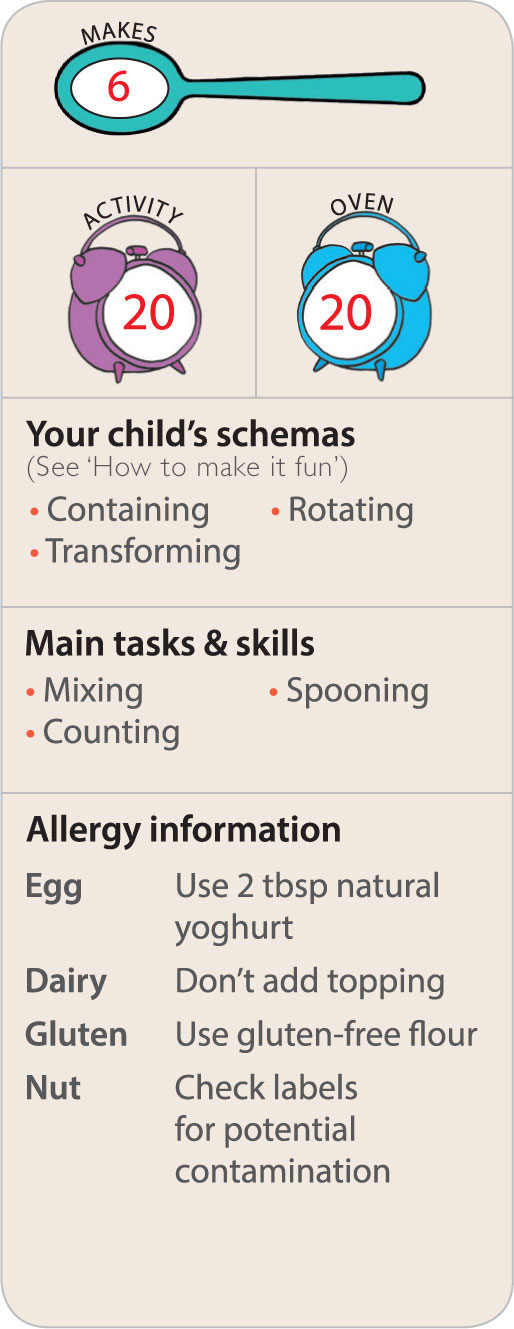
Great for little chefs because it’s just putting everything into the bowl and whisking. I’ve made it square for easier cutting, but it works just as well round.
WHAT YOU NEED
![]() 160 g (1¼ cups) self-raising flour
160 g (1¼ cups) self-raising flour
![]() 4 tbsp cocoa powder
4 tbsp cocoa powder
![]() 90 g (⅓ cup) sugar
90 g (⅓ cup) sugar
![]() ¼ tsp salt
¼ tsp salt
![]() 100 ml (⅓ cup) milk
100 ml (⅓ cup) milk
![]() 60 ml (¼ cup) vegetable oil, plus a little for greasing
60 ml (¼ cup) vegetable oil, plus a little for greasing
![]() 2 eggs
2 eggs
![]() 1 tsp vanilla extract
1 tsp vanilla extract
![]() 100 ml (½ cup) water
100 ml (½ cup) water
![]() 3 heaped tbsp chocolate hazelnut spread
3 heaped tbsp chocolate hazelnut spread
PARENT PREP
![]() Preheat oven to 180°C/350°F/Gas 4
Preheat oven to 180°C/350°F/Gas 4
![]() Lay out: ingredients, large mixing bowl, hand whisk, pastry brush, 20-cm square cake tin, spatula, cooling rack, table knife and tablespoon
Lay out: ingredients, large mixing bowl, hand whisk, pastry brush, 20-cm square cake tin, spatula, cooling rack, table knife and tablespoon
ALL TOGETHER NOW!
![]() Use the pastry brush to paint a little oil over the cake tin to grease it.
Use the pastry brush to paint a little oil over the cake tin to grease it.
![]() Put all the ingredients except for the chocolate spread into the bowl.
Put all the ingredients except for the chocolate spread into the bowl.
![]() Mix well with the hand whisk.
Mix well with the hand whisk.
![]() Pour the mixture into the cake tin.
Pour the mixture into the cake tin.
Adult: Bake in oven for 25 minutes until the cake is springy to the touch. Cool on a cooling rack.
![]() Dollop 3 generous spoonfuls of chocolate spread onto the cooled cake and spread it evenly. Use a table knife to cut the cake into small squares to serve.
Dollop 3 generous spoonfuls of chocolate spread onto the cooled cake and spread it evenly. Use a table knife to cut the cake into small squares to serve.
![]()
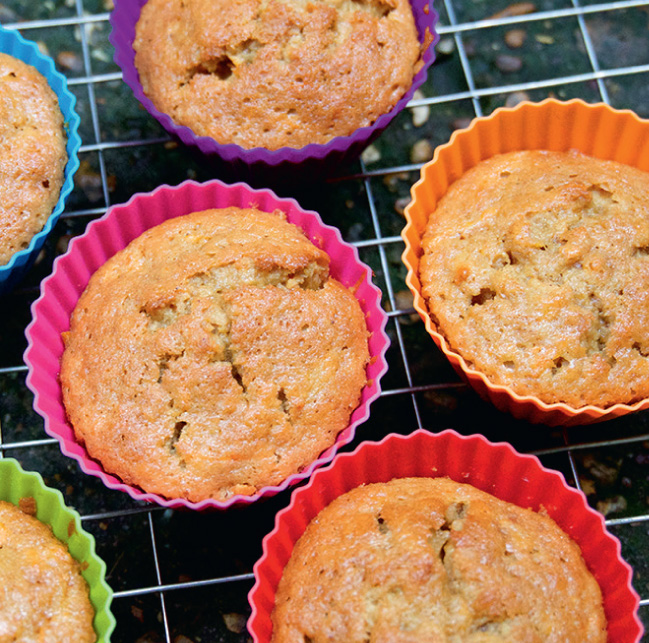
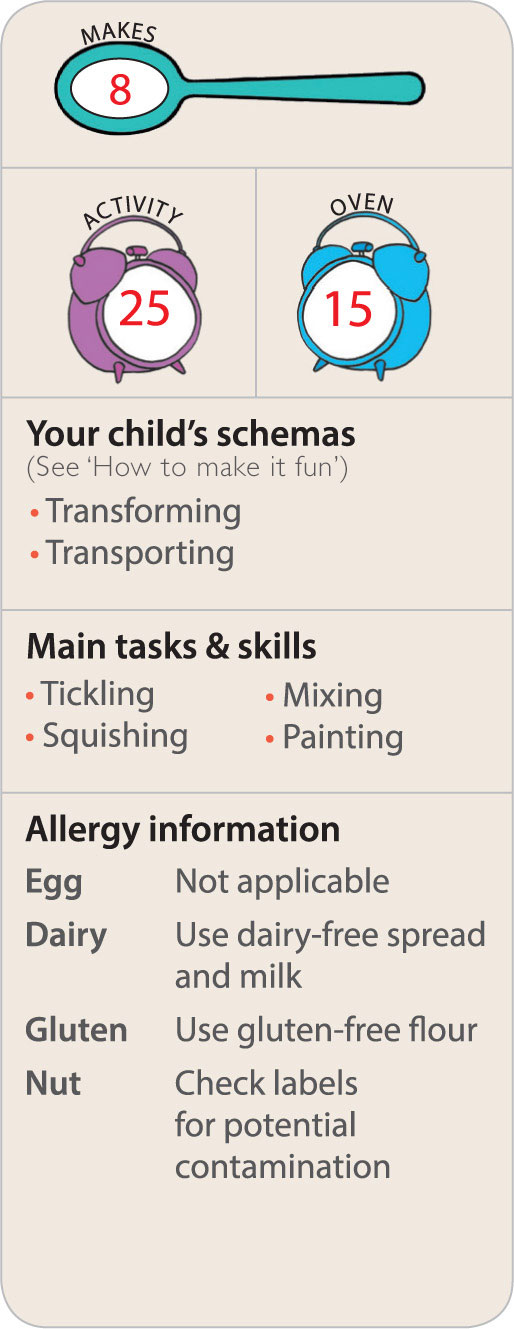
This is an easy carrot-cake mix that can be made as little individual cakes or as one large cake. If you want to add decoration add a yoghurt/cream-cheese topping.
WHAT YOU NEED
![]() 1 egg
1 egg
![]() 10 ml (2 tsp) orange juice
10 ml (2 tsp) orange juice
![]() 3 tbsp vegetable oil
3 tbsp vegetable oil
![]() 3 tbsp light muscovado sugar
3 tbsp light muscovado sugar
![]() 60 g (½ cup) self-raising flour
60 g (½ cup) self-raising flour
![]() 60 g (1 medium) carrot
60 g (1 medium) carrot
![]() ⅛ tsp ground cinnamon
⅛ tsp ground cinnamon
For the optional topping:
![]() 3 tbsp cream cheese
3 tbsp cream cheese
![]() 1½ tbsp natural yoghurt
1½ tbsp natural yoghurt
PARENT PREP
![]() Preheat oven to 180°C/350°F/Gas 4
Preheat oven to 180°C/350°F/Gas 4
![]() Grate carrot
Grate carrot
![]() Lay out: ingredients, mixing bowl, fork, mixing spoon, 2 tablespoons, cupcake tray and 6 cases
Lay out: ingredients, mixing bowl, fork, mixing spoon, 2 tablespoons, cupcake tray and 6 cases
ALL TOGETHER NOW!
![]() Break the egg into a bowl.
Break the egg into a bowl.
![]() Add the oil and orange juice and whisk with a fork.
Add the oil and orange juice and whisk with a fork.
![]() Add the flour, sugar, cinnamon and carrot. Mix until they are combined.
Add the flour, sugar, cinnamon and carrot. Mix until they are combined.
![]() Count the cupcake cases into the tray.
Count the cupcake cases into the tray.
![]() Spoon and scrape the mixture into the cases until they are two-thirds full.
Spoon and scrape the mixture into the cases until they are two-thirds full.
AND FINALLY…
Bake in the oven for 18–20 minutes until the top is firm and springy. If you want to add topping, mix together the cream cheese and yoghurt and dollop on once cooled. If you are not eating straight away, store without the topping.
![]()
This is a variation on my husband’s gran’s scone recipe. She used to make one giant scone, cut into slices to serve. These mini versions make a great tea-time treat or snack.
WHAT YOU NEED
![]() 35 g butter
35 g butter
![]() 130 g (1 cup) self-raising flour
130 g (1 cup) self-raising flour
![]() ½ tbsp sugar
½ tbsp sugar
![]() Tiny pinch salt
Tiny pinch salt
![]() 35 g (¼ cup) currants
35 g (¼ cup) currants
![]() 60 ml (¼ cup) milk
60 ml (¼ cup) milk
![]() 1 tbsp milk for brushing tops
1 tbsp milk for brushing tops
PARENT PREP
![]() Preheat oven to 190°C/375°F/Gas 5
Preheat oven to 190°C/375°F/Gas 5
![]() Lay out: ingredients, mixing bowl, mixing spoon, 48-mm round cookie cutter, pastry brush, baking tray, table knife and chopping board
Lay out: ingredients, mixing bowl, mixing spoon, 48-mm round cookie cutter, pastry brush, baking tray, table knife and chopping board
ALL TOGETHER NOW!
![]() Cut the butter into little pieces.
Cut the butter into little pieces.
![]() Put the flour and butter pieces into the bowl. Rub the butter into the flour using fingertips until it looks like breadcrumbs.
Put the flour and butter pieces into the bowl. Rub the butter into the flour using fingertips until it looks like breadcrumbs.
![]() Add the sugar, currants and a pinch of salt and mix.
Add the sugar, currants and a pinch of salt and mix.
![]()
![]() Add the milk and mix. Bring the mixture together with hands until you have a lump of dough.
Add the milk and mix. Bring the mixture together with hands until you have a lump of dough.
![]() Tip onto the board. Flatten out the dough with hands to 1.5 cm thick.
Tip onto the board. Flatten out the dough with hands to 1.5 cm thick.
![]() Cut out dough circles with a cutter. Put the shapes on the baking tray and paint the tops with milk using a pastry brush.
Cut out dough circles with a cutter. Put the shapes on the baking tray and paint the tops with milk using a pastry brush.
AND FINALLY…
Bake in oven for 15 minutes until light brown. If you’re making a single scone, bake for an extra 5 minutes.
