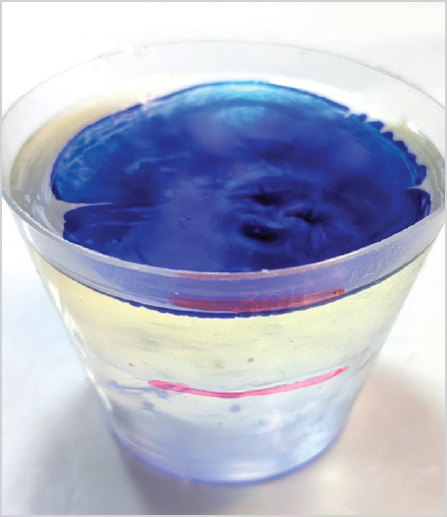
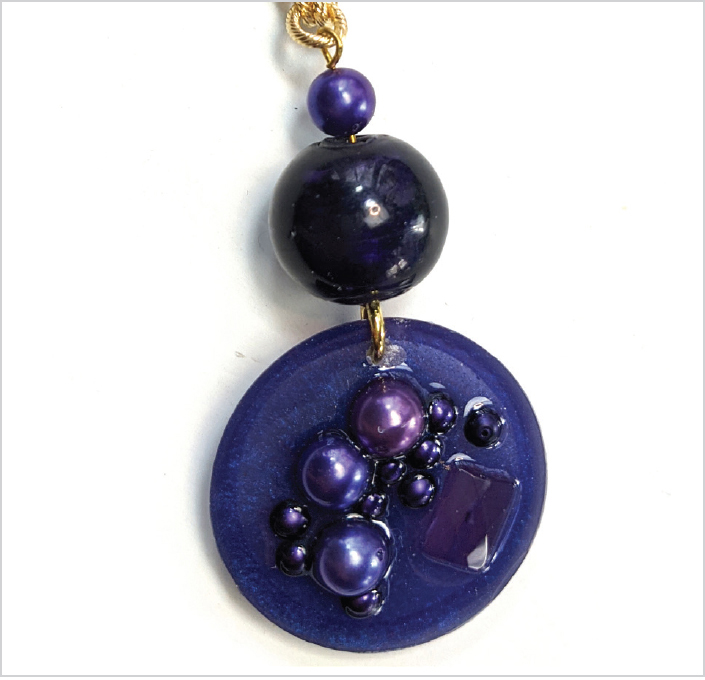
Adding liquid dyes and pigment powders are perfect ways to colorize resin. If you have an outfit that you would like to match, this is an easy way to create a wonderful necklace and earrings set. I wanted to make something purple, so by mixing red and blue dyes, plus adding purple pigment powder, I created a beautiful purple resin with a stunning shimmer. Start with very small quantities of liquid colorants—if you dilute the mixture more than ten percent, the resin might not cure properly.
 Skill level: Easy
 Time: 30 minutes plus curing time
Supplies
♦ Disposable gloves
♦ 1 oz. (30ml) plastic measuring cup
♦ Disposable wooden stir stick
♦ Marker
♦ Two-part clear resin
♦ Protected work surface
♦ Wet wipes
♦ Variety of purple beads
♦ Red and blue resin dyes
♦ Purple pigment powder
♦ Silicone mold
♦ Mold release
♦ Small drill bit (3/32"/2.4mm) and drill
♦ Chain
♦ 20-gauge wire
♦ Jump rings
♦ Lobster claw clasp
♦ Earring hooks
Gay Isber
1. Use mold release on the mold if desired. Pour the two parts of the resin into the measuring cup, but don’t mix yet. Drop by drop, add your dye. Then add a little scoop of pigment powder and mix everything together. If you need to add a little more dye or powder to adjust the color, do it after you have mixed everything for two full minutes.
Gay Isber
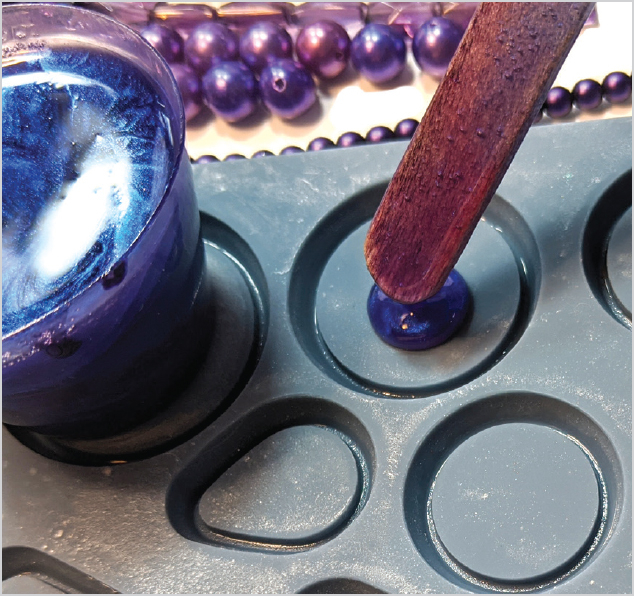
2. Pour or use the stir stick to gently guide the colored resin into the molds, filling each mold equally without overfilling any of them. You’ll be adding beads, which will raise the liquid level, so don’t fill too much.

Mike Mihalo
TIP:
Don’t try to shake out the pigment powder directly into the resin measuring cup—you could accidentally dump a large amount into the resin. It’s a whoops that you will only do once!
Gay Isber
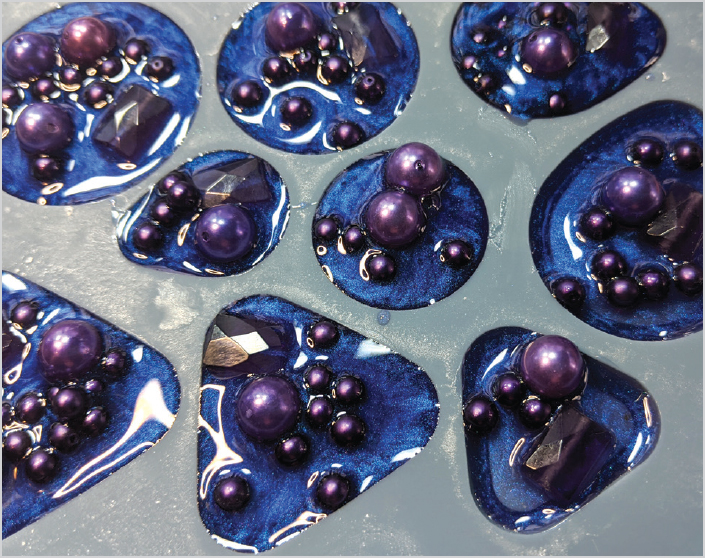
3. Place a few beads on top of the resin, making sure each bead is touching resin. Leave a bead-free area at the top of each mold for drilling a hole later.

Gay Isber
4. After curing, pop the pieces out of the mold and drill a small hole at the top. Insert a large jump ring into each hole. If you don’t want to drill, use glue instead as directed on page 51.
Gay Isber
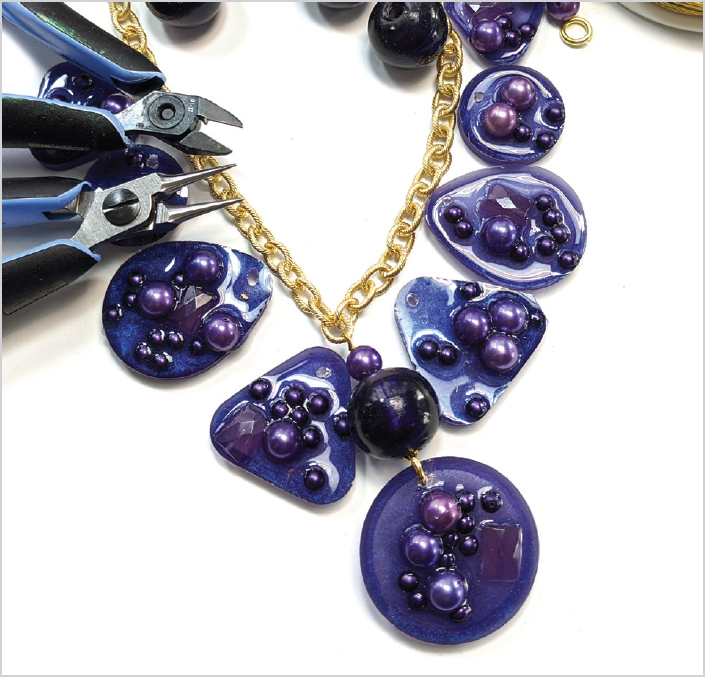
5. Gather all the additional supplies you’ll need for making this elaborate necklace, including a chain, 20-gauge wire, matching beads, a lobster claw clasp, and more jump rings. Arrange the resin pieces until you are happy with your result.
Gay Isber
6. For each resin charm, stack two beads by putting a small bead on top of a larger bead and creating a bead link. Attach the result to the chain. You could stop here for a simpler necklace, or continue to make the featured necklace. Don’t forget the matching set of earrings!
VARIATIONS
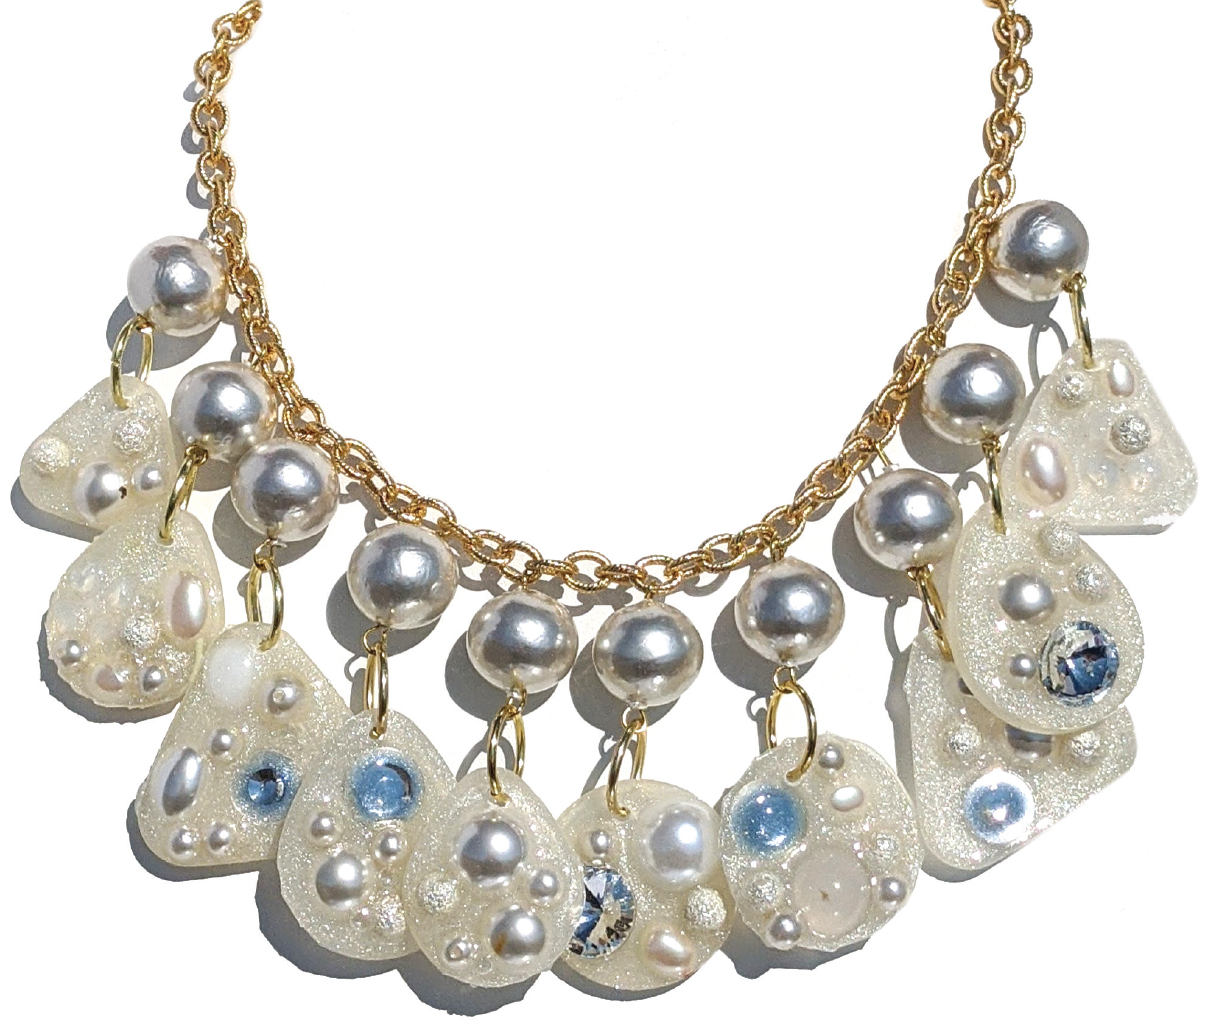
This pearl version features giant jump rings and one shimmery bead per pendant, plus tons of glitter in the resin.
Gay Isber
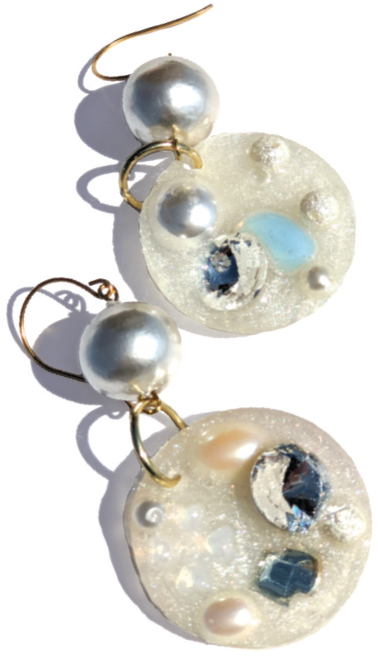
Matching earrings complete this set.
Gay Isber