I love cellophane and have used it for so many projects over the years. I think it adds an opal-like effect to a project. Adding a layer of resin over the top of it works very well. The trick is to add a little resin first so it acts as a glue. Then you can add something on top of the cellophane, too, like a charm, glitter, more cellophane, or more resin. Experiment by cutting the film into small strips or tiny bits. I like to crinkle my film so it reflects even more light, much like an opal.
 Skill level: Easy
 Time: 30 minutes plus curing time
Supplies
♦ Disposable gloves
♦ 1 oz. (30ml) plastic measuring cup
♦ Disposable wooden stir stick
♦ Marker
♦ Two-part clear resin
♦ Protected work surface
♦ Wet wipes
♦ Roll or sheets of cellophane
♦ Scissors
♦ Frame-style clear finding
♦ Small drill bit (3/32"/2.4mm) and drill
♦ Jump rings
♦ Chain

Gay Isber
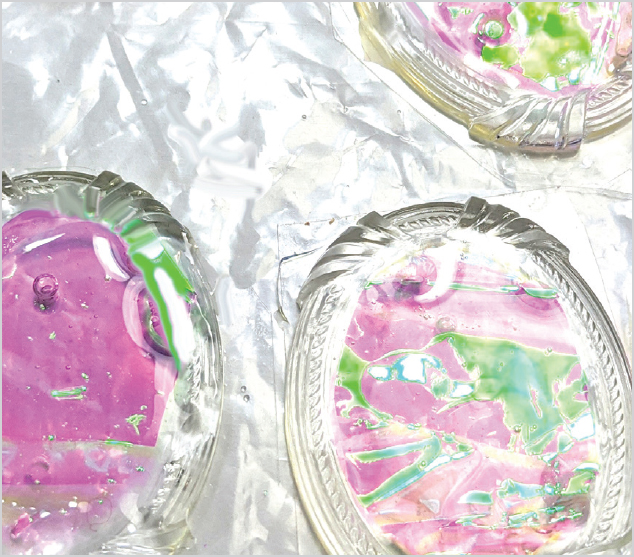
1. If your frame findings have holes in them like mine do, cover the back with packing tape. The resin will cure in the holes and you can remove the tape at the end.
Gay Isber
2. Cut cellophane to fit perfectly into the frame, then test the fit. Take it back out, put a little resin in, put the cellophane back in, and reposition it. Cover it in a new layer of resin.
Mike Mihalo

Gay Isber
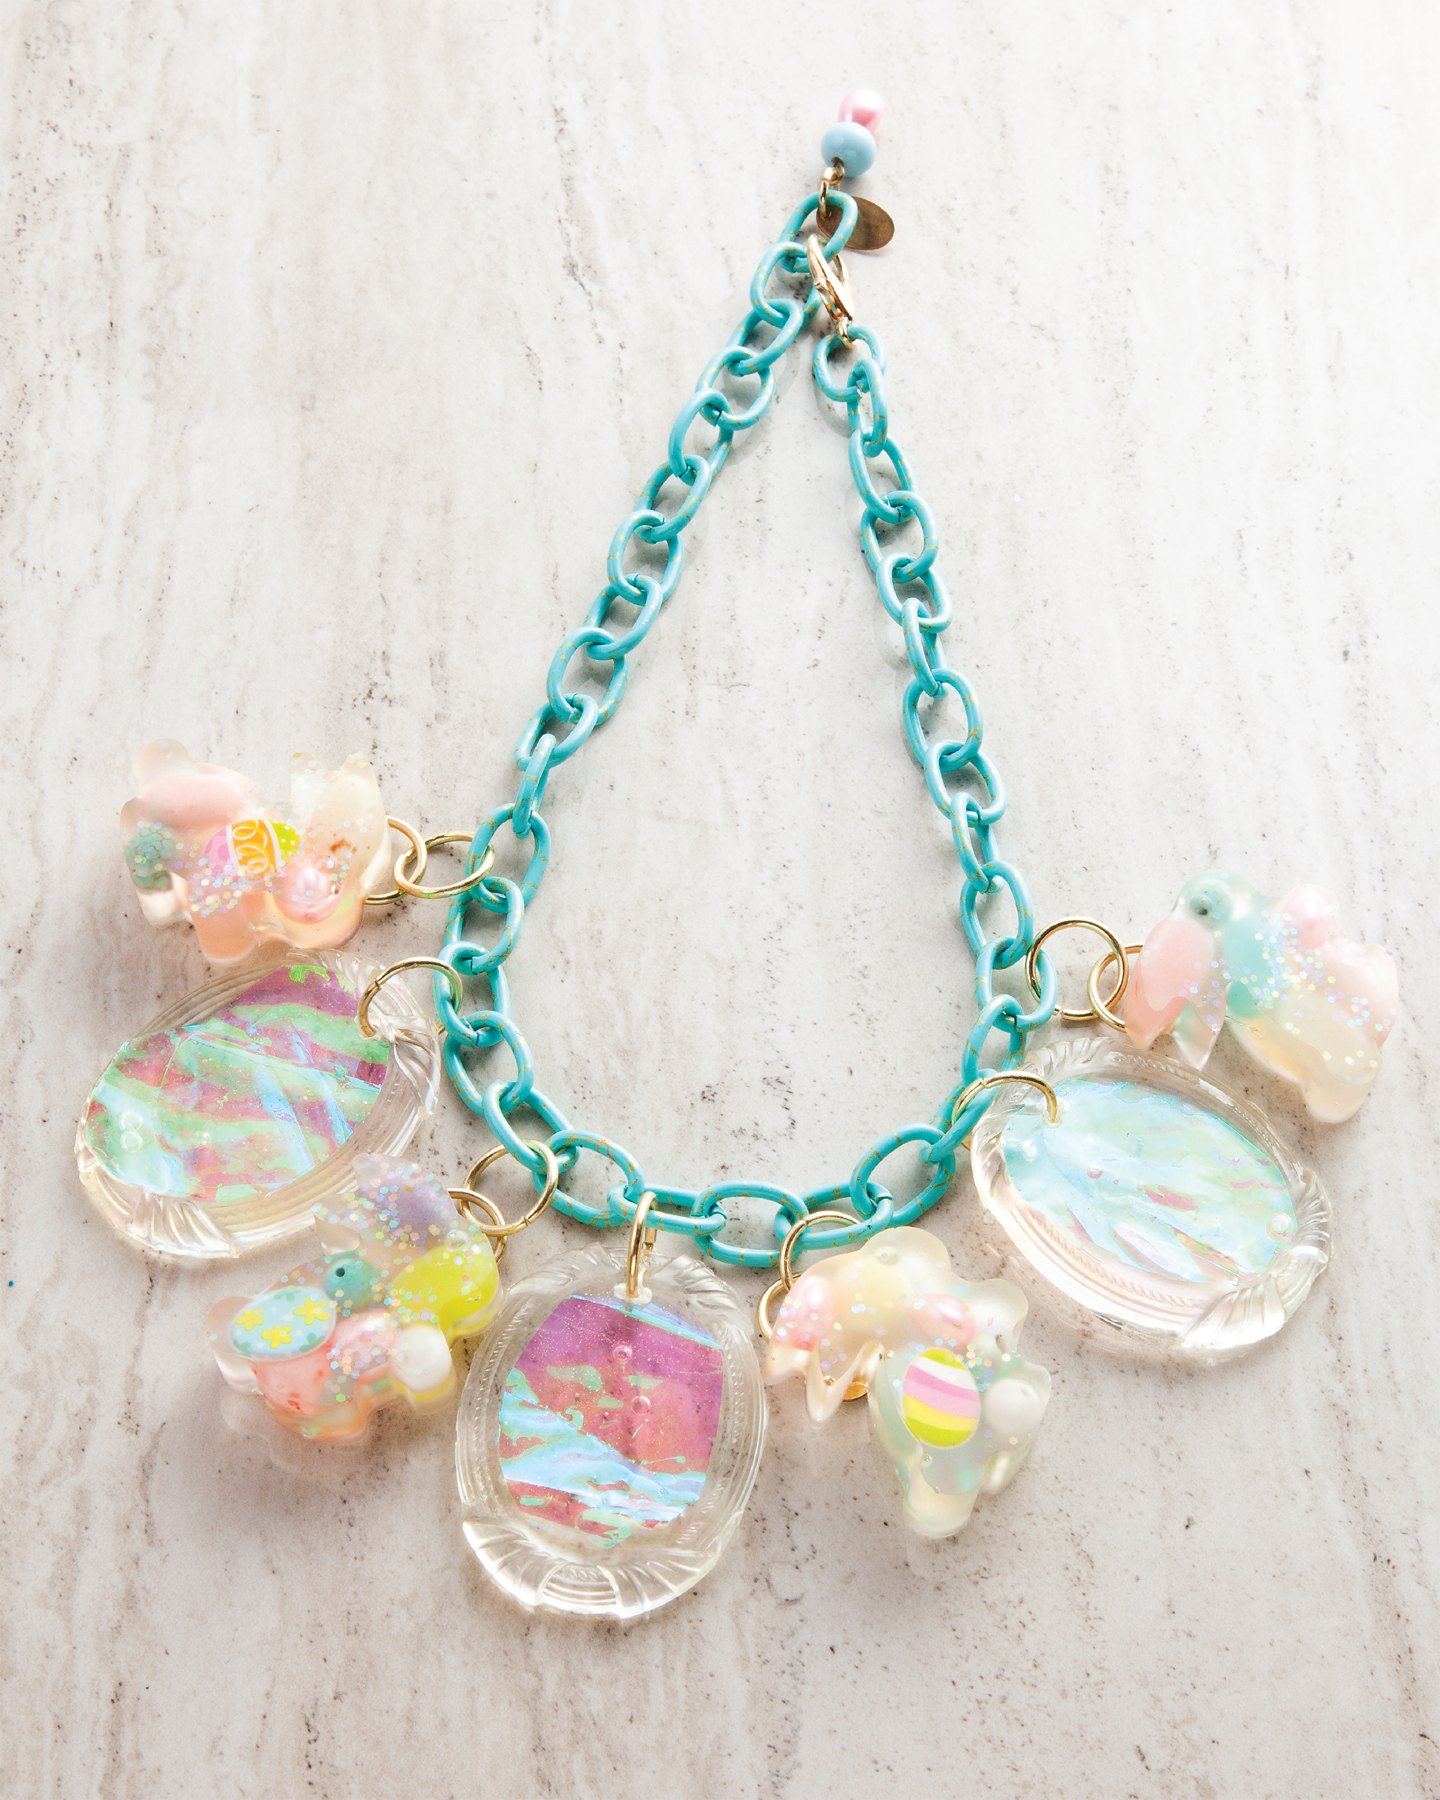
3. Once the pieces have cured, drill a hole to add a jump ring to each one, then add them to a necklace chain. The bunnies on this necklace can be made following the most basic resin instructions: filling a mold with resin and cute fillers like the beads and glitter used here. (They were made as part of the project on page 52.)
VARIATION

You can also allow the initial layer of resin with cellophane on it to totally cure, then add another layer with a photo cutout on top so that you can see the sparkly cellophane behind the photo. Add a little more resin to the top to create a domed effect. George never looked so good!
Gay Isber