You can fill up a basic store-bought bangle mold with items and resin to make a piece of jewelry that’s anything but basic! If you want, add a touch of pigment powder to the resin for extra sparkle. Be careful of creating resin dust, which you should not inhale, during the filing step (use a dust-filtering mask if needed; see page 28). You can use water-resistant sandpaper and water to keep the dust down.
 Skill level: Intermediate
 Time: 20 minutes plus curing time
Supplies
♦ Disposable gloves
♦ 1 oz. (30ml) plastic measuring cup
♦ Disposable wooden stir stick
♦ Marker
♦ Two-part clear resin
♦ Protected work surface
♦ Wet wipes
♦ Bangle bracelet silicone molds
♦ Plastic bugs, brass pressings, and jelly beans
♦ Gold paint marker and/or gold spray paint
♦ Pigment powders
♦ Nail file or fine-grit sandpaper
♦ UV resin or other additional resin
Gay Isber
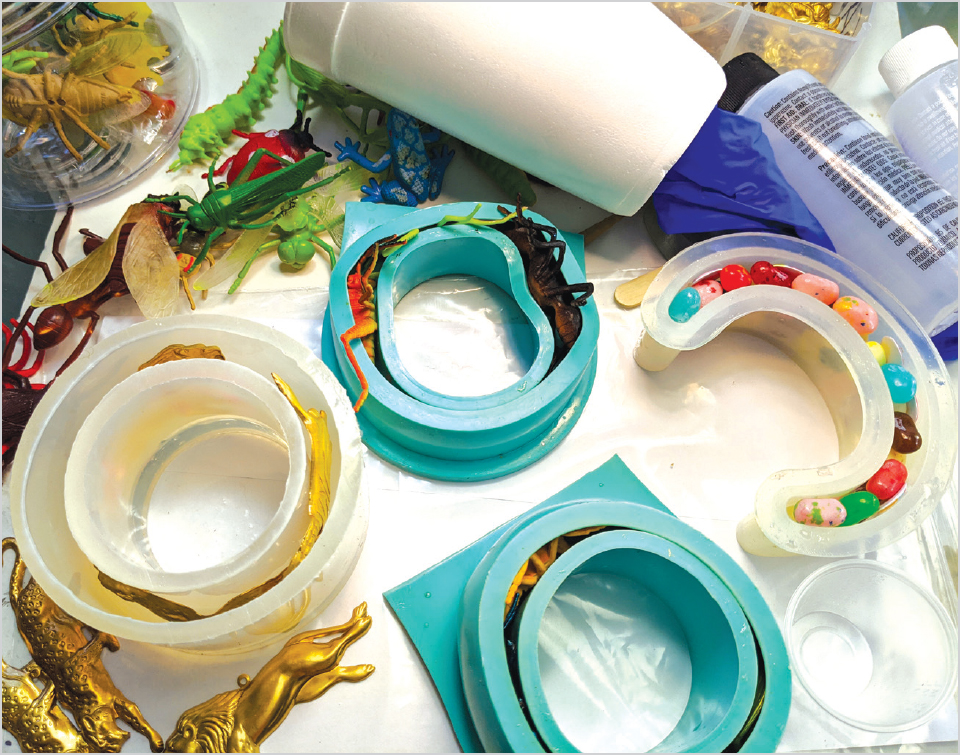
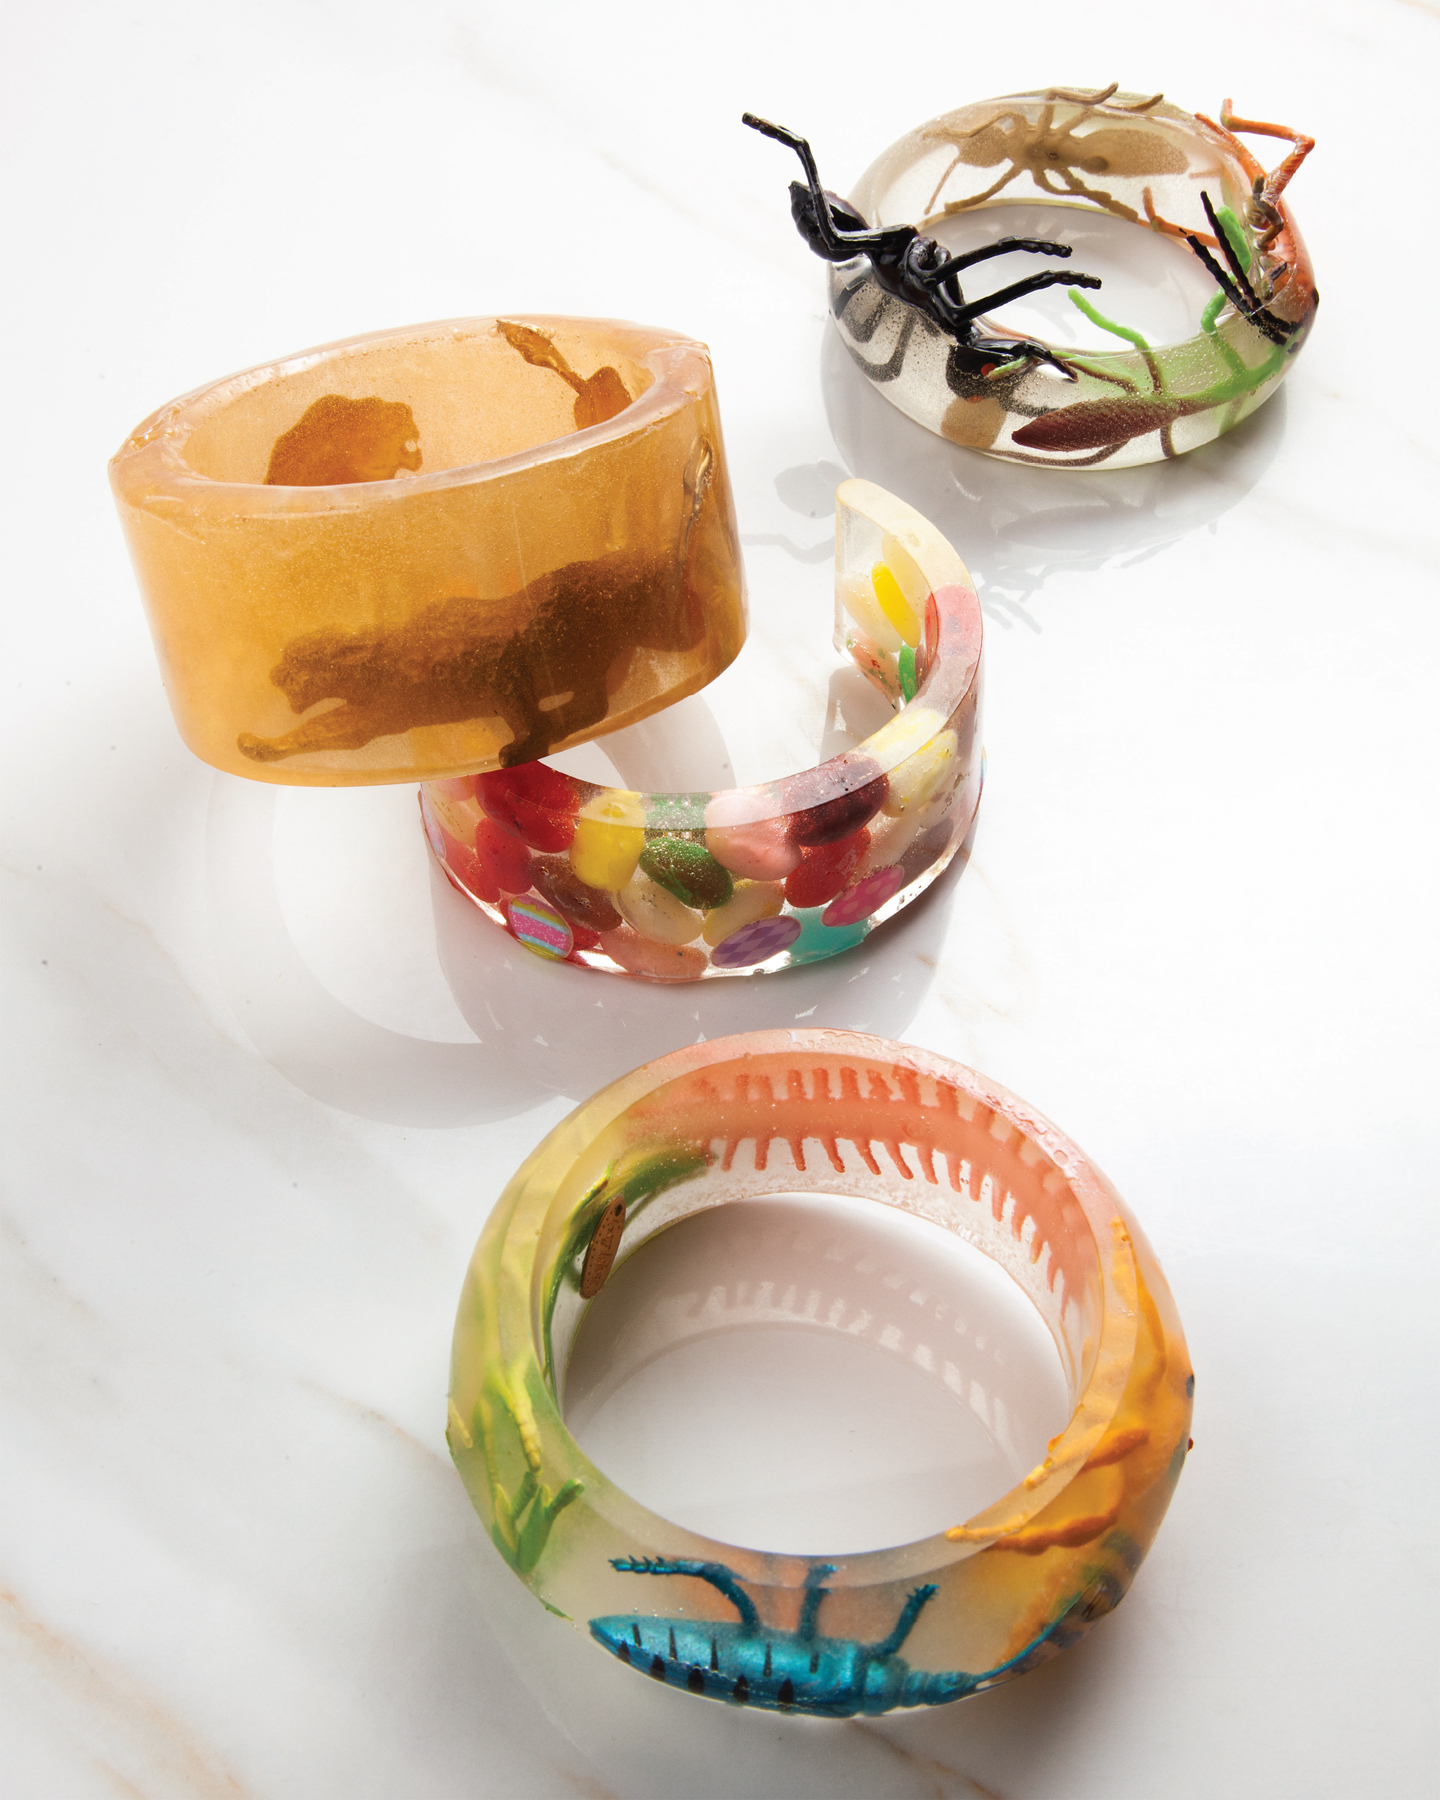
1. Make sure your mold is clean and dry. The size of your mold and how much you stuff into the mold will determine how much resin is needed. Set objects into the mold as desired. I made one bracelet with brass lion pressings, one with jelly beans, and two with plastic bugs. I love having a couple of bug legs sticking out the top for extra drama.
Mike Mihalo
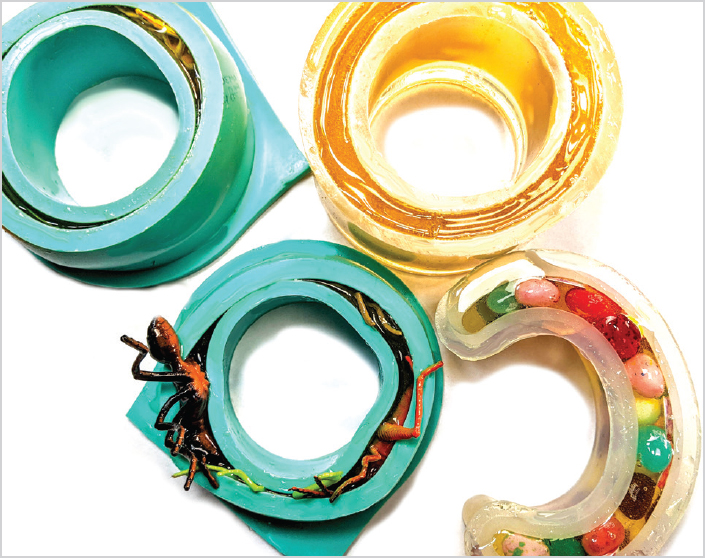
2. Slowly pour resin into the mold, allow it to settle, and then add more to bring it to the top of the mold. Add a little more resin after a few minutes, after it has filled in all of the cracks. Flex the edges slightly to break any bubbles. As the resin cures, if the top edge seems to be shrinking, add a tiny bit more resin or wait until it fully cures (see last step).
Gay Isber
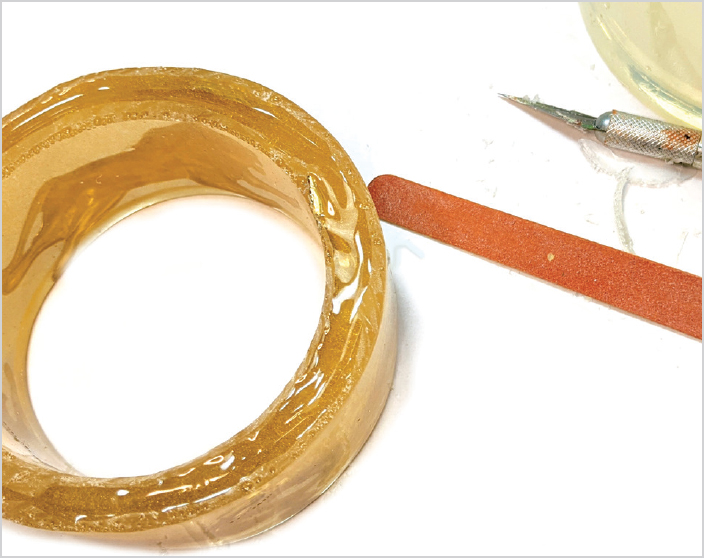
3. After the bracelet cures, take it out by peeling down the edges of the mold. File any sharp edges of the bracelet down with a nail file or fine-grit sandpaper.
Gay Isber
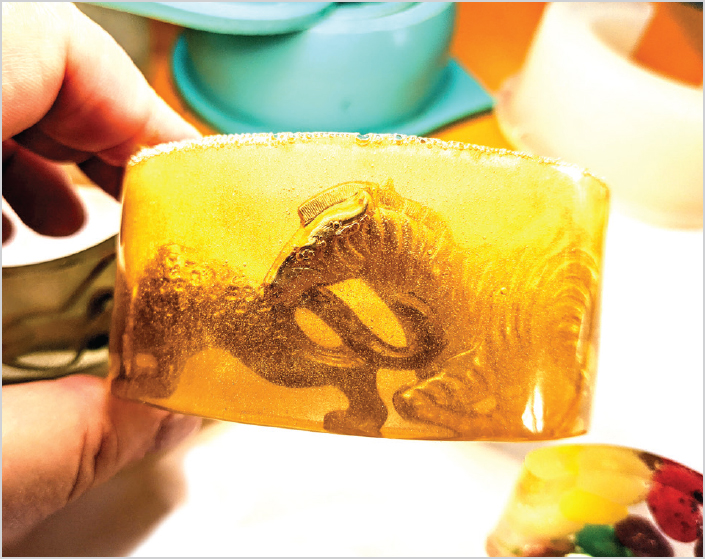
4. Add a bit of UV resin to fill in any gaps on the top edge, just to help smooth it all out. Set under a UV light or in the sun to cure.
VARIATIONS
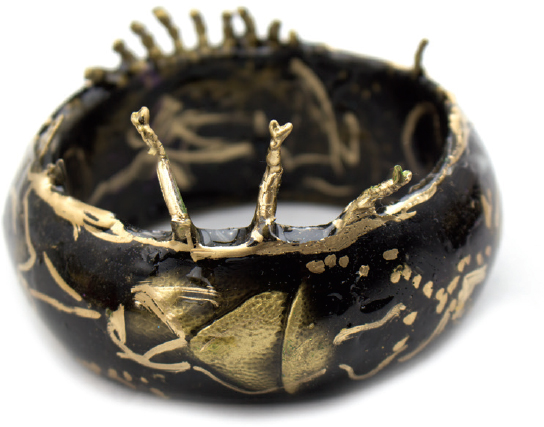
Spray-paint bugs gold and color your resin black for a high-contrast, high-fashion bangle.
Gay Isber
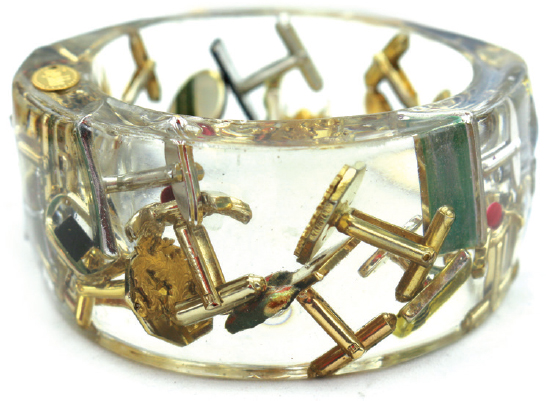
Use clear resin embedded with metal cufflinks for an industrial feel.
Gay Isber
Gay Isber