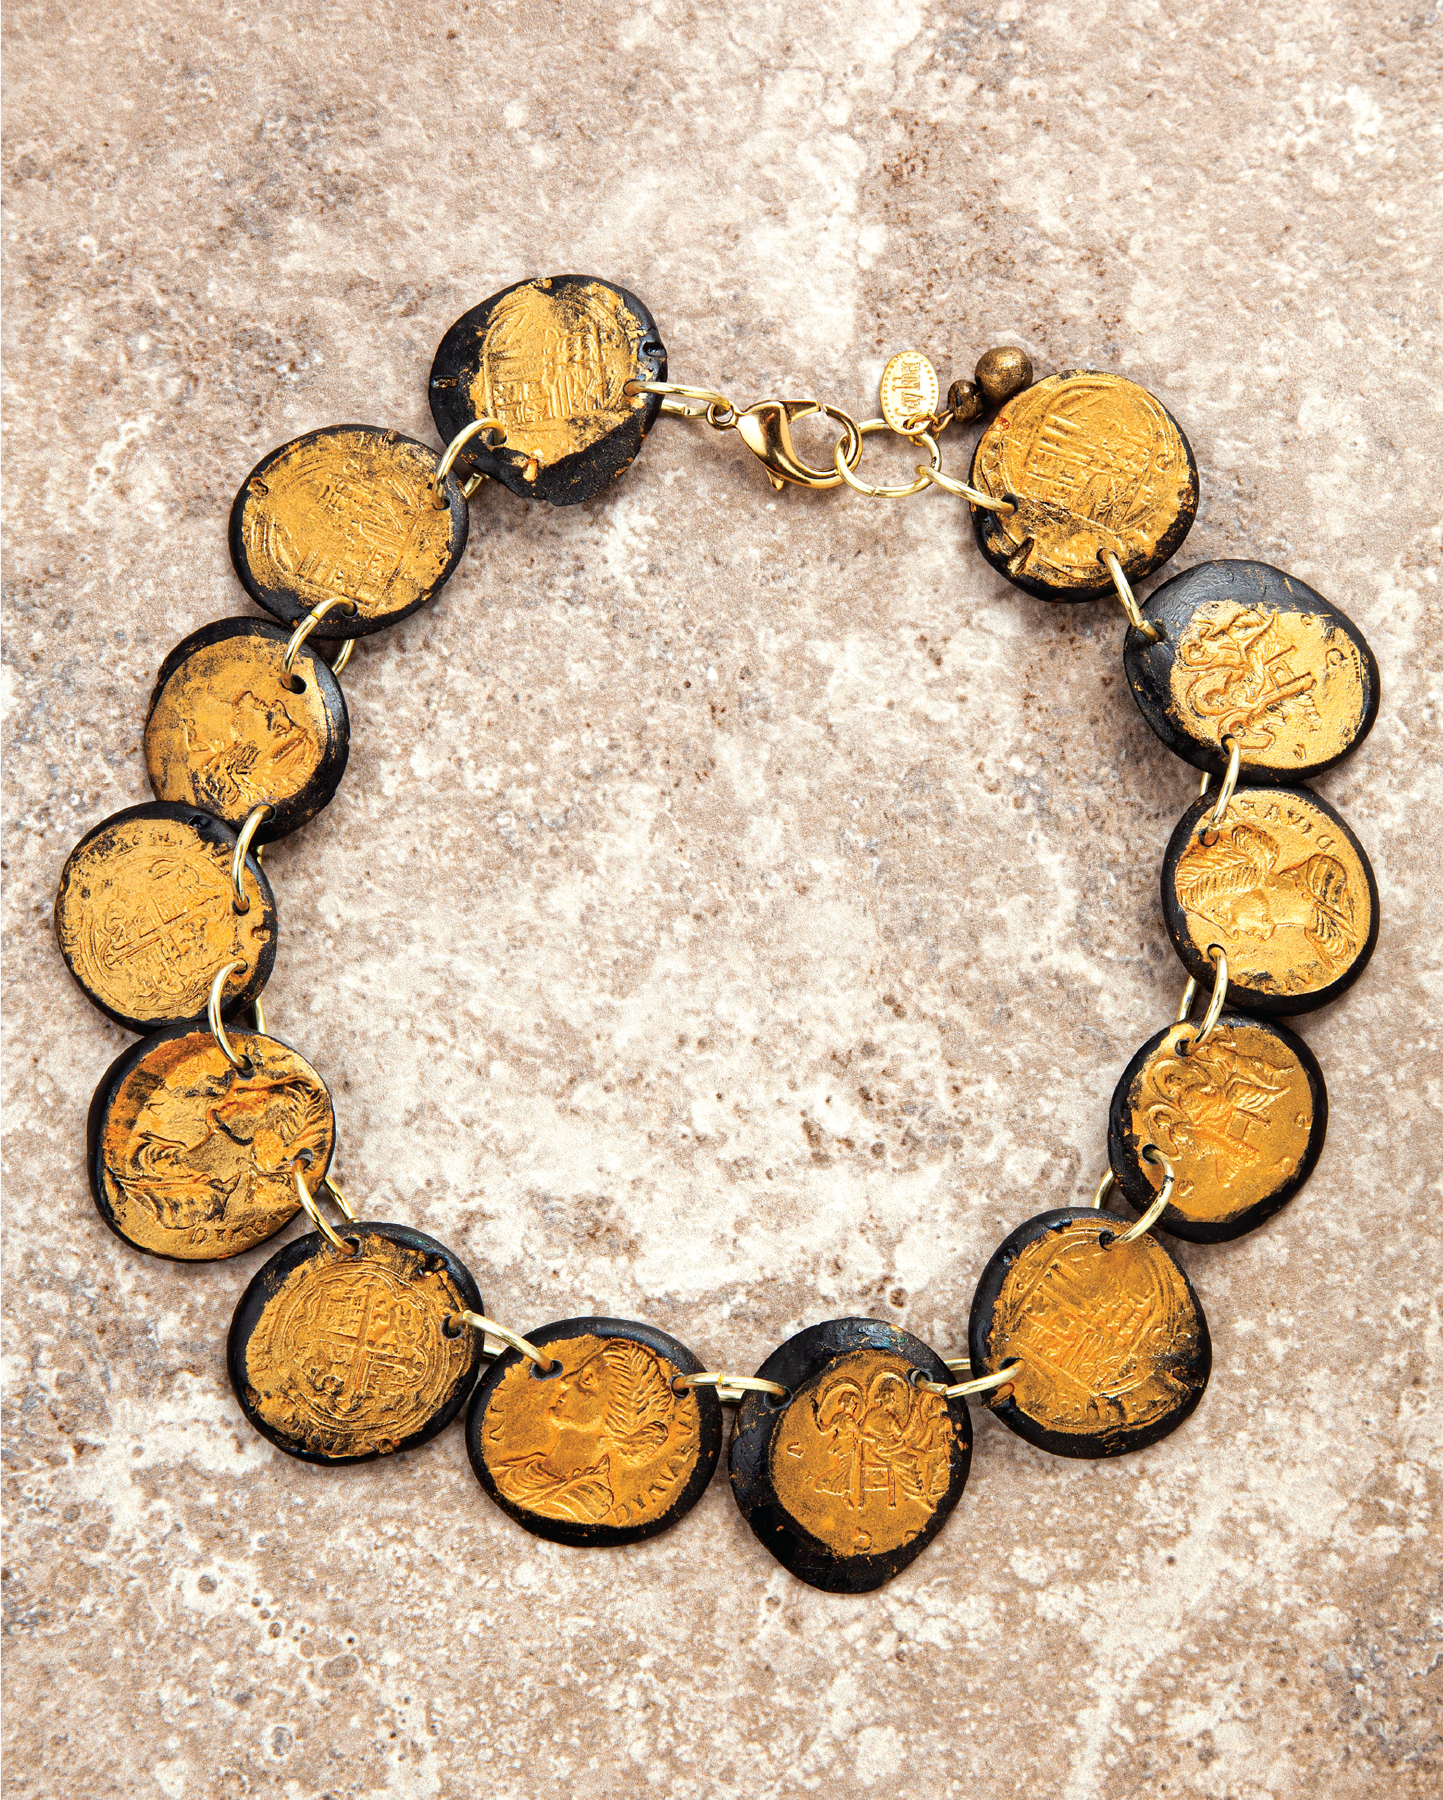
This is an easy first epoxy clay project using just clay and pigment powder. The coins are very fast to make, so feel free to make a ton of them: try other colors and color combos, turn them into pendants or earrings, or make them smaller or larger.
 Skill level: Easy
 Time: 1 hour plus curing time
Supplies
♦ Disposable gloves
♦ Two-part epoxy clay (any color)
♦ Protected work surface
♦ Wet wipes
♦ Gold pigment powder
♦ Small plastic container
♦ Printed template (see page 140)
♦ Heavy-duty plastic freezer bag
♦ Coins
♦ Spray sealant (matte finish)
♦ Small drill bit (3/32"/2.4mm) and drill, or toothpick
♦ Large jump rings
♦ Lobster claw clasp
Gay Isber
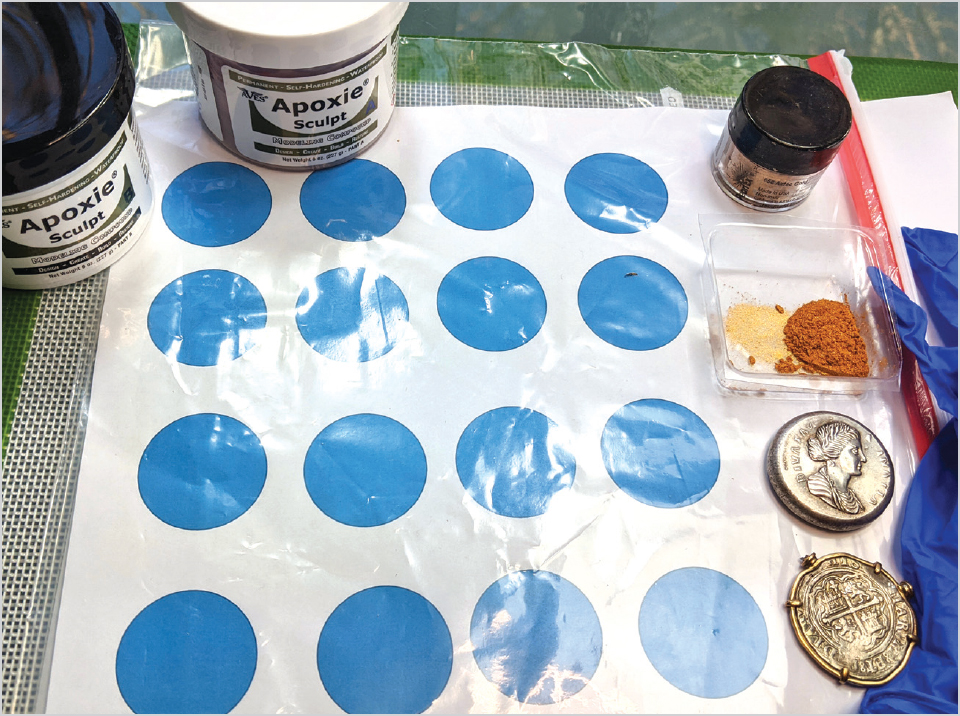
1. Pour some gold pigment powder into a small container that is big enough to dip your coins into. Print the template on page 140 and insert it into a heavy-duty freezer bag to make coins of a consistent size. You could also just eyeball it. (My template looks different than the one in this book, but the circles are the same size.)
Mike Mihalo
Gay Isber
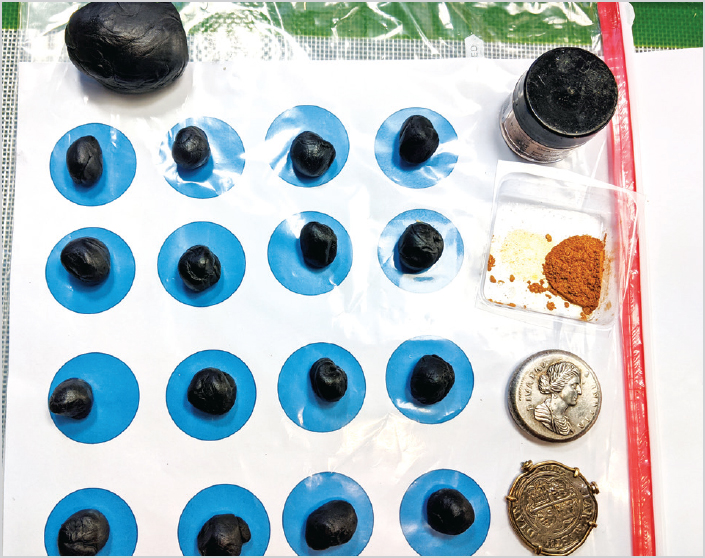
2. Mix the epoxy clay as directed. The size of your coins and the number you want to make will determine how much clay you need. You can always make more if you run short, or find other uses for the clay if you make too much. Divide the clay into equally sized balls, one for each coin you want to make.
Gay Isber
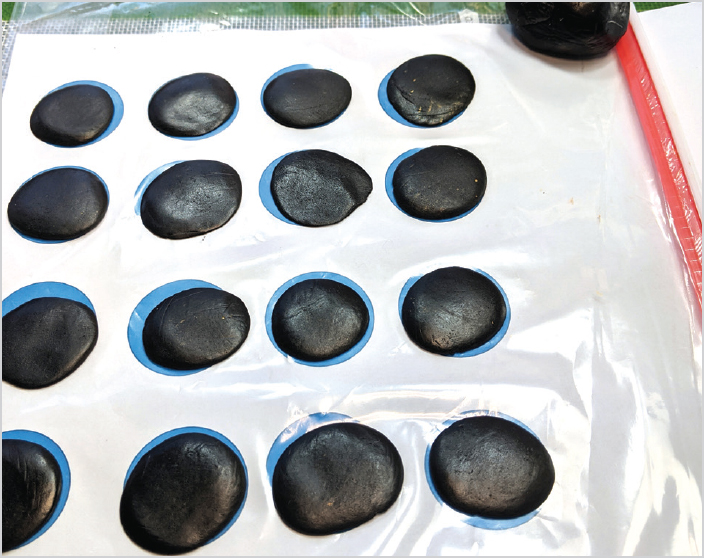
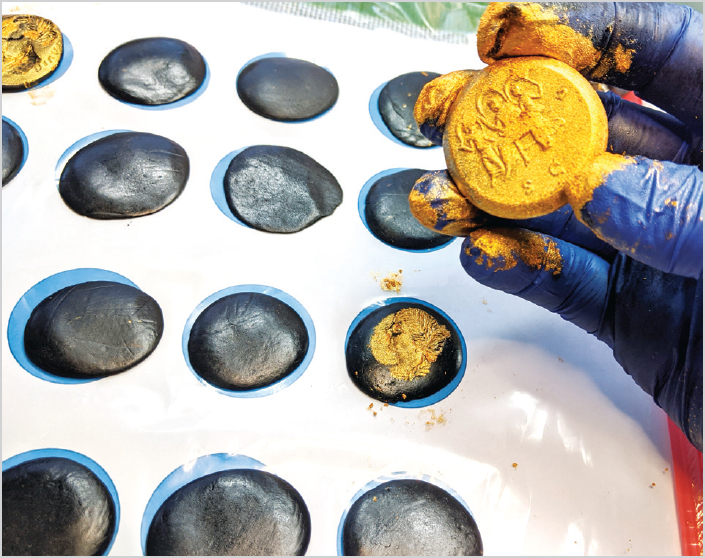
3. Using your fingers, flatten each ball onto one of the circles of the template.
Gay Isber
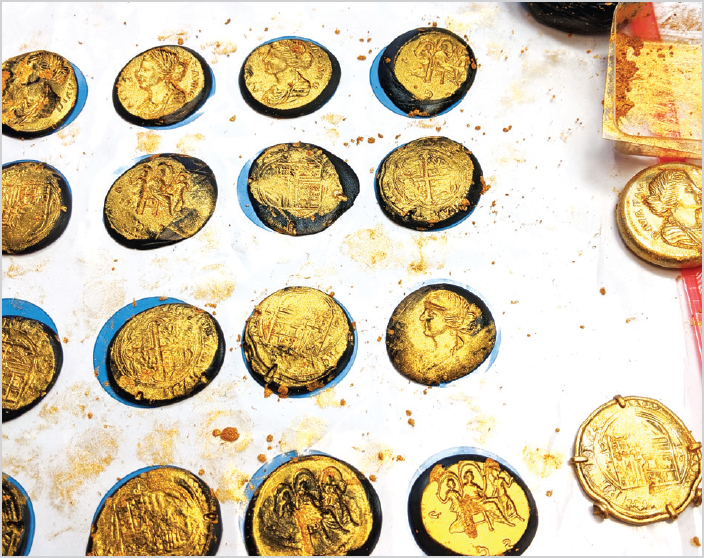
4. Dip your real coin into the pigment powder to pick up a thick layer of powder, and then press it into one of the flattened clay coins. Carefully remove the object, smoothing out any erroneous marks that you might have made. Repeat for all the clay coins.
Gay Isber
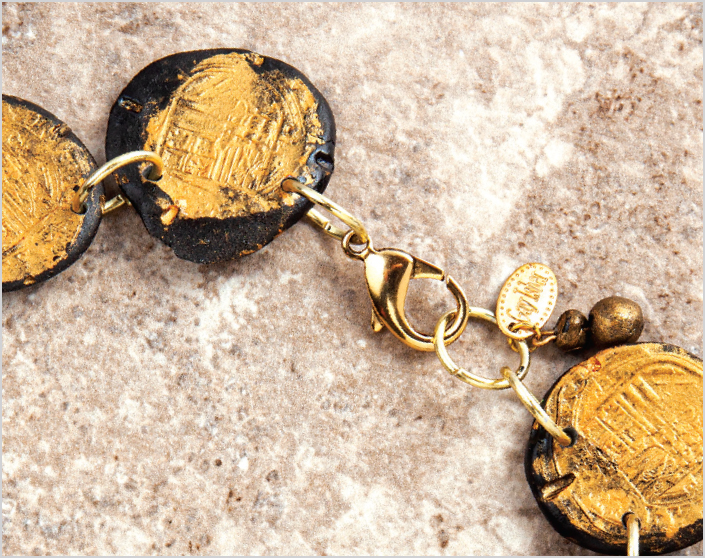
5. Plan to use either a toothpick now or a drill later to make two small holes in each coin, one on the top right and one on the top left (see the bottom photo on page 93 for placement). This is where the jump rings will go, so make sure the holes are big enough. (I used a drill after the clay had cured.)
Gay Isber
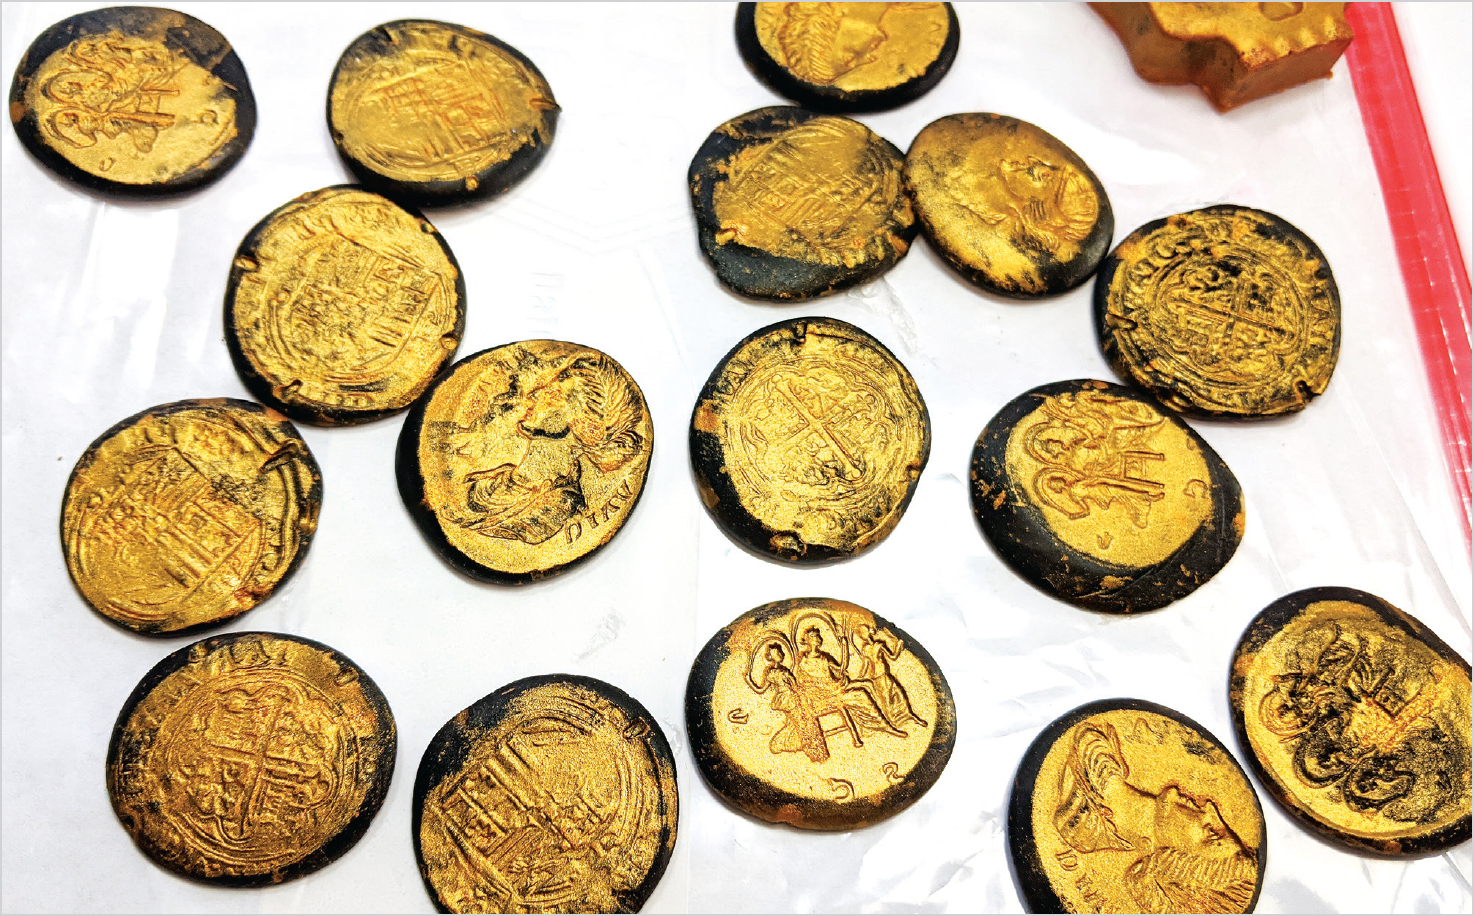
6. After the clay has cured, peel the clay coins off the plastic. Spray them with a matte sealant to make sure no powder transfers to your clothes when you wear the necklace.
Gay Isber
7. Drill the holes (if you haven’t already made them), then connect the coins using large jump rings. Add a small piece of chain or attach a few jump rings in a row to the end on one side to create the length necessary for a necklace and to make it more adjustable. Add a lobster claw clasp to finish.