You can remake any old tin or metal button into something stunning using epoxy clay. You can even turn a button into a pendant by cutting off the pin on the back with your flush cutters and adding a jump ring using some clay. This project presents a big collection of different ideas. Pick and choose and mix and match your favorites, raid your junk drawer, and get creating!
 Skill level: Easy
 Time: 15 minutes per button plus curing time
Supplies
♦ Disposable gloves
♦ Two-part epoxy clay (any colors)
♦ Protected work surface
♦ Wet wipes
♦ Metal buttons
♦ Embellishments: pigment powders, textured sheets, chain, beads, pearls, rhinestones, charms, gold or silver foil, resin, paint, etc.
♦ Pencil
♦ Soft rag or old, soft paintbrush
♦ Small brush
♦ Paper towel
♦ Clear nail polish
THE BASICS
Gay Isber
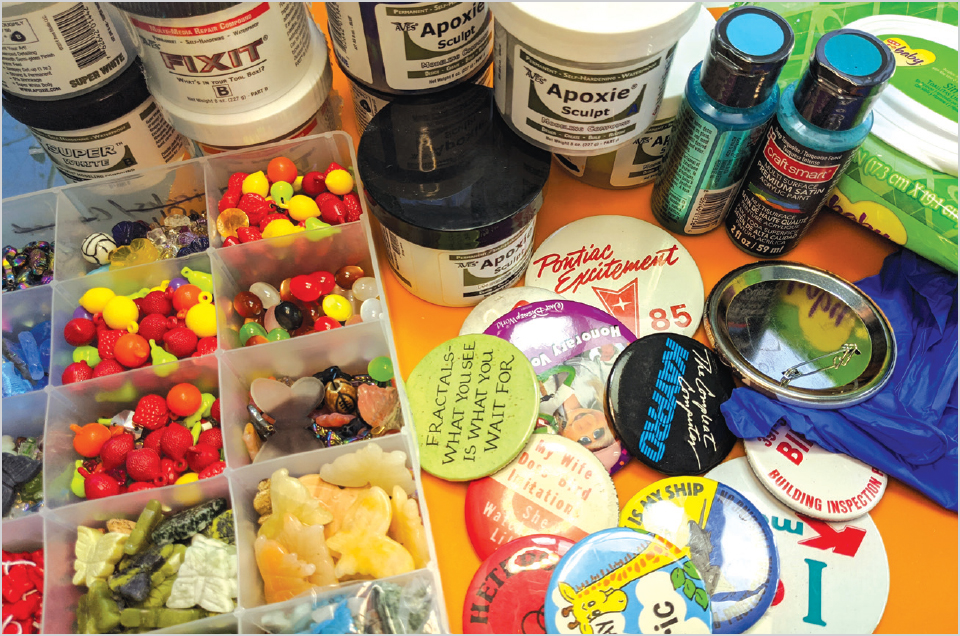
1. Before getting started with specific ideas, let’s go over the basics. Collect all your working materials, including lots of options for embellishing and painting. Depending on the size or quantity of pins you want to make, mix the epoxy clay. Close the pins while working for safety.

Mike Mihalo
Gay Isber
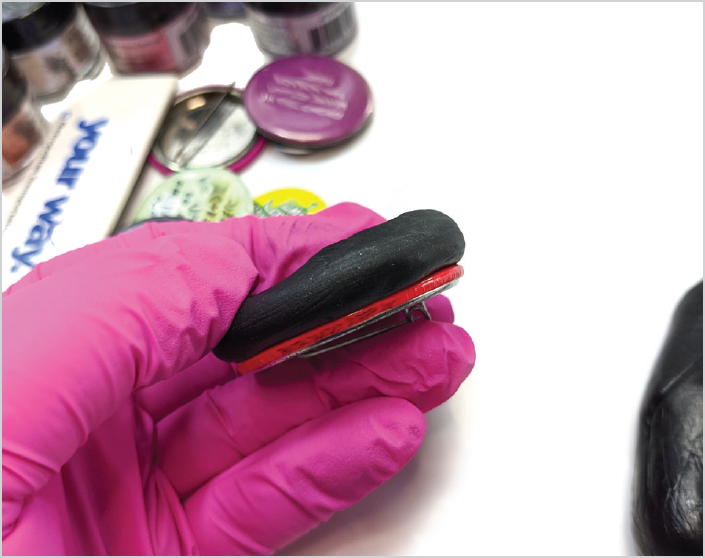
2. With some basic exceptions, the starting point for any button is as follows: Take a small ball of clay and smooth it out to cover the entire pin. Don’t make it too thick, unless that is your design. Remember that the more clay there is, the heavier the pin will be.
Gay Isber
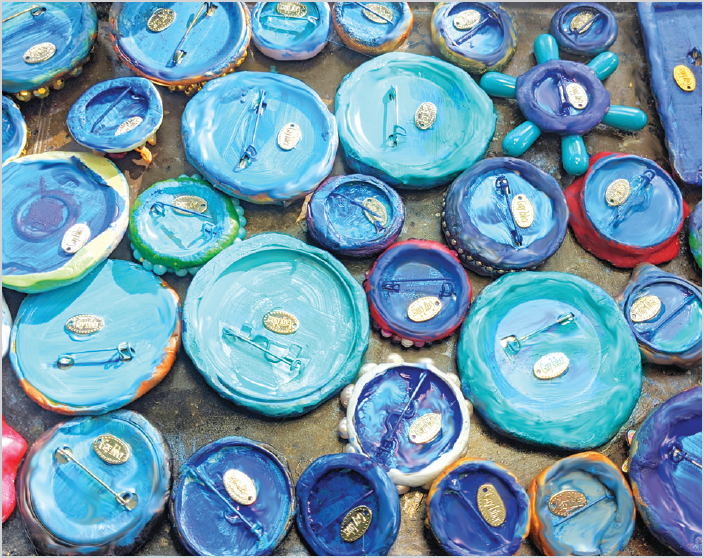
3. When it comes to finishing the pins, you can paint the backs pretty colors as shown, or leave them untouched. I add my personal tag using glue. You can also finish into a pendant as described in the project introduction on page 100. Now, let’s get into the ideas!
CIRCLE BROOCH
Gay Isber
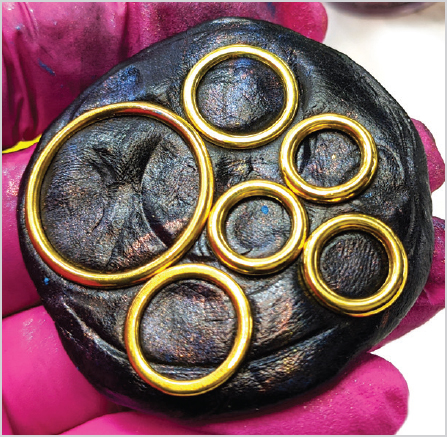
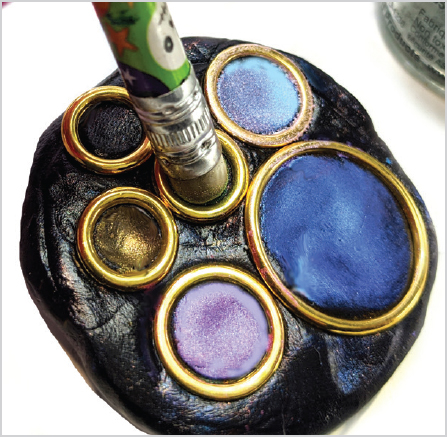
1. Press some closed metal rings into the clay.
Gay Isber
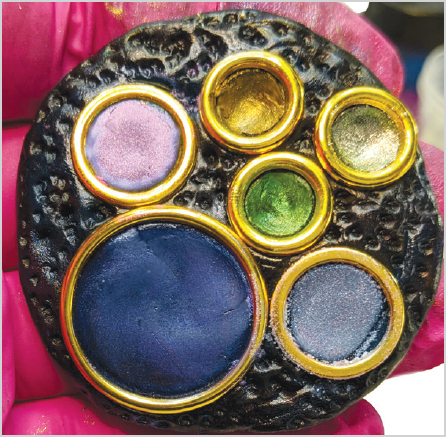
2. Dip the eraser end of a pencil into some pigment powder and circle it around several times within each metal ring, pressing gently, so that the powder colorizes the interior.
Gay Isber
3. Add texture outside of the rings with the pointy end of the pencil. Then allow to cure. Once cured, paint the brooch with clear nail polish to seal the powder in.
TEXTURED BROOCH
Gay Isber
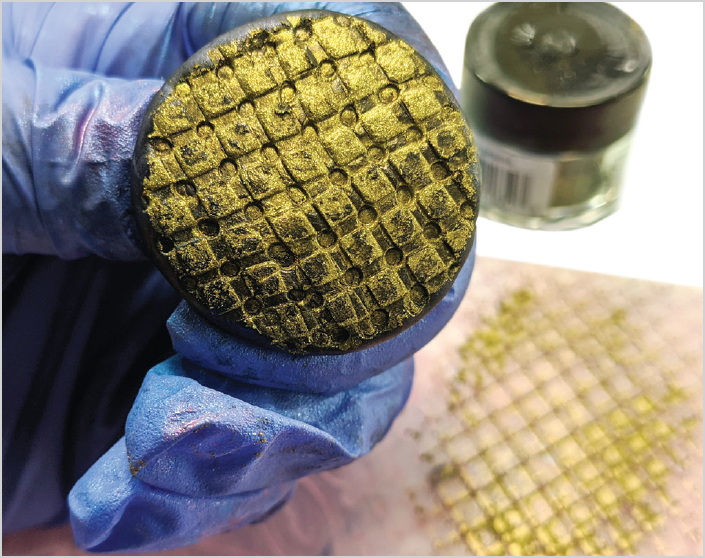
1. Add pigment powder to a textured sheet and press a clay-covered pin into it. Don’t forget to seal with clear nail polish once the clay has cured.
VINTAGE FISH
Gay Isber
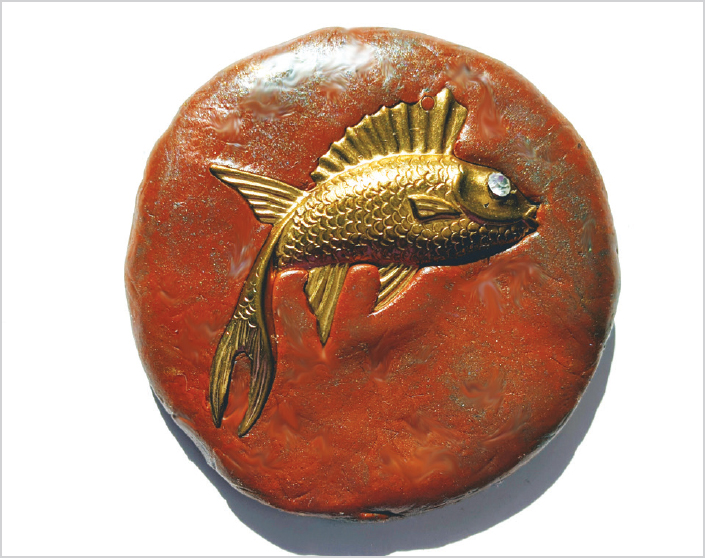
1. Terra-cotta-colored clay makes a pin look like an Old World tile. Add a simple brass fish pressing with a crystal in its eye. Allow to cure, then burnish the clay to add a sheen by rubbing it with your fingertips. Some funky stuff transferred to the clay from my gloves when I did this (black clay mostly), but I like it, as it makes the pin look even older.
FOIL PIN
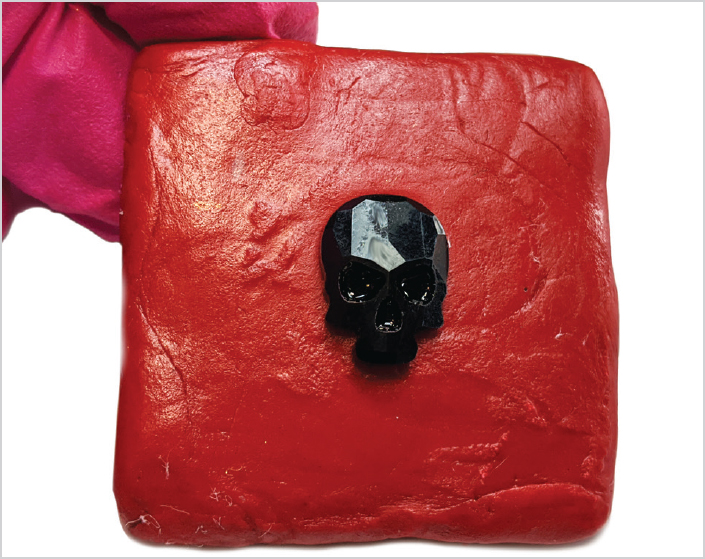
Gay Isber
1. Prepare a square pin with red epoxy clay, making sure to wrap it around the edges. Add a flat-backed crystal in the center, like this skull.
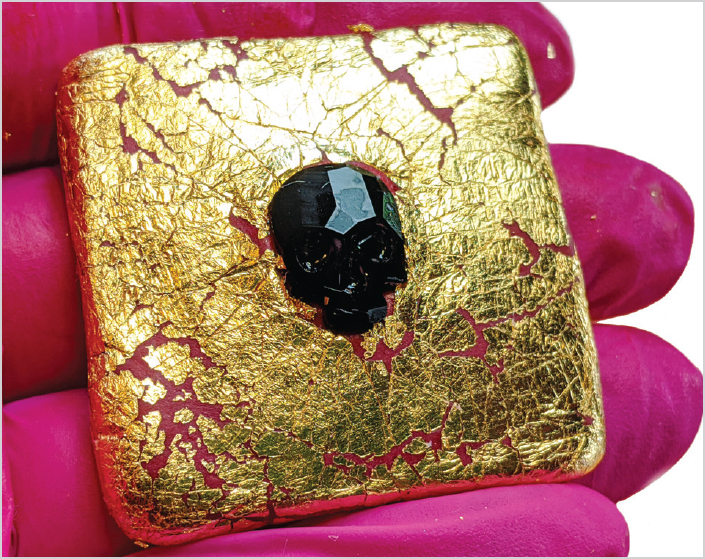
Gay Isber
2. Add a layer of gold foil all around the skull, pressing it into the clay and allowing it to crack so you can see some of the red clay underneath. Dust off any gold flake crumbs with a soft rag or old, soft paintbrush. Allow to cure for at least four hours. Seal the foil with clear nail polish, which will protect it and keep it shiny.
METALLIC SUN AND MOON
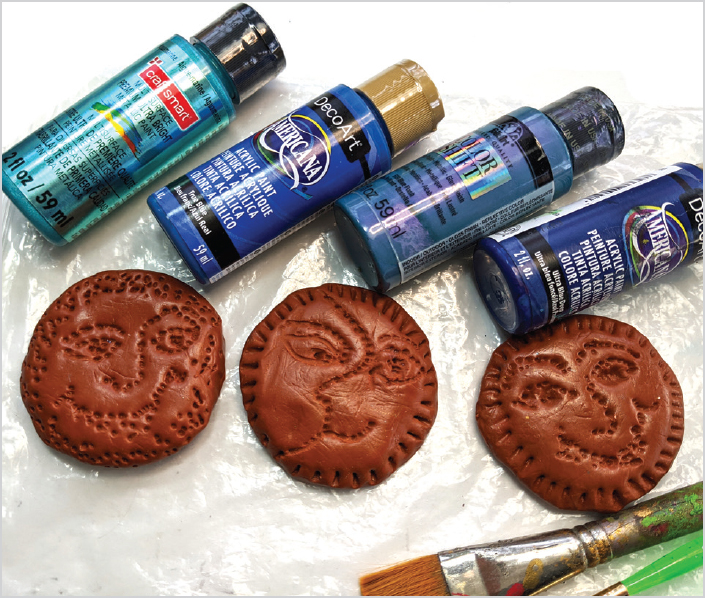
Gay Isber
1. Add a simple face or design using a pencil to poke the clay.
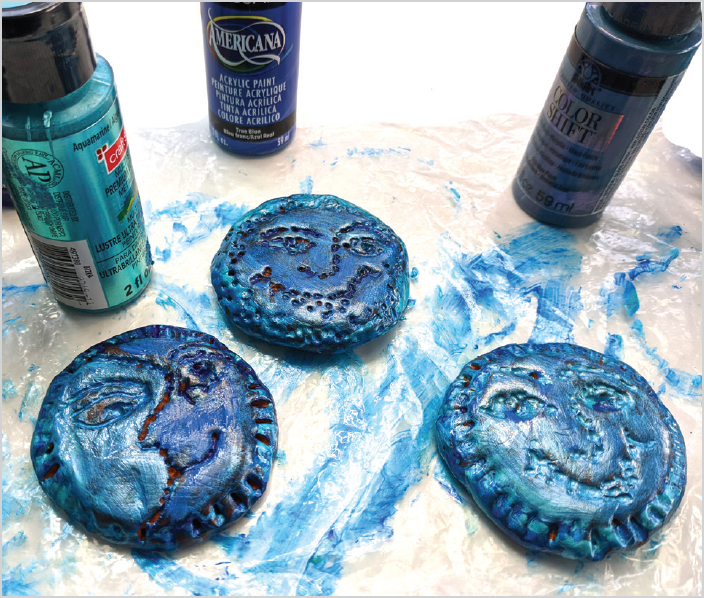
Gay Isber
2. Paint the wet clay using metallic or other paints. Don’t get the paint into the holes or, as a backup plan, just wipe off any extra paint with a paper towel so that you can see bits of the terra-cotta clay underneath. Allow to cure. Enjoy!
NAME BADGE
Gay Isber
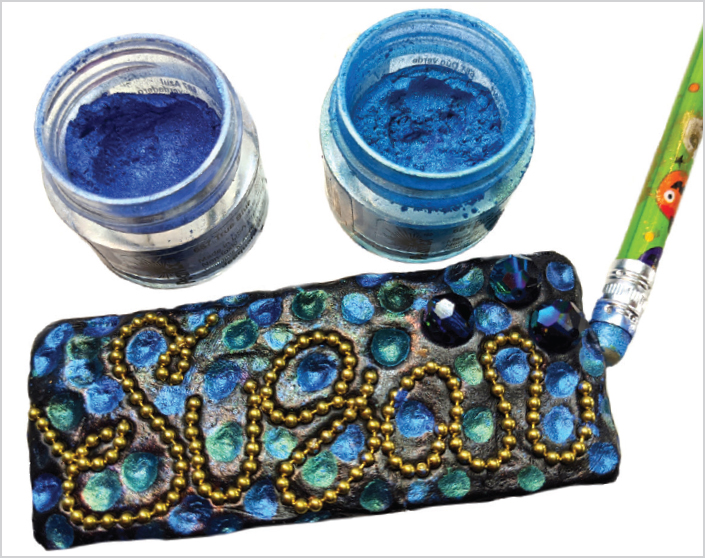
1. Cover a wide pin with clay. Spell out a name in cursive using gold ball chain. Add a few gems and dot on pigment powder indents using the eraser end of a pencil. Allow to cure. Finish with clear nail polish if needed for the pigment powder.
MOLDS AND BEADS
Gay Isber
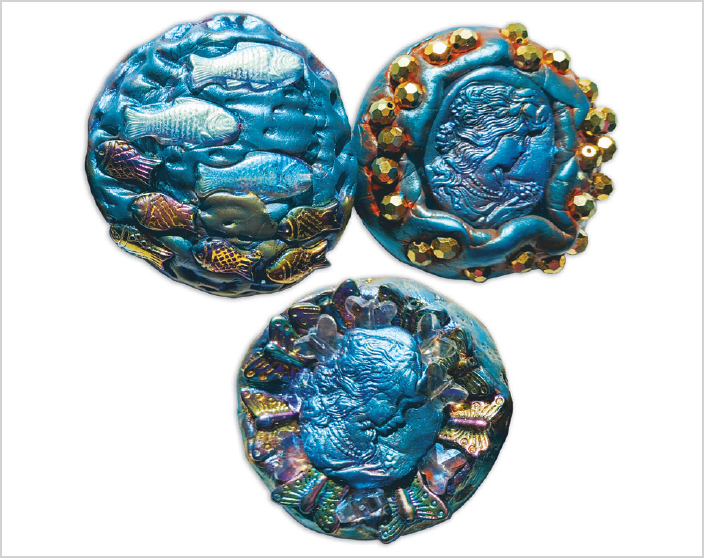
1. Add beads, paint, and pigment powders to a set of pins. For the cameos, I pressed some clay into cameo molds, removed it, gently placed the cameos at the center of the buttons, and added more clay around the button edges. I used a small brush to add a shimmer of powder, then, once the clay had cured, I sealed the powder with clear nail polish to give a gloss to the finished piece. Be inspired and create your own masterpiece.