You could spend millions of dollars buying premade seed tape from a nursery (ok, more like five dollars), or you can make your very own for about ten cents with things you already have in the house. You decide. Regardless, this is an effective way of planting seeds at the right spacing, especially when the seeds are very small.
DIG IN!
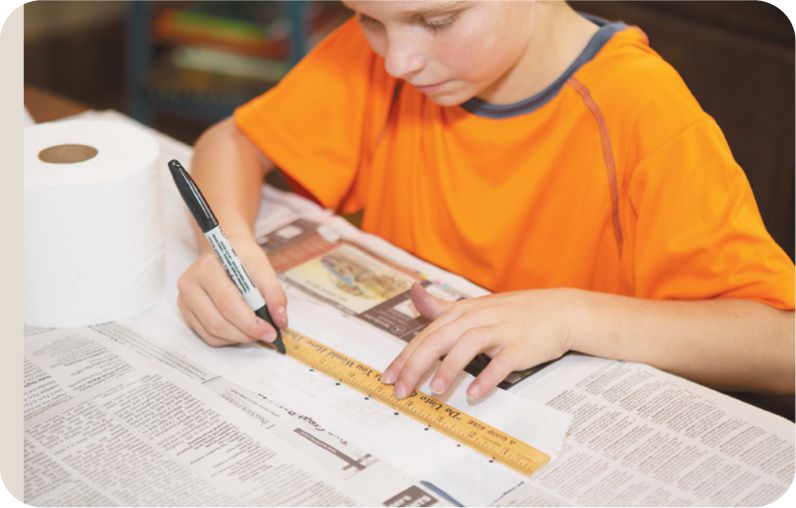
1. Unroll the toilet paper on your work surface to the length of the area in which you will plant it. Use the ruler to measure the distance the seeds should be planted apart from each other and mark that on the toilet paper with the pen or marker. (Fig. 1)
Fig. 1: Measure and mark the distance the seeds will be planted.
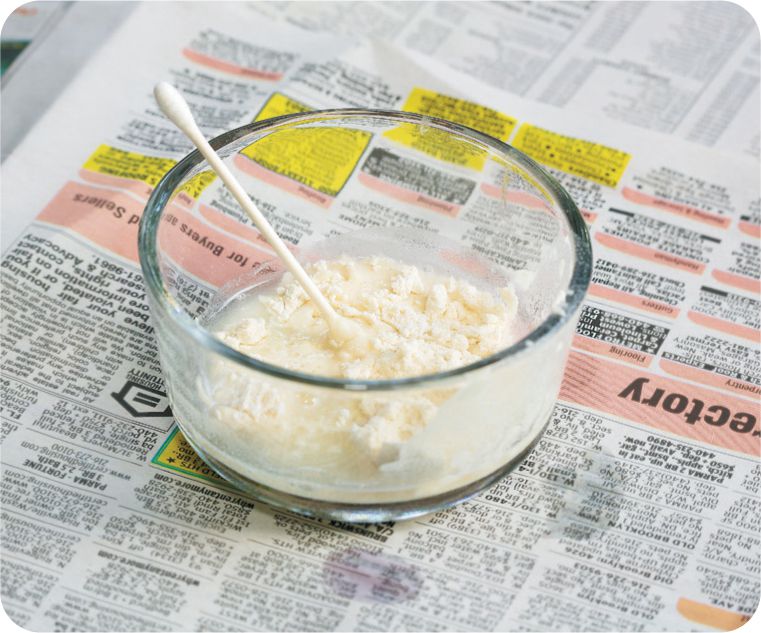
2. Mix the flour with a little bit of water to create a gooey paste. This is how you will adhere the seeds to the tape. Make sure the paste isn’t watery—you want it as dry as possible while still being able to stick the seeds to the paper. (Fig. 2)
Fig. 2: Create a paste to adhere the seeds to the paper.
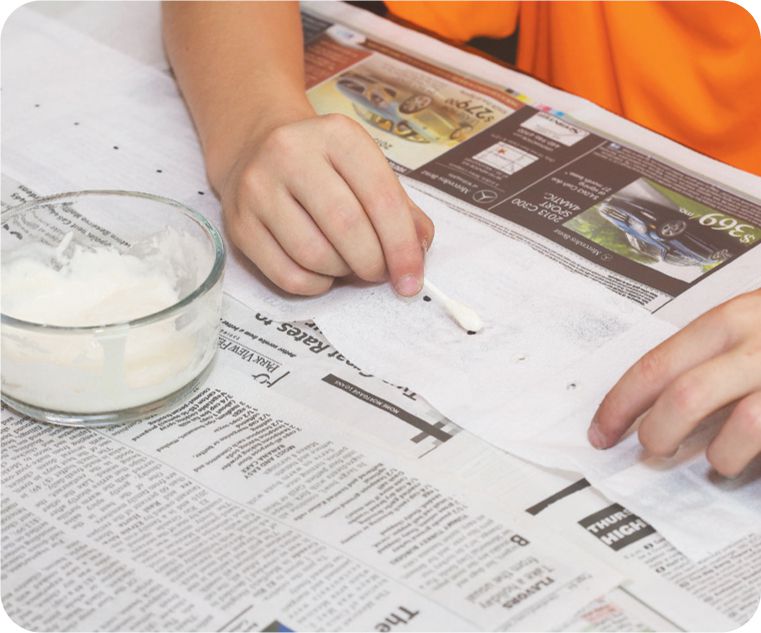
3. Dip the cotton swab into the paste, then dab the paste onto the first few marks on the toilet paper. Don’t put paste on all of the marks at once; you don’t want the paste to dry before you put on the seeds. (Fig. 3)
Fig. 3: Apply the paste to the paper.
4. Carefully place one to two seeds on each glob of paste so that they stick. (Fig. 4)
Fig 4: Place the seeds into each mound of paste.
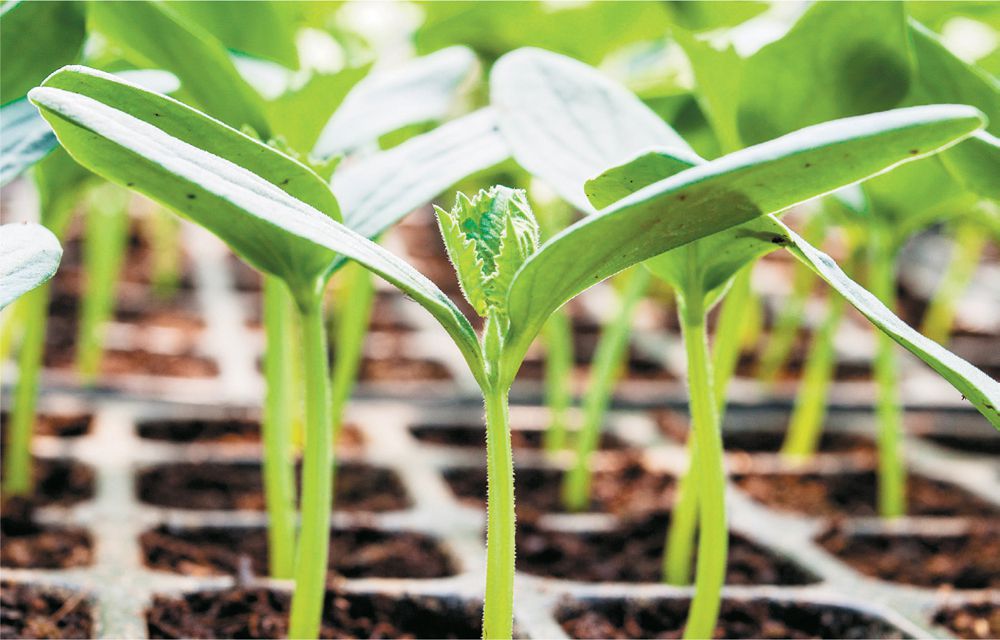
5. Repeat steps 3 and 4 until you’ve completed the length of toilet paper, then allow the paper to dry. When it is ready, plant the length of seed tape at the required depth and water it well. (Fig. 5)
Fig. 5: Plant your seed tape.


 MATERIALS
  Toilet paper


 DIG DEEPER!
  Seed tape can be a great gift for your favorite gardener. Prepare several with different kinds of seeds and roll them up when they are dry. Put them in plastic bags and keep in the refrigerator until you are ready to give them. Write on each bag the name of the seed and how deep the tape should be planted.