
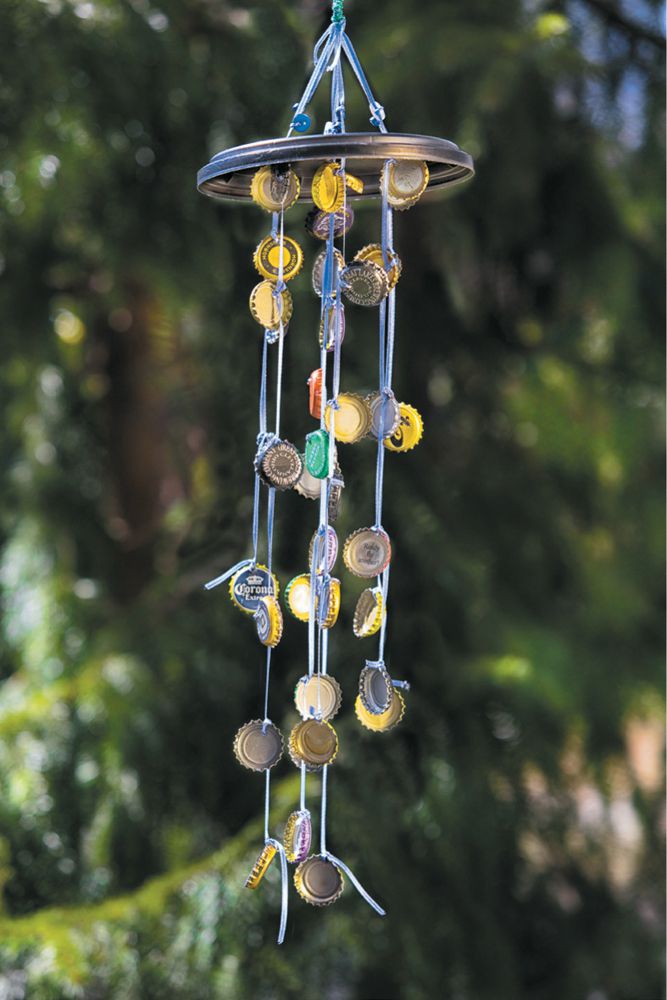
Wind chimes are whimsical ornaments that add pleasant sounds and movement to your garden. Making them is fun and allows for lots of creativity in the materials you use. Here we are using some upcycling items that otherwise may have been thrown away. Before starting, arrange your materials on a flat surface and lay out newspaper.
DIG IN!
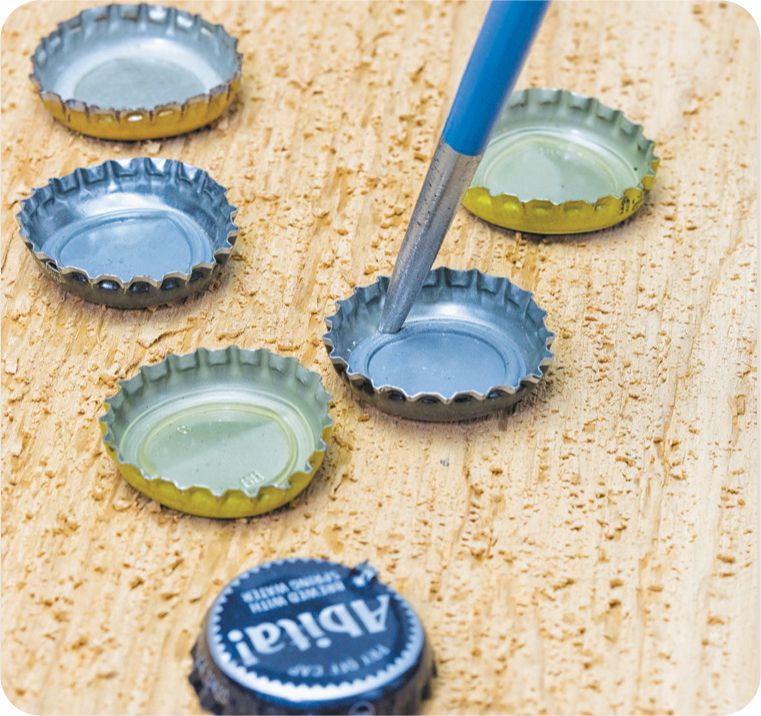
1. Place bottle caps upside down on the piece of scrap wood. Aim the awl or nail at the rubber seal and hammer it into the cap to punch a hole. Remove the awl and continue with each bottle cap. (Fig. 1)
Fig. 1: Punch holes in the bottle caps.
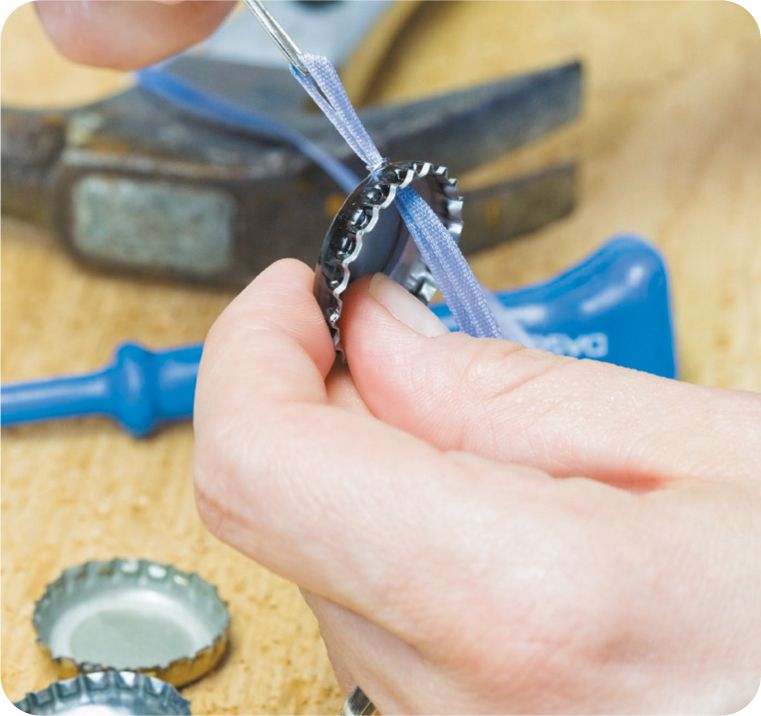
2. Cut seven 36" (91 cm) pieces of ribbon. Using the tapestry needle, thread the ribbon through the hole on a bottle cap and tie a double knot just above the cap to keep it in place. (Fig. 2)
Fig. 2: Thread and knot the ribbon.
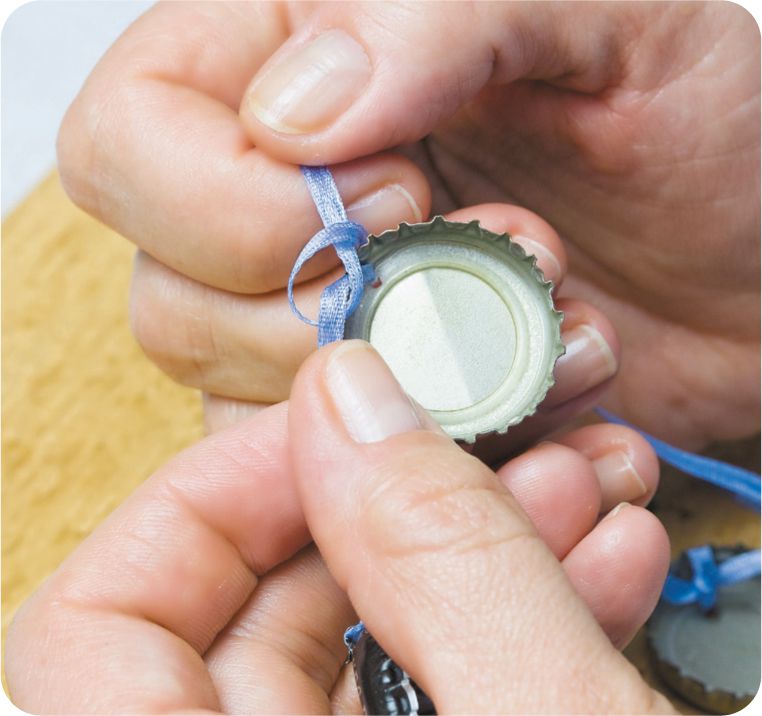
3. Continue adding five more bottle caps at different spacing along the length of the ribbon. Leave 6" (15 cm) of ribbon at the end. (Fig. 3)
Fig. 3: Add more caps to the ribbon.
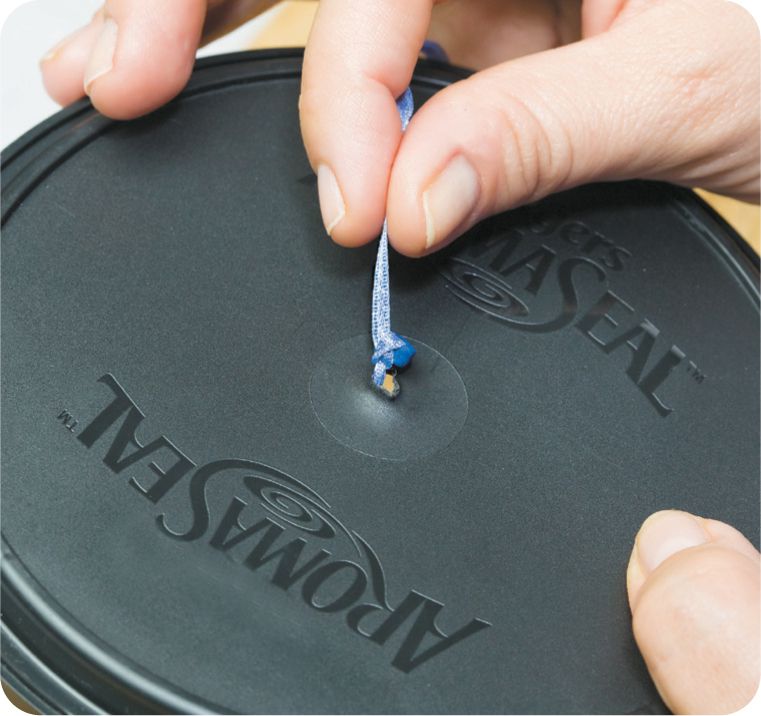
4. Use the awl to punch holes into the plastic lid. Once you have seven lengths of ribbon threaded with caps, thread each ribbon through a hole in the plastic lid, knotting the ribbon once through a button or bead to hold it in place. (Fig. 4)
Fig. 4: Thread the ribbon through the plastic lid and knot it.
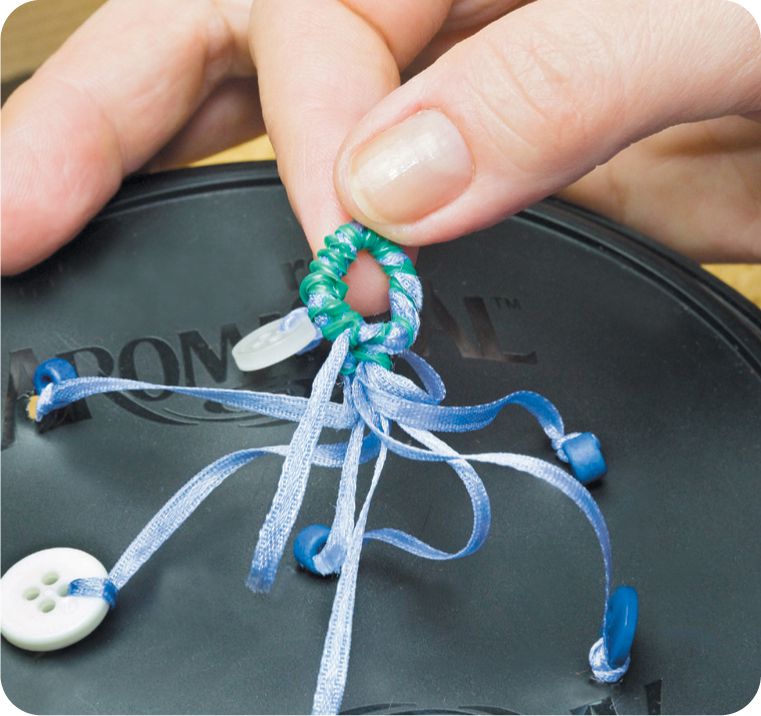
5. Gather all of the loose ends of ribbon together and wrap the metal twist tie around them to their ends. Wrap it around on itself to form a loop and secure the ends. (Fig. 5)
Fig. 5: Wrap the twist tie around the loose ribbon ends.

 MATERIALS
  42 metal bottle caps
 DIG DEEPER!
  Upcycling is an environmental way of reusing otherwise useless materials and turning them into something functional. Look around for other materials you could upcycle and use in your garden. What are some things you normally throw away or recycle that you could use? Keep a list of items for possible projects in your garden journal (