
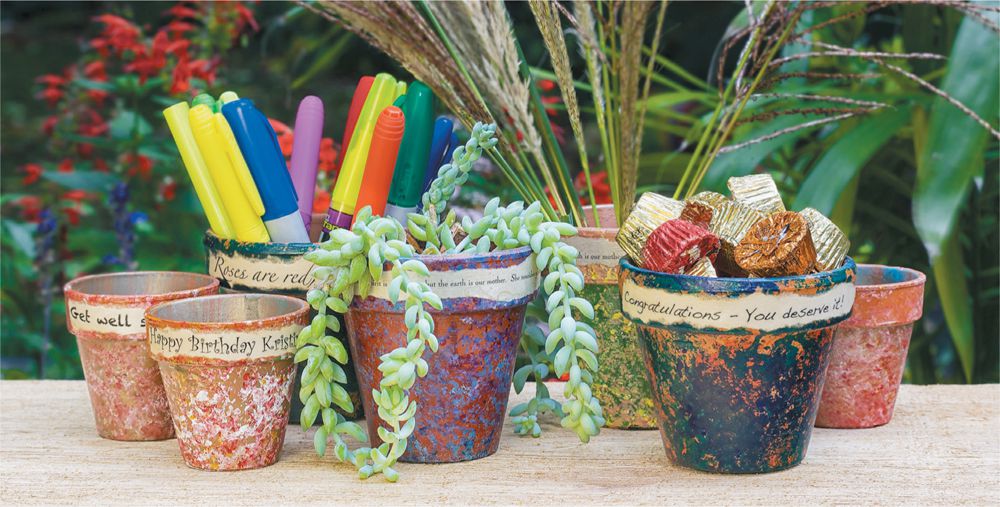
I love the color and look of plain, old clay pots. But sometimes you just want a little bit more zip. This Lab unleashes your creativity to make lovely works of art for your garden or for gifts. Before starting, wipe any dust or dirt off of the pot using a damp paper towel and allow it to dry. Cover your work surface with newspaper.
DIG IN!
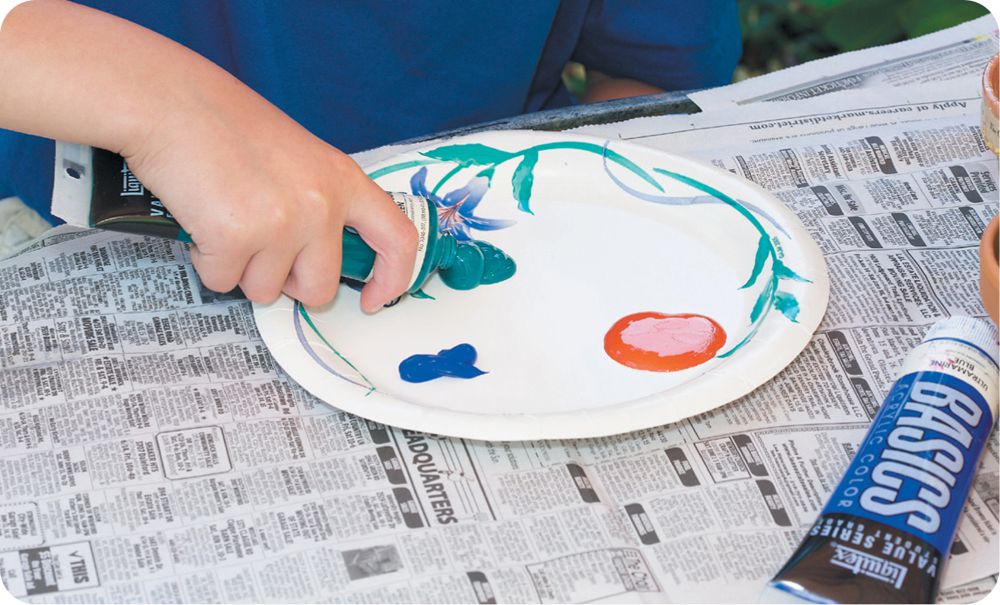
1. Squirt two to four different colors of paint onto the paper plate. (Fig. 1)
Fig. 1: Dispense paint onto the plate.
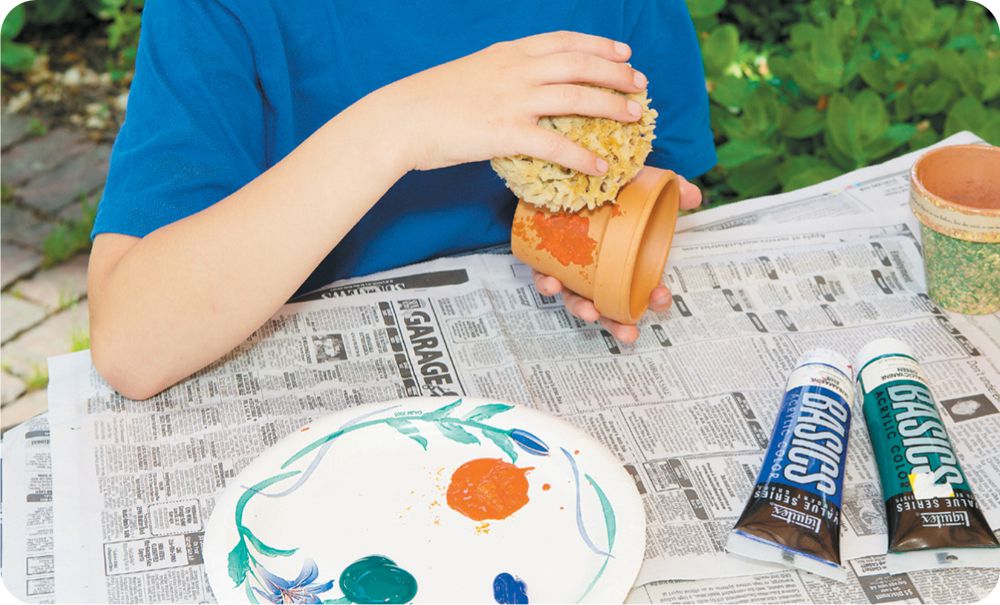
2. Dip the sponge into the paint, then dab it onto the pot in lovely randomness. Leave lots of empty space. Repeat with the other colors, allowing drying time between coats. (Fig. 2)
Fig. 2: Sponge paint the pot.
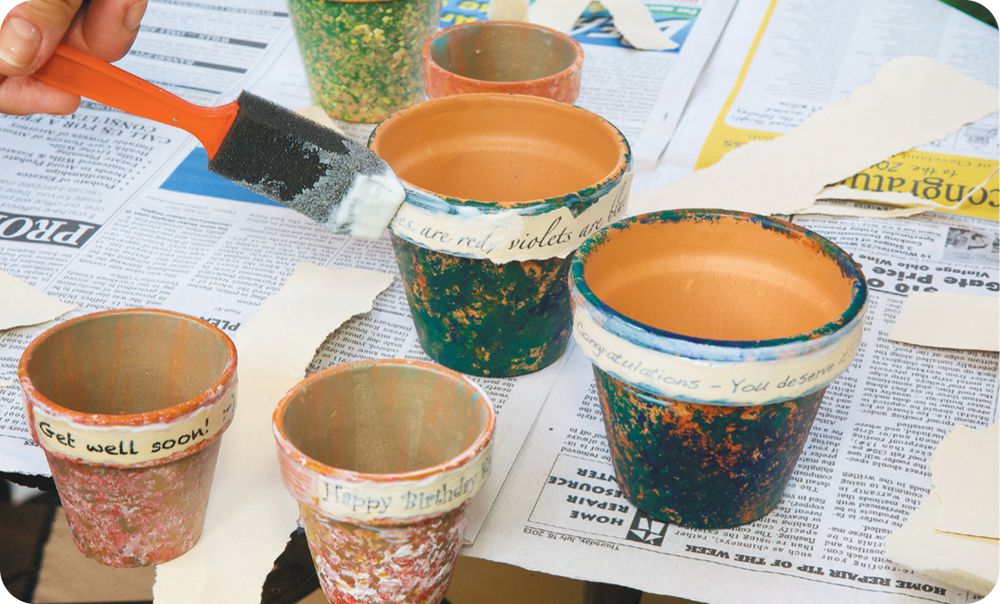
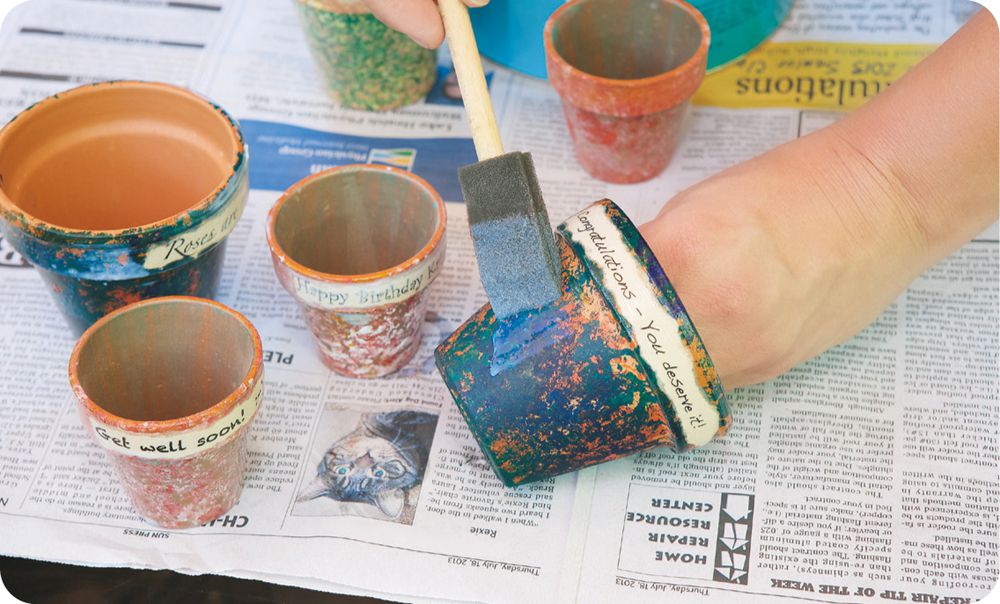
3. Type up and print the saying you want on the pot. Rip the paper into a thin strip that will fit around the rim of the pot. Brush the water-based sealer onto the rim, apply the paper, then brush more sealer over the paper to seal it. Allow this to dry. (Fig. 3)
Fig. 3: Print a saying on a thin strip of paper and affix it to the
4. Apply the polyurethane sealer to the entire pot, inside and out, to prevent the paint from chipping or pealing. Allow to dry. (Fig. 4)
Fig. 4: Seal the pot with polyurethane.

 MATERIALS
  Newspapers for the work surface
 DIG DEEPER!
  I know someone who made these pots for wedding favors. She had a lovely Native American proverb, along with the couple’s wedding date, on the piece of paper on the rim. Because it was a fall wedding, she bought tons of crocus bulbs (her favorite), wrapped them in burlap, tied them with twine, and put each bundle into a pot. Oh, yeah! That was me.