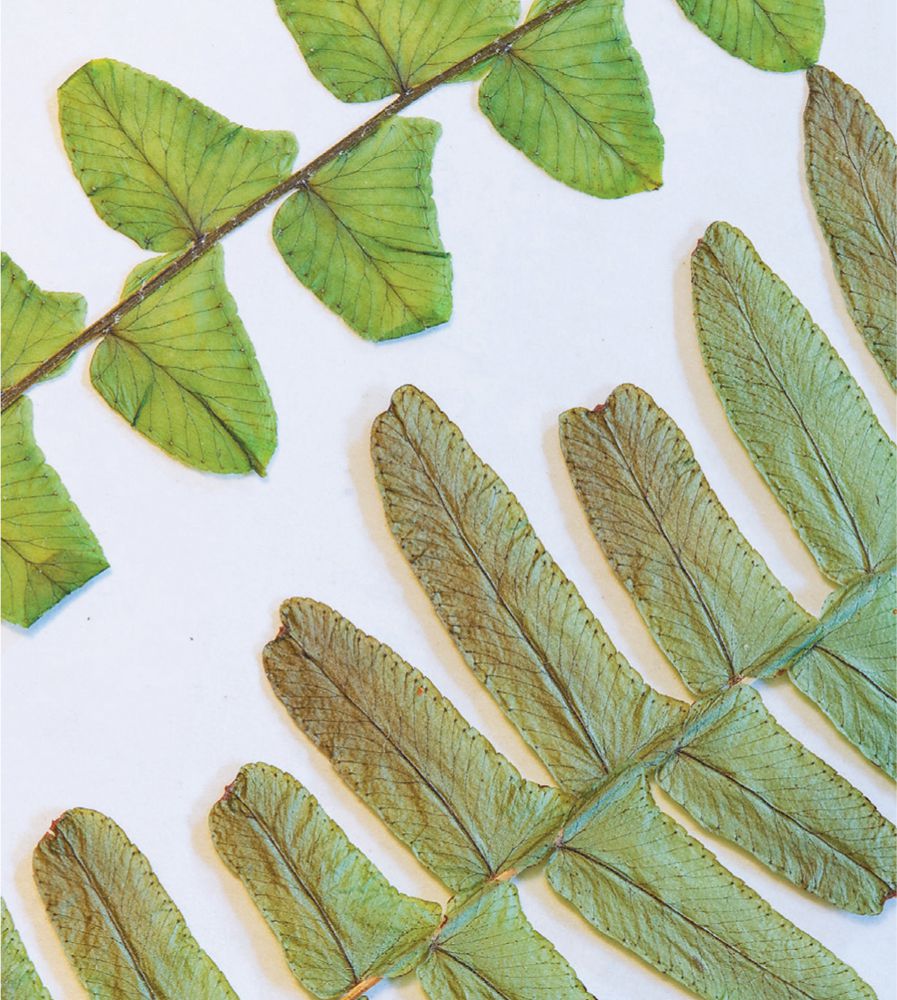
Many people are attracted to certain plants because of their flowers. People go crazy over orchid flowers or roses. I’m a sucker for leaves. Coleus, hosta, maple, and spider plant leaves will stop me in my tracks. So many different shapes and sizes and colors, oh my! I can’t get enough of them. This is where pressing leaves comes in handy. You can gather leaves any time of year, press them, and use them to display or as a part of gifts. And of course, you can press flowers too!
DIG IN!
1. Collect your plant parts for pressing. Leaves and flowers that are very thick might not press well, but why not experiment anyway? (Fig. 1)
Fig. 1: Collect your plant specimens.
2. Once you are ready to press your specimens, lay one piece of cardboard on top of one piece of wood, followed by two sheets of newspaper. (Fig. 2)
Fig. 2: Start building your press.
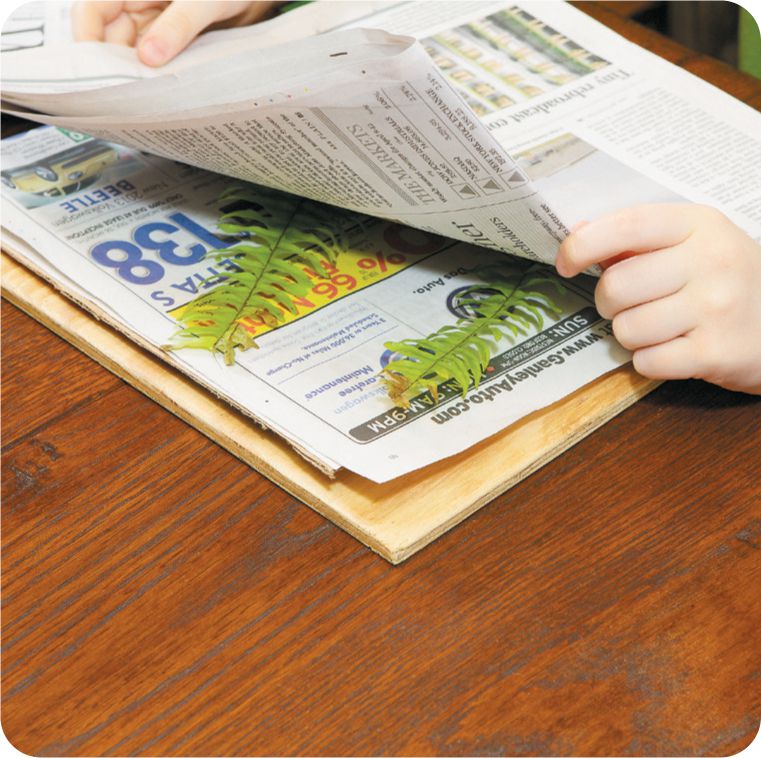
3. Carefully place one leaf or flower on top of the newspaper, then lay two more sheets of paper on top. Repeat the cardboard and newspaper layers (one piece of cardboard, two sheets of newspaper, one plant specimen, two more sheets of newspaper) until you use your last piece of cardboard. Place the second piece of wood on top. (Fig. 3)
Fig. 3: Sandwich your plant samples between newspaper and cardboard.
4. Wrap the webbing belts around the whole thing and pull the belts tight. Place your plant press in a dry place. It will take several days to absorb the moisture out of the specimens and flatten them out. After about a week, undo the belts and gently lift the newspapers away from your leaves. They are ready to display or use in crafts (see Lab 51). (Fig. 4)
Fig. 4: Tighten the webbing belts.


 MATERIALS
  Plant specimens


 DIG DEEPER!
  You can use your preserved specimens for crafts or to display or for any number of things. You could also create herbarium sheets: Mount the specimen on paper and write all of the information about the plant, including date and time of collection. Natural history museums and other research institutions make and keep herbarium sheets as a way to document changes in plant populations. For example, they can go back 100 years and look up an herbarium sheet on a plant to see its original range, or region it could be found in, and compare that with the current day. This gives researchers information on climate change, plant diseases, and so on.