Ten Things You’ll Wish You Had Known Before Reading This Book
It’s really important to me that you get a lot out of reading this book, and one way I can help is to get you to read these ten quick things about the book that you’ll wish later you knew now. For example, it’s here that I tell you about where to download something important, and if you skip over this, eventually you’ll send me an email asking where it is, but by then you’ll be really aggravated, and well…it’s gonna get ugly. We can skip all that (and more), if you take two minutes now to read these ten quick things. I promise to make it worth your while.
(1) You don’t have to read this book in order.
You can treat this as a “jump-in-anywhere” book, because I didn’t write it as a “build-on-what-you-learned-in-Chapter-1” type of book. For example, if you just bought this book, and you want to learn how to convert an image to black and white, you can just turn to Chapter 10, find that technique, and you’ll be able to follow along and do it immediately, because I walk you through each step. So, if you’re a more advanced Elements user, don’t let it throw you that I say stuff like, “Go under the Image menu, under Adjust Color, and choose Levels,” rather than just saying, “Open Levels.” I did that so everybody could follow along no matter where they are in the Elements experience.

(2) Not everything about Elements is in this book.
I tried hard not to make this a giant encyclopedia of Elements features. So, I didn’t include tutorials on every feature in Elements. Instead, it’s more like a recipe book—you can flip through it and pick out the things that you want to do to your photos and follow the steps to get there. Basically, I just focused on the most important, most asked-about, and most useful things for digital photographers. In short—it’s the funk and not the junk.
(3) Practice along with some of the same photos I used here in the book.
As you’re going through the book, and you come to a technique like “Adding Contrast and Drama to Cloudy Skies,” you might not have a cloudy sky image hanging around. I made most of the images used in the techniques available for you to download, so you can follow along with them. You can find them at http://kelbyone.com/books/elements2020 (see, this is one of those things I was talking about that you’d miss if you skipped this and went right to Chapter 1).

(4) Photography is evolving, Elements is evolving, and this book has to, too.
The photographer’s Elements workflow has evolved greatly over time, and in this current version of the book you’ll wind up doing a lot of your processing and editing in Adobe Camera Raw (whether you shoot in RAW, JPEG, or TIFF—it works for all three). That’s because for years now, Adobe has been adding a lot of Elements’ new features for photography directly to Camera Raw itself. Since today’s photography workflow in Elements is based around Camera Raw, not surprisingly we have a couple chapters just dedicated to working in Camera Raw, and I wanted you to know that up front. (After all, you don’t want to buy an outdated Elements book that used a 2008 workflow, you want one for today’s workflow.) This affects other old-school features like Elements’ Levels feature, which was actually in the original version of Photoshop 1.0 (released back in 1990) and has hardly changed much since. Today we really don’t use Levels as often; we use the Exposure, Whites, and Blacks controls found in Camera Raw instead. Just thought you should know this up front.

(5) The intro pages at the beginning of each chapter are not what they seem.
The chapter introductions are designed to give you a quick mental break between chapters, and honestly, they have little to do with what’s in the chapter. In fact, they have little to do with anything, but writing these quirky chapter intros has become kind of a tradition in all my books, so if you’re one of those really “serious” types, I’m begging you, skip them and just go right into the chapter because they’ll just get on your nerves. However, the short intros at the beginning of each individual project, up at the top of the page, are usually pretty important. If you skip over them, you might wind up missing stuff that isn’t mentioned in the technique itself. So, if you find yourself working on a technique, and you’re thinking to yourself, “Why are we doing this?” it’s probably because you skipped over that intro. So, just make sure you read it first, and then go to Step One. It’ll make a difference— I promise.

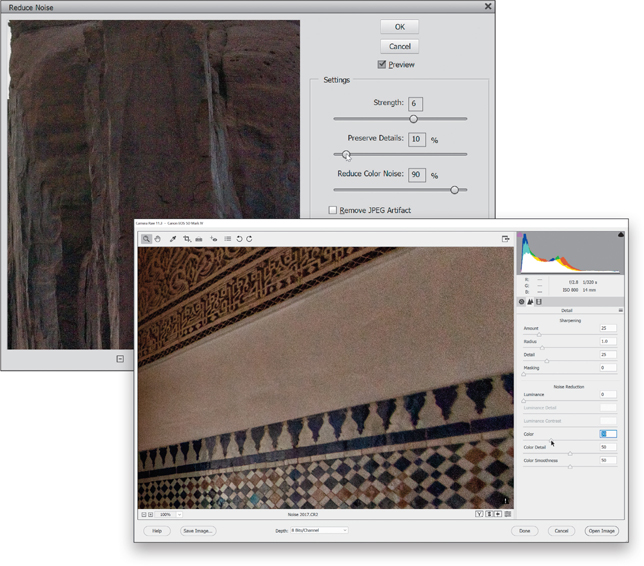
(6) There are things in Elements 2020 and in Camera Raw that do the exact same thing.
For example, there’s a way to reduce noise in a photo in Camera Raw and there’s a way to do it in the Elements Editor, as well. And, they look almost identical. What this means to you is that some things are covered twice in the book. As you go through the book, and you start to think, “This sounds familiar,” now you know why. By the way, in my own workflow, if I can do the exact same task in Camera Raw or the Editor, I always choose to do it in Camera Raw, because it’s faster (there are no progress bars in Camera Raw) and it’s non-destructive (so I can always change my mind later).
(7) I included my Elements 2020 workflow, but don’t read it yet.
At the end of Chapter 12, I included a special tutorial detailing my own Elements 2020 workflow. But, please don’t read it until you’ve read the rest of the book, because it assumes that you’ve read everything else in the book already, and understand the basic concepts, so it doesn’t spell everything out (or it would be one really, really long drawn-out tutorial).

(8) What new stuff is in this book?
Elements 2020 is a pretty good upgrade for photographers, and thankfully Adobe continued with their tradition of taking some of the coolest features from the full-blown version of Photoshop and bringing them over to Elements (but usually in a much more refined or easier-to-use way, so it feels right at home here in Elements). One of the features they brought over in this update is the Select Subject selection feature from Photoshop. They added some new guided edits, along with some useful updates in the Organizer—things like being able to use Smart Tags and facial recognition on your videos. And, of course, all the cool new stuff is covered here in the book.

(9) This book is for Windows and Mac users.
Elements 2020 is available for both Win-dows and Macintosh platforms, and the two versions are nearly identical. However, there are three keys on the Mac keyboard that have different names from the same keys on a PC keyboard, but don’t worry, I give you both the Windows and Mac shortcuts every time I mention a shortcut (which I do a lot). Also, the Editor in Elements 2020 is the same on both platforms, but the Organizer (where we sort and organize our images) was only made available on the Mac starting with Elements 9. As a result, there are some Organizer functions that still aren’t available on the Mac yet, and I’ve noted it in the book wherever this is the case.

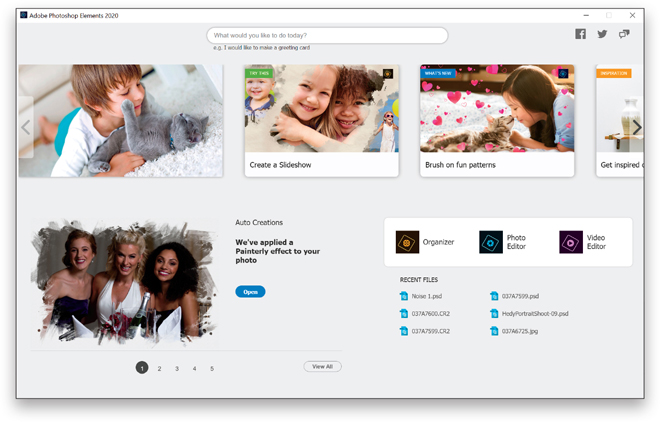
(10) Elements has a Home Screen.
The Home Screen appears when you launch Elements and you can get to it at anytime by clicking the Home Screen button in the taskbar at the bottom of either the Editor or the Organizer. It’s kinda mis-named, as it really should be called the “I need some ideas of what to do” screen, but that’s too many letters, so they went with Home Screen. It’s a bunch of little cards, letting you know what’s new in this latest version (feature-wise), it gives you some ideas of things you can do in Elements, there’s some inspirational stuff there and some how-tos, and well…you’re not going to spend much time here because you’re about to become an Elements shark. But, I thought I’d at least let you know up front that: (a) it’s there, (b) you probably won’t need it for anything, but
(c) in case you’re curious, you can check it out. Okay, time to get to work—turn the page and let’s rock this thing!