Super-strong hips, much like this book, start with the feet. Not only the mobility of the feet, but also how you stack your body over them. You’ve already learned how to back your hips up and keep your weight off the front of your feet. The reason the front of your feet push so hard into the ground when your hips jut forward is they’re trying to keep you from falling forward. Standing with your hips out in front of you is sort of like falling while you’re standing! Thus, backing up your hips (see page 41 for a reminder) is not only for your feet or even for your hips—it is also a fast way to reduce any tendency to fall. Easy, right?
Strong hips and stability go hand in hand. One simple thing you can do to start improving your balance and to give your lateral hip muscles more of a chance to strengthen is to make small adjustments to how you stand in everyday life. As you actively call on new positioning, the muscles from the top of your head to the bottom of your feet start to support you in a subtle yet constant way. Over time, new postures can bring about new muscle mass specific to your new stance, eventually allowing you to relax and be more supported. Below are some stance guidelines for you to work toward. Note: All of the exercises and stances in this chapter are to be done in bare or socked feet, or completely flat shoes—wearing a heel of any height can make many of these movements impossible.
The width of your stance and gait pattern matters. Walking with your feet too close together or too wide apart can affect your stability and which muscles you use when you walk. There are times when you have to go wide or narrow due to the terrain over which you’re walking, but when you’re standing around, stand with your feet pelvis-width apart, weight centered between the two. This alignment not only gives you a solid base, but will also help you recruit the muscles of the hips once you start walking.
The activation of your lateral hip muscles (see page 115 for a picture) depends on the geometry of your lower body. A tendency to slightly bend the knees can disable these muscles, and so to better turn on the lateral hip muscles, this tendency needs addressing first.
After you’ve shifted your weight back, straighten your knees (or, if you tend to hyperextend your knees, bend them a tad) until they fall directly between your hips and ankle joints in a vertical line. A mirror and a plumb line will help you find this position, as will the next alignment tip.
If you’ve been thrusting your hips forward and slightly bending your knees for decades, your quadriceps—the muscles on the front of your thighs that attach to your kneecaps—have been doing the bulk of the work to keep you from tumbling forward. It’s good that you haven’t been tumbling forward, but all that tension pulls the bone of the kneecap (also known as the patella) deep into the knee joint, where it can slowly rub against the tissues below.
Relaxing your quads lowers and decreases the interaction between the patella and your knee joint, and it also allows other muscles on the sides and backs of your thigh to participate better. Eventually you’ll be able to relax the kneecaps while standing, but first, try it seated.
Sit at the front of a chair with your legs straight ahead of you and heels resting on the floor. Your kneecaps can’t relax if your knees are bent, so first things first, allow the legs to straighten all the way. If you’ve been bracing sore or stiff knees, this can take a bit of time. If you’re using a mirror, sit so you can see your legs from the side, where a slightly bent knee is more visible. Once your legs are straight, relax your quad muscles. This will result in a visible lowering of your kneecaps toward your ankles.

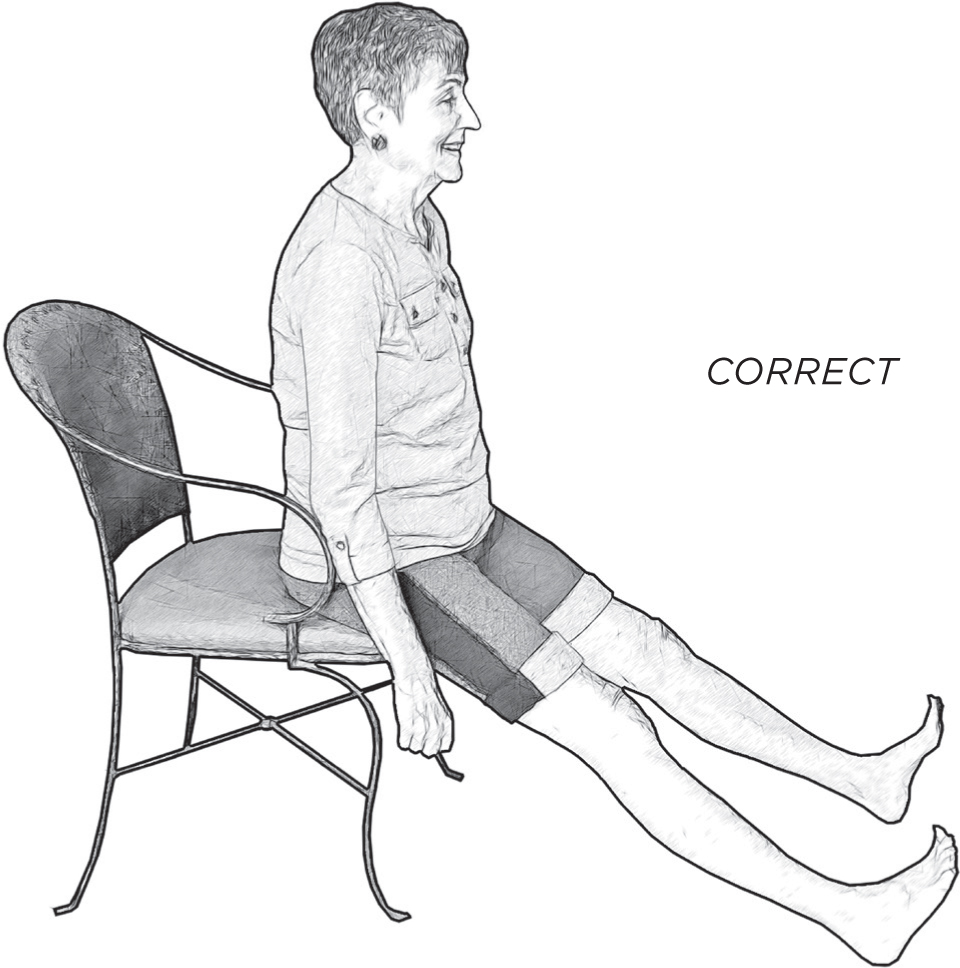
Once you can relax your kneecaps sitting, try it more upright. Using a wall to support your hips (see image page 104), place your feet about twelve to eighteen inches out from the wall, and straighten your legs. Try lifting and lowering the kneecaps in that position.
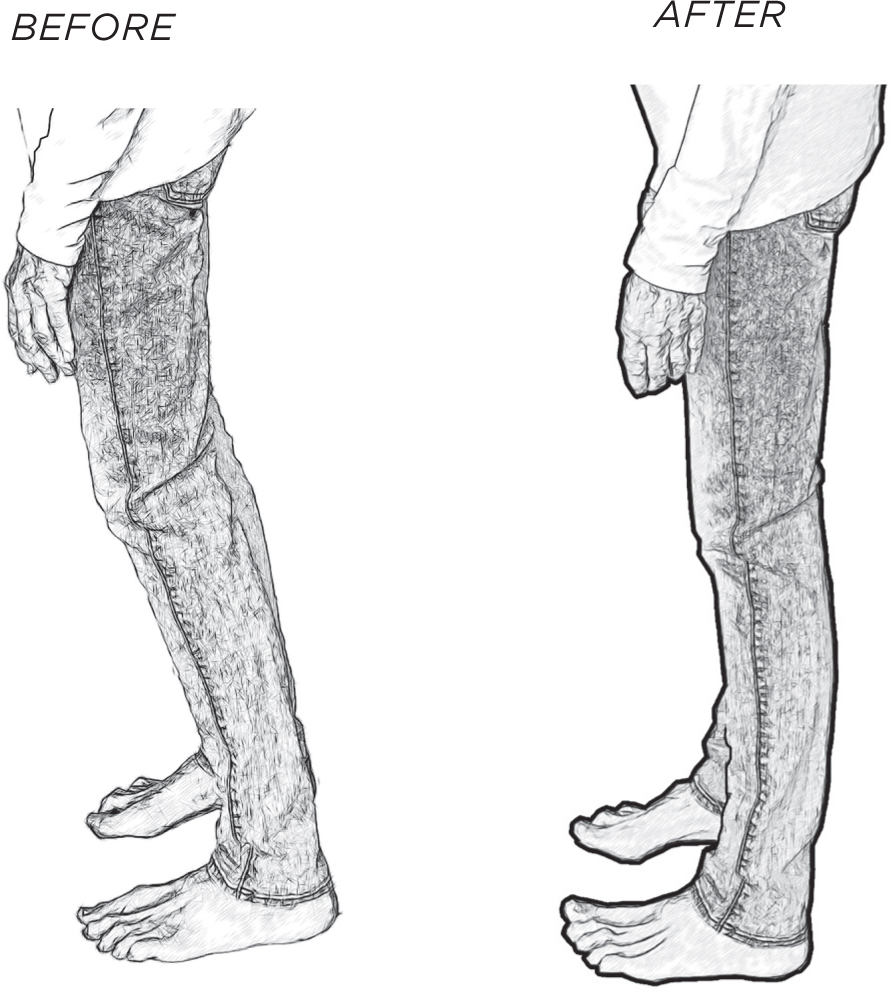
Now try it standing fully upright. (See image page 105.) This is the most challenging because you might be so used to holding your weight with slightly bent knees that once the chair and wall are gone, you go back to your old habit. To set yourself up, stand in front of a mirror with your weight shifted back over your heels, and straighten your legs. Can you release your kneecaps now?

If not, go back to where you last could and keep working on it! The skill will come eventually, especially if you’re regularly practicing your stance alignment and choosing to wear shoes that allow you to keep your weight shifted back.
If you’ve had gripping tension in your quadriceps for decades and decades, you may have to remind your kneecaps to lower hundreds of times a day as you go about your daily life. This is fine!
To release your kneecaps, start by contracting them, then think release. If there is no movement, gently brush your fingers over your kneecaps to bring sensory awareness to the muscles. Kneecap release can be difficult as most of us chronically contract our quadriceps, locking the kneecaps. The motor skill to release this hold may be asleep.
Every time you think about it, you’re bringing awareness to a subconscious habit, and every time you adjust you’re moving your knees differently than before.
NEUTRAL KNEE-PITS
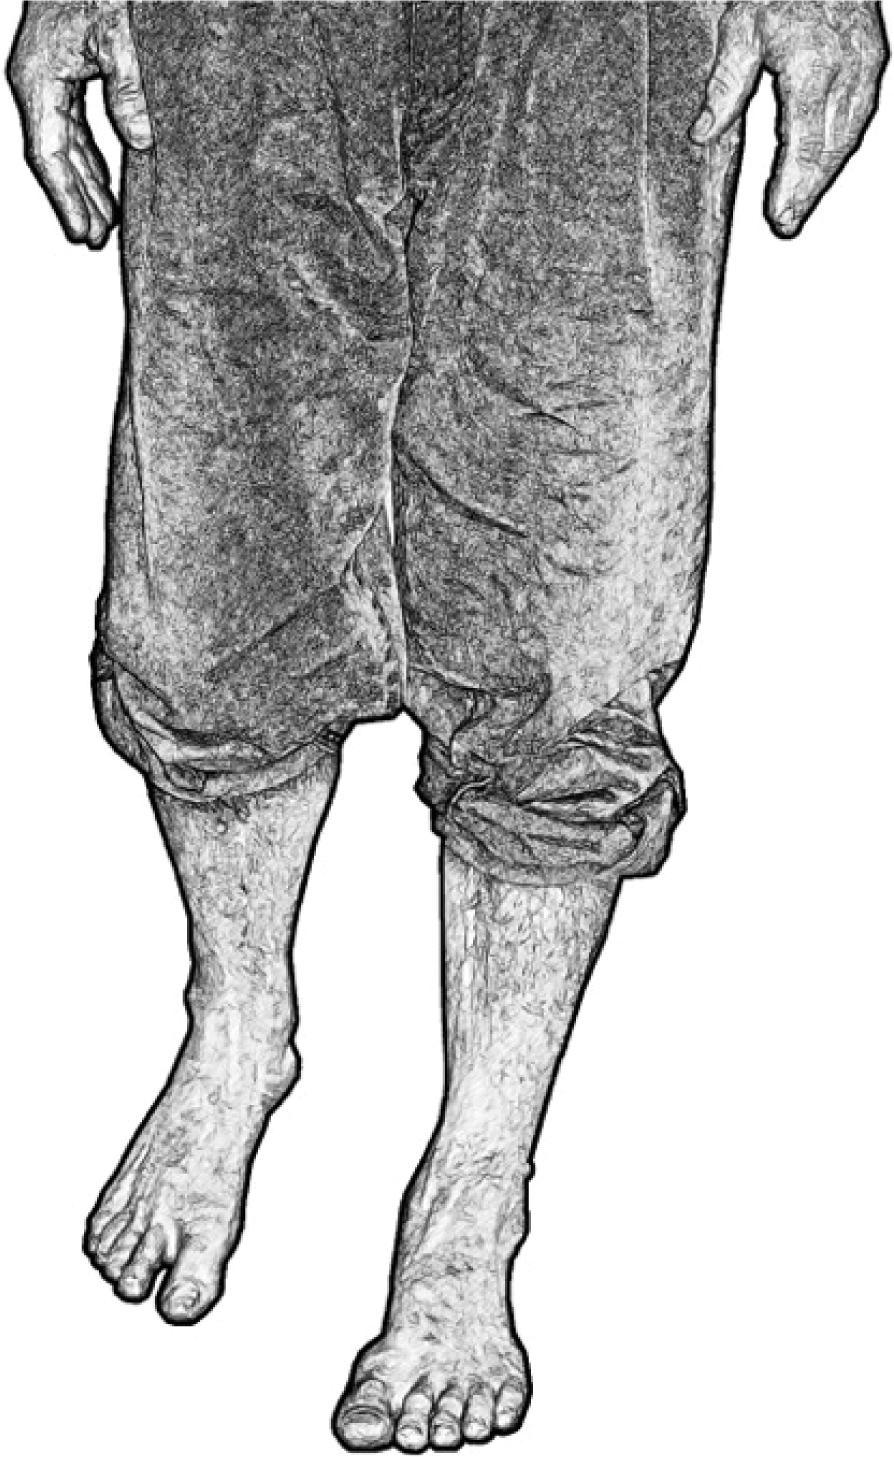
Stand with your legs bare and your back to a mirror. Turn your head or bend forward to look at the back of your knees; you’ll see two dents on each leg that mark the tendons of your hamstring muscles—I call these your “knee-pits.” Ideally, all four dents should align directly behind you, as your feet point straight ahead. This means that your ankles and knees can both hinge in the plane you are walking along, which is typically straight ahead.

In most cases, because of how we’ve moved or not moved our bodies, these lines no longer line up. To start working on getting your knee and ankle joints to line up, rotate your thighs to bring all four lines to a neutral position (typically this means you’ll rotate the fronts of your thighs away from each other, allowing the instep of your feet to lift; if you try to keep your feet flat, you can strain your knees—see sidebar on page 109).
It’s unlikely that your right and left leg will be rotating the same amount. The turnout of our feet is rarely symmetrical, which means the correction won’t be either (i.e., you might have to turn your left thigh more or less than the right to line up all knee-pit lines).
Knee-friendly External Rotation
Because our feet are stiff, when you first start rotating your thighs it will be almost impossible to keep the soles of your feet on the ground. Do not force your feet to stay down when externally rotating your thighs—this can strain your knees. Let the inner edges of your feet lift so you roll up on the outside of your feet as you turn your thighs. Your feet will need to do this less over time if you’re regularly practicing your foot-mobilizing exercises!

When we don’t move very often, our body loses the ability to make rapid adjustments to our rapidly changing position. And so, when we stand up after long bouts of sitting, our bodies are out of practice as to what to do.
We all feel a little wobbly on one leg, but sometimes we even feel wobbly on two legs. This is why I like to start working on balance with both feet firmly on the ground.
Line up your stance (straight feet, straight legs, hips over heels, etc.). Lightly touching a wall or chair, close your eyes and observe how you feel. Do you feel like your body is swaying to and fro while you’re standing on two feet?
 Joan Says
In my first session with Katy, she showed me how to improve my stance: feet pointing forward, hip-width apart, and weight back in my heels. I felt pigeon-toed and unbalanced, and thought I looked like a cowboy with such a wide stance. She showed me how my rib thrust was compressing my low back (which always used to hurt) and explained how my habits of tucking my pelvis and sucking in my abdomen were contributing to my weak abs, constipation, and pelvic prolapse. In that session, I discovered that I was a rib-thruster, butt-tucker, and ab-sucker. And so, my journey began.
A year before, in 2008, I had been scheduled for pelvic reconstructive surgery to “correct” the pro-lapse. To date, surgery has been unnecessary and my pelvic floor muscles are improving. I hike for miles in barefoot shoes. And my chronic, lifetime constipation was permanently resolved in 2012, as a direct result of this work. It all started with the stance for me!
Step one in restoring your balance is to spend five to six minutes a day practicing “stilling” yourself. Repeat this exercise, only this time instead of observing your wobbliness, try to steady yourself without tensing your body. Think “relaxed stability,” not “stiff statue.”
Once you’re more balanced on two legs, you can move to one.
First, observe. Holding lightly on to a wall or chair, try standing on one leg. Either leg is fine. See what it takes for you to keep your balance. Are your toes gripping? Is your leg tensed? Knee bent? Are you hanging on to the wall or a chair? Are you wobbling? Is your pelvis drifting out in front of you? How long were you able to stay stable on one foot?
After you’ve observed, next on the list is practice. Can you relax your toes? Back your hips over your heels? Straighten your knees without locking them (i.e., pulling up your kneecaps)? Can you drop your shoulders? Breathe in a relaxed way? As you remove unnecessary reactions—body geometries and muscle tensions that aren’t required to keep you on a single leg—you’ll be more practiced in recruiting the necessary parts that allow you to move in a fluid balance. Again, on one leg (and really whenever you’re moving) you want relaxed stability and not stiff statue.
Standing on one leg can feel like a circus trick, but here’s the thing: Walking is essentially a bout of single-leg balance followed by another and another, and so on. When you’re on a single leg, the bone and lateral hip muscles of this one leg must be strong enough to carry the weight of the entire body. When your hip muscles aren’t strong enough, you’re forced to compensate by shortening your stride (to decrease the amount of time your one hip is carrying the body) or walking with a shuffle (where you never actually stand on a single leg).
The Lateral Hip Muscles
Put your right hand on your hip and slide it down to the top of your leg. You’ve just passed over your lateral hip muscles (used in the Pelvic List, page 119). These muscles are the tensor fasciae latae, gluteus medius, and gluteus minimus.

If you’re using strong hip muscles to lift your left leg, the muscles down the outside of your right hip pull the right side of the pelvis slightly downward, which slightly lifts the left side. This lift gives the left leg room to swing through, clearing the ground easily. When the hip muscles work in this way, not only is motion controlled throughout the gait cycle—i.e., the walker has more balance—but also the hip bones are better challenged, keeping them stronger and less susceptible to a fracture in the event of a fall. It’s a cycle: the stronger your walking muscles, the more stable your walk, which in turn continues to strengthen your body.
 Joyce Says
I didn’t believe Katy when she first said I was falling and not walking. I could walk at a good clip! I was an avid hiker and backpacker for most of my life. Maybe other folks were falling, but not me.
It took many months for me to check out my walk, looking for signs of “falling.” As I became attuned to the way I walked, sure enough, I was falling forward, landing with a thud with each foot’s “fall” on the ground. Once I got it, I began the journey of awareness, correction, exercises, and practice. I needed all of these to finally be able to support my weight on one leg. I am a better walker now, though I still have a way to go. My ultimate goal is to be able to walk with such good balance that I can put my foot down silently exactly where I want it to go.
Ideally, your lateral hip muscles should have the strength and endurance to elevate and maintain the position of the floating leg. Unfortunately, many people (of all ages) are lacking strong enough hip musculature, and their gait is suffering. What should be walking is just a series of quick, consecutive falls.
There are a lot of people who can ride a bicycle without it falling over, but very few can sit on an unmoving bike (with their feet off the ground) without it falling. Why? Continuous forward movement masks balance deficiencies. And just as the cyclist makes super-fast corrections to a thousand invisible almost-falls, “walking” with a body weakened by modern living is actually just one controlled fall after another.
The Pelvic List is an exercise that is designed specifically to target the muscles you need to be able to stand strongly on a single leg.
Holding lightly on to a wall or chair, stand with both your feet forward, ankles positioned at pelvic width. Shift your weight back over your heels and find your vertical leg. Place your right hand on your right hip and, using the muscles on the outside of the right hip, bring the right side of your pelvis down toward the floor. This downward action will result in your left foot lifting away from the ground. Check to make sure you’re not bending either knee. (Note that if your left foot doesn’t clear the ground, that’s okay; keep practicing engaging these muscles until it does).
 Shelah Says
My favorite corrective exercise is the Pelvic List. For a number of years I have traveled several times a year to foreign countries on craft or fiber-related trips. Before changing how I moved, I would fall at least once on each trip, usually on the street or steps. After some time doing classes with Katy, I stopped falling. Now, I generally feel quite confident on uneven surfaces: narrow bridges (if they aren’t too high), cobblestone streets, etc. My balance has improved dramatically. And the Pelvic List is portable too; no equipment required. I take it with me every time I travel!
Observe. Is your standing ankle wobbling or your floating foot touching down periodically? Is your pelvis drifting forward, or are your knees bending? Can you let go, or do you need to hold on to something in order to stay balanced? These would all be signs that your lateral hip muscles are not fully engaging when you’re walking—meaning, your walk is more falling than it needs to be. This is good news, though. It means that as your hips strengthen, your need for the compensations will lessen.
After the Calf Stretch, the Pelvic List is my favorite corrective for the improvement it offers. It’s also a corrective that can fit easily into your daily movement. At first you’ll be doing it as an exercise, but soon you can do it with each step—every step you take is an opportunity to put more hip into it. When you’re practicing the Pelvic List as an exercise, watch for cheats: You can achieve the look of this exercise by lifting the pelvis using the lower back of the floating side (as opposed to pulling down with the hip of the standing leg). To remedy, touch the lateral hip of your standing leg to remind yourself, “this is the working part.”