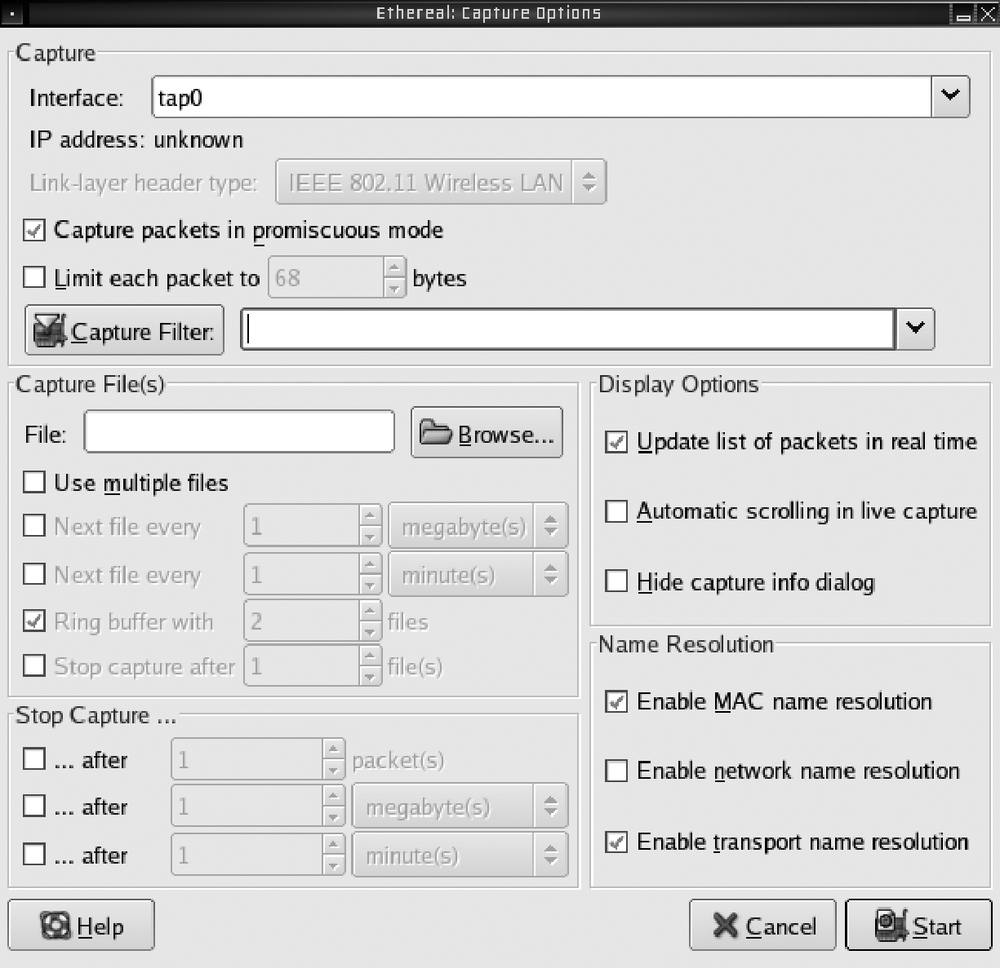
When you first start up Wireshark, you see a blank screen with menus on top. You need to select Capture → Options. This displays the window as shown in Figure 5-9. Most of these options can be left in their default state. The most important thing here is the interface selection—you want to select the proper wireless device. You may also want to enable "Update list of packets in real time" by selecting this option in the Display Options section.
Wireshark supports a rich traffic-filtering feature that can come in handy for protocols with very chatty idle states such as 802.11. For a normal wireless network with little traffic, you get mostly beacon traffic. It can be useful to filter these out; otherwise, on any network with only a few users you see mostly redundant beacon traffic. To filter out beacons, first select a beacon from the packets window. The protocol decode window now shows the details for this packet. Expand the field entitled "IEEE 802.11" and you should see a field labeled "Type/Subtype: Beacon (8)." Right-click on this and from the pop-up menu select Apply as Filter → Not Selected. You should now see only non-beacon traffic in the packets window. This same process can be performed to filter on any field in the protocol decode window.
Wireshark automatically keeps track of which devices are talking to each other. To see the conversation list in real time, select Statistics → Conversation List → WLAN. Wireshark also keeps a real time list of all wireless endpoints it detects. To see the real time listing of all endpoints, select Statistics → Endpoint List → WLAN.
Wireshark does not automatically decloak SSIDs for you, but it does give you enough functionality to do this yourself. We do this by watching for probe request frames and inspecting the requested SSID field in its payload.
To make this easier, the first thing to do is to set a filter so all you see are probe request frames. Locate the filter field on the main screen just below the drop-down menus and enter the following filter:
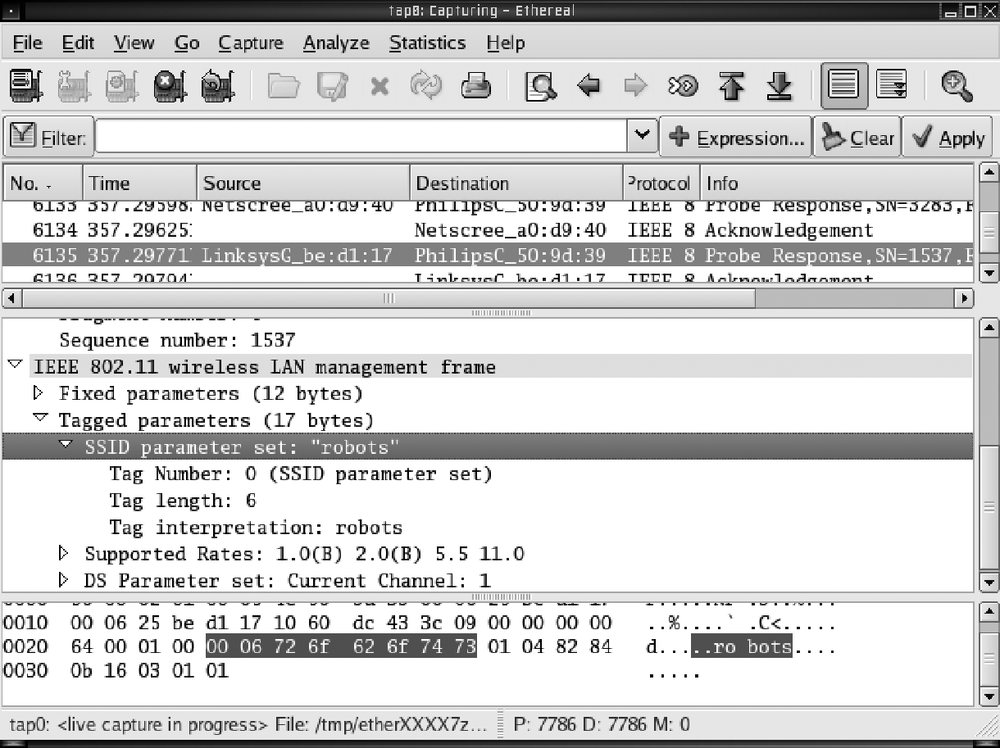
wlan.fc.type_subtype == 4Now click the apply button directly to the right of the filter box. You should now see only probe requests (or an empty packet window if you haven't seen any yet). When you do see a probe request, you need to select it in the packet window. Once it is selected, you will see a packet that looks similar to the one in Figure 5-10. Expand the labels by selecting "IEEE 802.11 wireless LAN management frame" → "Tagged parameters" → "SSID parameter set:". If this probe request was sent from a client that knows the SSID, it contains the network's cloaked SSID. Table 5-6 contains a summary of the pros and cons of Wireshark.

