Basic password-based SSH authentication is simple to set up and usually good enough for small deployments. However, when scalability is a requirement, key-based authentication is a much better solution. As a refresher, password authentication uses regular user passwords generally located in the /etc/shadow file, while key-based authentication uses a public/private key pair located in the given user's home directory. Table 15-2 shows a list of benefits for using key-based authentication.
Table 15-2. Benefits of key-based authentication
Password authentication | Key-based authentication | Comment |
|---|---|---|
Susceptible to brute-force attack. | Protection against brute force. | For practical reasons, passwords are usually limited to less than 10 characters while SSH private keys have defaults of 1024 and 2048 bits respectively for DSA and RSA keys. |
User has to supply his user password to each machine it is connecting to. | User unlocks his SSH key the first time it is used, then agent keeps the unencrypted key in memory for later use without requesting the passphrase again. | Using ssh-agent, a user can unlock his SSH key once per session and connect to multiple hosts without having to supply his key's passphrase again. |
User has to supply his user password again to hosts beyond the first connection (when jumping from host to host). | Network jumps from host to host might not require the user to submit a passphrase again. | Using agent-forwarding, a user could jump from host to host and only have to submit his passphrase once at the beginning of the session. |
Single Sign On is possible. |
Configuring SSH key-based authentication is a fairly simple five-step process:
Create your SSH DSA public and private key pair.
Tip
I usually favor DSA over RSA because it is a more modern format and does not have some of the old bugs associated with RSA fingerprint forging.
[emoret@simca-1000 ˜]$ ssh-keygen -t dsa
Generating public/private dsa key pair.
Enter file in which to save the key (/home/emoret/.ssh/id_dsa):
Enter passphrase (empty for no passphrase):
Enter same passphrase again:
Your identification has been saved in /home/emoret/.ssh/id_dsa.
Your public key has been saved in /home/emoret/.ssh/id_dsa.pub.
The key fingerprint is:
92:84:55:13:de:44:de:9b:a9:a8:6d:4c:d6:43:f2:84 emoret@simca-1000.sabre.juniper.netYou should always enter a passphrase. It is used to encrypt your newly created private key (see GPG). You have to provide your passphrase every time the private key is needed, unless you use keychain as shown later in this section.
By default, the public DSA key is located in $HOME/.ssh/id_dsa.pub, and the private key in $HOME/.ssh/id_dsa. To create an RSA key, type ssh-keygen -t rsa instead.
Make sure the required remote directory is in place on the server by executing the following command:
[emoret@simca-1000 ˜]$
sshrenault-4l'mkdir ˜/.ssh'The authenticity of host 'renault-4l (10.157.12.99)' can't be established. RSA key fingerprint is 83:73:a5:56:2e:80:aa:7d:a7:95:5e:e3:82:6c:c1:3a. Are you sure you want to continue connecting (yes/no)?yesWarning: Permanently added 'renault-4l,10.157.12.99' (RSA) to the list of known hosts. emoret@renault-4l's password:Copy your public key to the remote host:
[emoret@simca-1000 ˜]$
cat ˜/.ssh/id_dsa.pub | sshrenault-4l'cat - >> ˜/.ssh/authorized_keys'emoret@renault-4l's password:Make sure permissions are properly set:
[emoret@simca-1000 ˜]$
sshrenault-4l'chmod 700 ˜/.ssh ˜/.ssh/authorized_keys'emoret@renault-4l's password:Verify that key-based authentication is occurring:
[emoret@simca-1000 ˜]$
sshrenault-4lEnter passphrase for key '/home/emoret/.ssh/id_dsa':
If everything is configured properly, you should now be asked to provide the passphrase for your key instead of being asked to enter your remote user password.
Tip
To fully benefit from the brute-force protection provided by key-based authentication, you need to globally turn off password authentication on the remote server. In the preceding example, you should edit /etc/ssh/sshd_config on renault4l and set to no the line starting with PasswordAuthentication. Restart your remote SSH server for the change to take effect.
It is usually considered best practice to only allow regular users remote login. In other words, no root remote login! If root privileges are required, the given user's account should be made a sudo user. The cleanest way to do so is to add your user to the wheel group, and then let the wheel group users run all commands with sudo.
[root@renault-4l ˜]#gpasswd -aemoretwheelAdding user emoret to group wheel :q [root@renault-4l ˜]#visudo
Uncomment the following line:
%wheel ALL=(ALL) ALL
But not this one:
#%wheel ALL=(ALL) NOPASSWD: ALL
Warning
You want wheel group users to supply the root password before granting them root privileges. No blind root access please.
Key-based authentication is good for brute-force protection, but entering your key passphrase at each and every new connection does not make your life any easier than using regular passwords. This is where ssh-agent becomes important. This program is a session-based daemon that caches the current user's decrypted private key. When the ssh client starts running, it tries to identify a running instance of ssh-agent that may already hold a decrypted private key and uses it, instead of asking again for the key's passphrase. When starting the first instance of ssh-agent on your system, you have to manually add the keys that ssh-agent should keep in its cache.
Starting ssh-agent usually happens in one of the session startup files such as ˜/.bash_profile. This means a new instance of ssh-agent starts and asks for your key passphrase every time a new terminal session is started. This inconvenience prompted the creation of keychain, an ssh-agent wrapper that looks for a prior running instance before starting ssh-agent.
Warning
Because keychain survives user sessions, it is particularly useful in cron jobs that require executing ssh and still secures the user's private key with a passphrase.
Enable keychain with:
[emoret@simca-1000 ˜]$cat >> ˜/.bashrcIf [ -x /usr/bin/keychain ]; then/usr/bin/keychain -q ˜/.ssh/id_dsa. ˜/.keychain/$HOSTNAME-shfi^D
Your first console login following a machine restart looks like this:
Fedora Core release 5 (Bordeaux) Kernel 2.6.17-1.2157_FC5 on an i686 simca-1000 login:emoretPassword:<enter user password here>Last login: Thu Aug 31 14:50:37 on :0 Enter passphrase for /home/emoret/.ssh/id_dsa:<enter ssh key passphrasehere>Identity added: /home/emoret/.ssh/id_dsa (/home/emoret/.ssh/id_dsa) [emoret@simca-1000 ˜]$
From now on, every subsequent login should skip the key passphrase question until you reboot the host client machine.
If you wish to have the same functionality from a graphical prompt, make sure the openssh-askpass package is installed on your distribution. With yum RPM-based distributions, simply type:
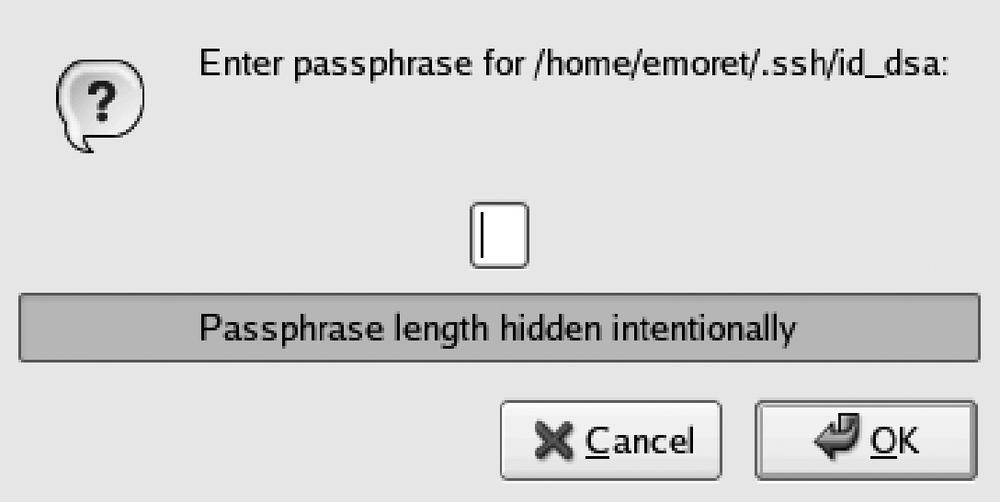
[emoret@simca-1000 ˜]$ sudo yum install openssh-askpassYou see the askpass dialog box, shown in Figure 15-2, opening right after the gdm login screen and before accessing your desktop.
You still have to issue a passphrase just after having issued your user's password. Wouldn't it be nice to be able to issue the SSH key passphrase at initial login and access the desktop with these credentials instead? This is exactly what pam_ssh was meant to allow. Below is how to enable the feature on Fedora Core 5:
Make sure you have the pam_ssh module (/lib/security/pam_ssh.so). On Fedora, issue:
[emoret@simca-1000 ˜]$
sudo yum install pam_sshEdit the PAM configuration file at /etc/pam.d/system-auth and modify it so it now reads:
#%PAM-1.0 # This file is auto-generated. # User changes will be destroyed the next time authconfig is run. auth required
pam_env.soauth sufficientpam_ssh.so nullok try_first_passauth sufficientpam_unix.so nullok try_first_passauth requisitepam_succeed_if.so uid >= 500 quietauth requiredpam_deny.soaccount requiredpam_unix.soaccount sufficientpam_succeed_if.so uid < 500 quietaccount requiredpam_permit.sopassword requisitepam_cracklib.so try_first_pass retry=3password sufficientpam_unix.so md5 shadow nullok try_first_pass use_authtokpassword requiredpam_deny.sosession requiredpam_limits.sosession requiredpam_unix.sosession optionalpam_ssh.soYou may undo any configurations involving the previous askpass and keychain authentication methods. With Fedora, just type:
[emoret@simca-1000 ˜]$
sudo yum erase keychain openssh-askpass
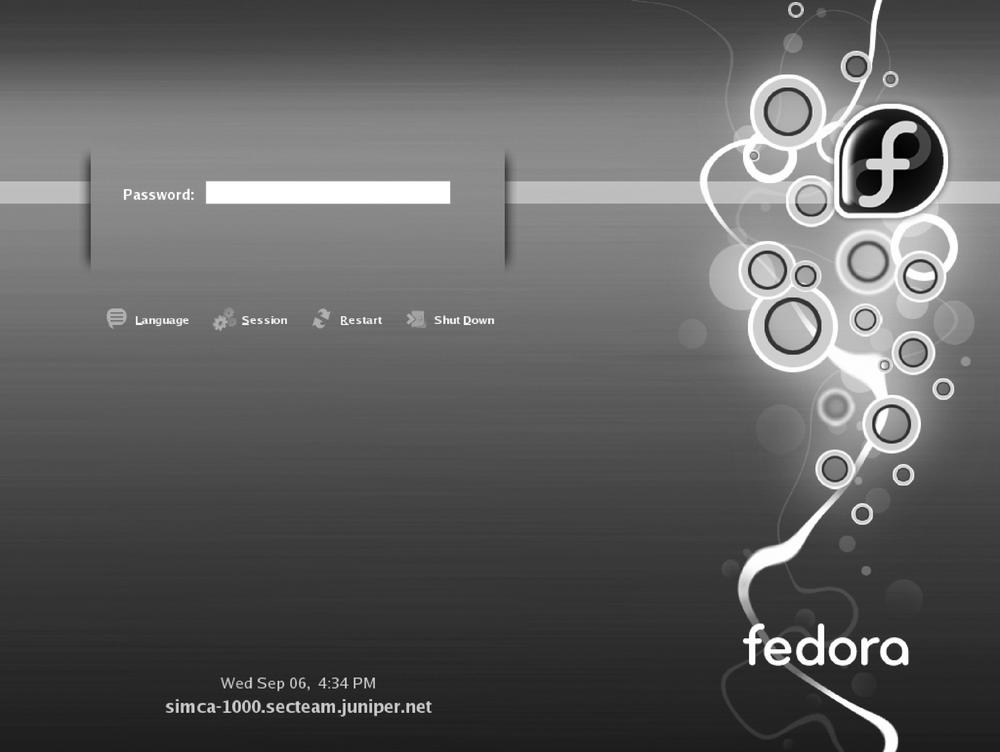
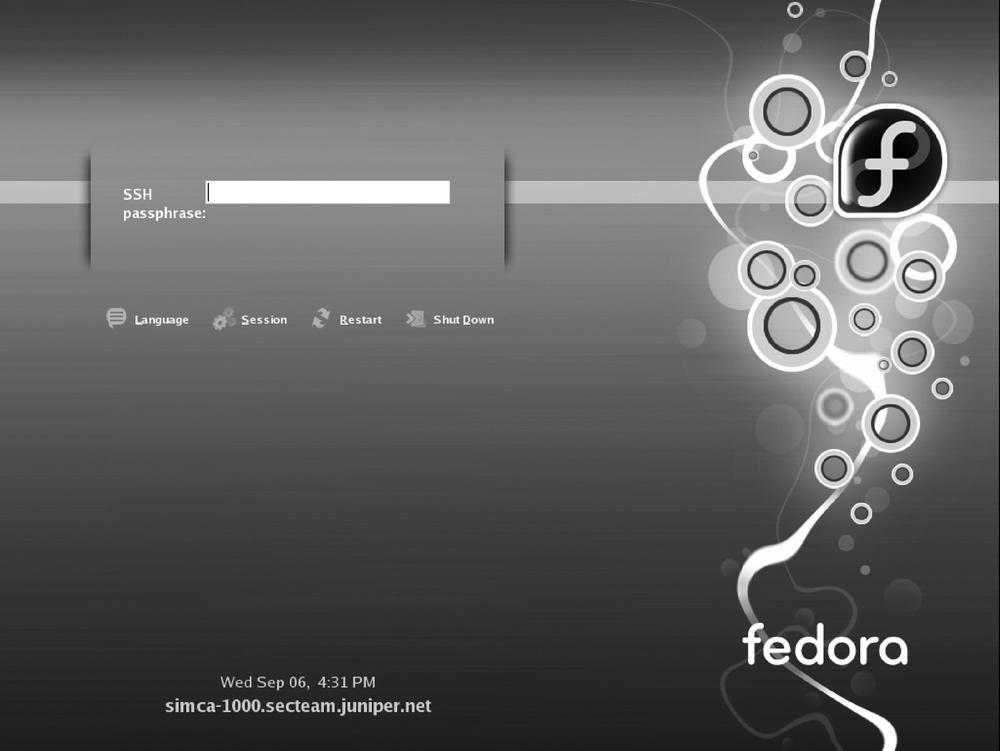
With pam_ssh in place, the password field changes from its original form in Figure 15-3 to that in Figure Figure 15-4. A user issuing his SSH passphrase is logged onto the system and his ssh-key is added to the ssh-agent.
Tip
Users issuing their regular user password will still be able to login, though no SSH key is added to ssh-agent.
A typical distributed environment remotely mounts your home directory with NFS. NFS does not encrypt traffic, so every access to your public key goes clear on the wire, thereby allowing unauthorized users with access to the network link layer to grab your encrypted private key and then mount a brute-force attack to find out the key passphrase. This is not good. In order to avoid this situation, move your private key to a local filesystem (e.g., the /var directory) and link the default location to the new one. You can do this with the following set of commands:
[emoret@simca-1000 ˜]$sudo mkdir -p /var/ssh[emoret@simca-1000 ˜]$sudo mv ˜/.ssh/id_dsa /var/ssh/emoret[emoret@simca-1000 ˜]$ln -s /var/ssh/emoret˜/.ssh/id_dsa


