Cooking with insects
Taking a bowl of insects and turning them into a meal may seem like a daunting task, but it’s worth remembering that there’s no real food culture or history of cooking with insects in the West. So of course we’re all new and nervous when it comes to cooking with them.
The first time I was faced with insects as an ingredient, I had no idea what to do with them. I didn’t even know how I was supposed to store them, let alone how to begin making them into a dish. However, through passion, trial and error (and a bit of obsessive practice), I began to work things out. Which insects go with which flavours, how the textures impact the final dish, how to prepare them and how to cook them so they don’t end up tasting like dust.
Don’t get me wrong, it wasn’t always an easy journey: chowing down on burnt crickets – or worse, just ending up with a well-cooked dish that didn’t taste good – was hard to swallow as a trained chef. But we all have to start somewhere when cooking with a new ingredient, and I hope that this book helps you to skip a few of the mistakes that I made. In fact, these recipes will help you put tasty dishes straight on to the table.
Throughout the book, the recipes I’ve written are based on five essential insect preparation and cooking methods. Each of these methods can be applied to any of the insects used in the book (except for ants – they don’t require any preparation). The way you choose to prepare certain insects for certain recipes depends entirely on the way in which you want the final dish to turn out. Just think about insects like potatoes: you can mash, roast, boil or fry them, but you choose the method of cooking depending on the dish.
On the following pages you’ll find information on how to bake, fry and purée insects, as well as how to turn them into salts and flours ready to be incorporated into marinades and baking.
Insect flour
All the insects in the book can be made into flour. Cricket flour is a personal favourite of mine because it’s so versatile to cook with and has a really exciting flavour. Use it in baking and it takes on a slight cocoa powder quality, while in some savoury recipes it has a subtle shrimp flavour, which can really bring a dish to life.
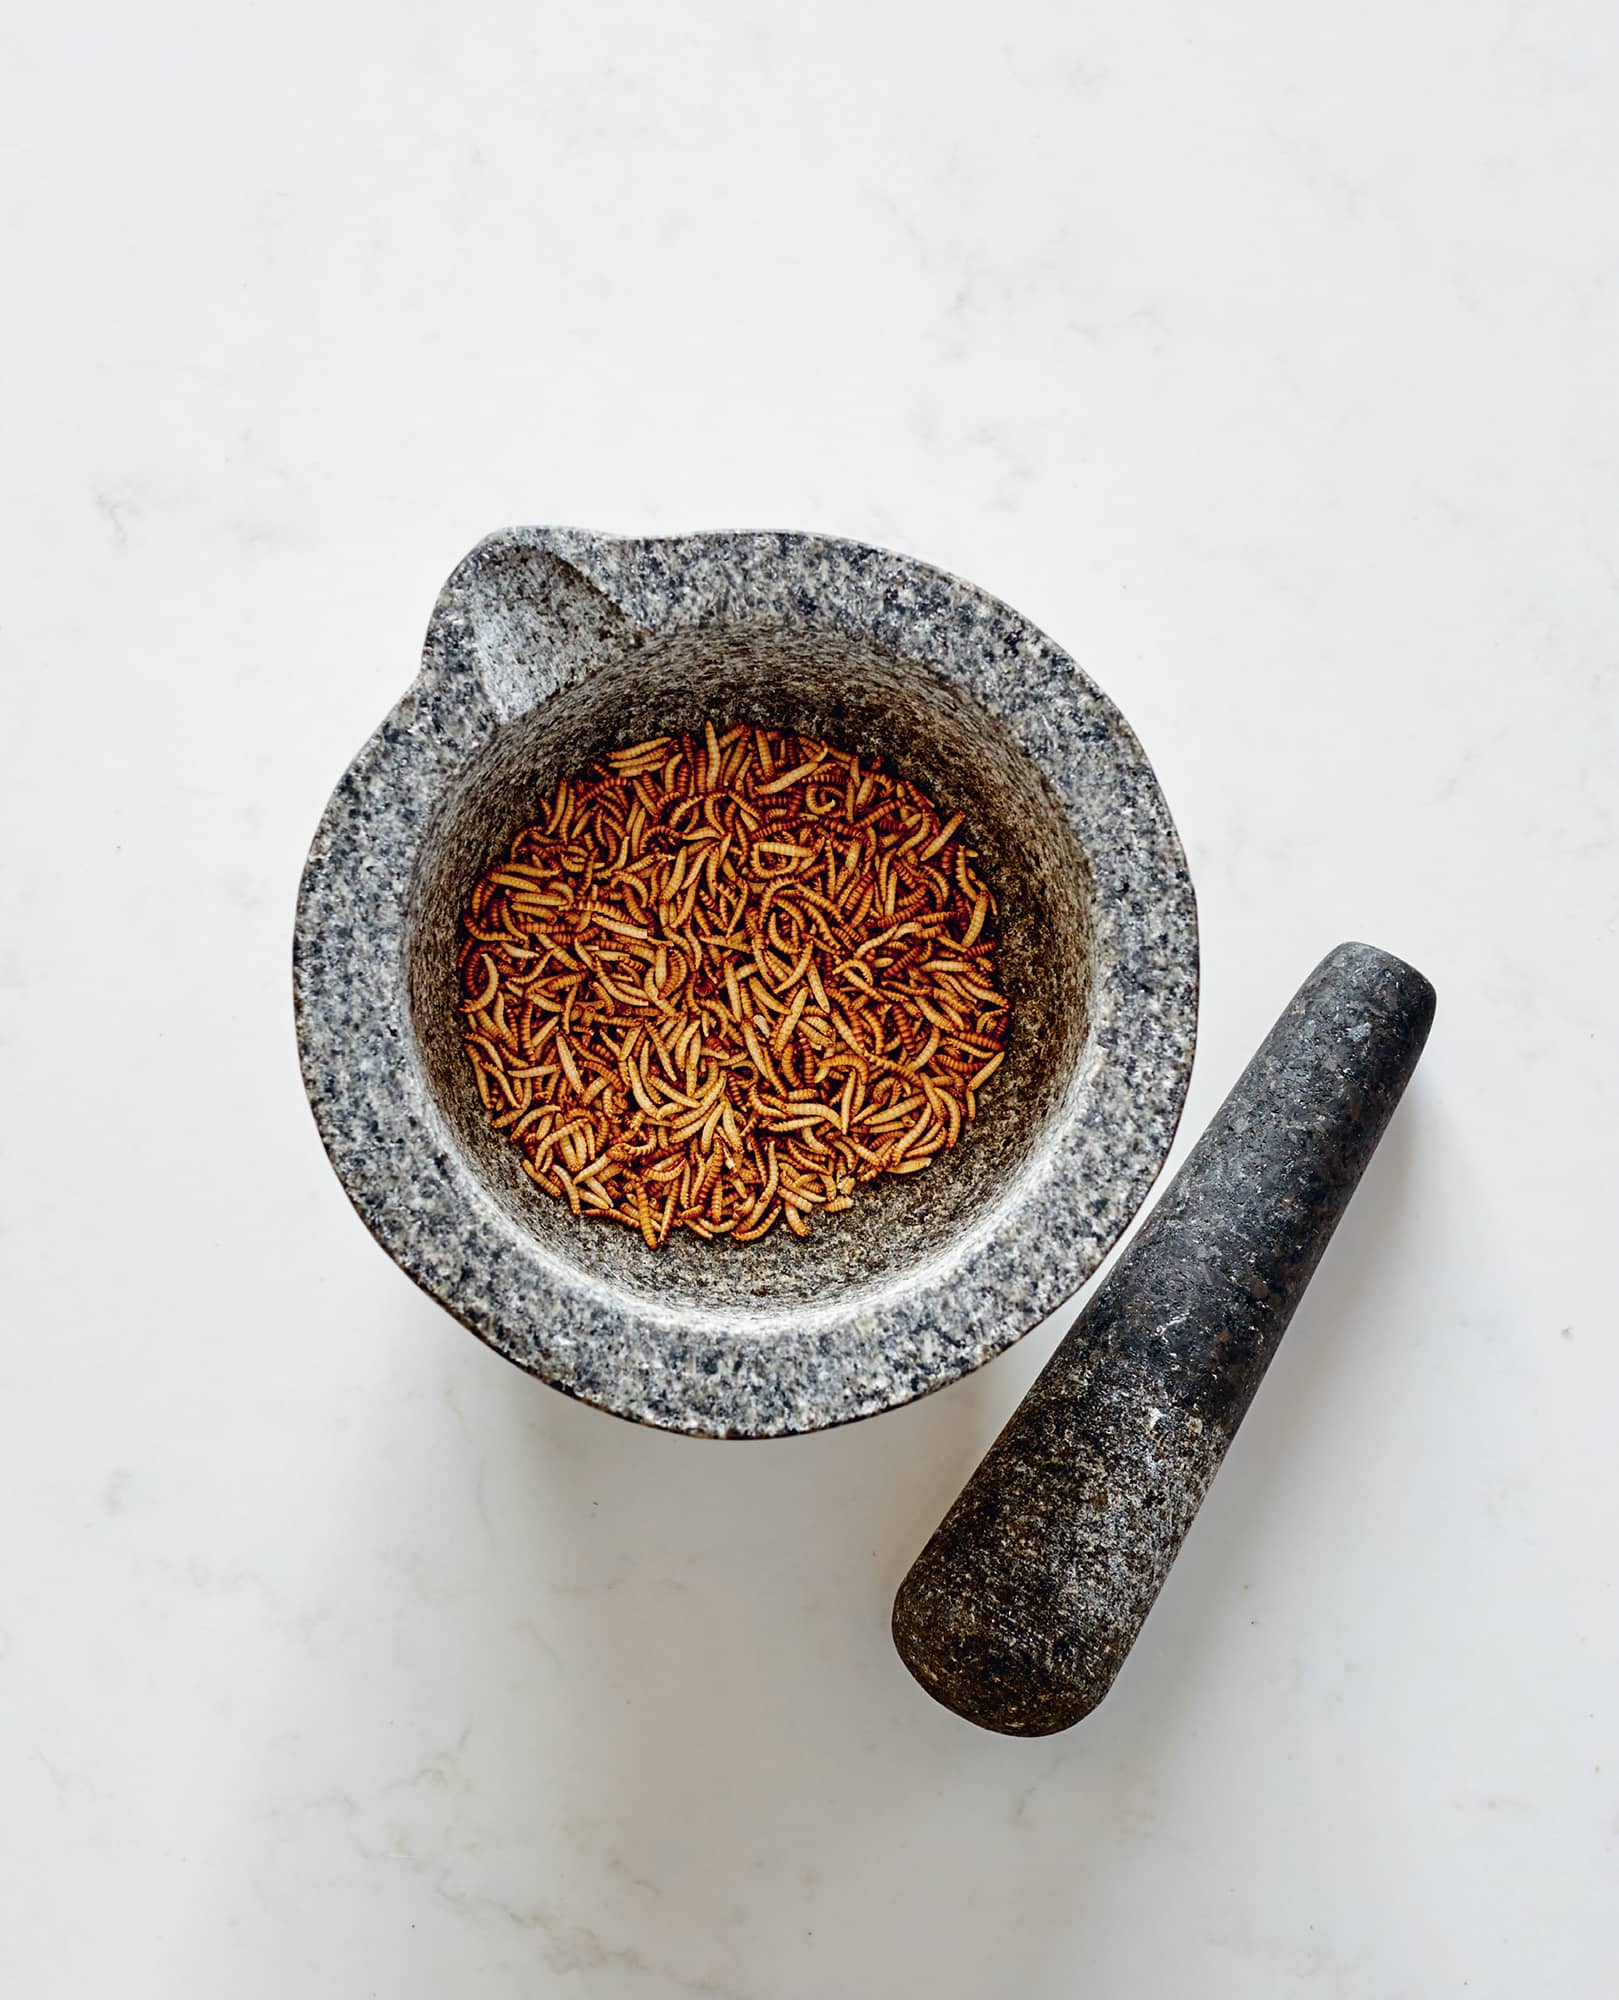
It’s incredibly easy to turn insects into flour and the method is the same for each of the insects in this book. Start by dry-roasting them in a pan over a medium heat for about 4–6 minutes, moving them with a spoon regularly. When they turn a golden brown colour, turn off the heat.
You then need to make the roasted insects into a powder. You can use a mortar and pestle to grind them, or use a spice grinder to achieve a fine powder. 1 gram of insects makes 1 gram of flour, though if you’re measuring them out for a recipe add a few more insects, as you might lose some flour in the grinder. Or make up a big batch – the flour can be stored in a cool, dry place for up to 9 months.
If you want to experiment with flavours, you can add spices to the pan at the dry-roasting stage. For example, star anise or cinnamon with crickets is a great combination when baking desserts.
Insect flour can be used in many dishes that traditionally call for plain flour. However, it contains no gluten and no raising agents. If you mix insect flours with more traditional flours you will still get a rise in the bake while keeping the flavour of the insect. In my experience, 1 part insect flour to 2 parts traditional flour works best for breads and cakes.
Insect purées
Insect purées are very easy to make and also very versatile to use in dishes – they often form the base for sauces, jams and marinades (as you’ll see throughout the book).
For a basic purée, add the insects to a saucepan and cover with vegetable stock. Don’t add too much stock, just enough to cover them. Simmer over a medium heat for 8–25 minutes until they have softened (this depends on how hard the insect is, so keep checking). At this point, they should have taken on the flavour of the stock. If the stock evaporates, top up with a little more so the pan doesn’t boil dry.
Transfer to a food processor (or use a hand-held blender) to make a paste. You may want to add more stock or water to reach the consistency you’re after. The thicker the purée, the more intensely insect-flavoured it will be.
Of course, instead of using vegetable stock to simmer the insects in, you can use any liquid to make a purée. Or you can soften the insects by simmering, then draining and adding oils and spices before blending to create a paste. Just be brave and experiment!
Insect purées are a beginner-friendly way of introducing insects into your diet. Firstly, purées make insects easier to include into dishes that you eat every day, and secondly, they take away the fear some people have of eating insects in their whole form. In a purée, you can taste the insect without having to face it.
Insect salts
Making an insect salt is a similar process to making insect flour (see this page). It’s very simple to do with all of the insects in this book.
First, dry-roast the insects in a pan over a medium heat for 5-6 minutes. They’ll turn a golden brown colour, at which point turn off the heat. If you’re feeling creative, you can dry-roast the insects with herbs and spices, such as chillies, black pepper, paprika or thyme to give them an extra kick of flavour.
Once dry-roasted, grind them (along with any herbs or spices) to a fine powder in a spice grinder (or use a mortar and pestle), then add the salt. A good ratio is 1 part fine salt to 5 parts ground insects. 1 gram of insects makes 1 gram of ground insects, though if you’re measuring them out for a recipe add a few more insects as you might lose a little in the grinder.
Once you’ve made up a insect salt mixture, you can store it in a cool, dry place for up to 9 months and just use when needed.
The salt enhances the flavour of the insect, rather than disguising it. Combining the insects with the salt allows you to incorporate the flavour of the insect into any dish you would normally add salt to (ie, everything!).
If using insects for the first time, or serving them to friends and family for the first time, this is a good place to start. See this page for an interesting salts tasting platter.
Fried insects
Deep-frying is the most common insect-cooking method around the world. In Asia, people often snack on fried insects coated in fish sauce, chilli powder or white pepper.
I do agree (with the world) that deep-fried insects are delicious, and if it’s your first time cooking with insects then frying them should be one of the methods you try. However, I do find that it limits how creative you can be with them, and it’s not the healthiest of cooking methods – which is a shame given how healthy insects are.
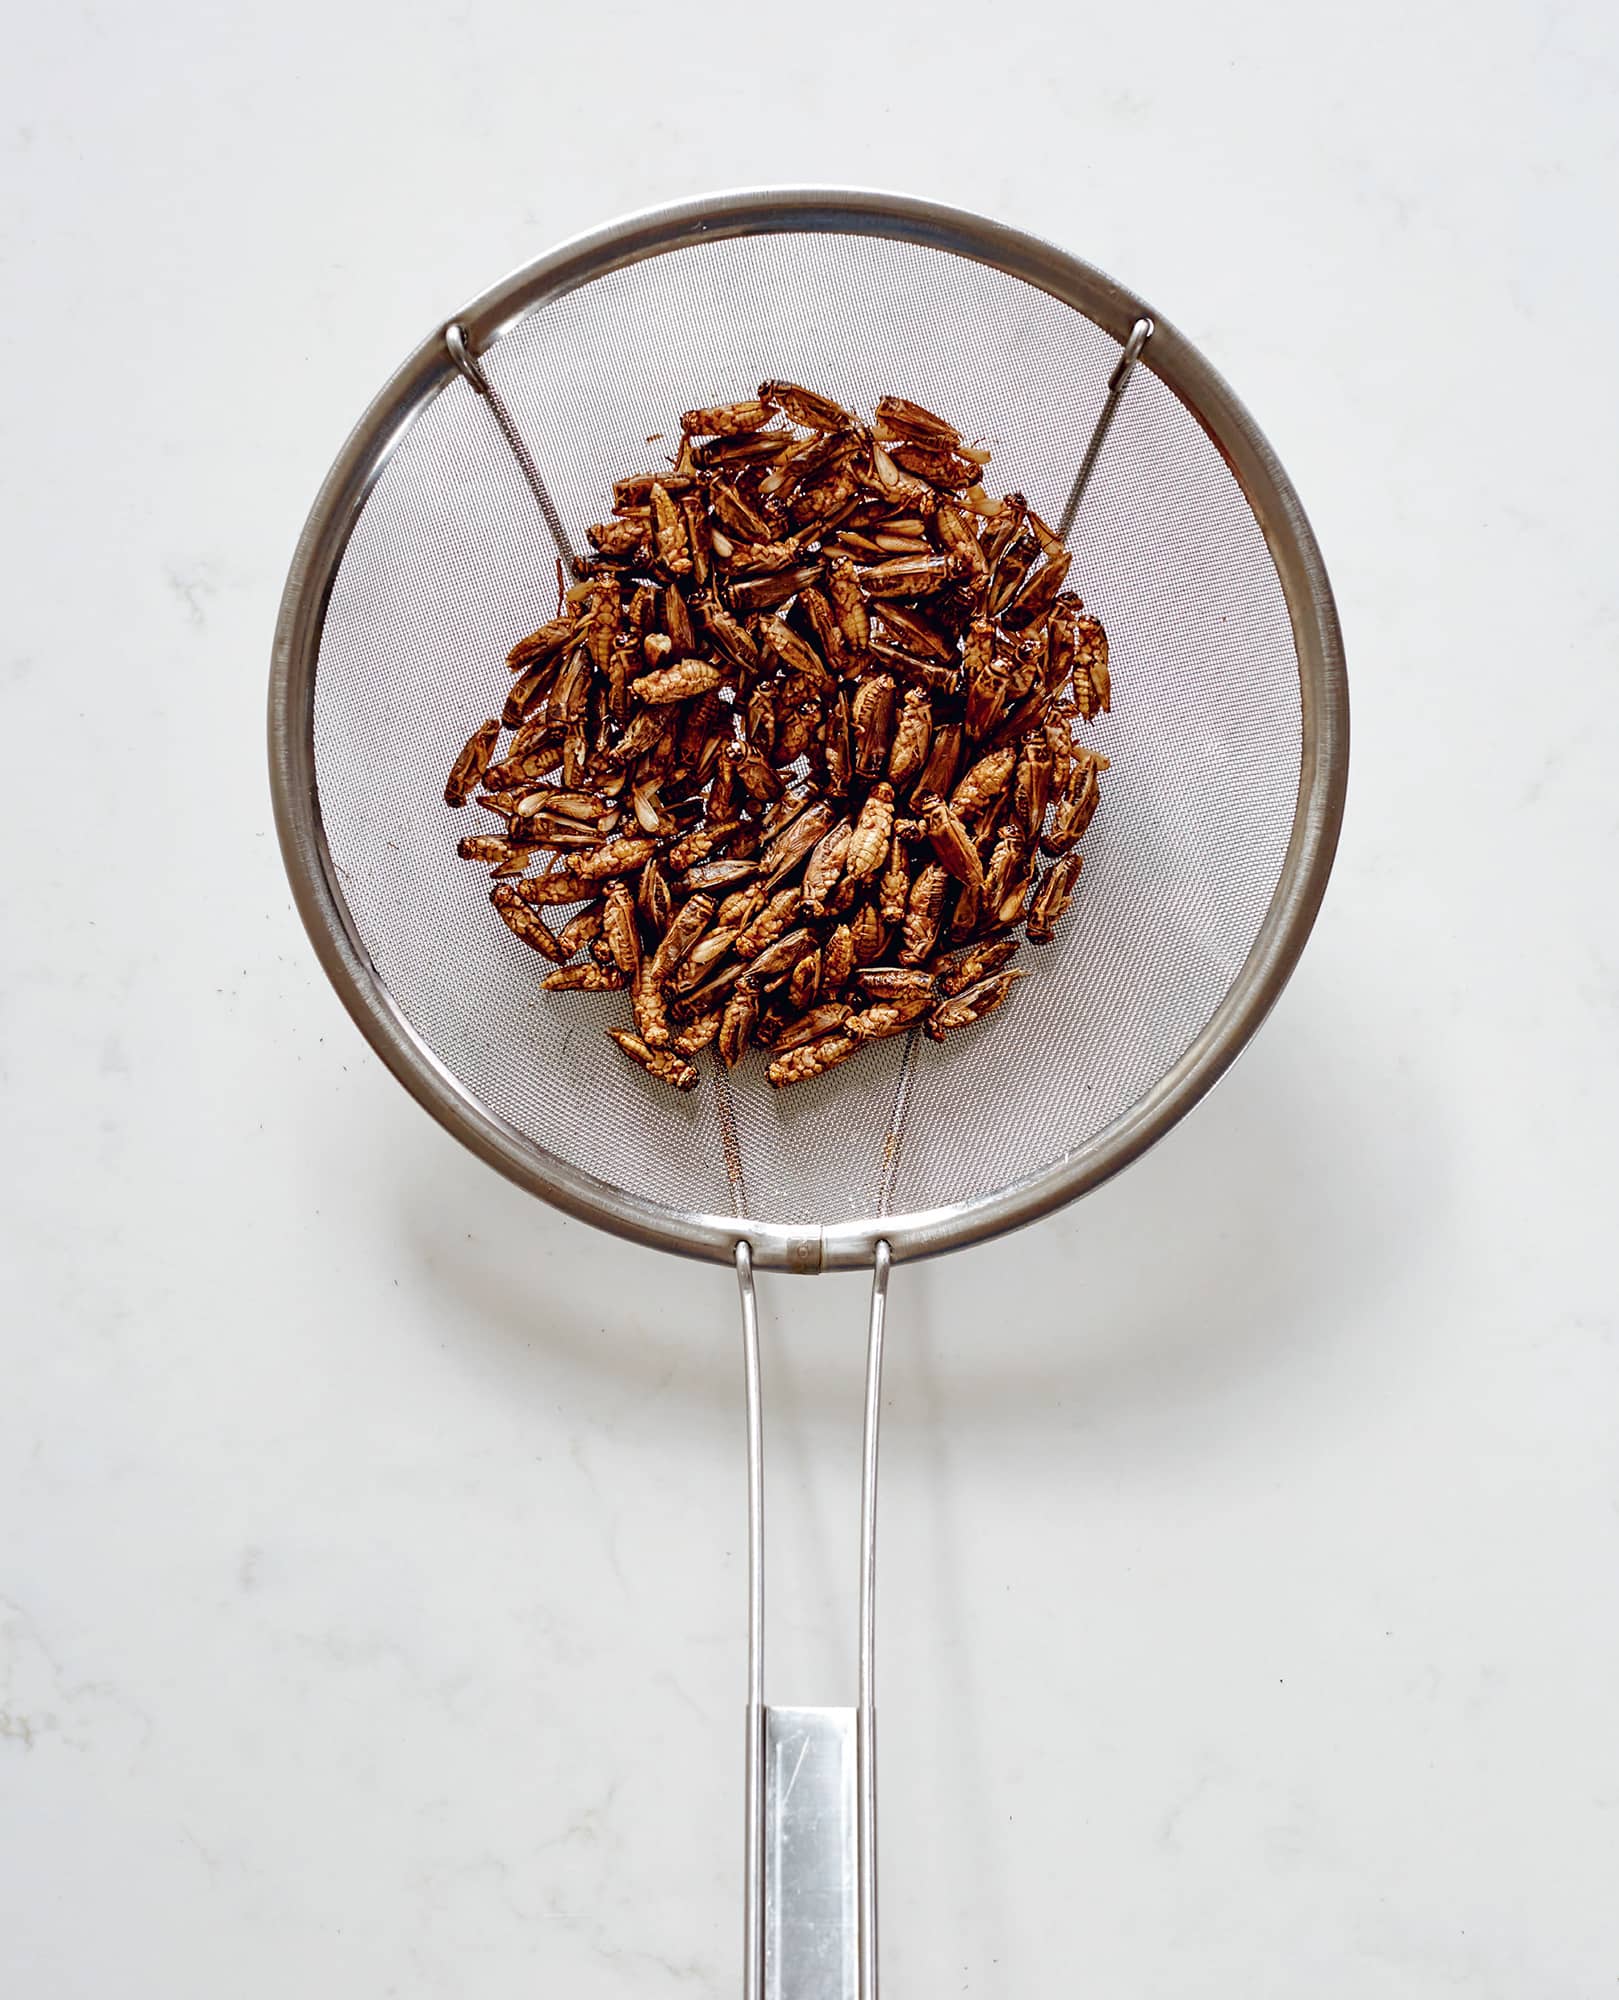
Insects are deep-fried in much the same way as onions are. Heat enough rapeseed oil for deep-frying (about 1 litre/13/4 pints/4 cups oil) into a deep heavy-based pan over a high heat until it reaches 180°C/350°F, or until a cube of bread browns in 30 seconds. Once the oil is hot, carefully add the insects and stir so they’re coated in the oil then deep-fry until golden brown. Crickets and grasshoppers will fry in 30–40 seconds, mealworms will be done in 20–30 seconds and buffalo worms will be golden brown in 10–20 seconds. Once they are cooked, remove with a slotted spoon and drain on kitchen paper.
The process of frying insects in oil will make them crispy – so this is a great technique if you want to give a recipe a bit of crunch. You can also fry insects in flavoured oil, such as chilli oil or garlic oil – they then take on all of that flavour, making a more exciting taste experience.
Baked insects
Baking with insects is relatively easy. They can either be baked whole as part of a larger dish or ground into flour. I’ve found the latter to be the best method for baking insects, as flours tend to get more out of the insects in terms of flavour and protein (see this page for instructions on how to make insect flour).
For me, mealworms and buffalo worms are the best insects to bake whole as they have a particular ability to take on the flavour of other ingredients while baking. Add them to flapjacks for an added nutty bite, or to pasta bakes in place of meat – or even as a crunchy topping instead of breadcrumbs.
If you’re roasting them on a baking tray, preheat the oven to 180°C/350°F/gas mark 4. Grasshoppers take 8 minutes to roast; crickets take 5 minutes; and buffalo and mealworms take 3 minutes to roast. You can bake them with herbs, spices or even a little chilli oil and add them to soups and salads as a topping. And you can roast them for longer if you want a crispy finish.
If you’re baking with an insect flour, the general rule of thumb when experimenting with a new recipe is to use 1 part insect flour to 2 parts traditional flour (see this page). Just remember that insects do not work as setting or raising agents. So you can’t replace self-raising flour with cricket flour completely, but you can add it for taste and protein.
Baking with insect flour is an exciting way to explore the scope of insect dining. So many of the dishes we eat on a daily basis contain flour, and you can make them all with insect flour.