In both portrait and commercial photography, subtractive lighting techniques are used to remove light from one area of a photograph in order to give the appearance of light coming from a different direction. The primary reason to do this is to improve the light quality on the face of a portrait client. However, subtractive lighting also works very well as a tool in commercial and even in some editorial photographic assignments.
Specifically, the knowledgeable photographer can use black fabric stretched over panels, black sheets of cardboard, black mount boards, professionally made black flags, or anything that can block or otherwise take light away from an area or subject.

Image 4–1. A black flag can be used to block light from falling anywhere you don’t want it.
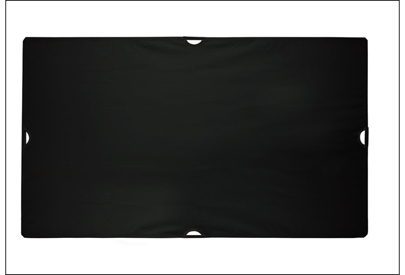
Image 4–2. Black fabric stretched over a frame can be used to subtract light.
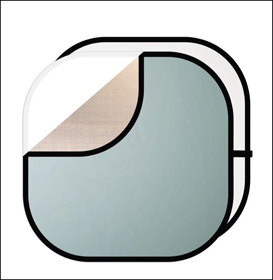
Image 4–3. The popular 6-in-1 modifier kits come with reflective and diffusion fabric covers—but also a black fabric cover to use for subtractive lighting.
Most photographers have at least one of a particular tool that is commonly known as a 6-in-1 reflector. These portable and collapsible devices come equipped with white reflective fabric, gold and silver reflective fabric, white translucent/diffusion fabric (often in two different densities), and black fabric. If you took a poll, I think you might be surprised to find that most photographers rarely use the black fabric on the collapsible frame. In most cases, they just never learned how important this black fabric might be. In fact, I recently saw interviews with more than twenty-five well-known cinematographers and they all tended to agree that subtracting light was just as important—if not more important—than adding light to a scene.
Images 4–4, 4–5, and 4–6 are some before and after examples where subtractive lighting was used in the most common manner—by manually adding a black “interruption of light” to the setup.
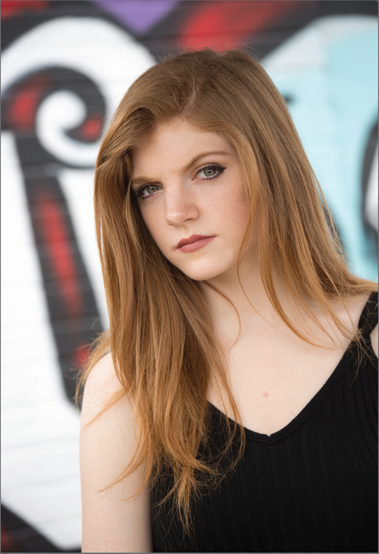
Image 4–4. With a black subtractive panel in position, the light appears to come from in front of the subject.
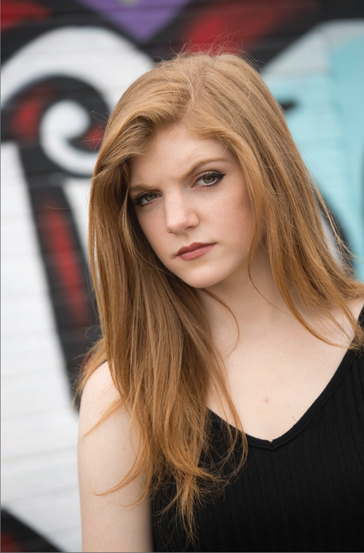
Image 4–5. Without the subtractive panel, there is too much top light. This creates dark eyes and bright highlights on the forehead and nose.
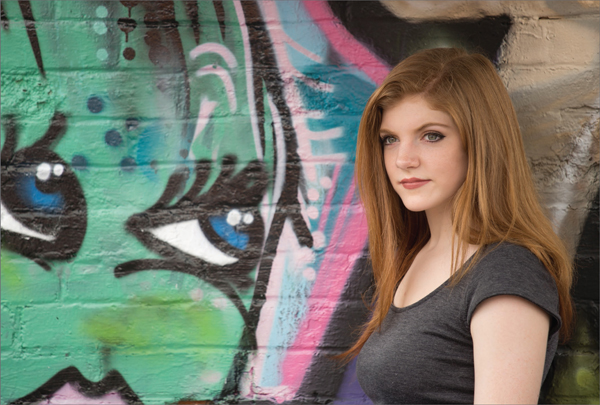
Image 4–6. Here’s another example of subtracting the light from directly above, which yields a beautiful light quality on the face.
Another way to operate with subtractive lighting is to use natural barriers and blockers to achieve the same light-blocking goals. For example, when working with a portrait or wedding client outdoors, you can easily move your subject under the cover of a tree to remove the “top light,” which tends to create dark shadows under eyes, noses, and chins—and often allows too much light on top of the head. By subtracting that light from overhead, using the limbs of the trees, the light quality can be greatly increased.
I will offer one piece of advice when working with this type of subtracting of light: be careful with the shadows, which can pick up the hue of the ambient environment. For example, if the grass is bright green, you might accidentally see a bit of green accruing in the shadows as you subtract light from overhead and open up the camera’s exposure to compensate for the loss of light on the subject. If this is a problem, you can try placing a sheet (or any kind of white or gray cloth) on the ground in front of the subject. This will neutralize the color cast.

Image 4–7. Here is a wide-angle image where the light was subtracted overhead for the best look on the face. However, with the exposure adjustment for the subtracted light, the background became too bright. (Photo by Rob Hull)

Image 4–8. The same image cropped to eliminate the bright, blown-out background. (Photo by Rob Hull.)
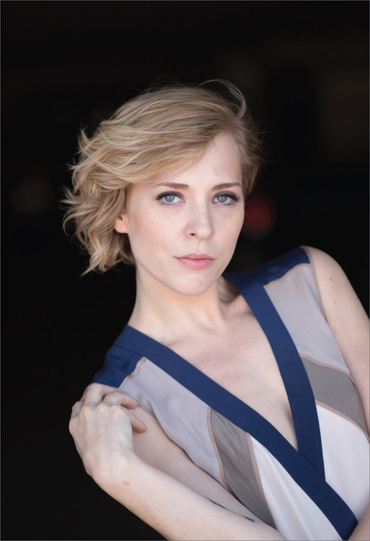
Image 4–9. The success of this image, taken in a parking garage, comes from the minimal background distractions and the even, appealing light quality that is a result of the edge of the overhead ceiling.
Image 4–10. By slightly turning the model from the previous image, I created a more directional lighting look. A black panel was used to camera right, enhancing the three-dimensional quality. An assistant held a white sheet behind the subject to create a light background.
Image 4–11. Here, we simply moved the white sheet to reveal more of the background—no other changes were made in the lighting or exposure and the subject stood in the exact same position.
Subtracting Light with a Porch
Just as the overhead limbs of a tree can alter the effects of overhead light, using the edge of a client’s porch works exactly the same way. It can be very effective to place a subject on a porch and then watch their eyes as you have them back up farther and farther under the overhead edge of the roof of the porch. You’ll notice that the highlights in the eyes become much more apparent and the light quality on the face becomes smooth and complementary on literally all types of subjects.
Image 4–12. An archway makes the perfect natural subtractor of light. (Photo by Rob Hull.)
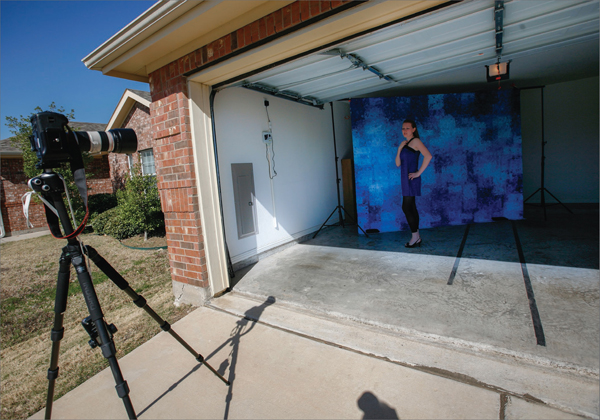
Image 4–13. Here we can see the overall setup of a recent garage door lighting shoot. The background is at 45 degrees to allow for nice light falloff.
Subtracting Light with a Garage Door
Exactly as in the example with the top edge of a porch, light subtraction from the overhead of a garage door can make a substantial lighting tool that often results in a portrait that appears to be a studio portrait with exceptional light quality. The overall size of the opening of the garage door provides a large, soft light source—and the light quality can easily be controlled by moving your subject closer to the door or farther away from it, depending on the desired effect. Images 4–13, 4–14, and 4–15 show a setup for portrait lighting with garage door light.
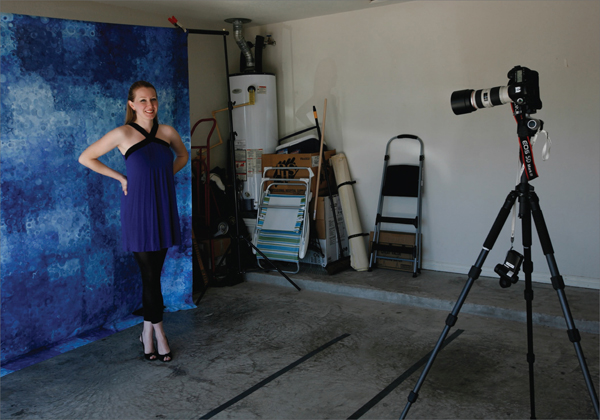
Image 4–14. Now, the background is perpendicular to the garage door, which creates a split light situation across the subject. This can create some beautiful and dramatic images.
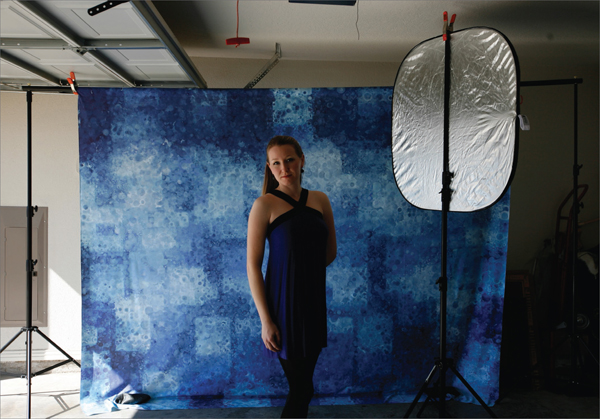
Image 4–15. A silver reflector was introduced to open up the shadow side of the hair and add to the dimensional look of the final image.