
The Japanese foothold which had been gained on the north coast of New Guinea in the Buna–Gona area was pivotal for providing both aerial and logistical support to the front lines. As the bitter fighting continued across the Kokoda Track throughout summer and autumn of 1942, Japanese engineers reinforced their defences along the north coast with networks of camouflaged bunkers, fire trenches and anti-aircraft emplacements.
With Milne Bay secure and the Allies on the advance across the Kokoda Track, General Douglas MacArthur, Supreme Commander of Allied Forces in the Southwest Pacific Area, set his sights on removing the Japanese presence from the Buna–Gona area in its entirety. As part of the build-up for this major offensive, US personnel in the Southwest Pacific Area grew to 110,000, which included the 32nd and 41st National Guard Divisions in New Guinea.
Desperate to see US combat troops in action, MacArthur authorised a plan to airlift the Australian 2/10th Battalion, with US Army engineers and antiaircraft crews, to the deserted Wanigela Mission which lay about half way between Milne Bay and Buna. The engineers expanded the airstrip during the first week of October, and on 14 October two Battalions of the 128th Infantry Regiment, 32nd Division and the Australian 2/6th Independent Company were flown in. The combined force moved up the coast towards Buna but initially only the Australian commandos were able to reach the target of Pongani, 30 miles from Buna. A new airfield was built in secret some 45 miles from Pongani and more supplies were shipped in by sea and air.
With American troops of the 32nd Division poised for action and the Australian veterans of the Kokoda Track advancing steadily north, three targets were identified for the upcoming assault: Buna, Gona and, between them, Sanananda. Buna would be attacked by the US 128th Infantry Regiment of the 32nd Division on 18 November, Gona was initially assigned to the 25th Brigade AIF, whilst Sanananda would be assaulted by the 16th Brigade AIF. Allied intelligence reported only a few thousand starving Japanese troops cowering behind makeshift defences would face them. In actual fact it was some 7,000 combat veterans who occupied well-prepared and equipped defensive positions, including over a thousand fresh troops who had just arrived, mostly in the Buna area. The fighting which was initiated in the Buna–Gona area in mid-November would continue into 1943, and was amongst the most violent of the entire campaign.
SCENARIO 6:
THE BATTLE OF BUNA–GONA
The three prongs of the Australian–American assault force approached the coastline of northeast New Guinea from 16–18 November. The Allies had achieved local air supremacy which resulted in many Japanese reinforcement and resupply convoys being destroyed in the Bismarck Sea; however, Japanese aircraft were still making it through the waves of American fighters and many Allied convoys suffered the same fate. On the ground, American bombers regularly attacked Japanese positions but they were so well hidden that accurate support was difficult, and several instances of friendly fire were recorded.
At all three sites of the assault, Allied troops found a similar situation to overcome: Japanese bunkers with excellent fields of fire which were so well camouflaged that it was nearly impossible to see them until right on top of them. Around the bunkers were lines of support trenches and dug-in machine gun positions. Ahead of all of this, the tall kunai grass to the south of the Japanese defensive positions had been burnt down to create massive, open killing grounds for the defenders. In scenes brutally reminiscent of earlier wars, the Allied attackers were forced to fix bayonets and charge straight across open ground into well-prepared defences manned by determined defenders.
FORCES
This scenario is designed to be played by unequal forces. Allied forces are chosen from either the Ghost Mountain Boys or 1942 Australian Army Reinforced Platoon lists, and receive a 25% points advantage over the Japanese player (i.e., if the Japanese player has a 1,000pt force, the Allied player may take up to 1,250pts). Either an American or Australian Reinforced Platoon may take an Inexperienced or Regular M3 Stuart light tank from the Australian list presented in this book.
Japanese forces must be selected from the Japanese Pacific Defenders Reinforced Platoon or IJA Heavy Machine Gun Platoon but may not take any vehicles or suicide anti-tank teams.
Scenario 6: The Battle of Buna–Gona

SET-UP
This scenario is played on a six by four feet gaming surface. One long table edge is designated the northern edge, and the first 6” of this edge are shallow water. The southern edge to the midpoint of the table should be predominantly open ground, with only a few isolated copses of palm and banyan trees for cover. One log bunker and one decoy log bunker should be set up within 12” of the northern table edge, but not within 12” of each other. The Japanese player must write down which bunker is the decoy and which is ‘live’ before the game begins. Trenches extend from the bunkers to the east and west table edges.
DEPLOYMENT
The Japanese player must deploy first. The entire force must be deployed within 12” of the northern edge of the table, with the exception of a single unit which may be deployed in reserve per tunnel network if taken (see special rules) and a single unit which may be deployed in the log bunker. The unit deployed in the log bunker may be left off table and only declared when either an Allied unit is close enough to the bunker to detect a Hidden unit, or if the Japanese unit in the bunker opens fire to reveal itself. The Allied player starts with all of his forces off table and must designate at least half of his units as the first wave. The remainder are in reserve. Outflanking is permitted.
SPECIAL RULES
TROPICAL HAZARDS
Supplies are low, disease is rife and the weather is temperamental. Roll on the Tropical Hazards table.
PUSHED TOO HARD, TOO SOON
MacArthur was so desperate to see American fighting men on the front lines that he committed the 32nd Division to battle with inadequate training and time to prepare. Reports of American soldiers throwing down their weapons and fleeing caused a tirade of derogatory comments from Australian commanders, and a formal investigation from MacArthur leading to the recommendation of the removal from command of key individuals. Any American units used in this scenario must be Inexperienced and green, due to their being rushed into combat, but suffer a -1 modifier to the die roll when rolling on the effects of being a green unit. As a result, they cost 1 point less per model. However, as relatively fresh troops in theatre, American soldiers do not suffer from the effects of exhaustion if this is rolled on the Tropical Hazards table. This rule does not apply to any Australian M3 Stuart tank brought in as support.
EXTENSIVE DEFENCES
The Japanese defences have been expertly prepared and camouflaged using local vegetation. Due to the difficulty of recognising targets from the air, any Allied air strikes suffer a -1 penalty when rolling on the Air Strike Chart. In addition, the Japanese player receives one free regular MMG unit for each full 500 points the Allied player spends on his force. The Japanese player may purchase weapons pits and tunnel networks, but all other defences are set for this scenario.
AMBUSH
Any Japanese unit may begin the game in Ambush.
DUG-IN
Japanese units may be Dug-In.
HIDDEN SET UP
Japanese units may be Hidden (Bolt Action rulebook, p.117).
A Japanese squad redeploys under the cover of an infantry gun team

OBJECTIVE
The Japanese player must stand his ground and keep the log bunker manned for the duration of the game. The Allied player must clear the enemy log bunker.
FIRST TURN
The battle begins. During Turn 1, the Allied player must move his entire first wave onto the table via the southern edge. These units can enter the table from any point along the southern table edge, and must be given either a Run or Advance order. Note that no order test is required to move units as part of the first wave.
GAME DURATION
Keep a count of how many turns have elapsed as the game is played. At the end of Turn 6, roll a die. On a result of 1, 2 or 3 the game ends, on a roll of 4, 5 or 6 play one further turn.
VICTORY!
A log bunker is counted as ‘cleared’ if no Japanese unit occupies it at the end of a turn. If the Allied player clears the pillbox it is an Allied victory. If the log bunker remains manned, it is a Japanese victory.

THE AFTERMATH
With scant intelligence made available to the Allied attackers, Australian and American forces braved the beach fortresses of the Japanese head on, suffering horrific casualties. The Australian 7th Division sustained over 200 casualties in the first three days alone. Allied soldiers had been ordered into battle at the rush and as a result, tanks and artillery support were only made available after a month of fighting. Each yard of advance was paid for in blood and the offensive showed little signs of ending as a steady trickle of Japanese reinforcements managed to punch through the Allied air blockade at night. Malaria, dengue fever, dysentery and even typhus ravaged the troops of both sides of the battle, also tearing through the ranks of the fresher American soldiers. Again, grim reports of cannibalism became more common amongst the Japanese defenders.
With more equipment and fresh troops reinforcing the Allies in early December, the tide began to slowly change. On 8 December, Australian forces defeated the Japanese defenders at Gona village. Less than one week later, the American 32nd Division – who had borne the brunt of so many accusations of lack of fighting spirit – occupied Buna village. On 12 December, Japanese commanders received a communiqué from Tokyo:
‘Great importance must be placed on securing the north-eastern end of New Guinea. Buna will not be reinforced, but should shortly be evacuated.’
Aided by Australian troops and tanks, the 32nd Division took Buna Mission on 2 January 1943. The last bastion of defence was Sanananda village, which was finally evacuated by its few surviving defenders on 13 January. The offensive had been bloody for both sides: some 1,300 Australians and 1,000 Americans had been killed. Of the 7,000 Japanese defenders, 6,000 were dead and less than 200 had surrendered. The remainder were evacuated. So costly was the Allied victory that General MacArthur briefed his commanders that, ‘the jungle, starvation: they’re my allies.’ For the rest of the war, MacArthur would bypass strong defensive positions and starve them out rather than commit to a full-frontal assault. New Year of 1943 saw the campaign turning in favour of the Allies, but at an immense cost.
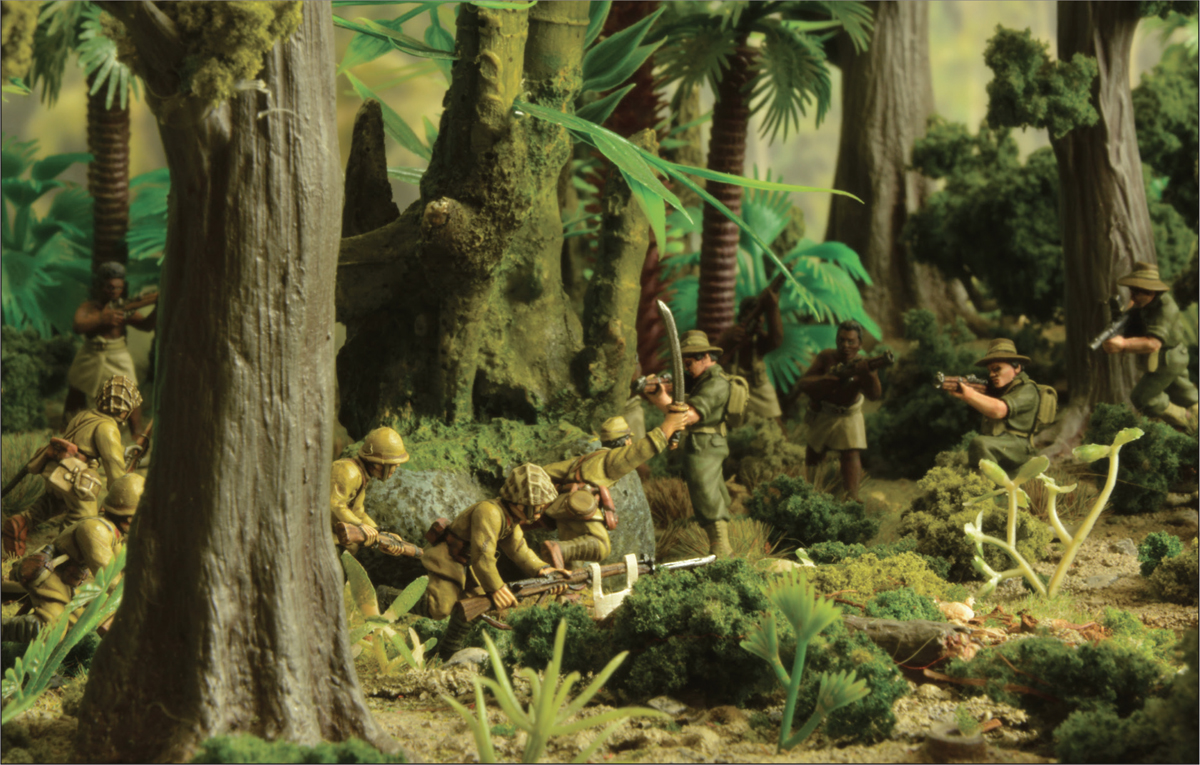
Battle is joined in darkest New Guinea
