STEP-BY-STEP PROJECT
MAP
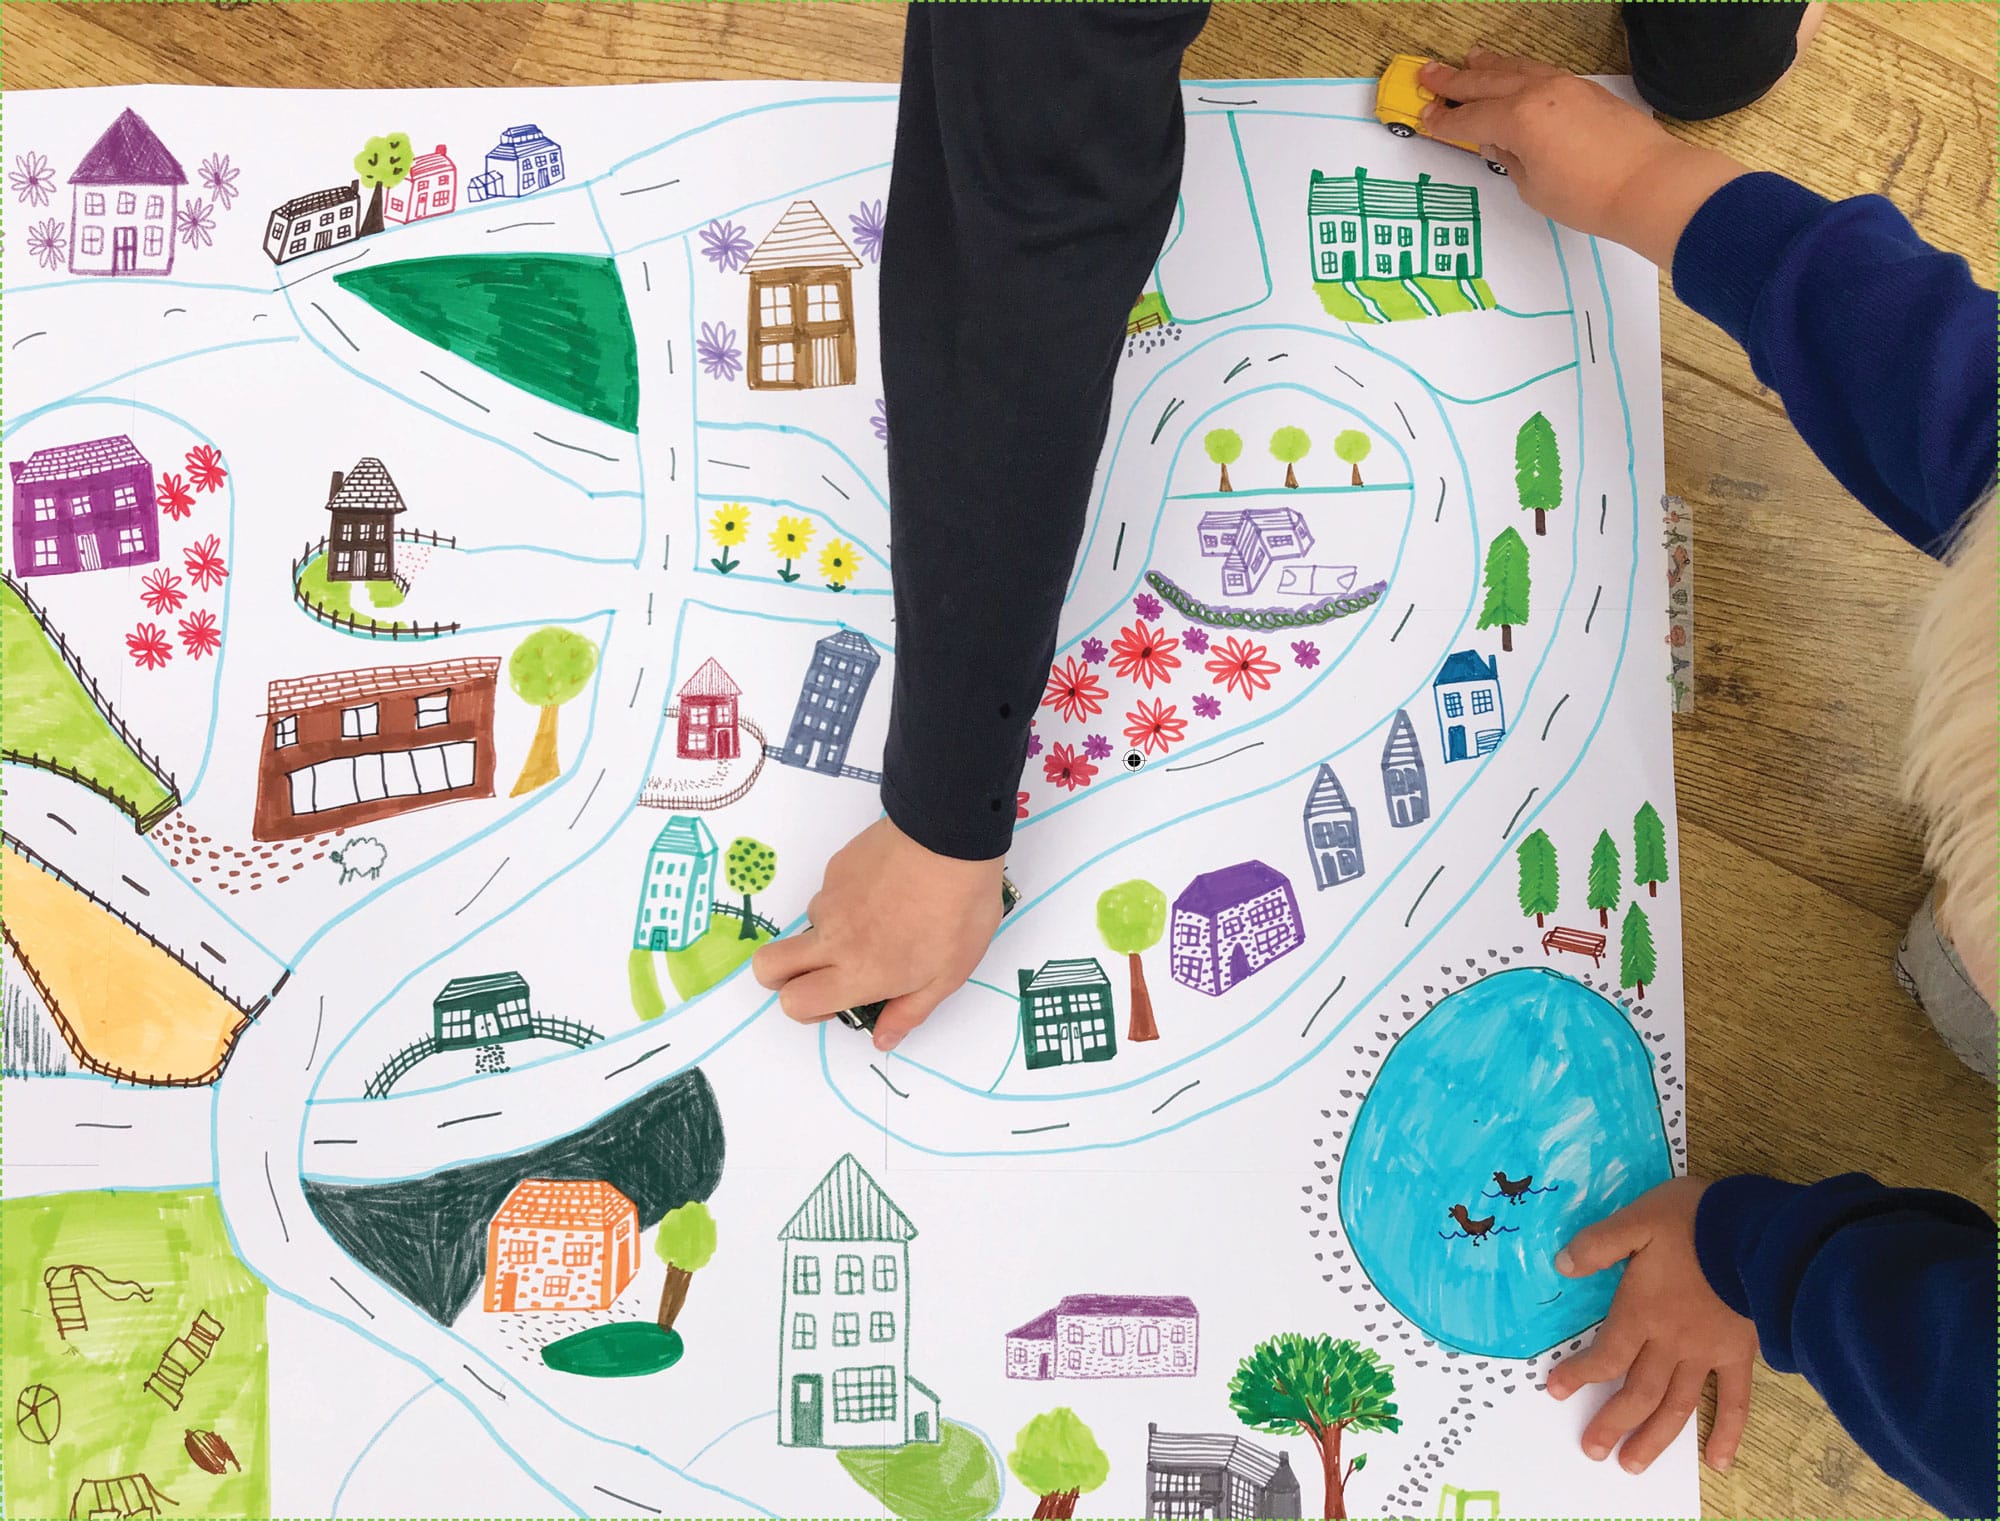
My children love creating maps of their favorite familiar places. It gives us lots to talk about: They tell me about their friends’ homes and the places we often go, and then we draw them on the map. My kids also like to drive their miniature cars through their hand-drawn maps! Use your building-drawing skills (see here) to help your kids create houses from different angles.
STEP 1
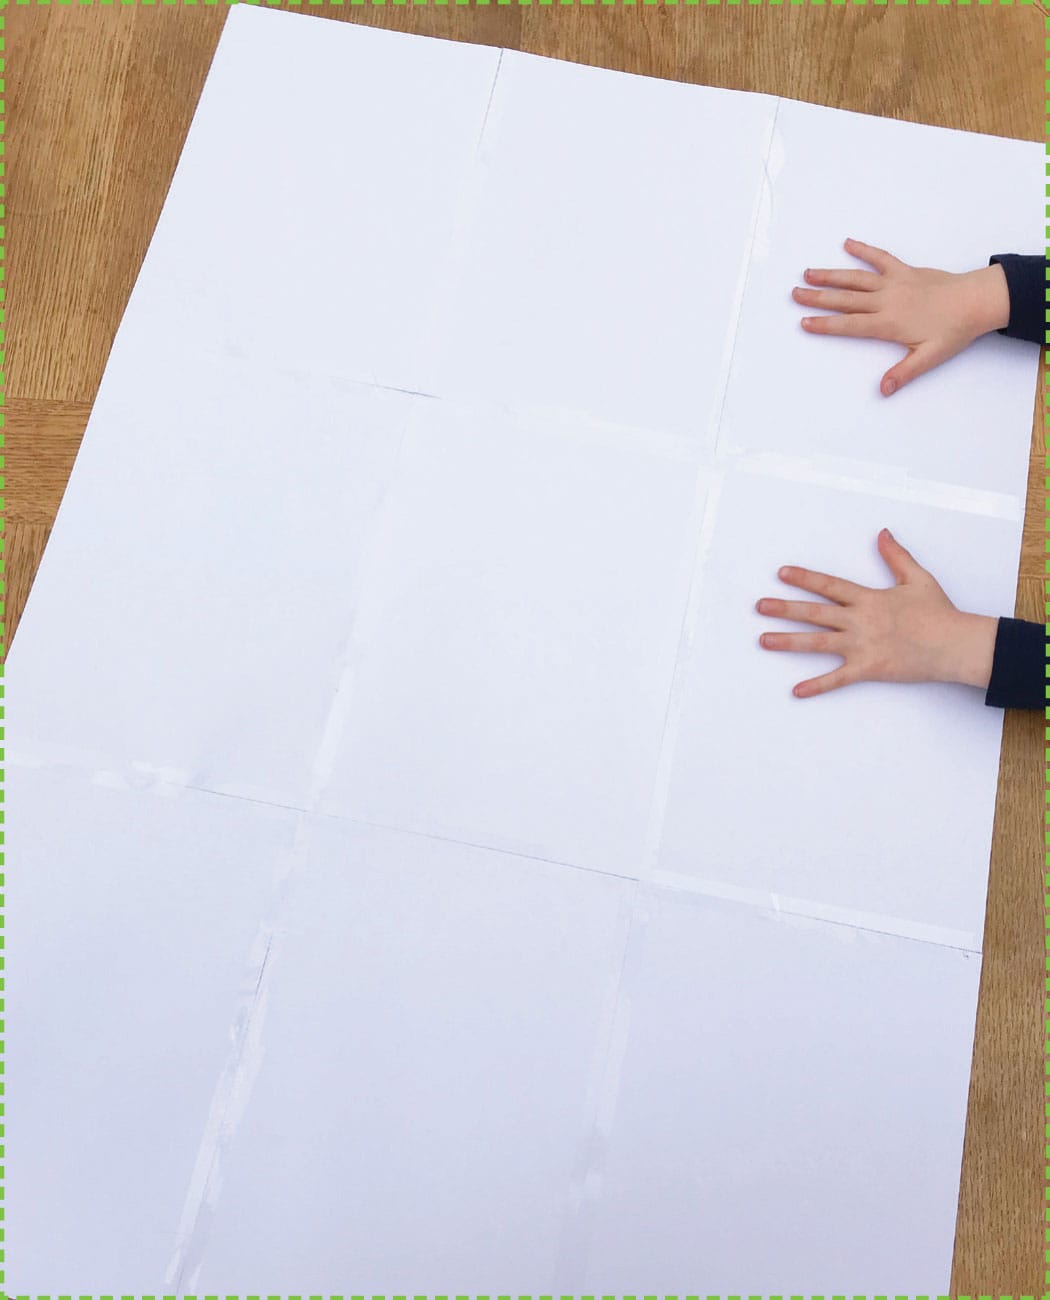
Lay out your sheets of paper, and tape them together to form a single, large piece of paper, without overlapping the edges. We used nine sheets of paper, but you should feel free to use as many as you like. You can always add sheets later to enlarge your map!
STEP 2
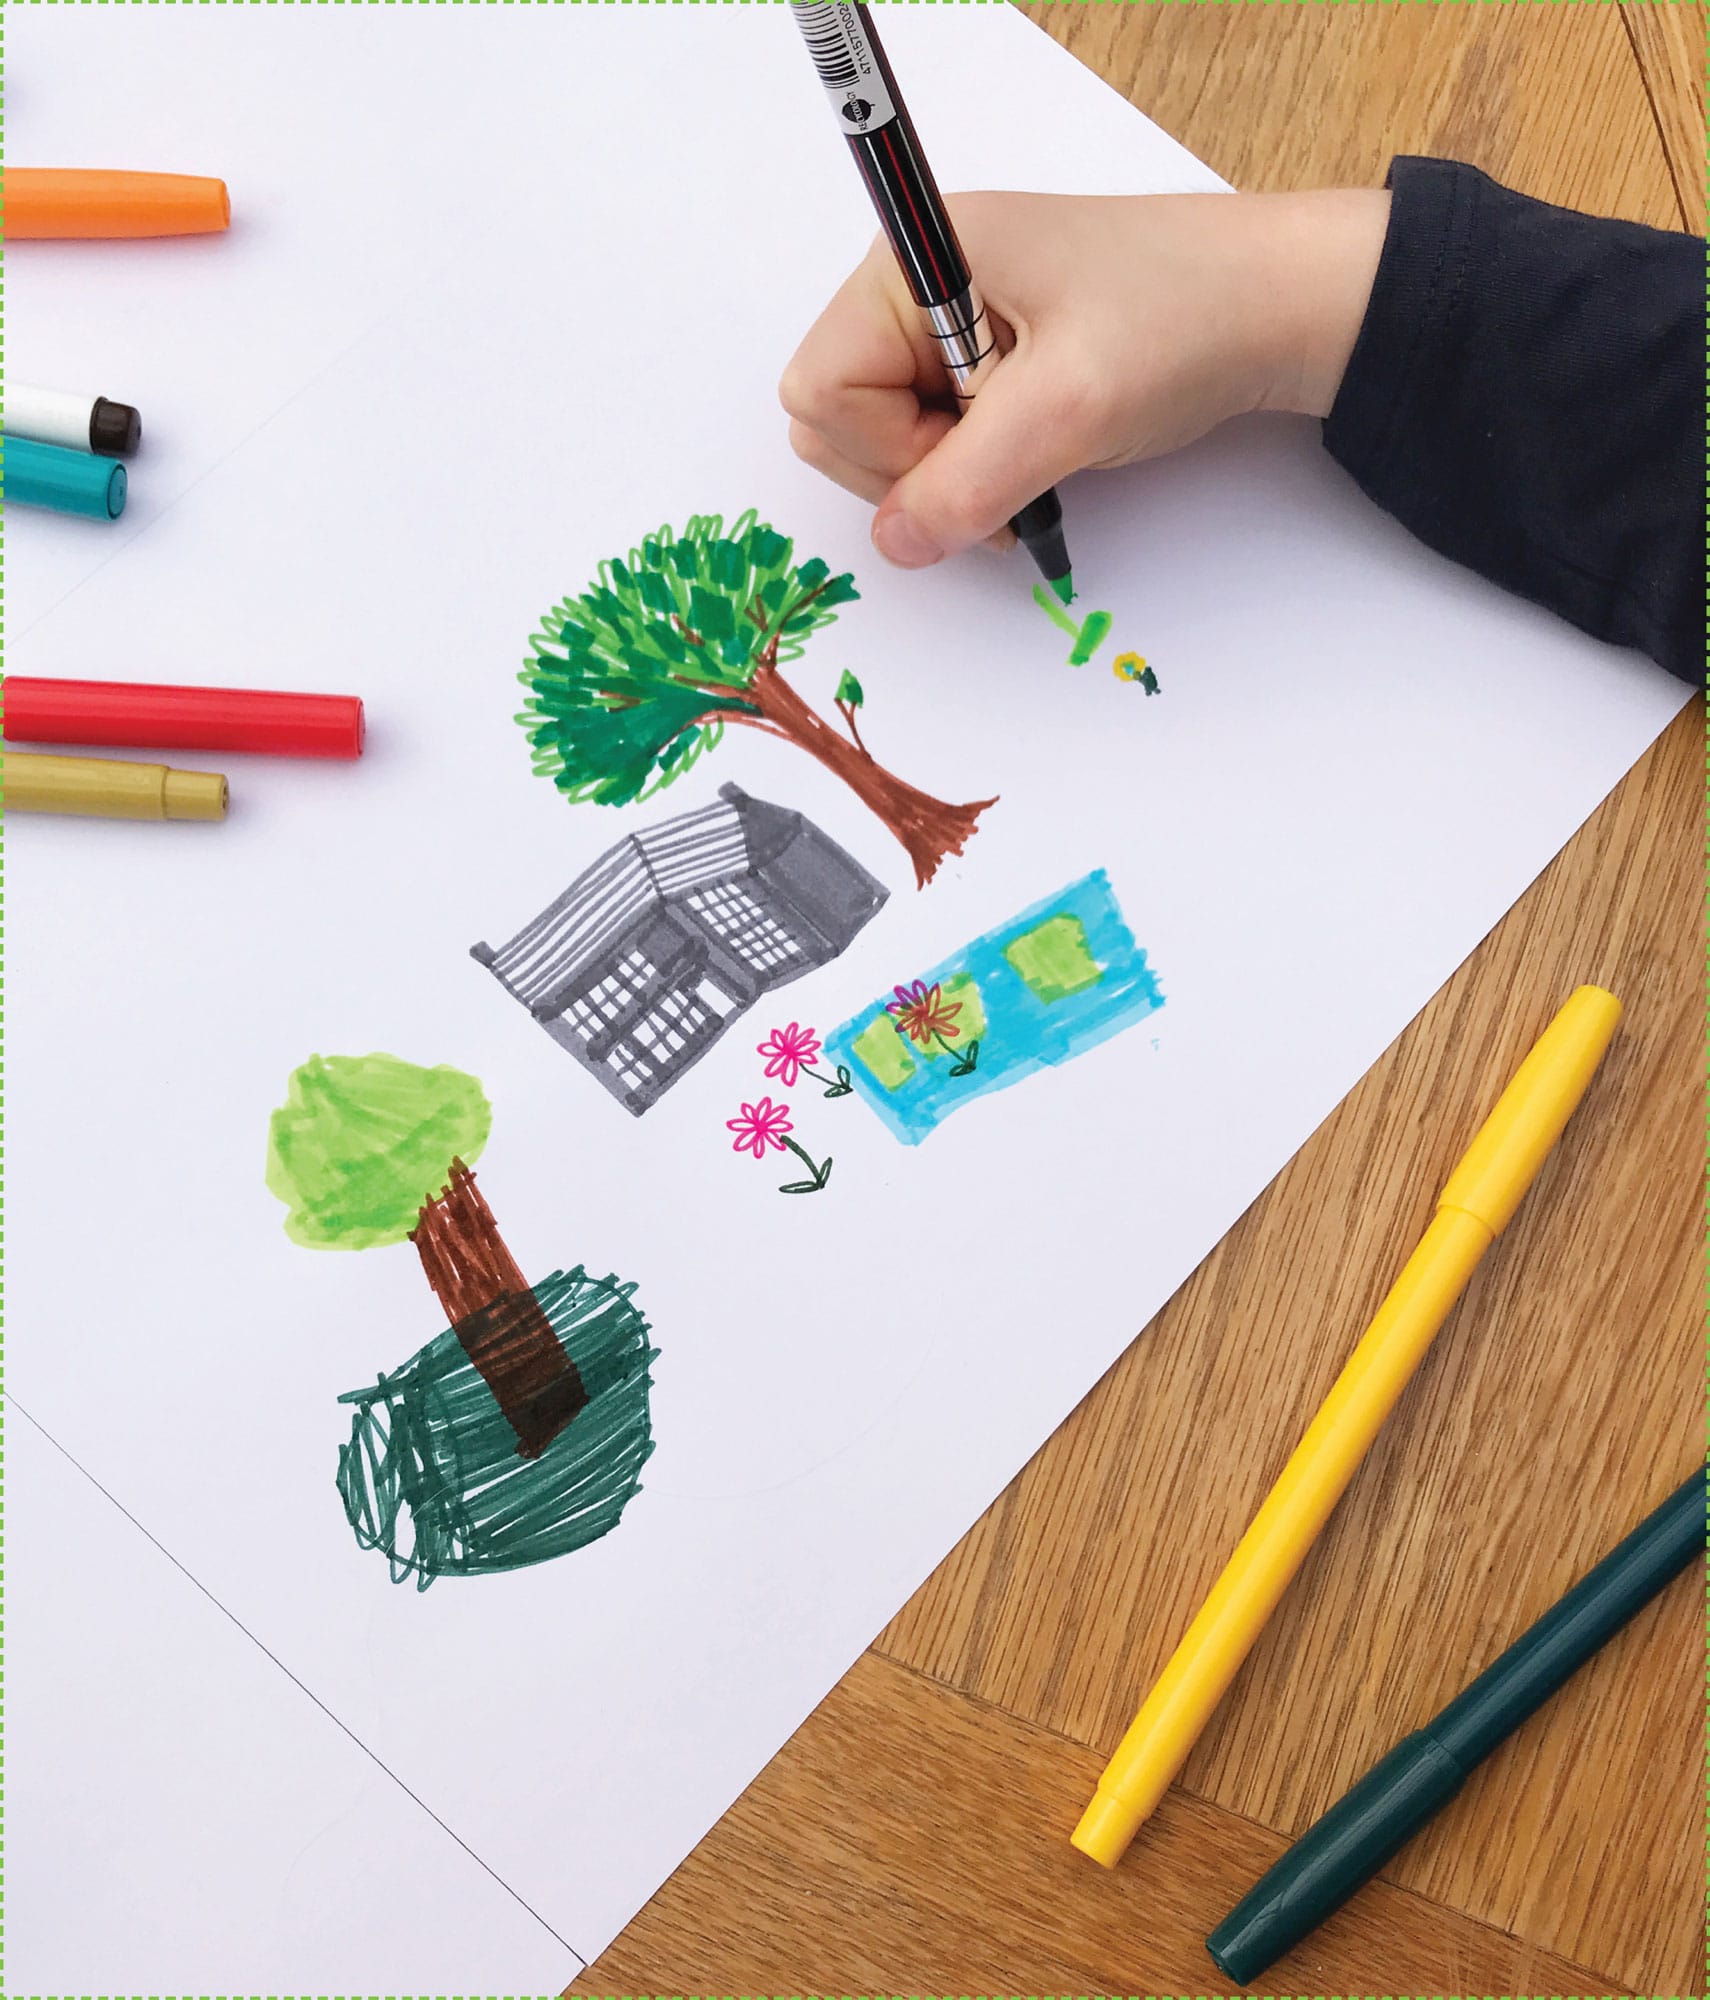
Flip over the sheets of paper so that the tape is on the back. Then begin drawing. I usually like to start with our home, and I ask my kids where they envision it to be.
STEP 3
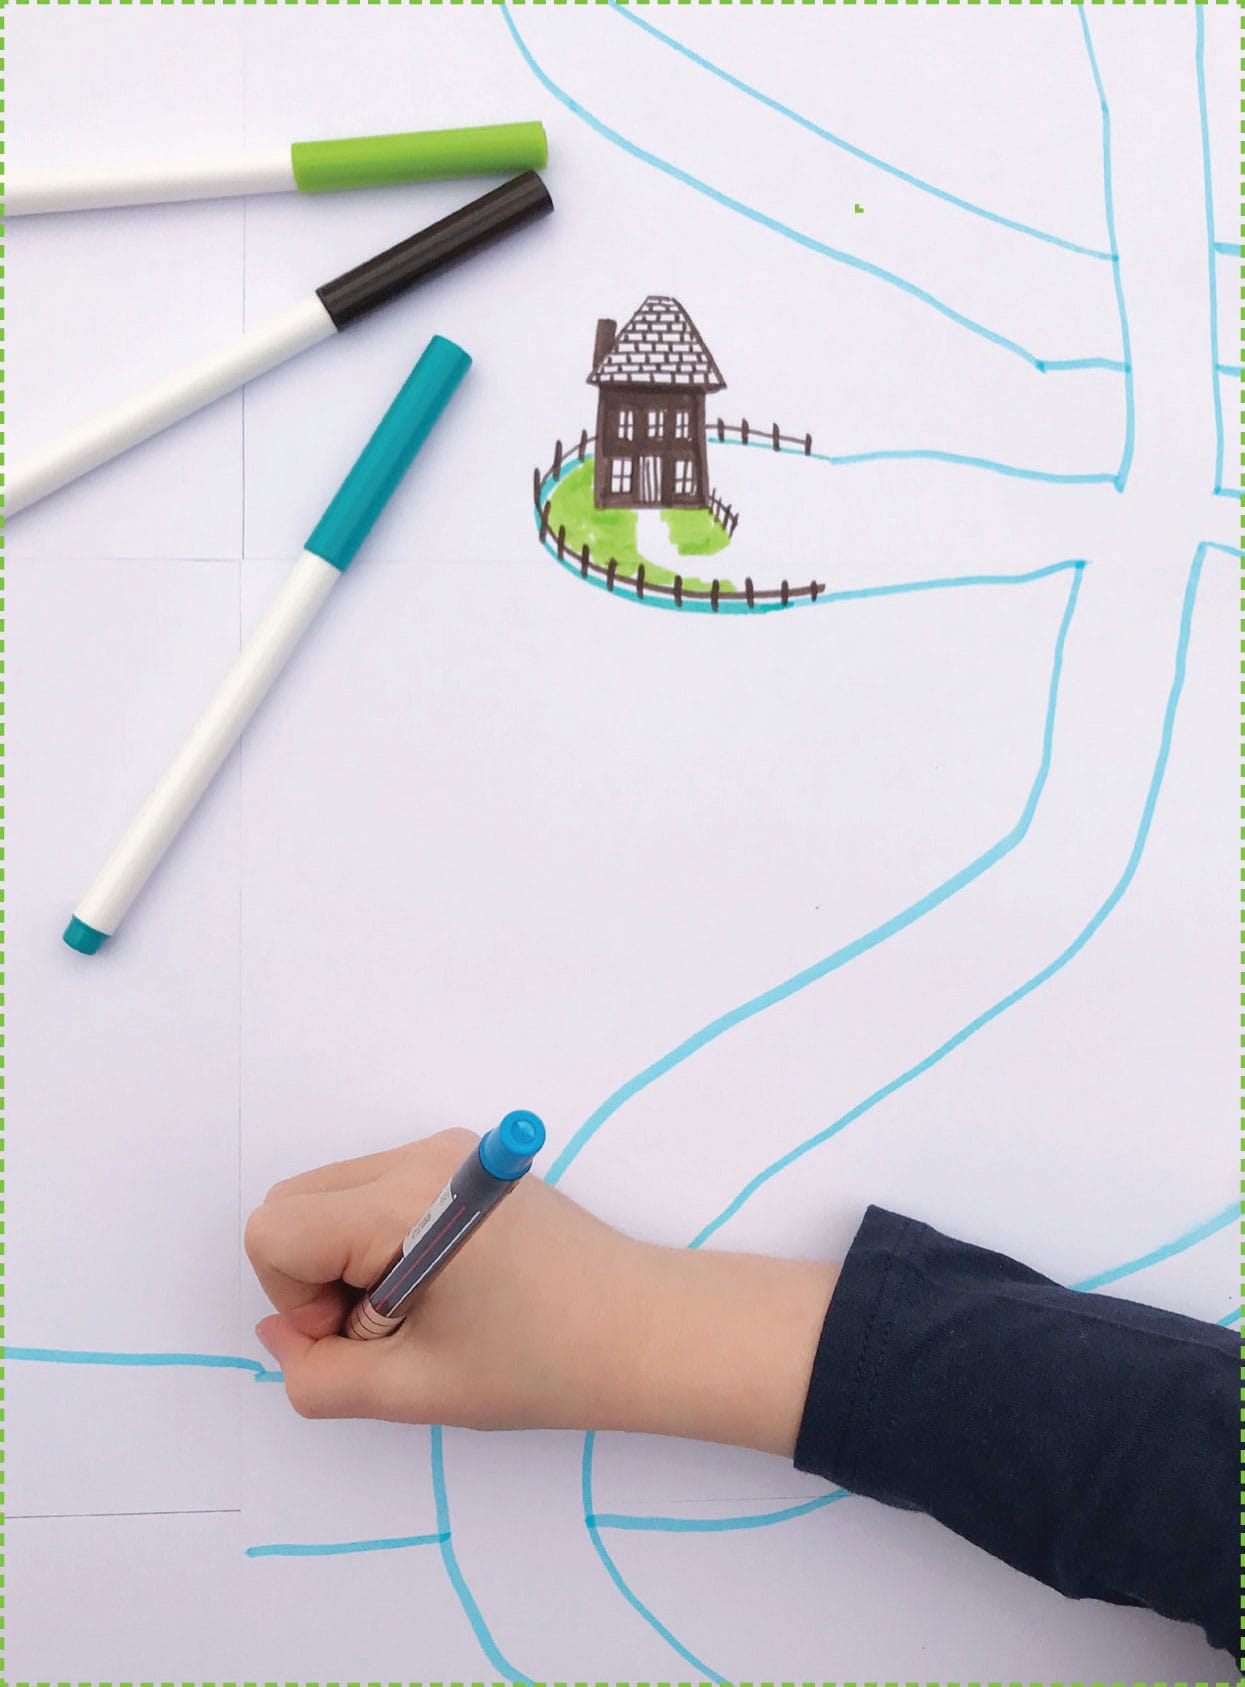
Ask your kids what their favorite places are, and draw a road from your home to the next location on your map. Make sure the road is wide enough for a toy car!

STEP 4
Add the next location to your map. We drew the small house we pass on the way to school!
STEP 5
Continue adding locations to the map. You can draw roads, intersections, the park, the grocery store, and so on. Get your kids even more involved and have them draw buildings and places, in addition to decorating your drawings!

STEP 6
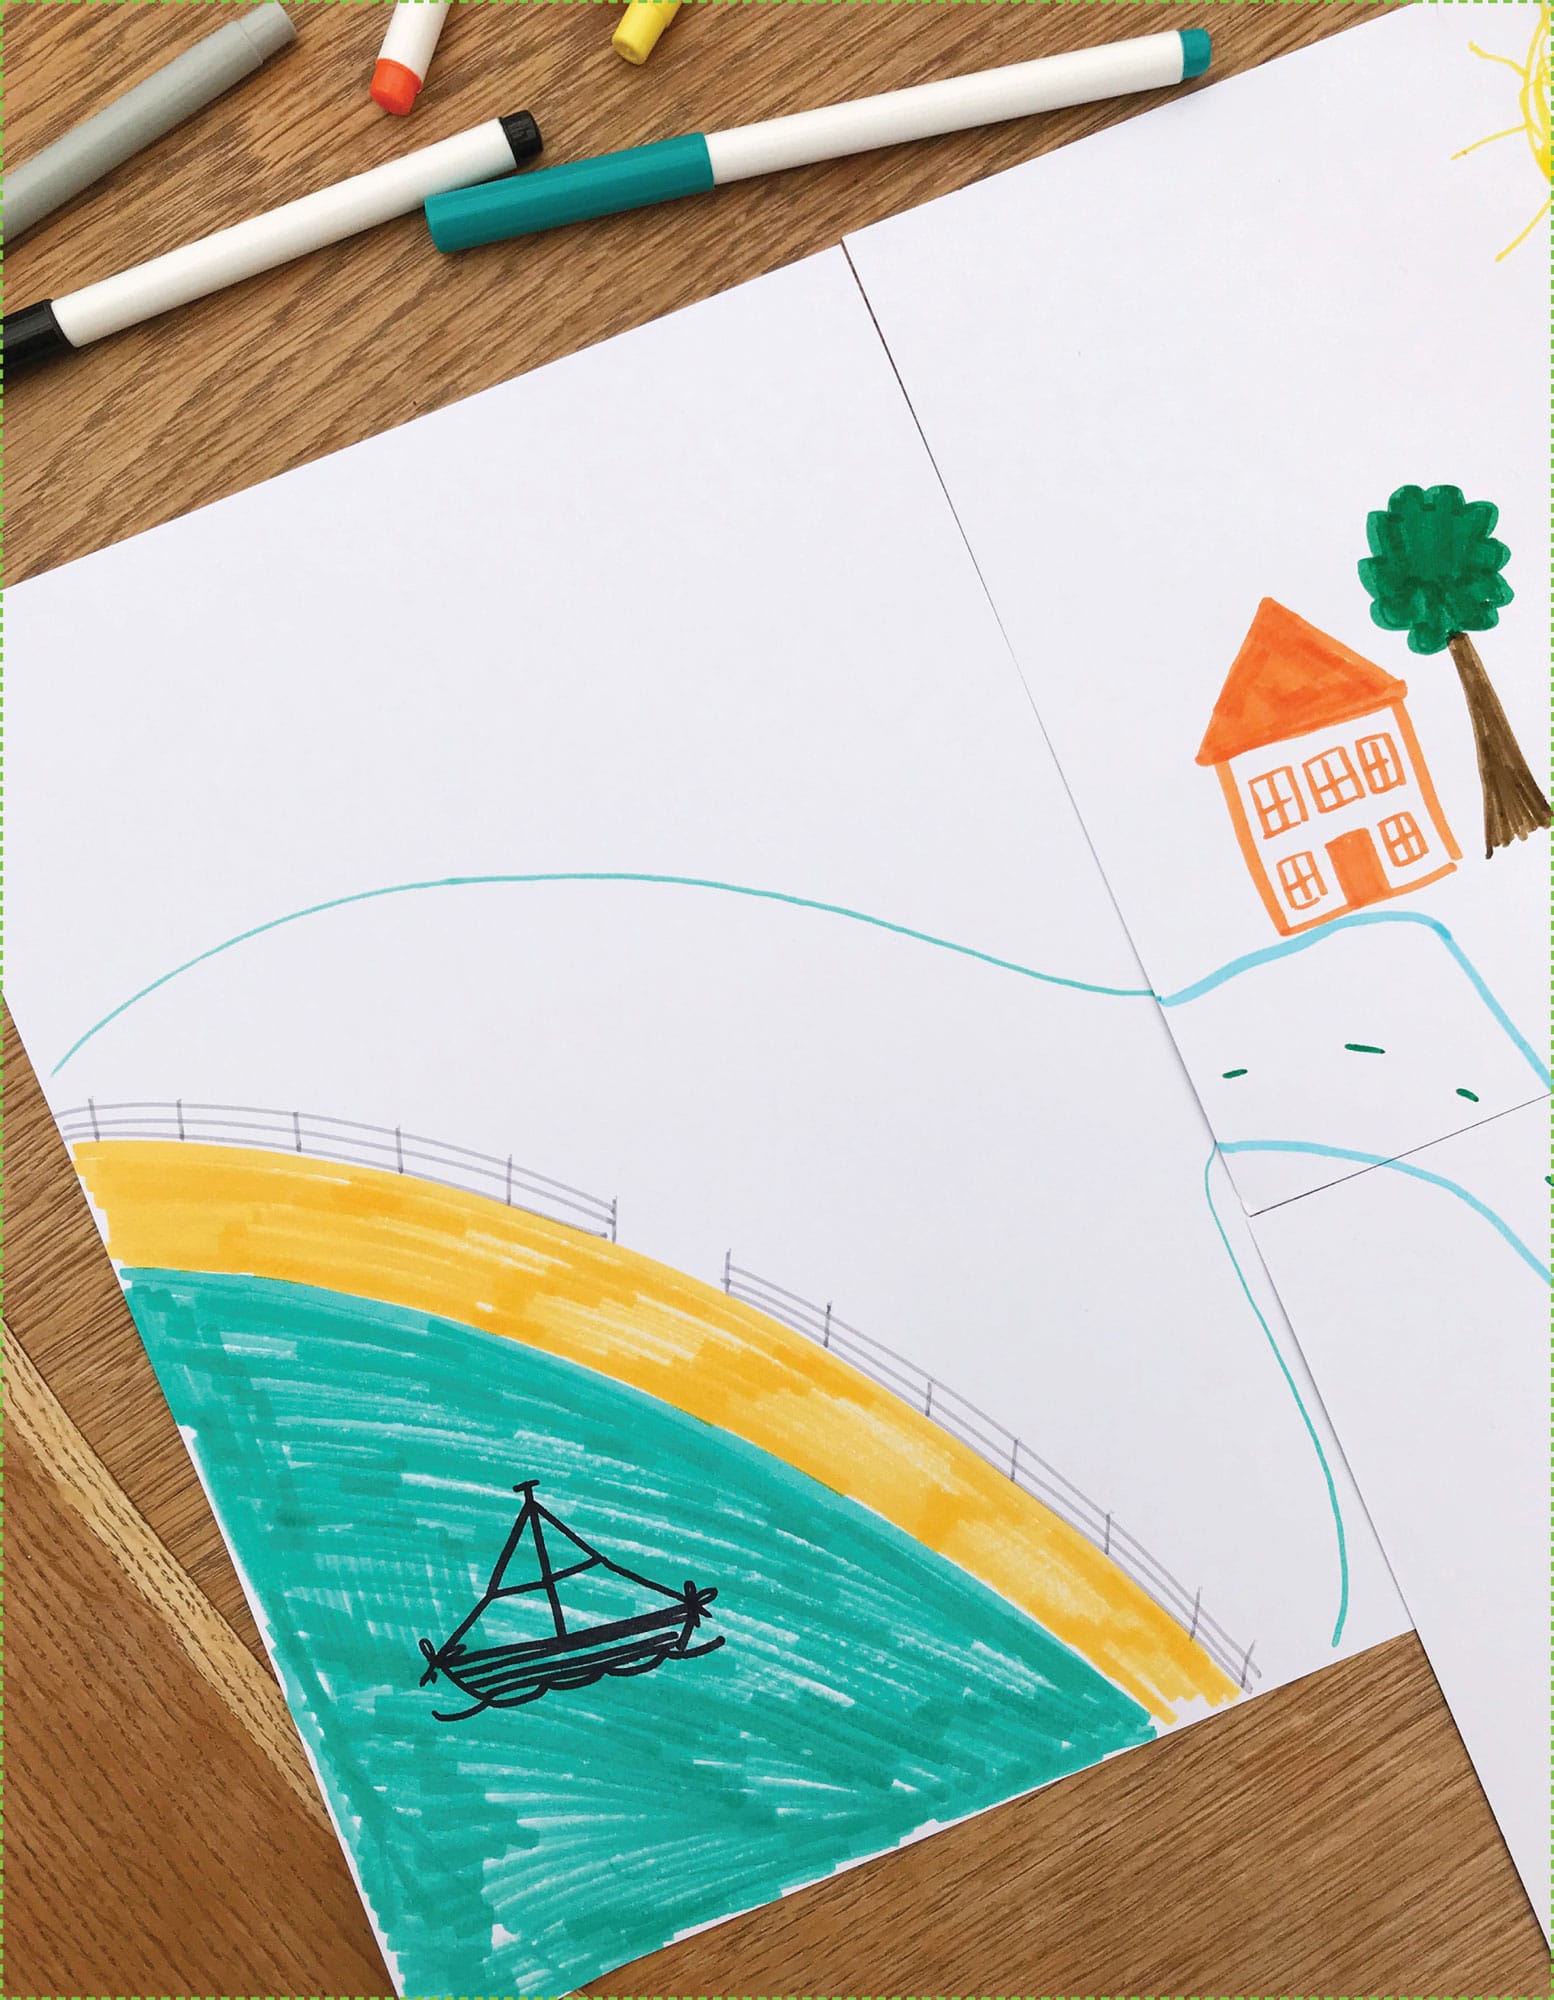
If you wish to enlarge your map by adding sheets of paper, you can do so now. My daughter wanted to include the beach but didn’t have room for it, so we taped a sheet of paper to the edge of the map.
STEP 7
Once the map is complete, use tape to secure it to a large table or the floor so that the edges don’t curl up as your kids play with it.

STEP 8
Pull out the toy cars so your kids can play with their map!
