Thermography—“The poor man’s engraving.” Most of us graphic designers out there don’t even know what thermography IS anymore. But it used to be the most common and sleazy, cheezy form of printing (especially for business cards) available. You used to be able to walk into a quick print shop and get a few hundred thermo cards for under 20 bucks. In an era of full-color desktop printing and mail order full-color everything, five hundred biz cards for under $20 doesn’t sound like much, but it was a lifesaver for the small business dude. Never mind that it was a nightmare for the graphic designer.
These cheapo thermography biz cards looked like total crap. It’s what MOST folks familiar with thermo think of when they think of thermography—a bubbly raised surface that feels like burned plastic. It was supposed to give the letters and logos on business cards the “feel” of real (and extraordinarily expensive) steel engraving. At least that was the way it was sold. In reality it really didn’t feel much like engraving at all. If you had the opportunity to compare it with the real thing, thermo felt like cheap crappy junk. Looked like it, too.
The way thermography was applied to biz cards was simple. Thermography is a clear plastic powder. After the cheap print job is slapped on the blank paper (later to be trimmed out as a business card), the freshly printed card stock would pass through a “blower.” This was a box with a fan inside creating a whirlwind into which you’d dump the thermography powder. It would simply STICK to the wet ink. After it left the blower, it would pass on a conveyor belt under a simple heat lamp. This would make the plastic powder heat up and melt. The proper result would be a raised, even, smooth surface that gave the effect of a sheet of really thick plastic covering the inked areas. It was so thick it almost felt embossed.
The heat lamps were usually too hot on the standard purchased stock equipment, so the plastic powder would literally BURN. The result you ACTUALLY got was a pitted bubbled surface that looked like what it was—BURNED PLASTIC. Most of us who have ever seen or used thermography think that is how it was SUPPOSED to look. Nothing could be further from the truth.
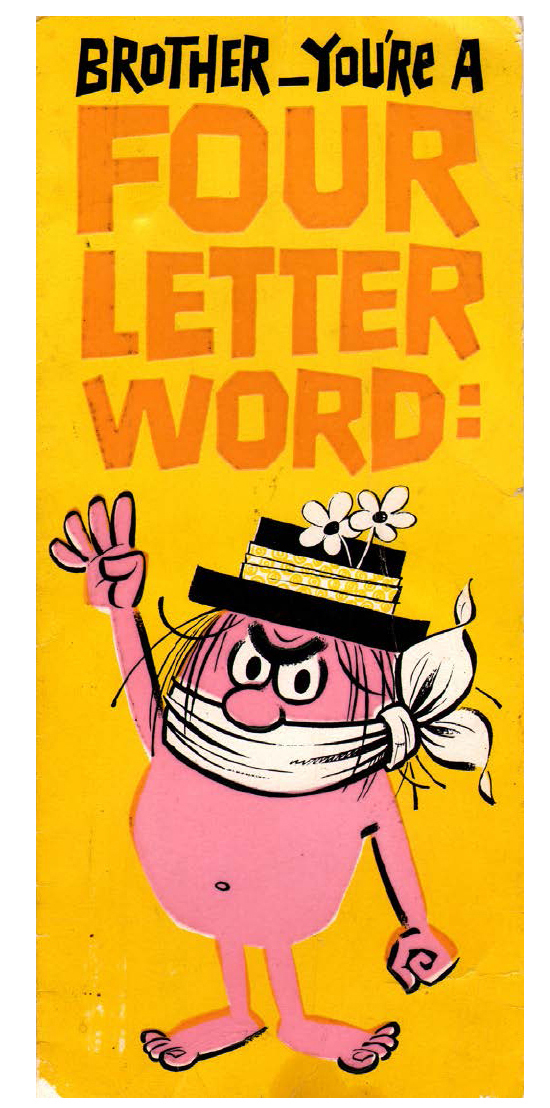
This birthday card I show you is from the early/mid-1960s. Back then, thermography was new on the market and wasn’t being sold for use on cheapo business papers at all. It was a novelty printing trick, like embossing or hot foil stamp or flocking, etc. On this cheapo birthday card, every printed surface (except the golden yellow backdrop) is thermographed. You can’t see it here, but every letterform and every illustration appears to have a beautiful thick perfectly flat layer of clear plastic sitting on top. I was aware of this effect for a decade, not knowing what it was, until I finally asked an old printer friend what it was. He looked at me funny and said, “You’ve never seen thermography?”
Well, yes, I had seen thermography, but only bad cheapo burned thermography (and I never knew it was bad burned thermography). This “proper” technique of applying thermography is wonderful, cool, snazzy and inexpensive. We should be using it all the time to wonderful effect.
The problem back in the day was that budget-conscious salesmen and gutbucket printers would buy off-the-shelf heat lamp bulbs for their equipment instead of the proper, less intense heat lamp bulbs sold by the manufacturer—just to save a buck or two. The result was an entire generation or two of horribly bad work. They basically destroyed thermography as a graphic design printing technique. As a result, it never really got to go through serious use and experimentation to see what you can do with it.
Nowadays, there doesn’t seem to be anyone at all who knows how to properly apply thermography to a printed piece. The crap equipment and shoddy craftsmanship unfortunately erased it as a viable technique.